
Building a stove hood is a project that can change your kitchen in big ways. It improves air quality, removes smoke and cooking smells, and adds a stylish touch to your space. But many homeowners feel unsure about tackling this job themselves.
The process might look complicated, but with careful planning and the right steps, you can create a stove hood that works well and looks great.
This guide will walk you through every part of building a stove hood. Whether you want a simple design or something custom, you’ll learn how to choose the best materials, measure your space, and assemble everything safely. Along the way, you’ll see practical tips, common mistakes to avoid, and solutions for tricky problems—things most beginners don’t realize until they start.
You won’t need advanced carpentry skills, but you do need patience and attention to detail. By the end, you’ll have a stove hood that not only works but also fits your kitchen perfectly. Let’s get started and turn this project into a real success.
Why Build Your Own Stove Hood?
A stove hood (or range hood) is essential for a safe and comfortable kitchen. It removes smoke, steam, grease, and odors from cooking. While store-bought hoods are available, building your own has some real advantages:
- Customization: You can match the hood to your kitchen’s style, size, and needs.
- Cost savings: DIY often costs less than hiring a contractor or buying a high-end model.
- Material choices: Pick finishes and features that fit your budget and taste.
- Satisfaction: There’s real pride in using something you built yourself.
Most importantly, a well-made stove hood protects your health by improving air quality.
Planning Your Stove Hood Project
Before picking up a tool, you need a solid plan. Rushing this part leads to mistakes and wasted money.
Assessing Your Kitchen
Look at your cooking area carefully:
- Is your stove against a wall or in an island?
- How much space is above and around the stove?
- Are there cabinets or shelves nearby?
- Where can you vent air outside?
Tip: Take photos and rough measurements before you start.
Choosing A Venting Method
You have two main choices:
- Ducted (vented) hood: Moves air outside through a duct. Best for removing smoke and moisture.
- Ductless (recirculating) hood: Filters air and sends it back into the kitchen. Easier to install but less powerful.
Non-obvious insight: Many people don’t check if their kitchen walls can handle an outside vent. Cutting through brick or concrete is much harder and often needs a pro.
Setting A Budget
DIY stove hoods can cost anywhere from $100 to $1,000+. Main costs are:
- Wood or metal for the frame
- Fan/blower unit
- Ductwork or filters
- Paints or finishes
- Hardware and tools
Unexpected cost: Ductwork and electrical work often cost more than you expect, especially if you move the vent location.
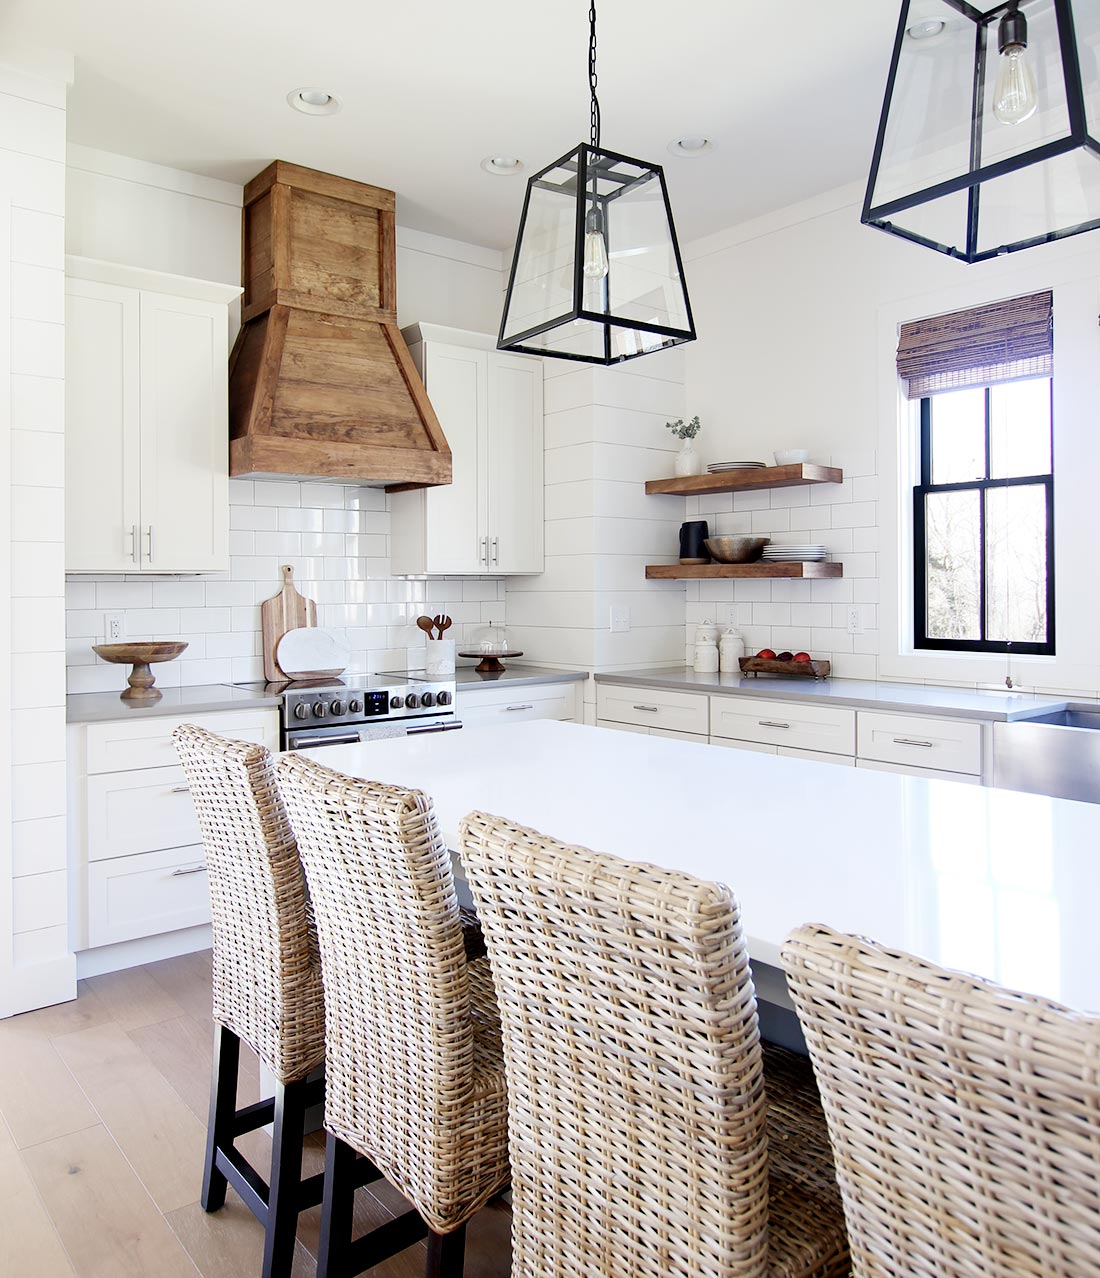
Credit: plankandpillow.com
Measuring And Designing Your Stove Hood
Good measurements make everything easier. Even small errors can lead to poor fit or airflow problems.
Key Measurements
- Hood width: Should be at least as wide as the stove, usually 30–36 inches.
- Hood height above stove: 24–30 inches is standard.
- Depth: At least half the depth of the stove; 18–24 inches is common.
Pro tip: Leave a few extra inches on each side for better capture of smoke and steam.
Drawing Your Design
Sketch your idea on paper or use free design software. Include:
- The outer shape (box, sloped, curved)
- Placement of fan and lights
- Location of controls
- Access panels for filters
Hidden challenge: Some people forget to plan how they’ll clean or change filters. Make sure you can reach all parts easily.
Selecting Materials And Tools
Your choice of materials affects both look and function.
Material Options
- Plywood: Inexpensive, easy to cut, good for painting or covering.
- MDF: Smooth and easy to paint but heavy.
- Solid wood: Attractive but can warp from heat and moisture.
- Metal (stainless steel, copper): Durable, modern look, harder to work with.
You’ll also need:
- Fan/blower unit: Most are rated in cubic feet per minute (CFM). 300–600 CFM is common for home use.
- Ductwork: Metal is best for fire safety.
- Lighting: LED or halogen fixtures.
- Switches and wiring: For fan and lights.
- Filters: Metal mesh (ducted) or charcoal (ductless).
Essential Tools
- Tape measure and pencil
- Drill and drill bits
- Saw (circular, jigsaw, or miter saw)
- Screwdrivers
- Level
- Square
- Sander or sandpaper
- Safety gear (glasses, gloves, mask)
- Stud finder
Beginner insight: You don’t need a workshop, but a sturdy table and good lighting make a big difference.
Step-by-step Guide To Building A Stove Hood
Now, let’s go through the process from start to finish.
1. Prepare The Area
Clear the space above your stove. Remove any old hood, shelves, or obstacles. Turn off power at the breaker if you’re working with electrical parts.
Tip: Cover your stove with a drop cloth to protect it from dust and debris.
2. Mark And Cut The Frame
Use your measurements to mark where the hood will sit. The frame is usually a simple box or open “skeleton” made from 2×2 or 1×2 wood.
- Cut pieces for the top, bottom, sides, and support braces.
- Assemble with screws; check for square corners.
- Test-fit the frame in place before moving on.
Common mistake: Not checking for level—always use a level at every step.
3. Build The Hood Shell
The shell is the visible outer part. Cut panels from plywood, MDF, or metal.
- Attach panels to the frame with screws or construction adhesive.
- Leave an opening for the fan and lights.
- Sand edges smooth.
Pro tip: For a seamless look, fill screw holes and seams with wood filler before painting.
4. Install The Fan And Ductwork
Follow the fan’s manual for mounting. Secure the blower to the inside top or back of the hood.
- For ducted hoods: Attach ductwork and run it to an exterior wall or roof vent. Seal all joints with foil tape.
- For ductless hoods: Fit the fan with the correct filter.
Hidden challenge: Many people forget to add a slight upward slope to the duct. This helps moisture drain outside, not back into your kitchen.
5. Electrical And Lighting
Install any built-in lights in the hood. Run wires safely through the frame. If you’re not confident, hire a licensed electrician.
- Add switches for the fan and lights.
- Test everything before closing up the hood.
Safety note: Never skip a ground wire on a metal hood.
6. Mount The Hood
Secure the hood frame to wall studs with long screws or lag bolts. If attaching to cabinets, add extra support brackets.
- Double-check for level and alignment.
- Attach the duct (if ducted) or filter (if ductless).
Beginner mistake: Using drywall anchors instead of screws in studs. The hood must hold its own weight safely.
7. Finish And Paint
Fill all holes and sand the surface smooth. Prime and paint or stain as desired.
- For a wood look, use clear polyurethane.
- For color, use high-quality kitchen paint.
Unexpected tip: Satin or semi-gloss paint resists grease and is easier to clean.
8. Final Checks
Test the fan and lights. Check for rattles or air leaks. Make sure all controls work and the hood pulls smoke away well.
Comparing Hood Types And Materials
The type of hood and materials you choose affect both cost and function. Here’s a comparison to help you decide:
| Feature | Ducted Hood | Ductless Hood |
|---|---|---|
| Air Quality | Removes smoke, odors, moisture outside | Filters air, returns to kitchen |
| Installation | Harder, requires ductwork | Easier, just mount and plug in |
| Maintenance | Clean filters, check duct | Replace filters often |
| Noise | Usually quieter | Can be louder |
| Cost | Higher (materials, labor) | Lower overall |
For materials, compare the most common options:
| Material | Look | Durability | Workability | Cost |
|---|---|---|---|---|
| Plywood | Versatile, paintable | Good | Easy | Low |
| MDF | Very smooth, paintable | Medium (can swell) | Easy | Low |
| Solid Wood | Warm, natural | Good but can warp | Medium | Medium-High |
| Metal | Modern, sleek | Excellent | Hard | High |
Tip: Plywood with veneer is a good middle ground for DIYers.
Custom Design Ideas
You can personalize your stove hood with many features:
- Shape: Boxy, arched, sloped, or curved.
- Trim: Add crown molding, metal bands, or carved details.
- Color: Match your cabinets or use a bold accent.
- Lighting: Add under-hood LED strips for workspace lighting.
- Shelves: Some hoods include a spice shelf or utensil rail.
Unique insight: A custom hood is a chance to hide outlets, switches, or even a small speaker inside for kitchen music.
Safety And Code Considerations
A stove hood isn’t just about looks—it’s important for safety.
- Distance from cooktop: Most codes require 24–30 inches above electric stoves, 30–36 inches above gas.
- Duct material: Use only metal ducts (not plastic or flex hose) for fire safety.
- Power source: The fan and lights should be on a dedicated circuit.
- Local codes: Always check your city’s building rules before starting. Permits might be needed for ductwork or wiring.
Pro tip: If you’re unsure, ask your building department for advice. They’re used to DIY questions.
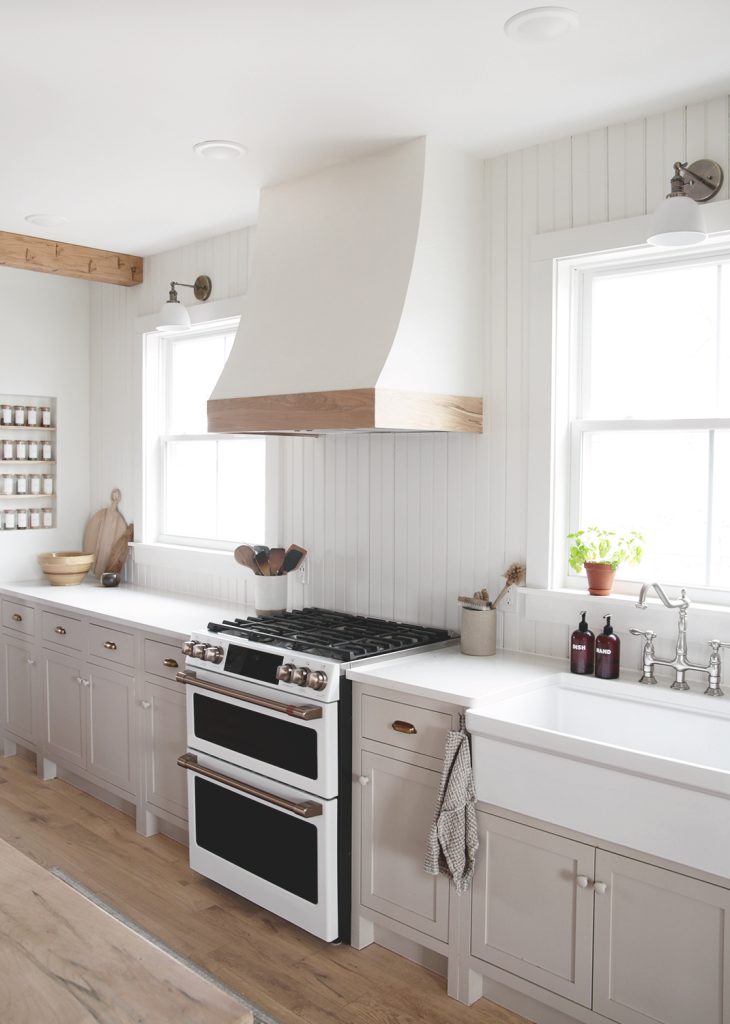
Credit: themerrythought.com
Troubleshooting Common Problems
Even careful builders hit snags. Here’s how to fix some common issues:
Poor Suction
- Check if the duct is blocked or leaking.
- Make sure the fan is powerful enough for your stove size.
- Shorten the duct length if possible.
Rattling Or Noise
- Tighten all screws and brackets.
- Add rubber washers between the fan and frame.
- Make sure nothing is touching the fan blades.
Grease Buildup
- Use baffle filters for heavy frying.
- Clean filters every 1–2 months.
- Wipe the inside of the hood regularly.
Air Leaks
- Seal all duct joints with foil tape.
- Check for gaps where the hood meets the wall or cabinets.
Difficult Filter Access
- Adjust your design for easy filter removal before assembly.
- Use hinged panels or magnetic catches for better access.
Maintenance Tips For Long Life
A well-built stove hood can last 10–20 years or more. Here’s how to keep it working:
- Clean filters: Metal filters go in the dishwasher; charcoal filters must be replaced.
- Wipe exterior: Use a damp cloth and mild cleaner.
- Check ductwork: Inspect yearly for blockages, especially if you cook a lot.
- Test fan and lights: Replace bulbs with energy-efficient LEDs.
- Touch up paint: Repair chips or scratches before they get worse.
Unexpected tip: If your kitchen gets greasy fast, run the hood fan 5 minutes before and after cooking for best results.
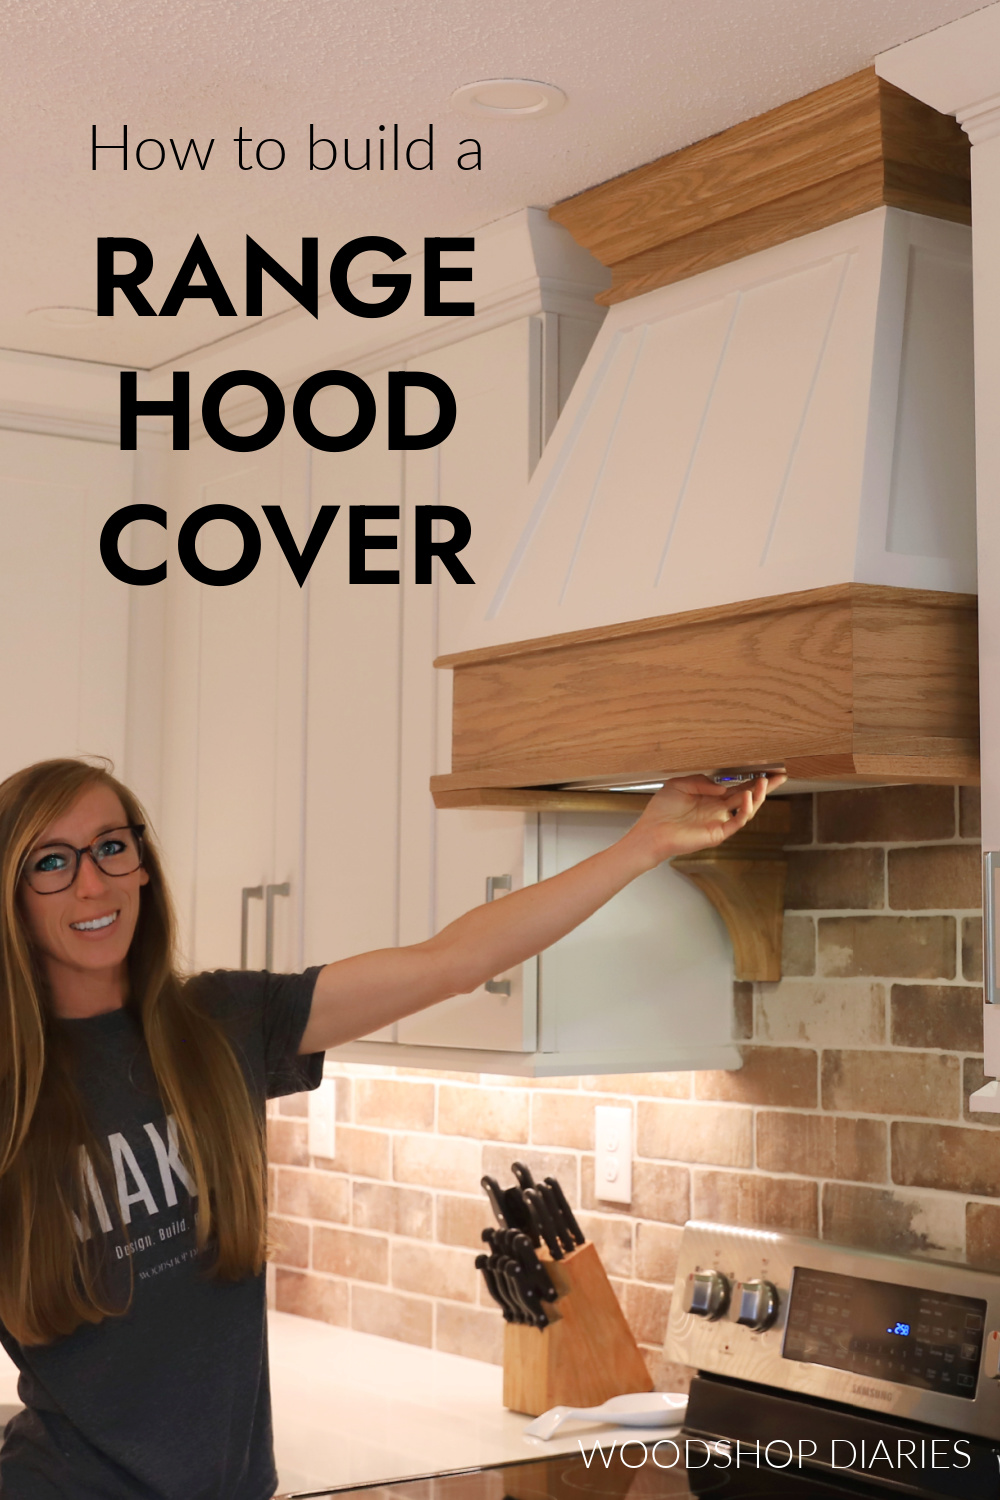
Credit: www.woodshopdiaries.com
Real-world Example: A Simple Wood Stove Hood
Let’s walk through a basic project using plywood and a ducted fan.
- Measure a 30-inch wide, 24-inch deep area above the stove.
- Build a rectangular frame from 2×2 wood.
- Attach 1/2-inch plywood panels for the shell.
- Cut a hole for a 400 CFM inline blower.
- Add a 6-inch metal duct running to an exterior wall.
- Wire in an LED puck light and switches.
- Prime and paint the hood white to match cabinets.
- Mount with four 3-inch screws into wall studs.
- Seal duct joints and test the fan.
Result: This project took 2 weekends, cost about $350, and improved air quality immediately.
Non-obvious insight: The builder added an extra brace inside the frame for a hidden spice rack—a feature not found in most store-bought hoods.
Sustainability And Energy Use
A stove hood can also help your home stay green:
- Use energy-efficient LED lights.
- Choose a fan with adjustable speed; use low for simmering, high for frying.
- Seal all joints to prevent heated air from escaping when the fan is off.
- Use low-VOC paints or finishes.
Interesting fact: Some studies show a good stove hood can cut indoor air pollution by over 50%, especially in homes with gas stoves.
When To Call A Professional
Some steps require more skill or tools than a typical DIYer has:
- Cutting through brick or stone for a new duct.
- Upgrading electrical wiring or adding a new circuit.
- Installing very heavy metal hoods.
If in doubt, hire a licensed contractor for these parts. You can still build the hood shell and do the finish work yourself.
For more technical details, you can also check the Home Ventilating Institute.
Frequently Asked Questions
How Powerful Should My Stove Hood Fan Be?
Fan strength is measured in CFM (cubic feet per minute). For most home kitchens, 300–600 CFM works well. If you cook with high heat, fry often, or have a large stove, go toward the higher end. Too much power can be noisy, but too little won’t remove smoke.
Can I Install A Ductless Stove Hood Anywhere?
Yes, ductless hoods are flexible because they don’t need an outside vent. But they only filter air—they don’t remove moisture or strong odors as well as ducted hoods. Change filters often for best results.
What Is The Best Material For A Diy Hood?
Plywood is popular because it’s strong, light, and easy to paint. MDF is even smoother but can swell from steam. Metal is very durable but harder to cut and shape without special tools. Pick the material that fits your skills and kitchen style.
How Often Should I Clean Or Change Filters?
Metal mesh filters should be washed every 1–2 months, depending on how much you cook. Charcoal filters (ductless) need replacing every 3–6 months. Grease buildup reduces performance and can cause smells or even fires.
Can I Add Features Like Lights Or Smart Controls?
Yes! Many modern stove hoods have built-in LED lighting, timers, or even Wi-Fi controls. For DIY, start with simple switches. You can always upgrade to smart features later, as long as your wiring supports them.
Building your own stove hood is a project that rewards careful planning and attention to detail. Not only will you improve your kitchen’s air and style, but you’ll also learn valuable skills along the way. Remember to focus on safety, measure twice, and enjoy the process—your kitchen will thank you for years to come.