For many people, the smell of fresh waffles means comfort and a great start to the morning. Using a waffle maker at home is easier than you might think, and it opens up a world of delicious breakfasts, snacks, and even desserts. But if you’ve never used one before, you might worry about burning your waffles, making a mess, or just not getting that perfect golden-brown color. This guide will help you feel confident and excited about using a waffle maker, even if you’re a complete beginner.
You’ll learn about different types of waffle makers, what you need to get started, step-by-step directions, cleaning tips, and smart tricks that make a big difference. By the end, you’ll know more than just pushing a button—you’ll understand how to get the best waffles every time, avoid common mistakes, and even experiment with your own recipes.
Let’s dive in and discover how to use a waffle maker to make mornings (and any time) a little more special.
Understanding Waffle Makers
Before you start, it’s important to know the different types of waffle makers. The right one for you depends on your kitchen space, how many people you cook for, and your favorite kind of waffle.
Types Of Waffle Makers
1. Classic American Waffle Makers
These produce thinner, crispier waffles. They’re great for quick breakfasts and often more affordable.
2. Belgian Waffle Makers
Belgian waffles are thick and fluffy, with deep pockets. These makers usually have a round plate and need more batter per waffle.
3. Flip (rotating) Waffle Makers
These rotate 180 degrees, helping the batter spread evenly. They often give more even browning and are popular for hotels and home use.
4. Stovetop Waffle Irons
Made of cast iron or aluminum, these go directly on your stovetop. They need more skill but are great for camping or when you want a traditional feel.
5. Mini Waffle Makers
These are small (often 4-inch waffles), perfect for singles, kids, or small kitchens.
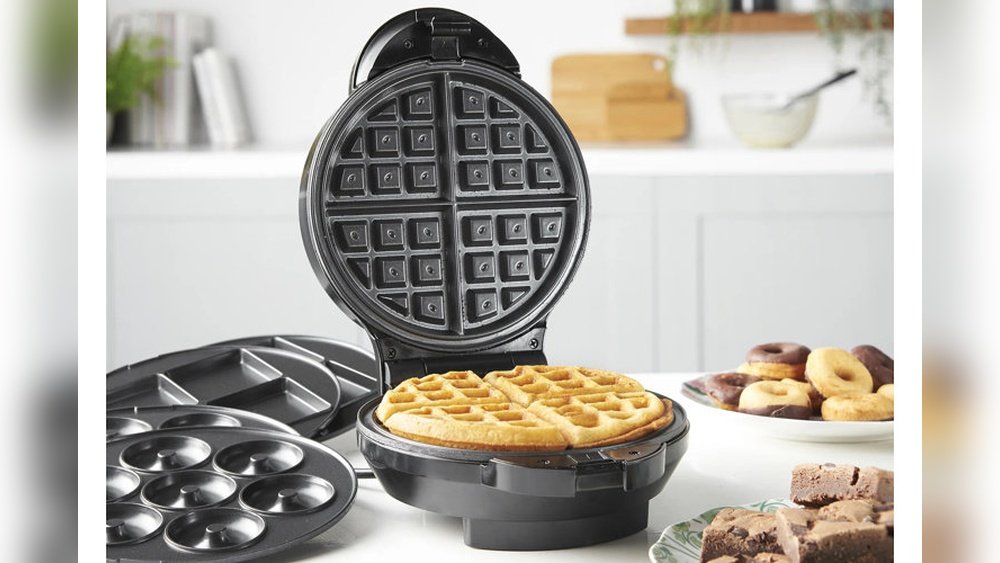
6. Specialty Waffle Makers
Some make shaped waffles (hearts, characters) or have removable plates for easy cleaning.
Electric Vs. Stovetop
Most modern waffle makers are electric. They’re easy to use—plug in, heat up, and cook. Stovetop versions need more attention and control but can last for years and work even without electricity.
Key Features To Consider
When choosing a waffle maker, look for these features:
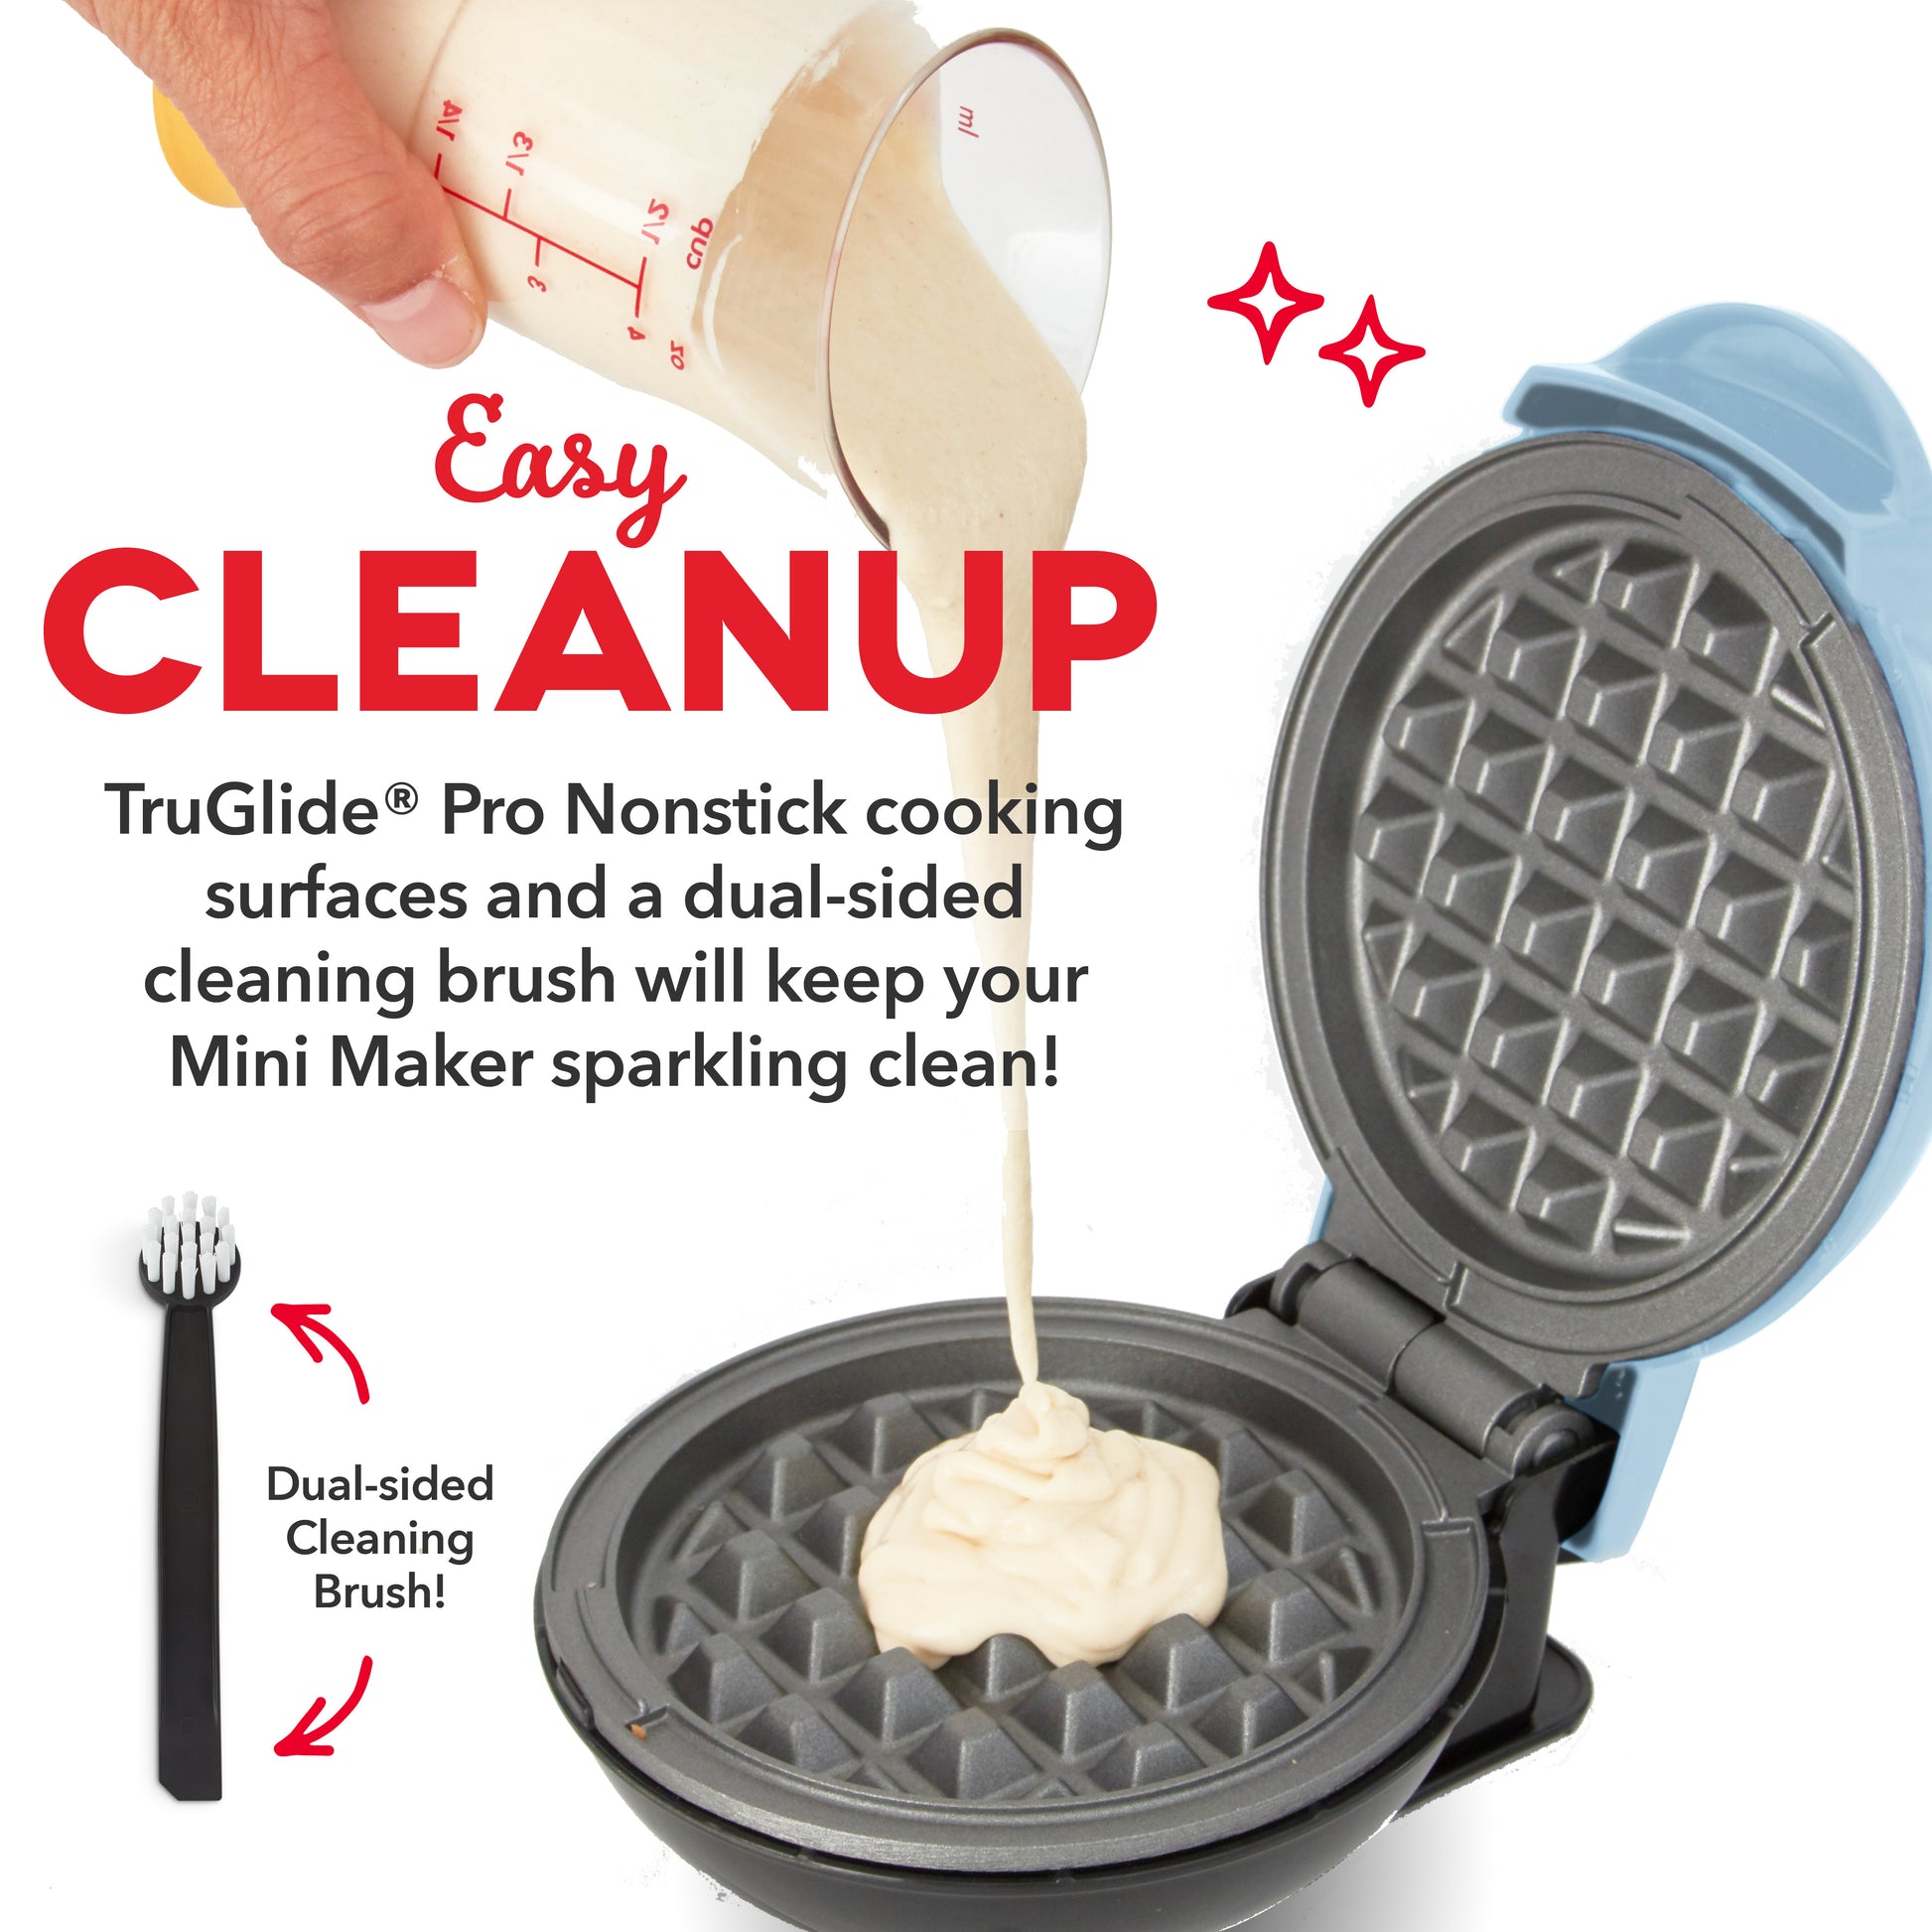
- Non-stick plates: Easier to clean and remove waffles.
- Adjustable browning control: Lets you choose light or dark waffles.
- Indicator lights or sounds: Shows when the maker is hot or the waffle is ready.
- Removable plates: Easier cleanup.
- Drip trays: Prevents mess if batter overflows.
Here’s a comparison of popular waffle maker types:
| Type | Waffle Thickness | Ease of Use | Cleaning | Best For |
|---|---|---|---|---|
| Classic | Thin | Easy | Easy | Quick breakfast |
| Belgian | Thick | Easy | Medium | Brunch, dessert |
| Flip | Thick | Easy | Medium | Even cooking |
| Stovetop | Varies | Advanced | Medium | Traditional, camping |
| Mini | Thin | Very easy | Very easy | Kids, singles |
Non-obvious insight: Flip waffle makers often produce more uniform waffles because the batter spreads better, but they’re not always necessary for home cooks. Mini waffle makers heat up and cool down quickly, making them safer for children (with supervision).
Getting Ready: Prep And Ingredients
Using a waffle maker starts with simple preparation. You need the right ingredients, tools, and a safe setup.
What You Need
- Waffle maker (clean and dry)
- Batter (homemade or store-bought mix)
- Cooking spray or oil (unless non-stick is excellent)
- Mixing bowl, whisk or spoon
- Measuring cups and spoons
- Heat-resistant spatula or tongs
- Plate for finished waffles
Basic Waffle Batter Recipe
You can use a boxed mix, but homemade batter gives you more control. Here’s a classic recipe for about 4–5 waffles:
- 2 cups all-purpose flour
- 2 tablespoons sugar
- 1 tablespoon baking powder
- ½ teaspoon salt
- 2 large eggs
- 1¾ cups milk
- ½ cup melted butter (or vegetable oil)
- 1 teaspoon vanilla extract
Tip: For crispier waffles, replace ½ cup milk with club soda.
Mixing The Batter
- In a large bowl, whisk together flour, sugar, baking powder, and salt.
- In another bowl, mix eggs, milk, melted butter, and vanilla.
- Pour wet ingredients into dry and stir until just combined. Do not overmix; a few lumps are okay.
- Let the batter rest for 5–10 minutes. This helps the waffles rise and improves texture.
Non-obvious insight: Letting your batter rest makes a big difference. The gluten relaxes, and baking powder starts to work, creating lighter, fluffier waffles.
Preparing The Waffle Maker
- Place the waffle maker on a stable, heatproof surface.
- Plug it in (for electric models) and preheat fully. Most makers have a ready light.
- Lightly spray or brush with oil, especially if the non-stick is old.
- Avoid using too much oil, or it can pool and burn.
Step-by-step: How To Use A Waffle Maker
Now you’re ready to make waffles. The process is simple, but a few smart tips will help you get the best results every time.
1. Preheat The Waffle Maker
Always let your waffle maker heat up completely. If you pour batter in too soon, waffles will stick or be pale. Wait for the “ready” light or beep. If your model doesn’t have an indicator, give it about 5 minutes.
2. Grease The Plates
Even with non-stick, a light spray or brush of oil helps. Use a high-smoke-point oil (like canola) or melted butter. Never use non-stick spray on ceramic plates—it can damage them.
3. Pour The Batter
Use a measuring cup or ladle to pour batter into the center. The amount depends on your maker, but usually ½ to ⅔ cup per waffle. Do not overfill. The batter should spread but not overflow the edges.
Practical tip: Stop pouring when the batter is about ½ inch from the edge. The steam and pressure will spread it fully.
4. Close The Lid And Cook
Close the lid gently. Don’t press down hard—it can force batter out and make a mess. Most waffle makers have a timer, light, or beep to show when the waffle is done. If not, check after 3–5 minutes.
Signs your waffle is ready:
- Steam has mostly stopped coming out
- The color is golden brown
- The waffle lifts easily from the plate
5. Remove The Waffle
Use a heat-resistant spatula or tongs to lift the waffle out. Never use metal—it scratches non-stick plates.
6. Serve Or Keep Warm
Serve waffles immediately for the best crispness. To keep waffles warm, place them in a single layer on a baking rack in a 200°F oven. Don’t stack or cover, or they’ll get soggy.
Advanced Tips For Perfect Waffles
Anyone can make waffles, but a few expert tips will help you take them from good to great.
Use Room Temperature Ingredients
Cold eggs or milk can make your batter thicker and cook unevenly. Let ingredients warm up for 10–15 minutes before mixing.
Separate And Whip The Egg Whites
For extra-light waffles, separate the eggs. Mix yolks with wet ingredients, beat whites until stiff peaks, then fold into the batter last.
Don’t Open Too Soon
Opening the waffle maker early can tear the waffle or make it stick. Wait until steam slows down, then check.
Adjust For Your Altitude
At high altitudes, reduce baking powder by ¼ teaspoon and add an extra tablespoon of milk.
Clean Between Batches
If crumbs build up, use a dry brush or paper towel (while plates are cool) to remove them. This keeps the next waffle from sticking.
Non-obvious insight: If your waffles keep sticking, try seasoning the plates. Brush them with a thin layer of oil and run the waffle maker empty for 5 minutes. Let cool, then wipe off excess oil.
Cleaning And Maintaining Your Waffle Maker
Proper cleaning keeps your waffle maker working well and waffles tasting fresh. Here’s how to care for it safely.
After Each Use
- Unplug and let the waffle maker cool completely.
- Remove crumbs with a soft, dry brush or paper towel.
- Wipe plates with a damp cloth or sponge. Never submerge an electric waffle maker.
- For tough spots, use a little baking soda and water paste. Let it sit, then wipe.
- Clean the exterior with a damp cloth.
Deep Cleaning
Some makers have removable plates. Wash these in warm, soapy water, rinse, and dry completely before reattaching.
For non-removable plates:
- Place a wet paper towel in the heated waffle maker for 1 minute (unplug first). The steam loosens stuck-on batter.
- Remove the towel and wipe clean.
Caution: Never use metal utensils or harsh cleaners.
Storing Your Waffle Maker
- Let it dry fully before storing.
- Store upright to save space and avoid damaging the plates.
- Wrap the cord loosely around the base.
Here’s a summary of cleaning methods for different waffle maker types:
| Waffle Maker Type | Removable Plates | Cleaning Difficulty | Special Care |
|---|---|---|---|
| Classic/Belgian | Some models | Easy-Medium | No metal tools |
| Flip | Some models | Medium | Check hinges |
| Stovetop | No | Medium | Dry well to prevent rust |
| Mini | No | Easy | Dry thoroughly |
Common Mistakes And How To Avoid Them
Even experienced cooks make mistakes with waffles. Here are the most common errors and how to fix them.
1. Using Too Much Batter
Filling the plates to the top causes overflow and mess. Use a little less than you think and adjust as needed.
2. Not Preheating
Cold plates make pale, soggy waffles and batter sticks more.
3. Not Greasing Properly
Even non-stick plates can stick, especially after months of use. A light brush of oil solves this.
4. Overmixing Batter
Stirring too much makes tough, chewy waffles. Mix until just combined—lumps are fine.
5. Lifting The Lid Too Early
Patience pays off. Wait until steam slows and the waffle releases easily.
6. Skipping Rest Time For Batter
Resting gives better texture and taste. Even 5 minutes helps.
7. Not Cleaning Right Away
Batter hardens as it cools. Wipe plates while warm (but not hot) for easier cleaning.

Credit: www.youtube.com
Customizing Your Waffles
Once you master the basics, you can make your waffles unique. Here’s how to add flavors, mix-ins, and toppings.
Flavor Variations
- Chocolate: Add ¼ cup cocoa powder and extra tablespoon sugar.
- Pumpkin spice: Add ½ cup pumpkin puree, 1 teaspoon cinnamon, and ½ teaspoon nutmeg.
- Savory: Use less sugar and add herbs, cheese, or cooked bacon.
Mix-ins
Fold in these extras after mixing the batter:
- Blueberries or raspberries (fresh or frozen)
- Chocolate chips
- Chopped nuts
- Shredded coconut
Tip: Sprinkle mix-ins onto the batter after pouring it into the maker. This keeps fruit from sinking and burning.
Creative Toppings
- Fresh fruit and whipped cream
- Maple syrup or honey
- Yogurt and granola
- Fried chicken (for a Southern treat)
- Ice cream and hot fudge (dessert waffles)
Using A Waffle Maker For More Than Waffles
Did you know your waffle maker can cook more than just breakfast? Here are some creative ideas:
- Hash browns: Shredded potatoes, a little oil, cooked until crispy.
- Grilled cheese sandwiches: Butter the bread and press for 2–3 minutes.
- Brownies: Spread brownie batter for chewy, quick treats.
- Quesadillas: Tortillas with cheese and fillings, pressed until melted.
Safety note: Clean your waffle maker well between different foods to prevent flavors from mixing.
Credit: bydash.com
Troubleshooting: Fixing Problems
Sometimes, things go wrong. Here’s how to solve the most common waffle maker problems.
Waffles Stick To Plates
- Make sure the plates are clean and properly greased.
- Try seasoning the plates with oil and running the maker empty.
- Use a little more fat in your batter.
Waffles Are Pale Or Soggy
- Preheat longer.
- Use less liquid in the batter.
- Leave the waffle in the maker for an extra minute.
Uneven Cooking Or Browning
- Rotate the waffle maker halfway through (if not a flip model).
- Don’t open the lid during cooking.
Overflowing Batter
- Use less batter per waffle.
- Don’t add extra baking powder.
Non-obvious insight: If your waffles always cook unevenly, check if your kitchen counter is level. An uneven surface can cause batter to pool on one side.
Safety Tips When Using A Waffle Maker
Waffle makers get very hot and use electricity. Here’s how to use them safely:
- Always use on a dry, flat surface.
- Keep the cord away from the edge.
- Never touch the plates or lid during cooking.
- Supervise children closely.
- Unplug after use and before cleaning.
- Don’t pour batter when the maker is off—it won’t cook and will stick.
Comparing Waffle Makers: What To Look For
Choosing the right waffle maker depends on your needs. Here’s a quick comparison to help you decide:
| Feature | Basic Model | Mid-Range | Premium |
|---|---|---|---|
| Price | $15–$30 | $30–$60 | $60–$150 |
| Browning Control | No | Yes | Yes (digital) |
| Removable Plates | No | Sometimes | Yes |
| Waffle Size | Small | Medium-Large | Large (Belgian) |
| Extra Features | No | Some | Flip, timer, sound |
Advice: For most people, a mid-range model with browning control and non-stick plates is perfect. Only buy premium if you make waffles weekly or want special features.
How To Store And Freeze Waffles
Sometimes you want to make extra waffles for later. Here’s the best way to keep them fresh.
Storing
- Cool waffles completely before storing.
- Place in an airtight container or zip-top bag.
- Keep in the refrigerator for up to 3 days.
Freezing
- Freeze waffles in a single layer on a baking sheet.
- Once frozen, stack with parchment paper between and store in a freezer bag.
- Waffles keep for up to 3 months.
Reheating
- Use a toaster or oven (not microwave) for best crispness.
- Toast for 2–4 minutes until hot and crisp.
Eco-friendly Waffle Making
You can make waffles with less waste and energy:
- Use a waffle maker that matches your usual batch size.
- Unplug when not in use.
- Wipe plates with a reusable cloth.
- Compost fruit scraps and eggshells.
For more on eco-friendly kitchen tips, visit the EPA’s recycle page.
Frequently Asked Questions
How Do I Know When My Waffle Is Done?
Most waffle makers have a light or beep to signal when the waffle is cooked. If not, watch for steam to slow down and check after 3–5 minutes. The waffle should be golden brown and lift easily from the plate.
Can I Use Pancake Batter In A Waffle Maker?
Yes, but you may need to add more fat (butter or oil) to get crispy edges. Waffle batter is usually thicker and richer than pancake batter.
Why Do My Waffles Turn Out Soggy?
Waffles can be soggy if you use too much liquid in the batter, do not preheat the waffle maker enough, or stack the waffles after cooking. Always serve right away or keep them in a single layer in a warm oven.
How Do I Keep Waffles From Sticking?
Grease the plates lightly before each batch, even if the maker is non-stick. Make sure the plates are clean and do not open the lid too early.
Can I Make Gluten-free Or Vegan Waffles In A Waffle Maker?
Absolutely! Use a gluten-free flour blend for gluten-free waffles. For vegan waffles, replace eggs with flaxseed or applesauce and use plant-based milk. Check that your batter is not too thin.
Making waffles at home is easier than you might think, and with these tips, you’ll get perfect results every time. Whether you’re cooking for yourself or a crowd, a waffle maker is a tool that brings joy, creativity, and great taste to your kitchen. With a little practice, you’ll find your favorite recipes and methods—and maybe even invent some new ones.

Credit: www.wikihow.com