Keeping your kitchen clean and beautiful isn’t easy, especially when it comes to the wall behind your sink. Every day, water splashes, soap, food bits, and greasy residue can hit this area. Over time, these splatters can lead to stains, mold, or even wall damage.
Many homeowners don’t notice the problem until it’s too late, and the repairs can be expensive. But with the right techniques, you can easily protect the wall behind your kitchen sink, keep it looking fresh, and avoid big problems down the road.
This guide will show you all the best ways to shield your kitchen wall. You’ll learn about different materials, installation tips, cleaning routines, and even some ideas for adding style. Whether you want a quick fix or a long-lasting solution, you’ll find clear steps and expert advice here.
Let’s discover how you can safeguard this important part of your kitchen.
Why Protecting The Wall Behind Your Kitchen Sink Matters
Many people overlook the wall area right behind the kitchen sink. But this spot faces constant attack from water and other kitchen messes. If you don’t protect it, several problems can develop:
- Water stains: Splashing and dripping can leave unsightly marks.
- Mold and mildew: Moisture can soak into paint, drywall, or grout, leading to health hazards.
- Wall damage: Over time, water can weaken drywall, cause paint to bubble, or lead to rot.
- Unpleasant smells: Mold and bacteria can create bad odors in your kitchen.
- Lower home value: Visible damage can reduce your kitchen’s appeal and your property value.
A little prevention goes a long way. With smart planning, you can keep your kitchen walls healthy and beautiful for years.
What Makes The Wall Behind The Sink Vulnerable?
The wall behind your kitchen sink is constantly exposed to:
- Water splashes from washing dishes or hands
- Food bits and grease from cooking
- Soap and cleaning chemicals
- High humidity from boiling pots or running hot water
Most kitchen walls are made of drywall or plaster, which absorb moisture. Even waterproof paint can struggle if there’s constant wetting. Seams between the counter and wall, electrical outlets, and window frames are weak points for leaks.
A surprising insight: Even small, repeated splashes can cause more harm than a big, single spill. Over weeks and months, these tiny amounts of water soak in and create the perfect home for mold.
Best Materials For Protecting Kitchen Sink Walls
Different materials offer different levels of protection, style, and cost. Here’s a breakdown of the most effective choices for shielding your kitchen wall:
1. Tile Backsplash
Tiles are the most popular way to protect the wall behind a kitchen sink. They’re waterproof, easy to clean, and come in endless designs.
Benefits:
- Complete water resistance
- Many colors, shapes, and patterns
- Durable and long-lasting
Drawbacks:
- Grout lines can collect dirt and need regular sealing
- Professional installation can be costly
2. Glass Backsplash
A glass backsplash gives a modern, seamless look. It’s especially good for small kitchens because it reflects light and makes the space feel bigger.
Benefits:
- 100% waterproof
- Easy to wipe clean—no grout lines
- Stylish and customizable (painted glass, digital prints)
Drawbacks:
- Can show fingerprints and water spots
- Needs careful measurement and installation
3. Stainless Steel Panel
Stainless steel is often seen in professional kitchens. It’s super tough and resists both heat and water.
Benefits:
- Extremely durable and hygienic
- Matches modern appliances
- Great for heavy-duty use
Drawbacks:
- Can scratch easily
- Shows smudges and fingerprints
4. Laminate Sheets
Laminate is a budget-friendly option that comes in many colors and patterns—even ones that mimic stone or wood.
Benefits:
- Inexpensive and easy to install
- Good water resistance if seams are sealed
- Lightweight
Drawbacks:
- Can peel if water gets under the surface
- Not as durable as tile or glass
5. Waterproof Paint
Waterproof or kitchen/bathroom paint gives basic protection for low-splash areas or as a temporary solution.
Benefits:
- Low cost
- Easy to apply and touch up
- Large range of colors
Drawbacks:
- Only protects against light splashes
- Not suitable for heavy water exposure
6. Peel And Stick Backsplash
Peel-and-stick tiles are a DIY-friendly choice, popular for renters or quick updates.
Benefits:
- Fast and easy to install
- No grout, no mess
- Removable—great for renters
Drawbacks:
- May not stick well to all surfaces
- Less durable than real tile or glass
7. Acrylic Or Pvc Panels
These panels are lightweight, affordable, and come in many designs.
Benefits:
- Waterproof and stain-resistant
- Easy to cut and install
- Many color options
Drawbacks:
- Can scratch or discolor over time
- Lower heat resistance
8. Natural Stone Slabs
Marble, granite, or quartz slabs look luxurious and offer strong protection.
Benefits:
- High-end appearance
- Excellent water resistance
- Adds value to your home
Drawbacks:
- Expensive
- Heavy—requires professional installation and strong walls
9. Solid Surface Materials
Materials like Corian provide a seamless, modern look and strong water protection.
Benefits:
- No grout, easy to clean
- Can integrate sink and counter for a smooth finish
- Repairable if scratched
Drawbacks:
- Costly compared to laminate or paint
- Limited color/pattern choices
Here’s a quick comparison of the most popular backsplash materials for kitchen sinks:
| Material | Water Resistance | Durability | Cost (per sq. ft.) | Installation |
|---|---|---|---|---|
| Tile | Excellent | High | $10–$40 | Medium/Pro |
| Glass | Excellent | High | $30–$80 | Pro |
| Stainless Steel | Excellent | High | $20–$50 | Medium/Pro |
| Laminate | Good | Medium | $5–$15 | Easy/DIY |
| Waterproof Paint | Fair | Low | $1–$3 | Easy/DIY |
| Peel-and-Stick | Good | Medium | $7–$15 | Easy/DIY |
| Acrylic/PVC Panel | Good | Medium | $10–$20 | Easy/DIY |
| Natural Stone | Excellent | High | $50–$150 | Pro |
| Solid Surface | Excellent | High | $40–$80 | Pro |
How To Install A Backsplash Behind Your Kitchen Sink
Adding a backsplash is one of the best ways to protect your kitchen wall. Here’s a step-by-step guide for a successful installation, focusing on tile, but the basics apply to other materials too.
1. Measure And Plan
First, measure the space behind your sink. Most backsplashes are 18–24 inches high, but you can go higher for more protection. Mark the area with a pencil.
Tip: Always buy 10% more material than you think you need. This covers mistakes and future repairs.
2. Prepare The Wall
Clean the wall to remove grease and dust. If the wall is painted, lightly sand it so the adhesive sticks better. Repair any cracks or holes.
For wet areas, apply a waterproof membrane before installing tiles or panels. This adds another layer of defense.
3. Apply Adhesive
For tiles, use a thin-set mortar or tile adhesive. For glass, stainless steel, or panels, follow the manufacturer’s instructions—some need special glues or mounting clips.
Spread the adhesive evenly with a notched trowel.
4. Place The Backsplash Material
Start at the center and work outward for a balanced look. Press each piece firmly into the adhesive. Use spacers for tiles to keep the gaps even.
Check that everything is level as you work.
5. Cut And Fit Around Obstacles
You may need to cut tiles or panels to fit around outlets, windows, or cabinets. Use a tile cutter or saw as needed. Always wear safety glasses.
6. Grout And Seal (for Tiles)
Once the adhesive is set (usually 24 hours), fill the gaps with grout. Wipe off excess grout with a damp sponge. When dry, seal the grout to block water and stains.
7. Seal The Edges
Apply a bead of silicone caulk where the backsplash meets the countertop and around windows or outlets. This stops water from sneaking behind the backsplash.
8. Clean And Inspect
Wipe everything down and check for gaps or loose pieces. Fix any problems right away.
Practical Installation Tips
- Use painter’s tape to protect nearby surfaces.
- If you’re new to DIY, start with small sections or peel-and-stick materials.
- For glass or stone, professional installation is safer and gives a better finish.
Extra Protection: Sealing Gaps And Joints
Even with a great backsplash, water can find its way into tiny cracks and joints. To keep your wall safe:
- Check the seam where the counter meets the wall. This is a common leak point.
- Use 100% silicone caulk (not acrylic) for the best water block.
- Reapply caulk every 1–2 years, or whenever you see cracks or peeling.
A non-obvious tip: Pick a caulk color that matches your counter or wall. This hides any mess and looks professional.
Maintenance: Keep Your Backsplash And Wall Clean
The best protection is regular care. Here’s how to keep your kitchen wall in top shape:
- Wipe after use: Quickly wipe the wall with a soft cloth after washing dishes.
- Clean spills quickly: Don’t let sauce, coffee, or grease sit—these can stain even durable materials.
- Use gentle cleaners: Avoid harsh chemicals or abrasive pads, especially on glass, acrylic, or stone.
- Check for damage: Every month, look for cracks, loose tiles, or peeling caulk.
- Seal grout and stone: For tile or stone backsplashes, seal the grout every 6–12 months to keep water out.
If you see mold or mildew, clean with a mix of water and vinegar, then dry the area well.
Stylish Ways To Protect And Beautify
Protection doesn’t mean boring. The area behind your kitchen sink is a great place to add style and personality.
- Accent tile strip: Use a different color or shape for a decorative band.
- Patterned glass: Try frosted or printed glass for a unique look.
- Metal mosaics: Stainless steel or copper tiles can add shine.
- Bold color panels: Bright acrylic or painted panels make a statement.
- Mix materials: Combine stone and glass or tile and metal for texture.
This is also a smart spot for functional extras, like a magnetic knife rack or a small shelf for soap.
Common Mistakes To Avoid
Even experienced DIYers make errors when protecting kitchen walls. Here are some of the biggest mistakes—and how to avoid them:
- Skipping prep work: Not cleaning or repairing the wall means poor adhesion and future leaks.
- Using the wrong adhesive or caulk: Always match the glue to your material (tile, glass, metal, etc. ).
- Forgetting to seal grout: Unsealed grout is a magnet for stains and mold.
- Ignoring small leaks: Even a little water behind the sink can cause big trouble over time.
- Choosing style over function: Some materials look great but don’t hold up to water or heat. Always check durability first.
- Poor measurement: Bad cuts or short panels leave gaps for water to sneak through.
- Not protecting edges: The sides of your backsplash need caulk or trim to stop water.
A pro tip: Always keep a few spare tiles or panels after installation. If you need to replace a damaged spot later, you’ll have a perfect match.
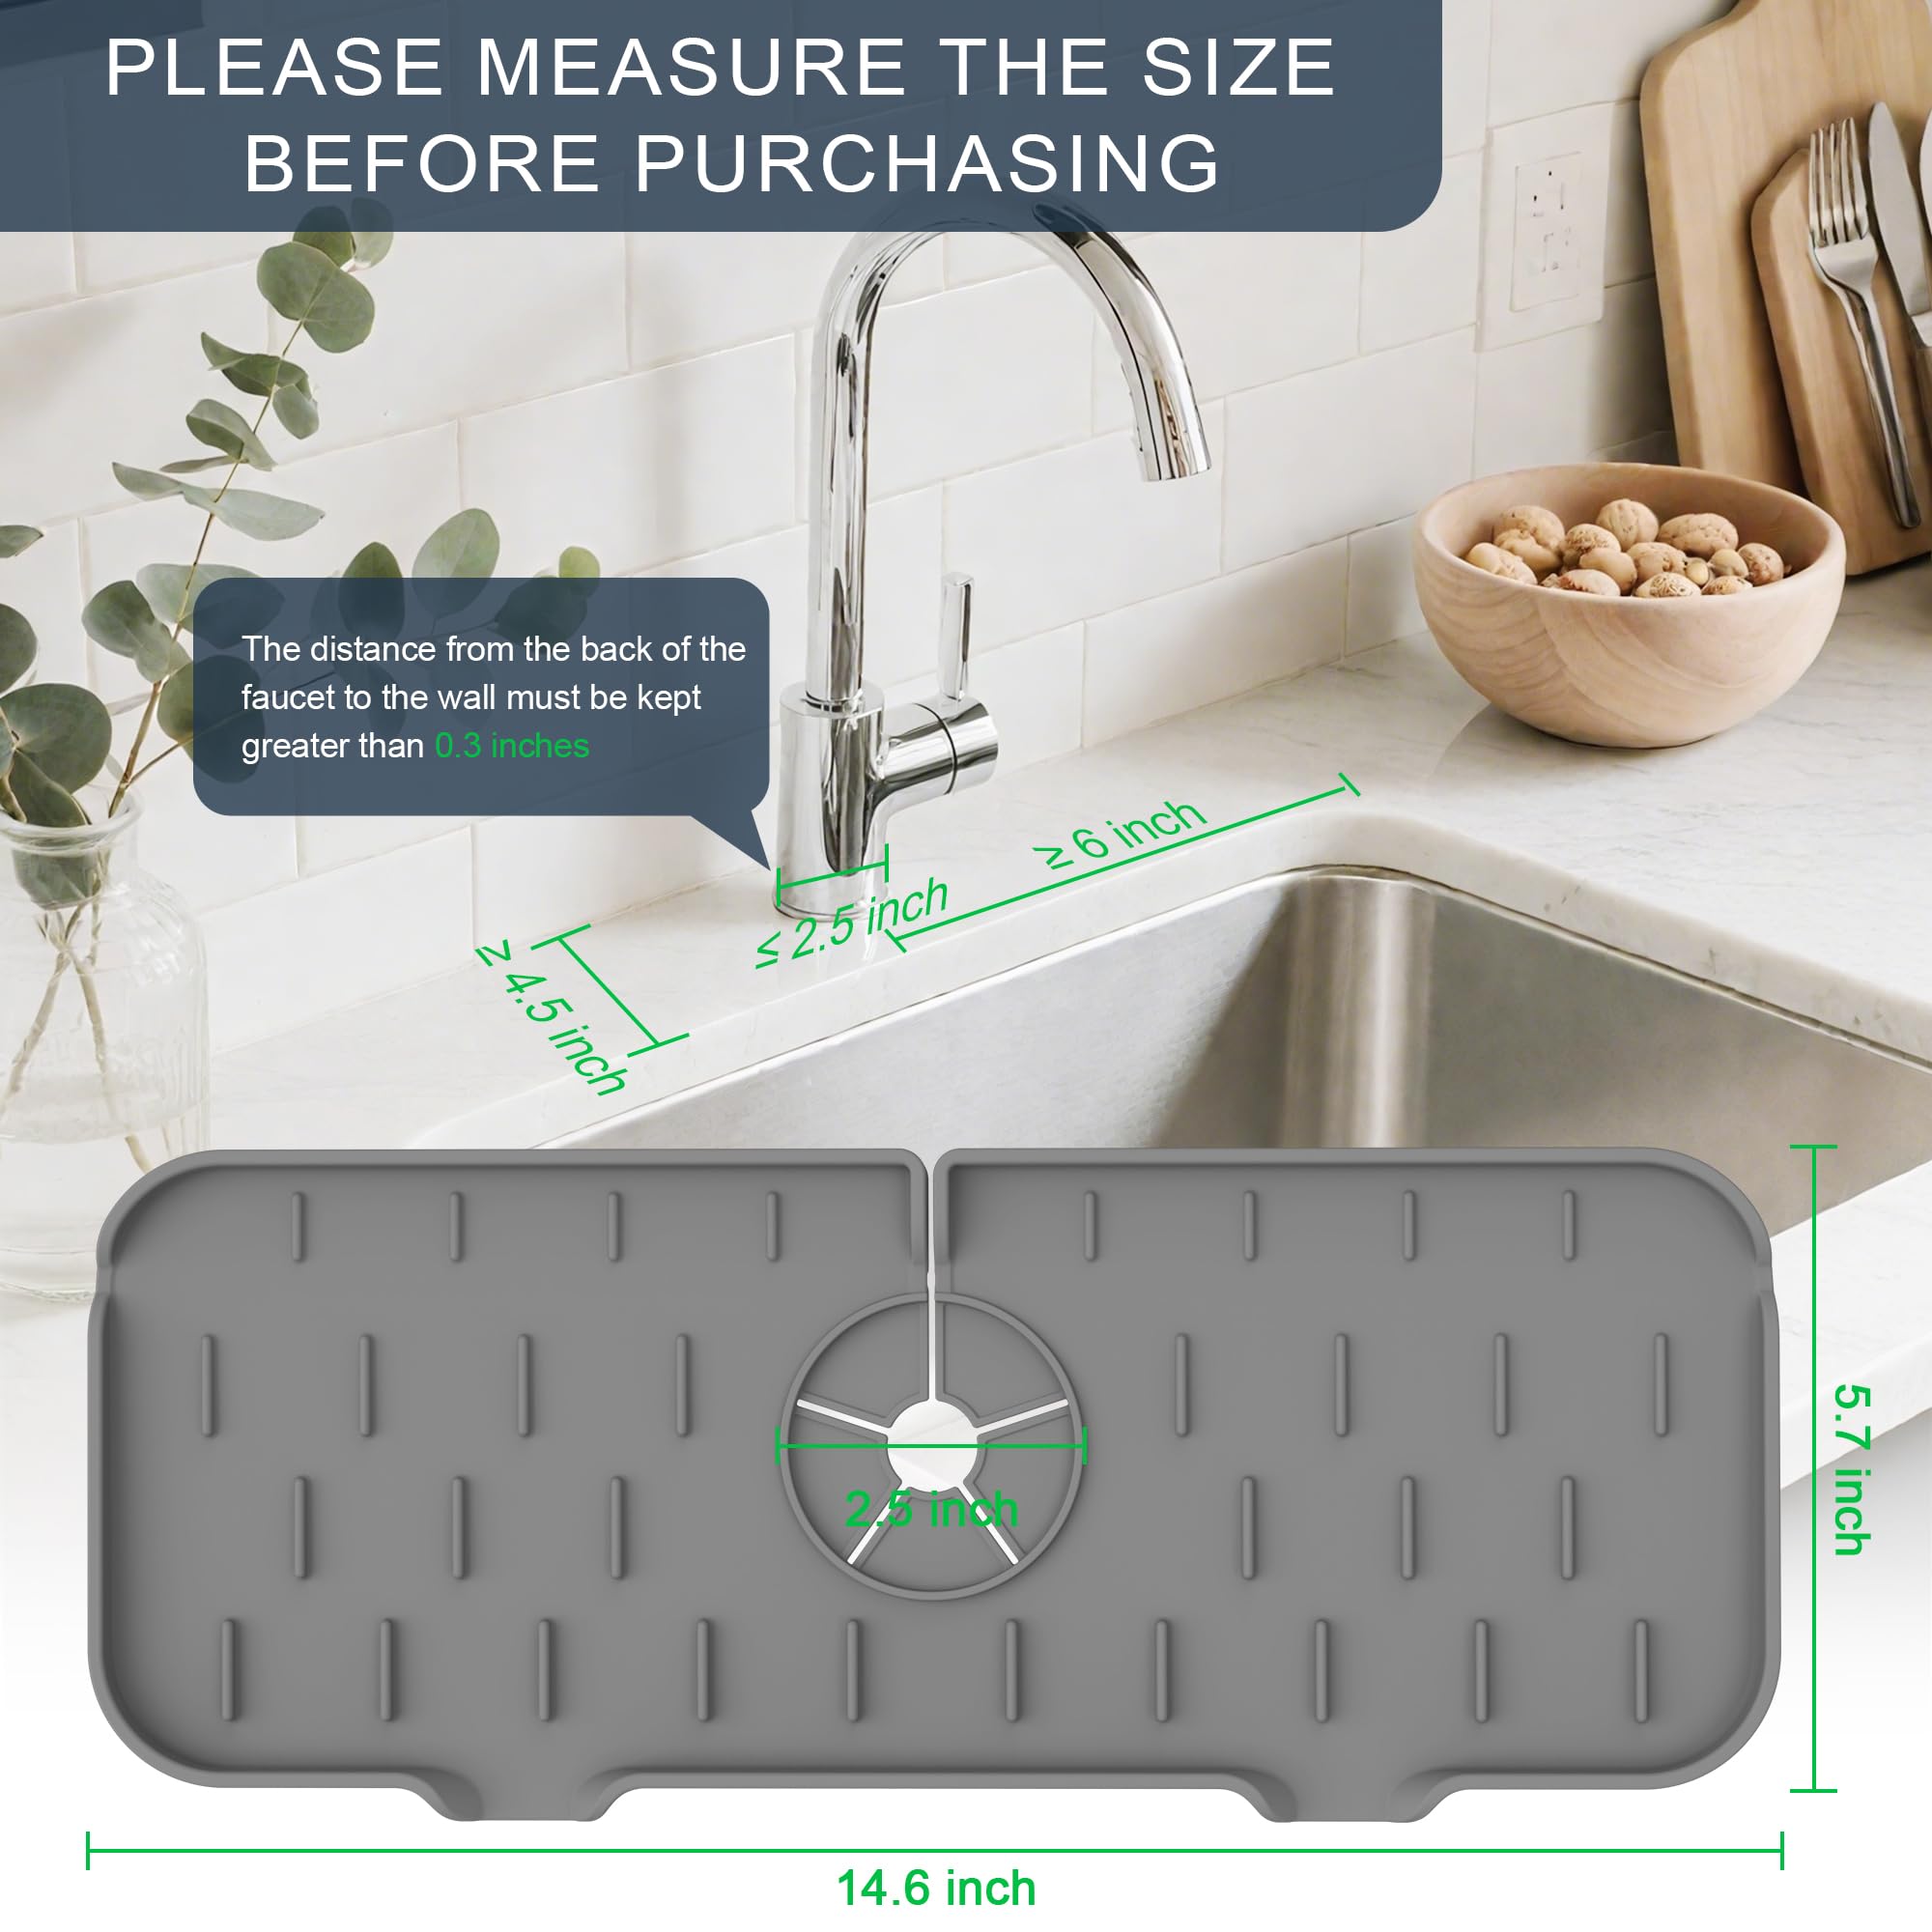
Credit: www.amazon.com
Comparing Quick Fixes Vs. Long-term Solutions
Sometimes you need a fast solution, other times you want lasting protection. Here’s how the options compare:
| Solution Type | Time to Install | Expected Lifespan | Best For |
|---|---|---|---|
| Peel-and-Stick | 1–2 hours | 2–5 years | Renters, quick updates |
| Waterproof Paint | 1–3 hours (+ drying) | 1–3 years | Low-splash areas, temp fix |
| Tile/Glass/Stone | 6–12 hours | 10–30 years | Permanent, high-splash areas |
| Laminate/PVC Panel | 2–4 hours | 5–10 years | Budget remodels |
Special Cases: Protecting Walls In Rental Kitchens
If you rent your home, you may not be able to remodel freely. But you still have options:
- Peel-and-stick panels: Easy to install and remove without damage.
- Removable acrylic sheets: Cut to size and attach with command strips.
- Decorative vinyl film: Adds a water-resistant layer and style.
- Freestanding splash guards: Place behind the sink—no wall attachment needed.
Always check with your landlord before making any changes.
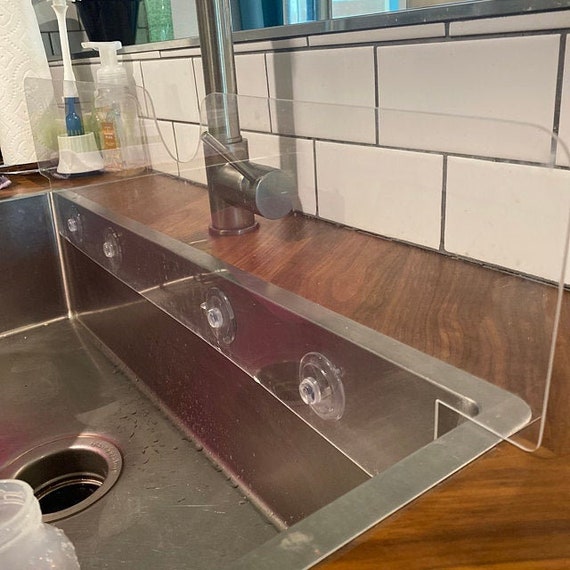
Credit: www.etsy.com
Cost And Value: Is It Worth The Investment?
Protecting the wall behind your kitchen sink isn’t just about looks. It’s a smart investment. Fixing a damaged wall (removing mold, replacing drywall, repainting) can cost $200–$2,000 or more. By spending $50–$500 upfront on a backsplash or panels, you avoid much bigger bills later.
Also, a stylish, well-protected backsplash can add value to your home. Real estate agents say kitchens with modern backsplashes often sell faster and at higher prices.
Advanced: Waterproofing Membranes For High-risk Areas
In kitchens with heavy water use, or in older homes where leaks are common, consider adding a waterproof membrane before installing any backsplash. These are sheets or paints that create a barrier behind your wall covering.
- Sheet membranes: Roll or cut to size and stick to the wall before tiling.
- Liquid membranes: Paint on with a roller—dries to a rubbery, waterproof layer.
This extra step is cheap insurance against hidden leaks.
Real-life Example: Tile Backsplash Transformation
Let’s look at a real-world example. A family with a busy kitchen was tired of repainting the wall behind their sink every year. They chose a classic white subway tile backsplash.
- Cost: About $250 for tiles, adhesive, grout, and tools (for a 10-square-foot area)
- Time: Two afternoons (including drying time)
- Result: The wall now resists water, is easy to wipe clean, and looks stylish. Their next-door neighbor used only waterproof paint and had to repaint twice in three years.
This shows the value of investing in a lasting solution.
Eco-friendly And Health Considerations
If you want a green kitchen, look for:
- Low-VOC adhesives and paints: Better for air quality
- Recycled glass or metal tiles: Good for the environment
- Mold-resistant grout and caulk: Helps keep your kitchen healthy
Also, always ventilate your kitchen while working with adhesives or paints.
When To Call A Professional
DIY projects can save money, but sometimes it’s best to call in an expert:
- You want stone, glass, or large panels installed
- The wall is badly damaged or moldy
- You need electrical outlets moved or plumbing work
- You’re not comfortable using power tools
A pro can do the job faster and often provides a warranty.
Frequently Asked Questions
How High Should A Kitchen Backsplash Be Behind The Sink?
A standard kitchen backsplash is 18 inches high, but behind the sink, many people go up to 24 inches for extra splash protection. Some even cover the entire wall up to the cabinets or window.
Can I Use Peel-and-stick Tiles Behind The Sink?
Yes, peel-and-stick tiles work for light to moderate use, especially in rentals. Make sure the wall is clean and dry before applying. For heavy water or heat, choose higher-quality, waterproof options.
What Is The Easiest Way To Protect The Wall For Renters?
Removable acrylic or plastic panels, peel-and-stick tiles, or even a freestanding splash guard are great. They install without damage and can be removed when you move out.
How Often Should I Reseal Grout Or Caulk?
Check grout and caulk every 6–12 months. Reseal grout with a tile sealer at least once a year. Replace caulk if you see cracks, mold, or peeling.
Is A Tile Backsplash Worth The Cost?
Yes, tile backsplashes offer strong protection, are easy to clean, and add style and value to your home. They cost more upfront but save money on repairs and repainting in the long run. For more ideas, see this Better Homes & Gardens guide.
Protecting the wall behind your kitchen sink doesn’t just keep your kitchen looking good—it also saves you time, money, and stress. With the right materials, smart installation, and a little regular care, you’ll enjoy a durable, clean, and stylish kitchen for years to come.
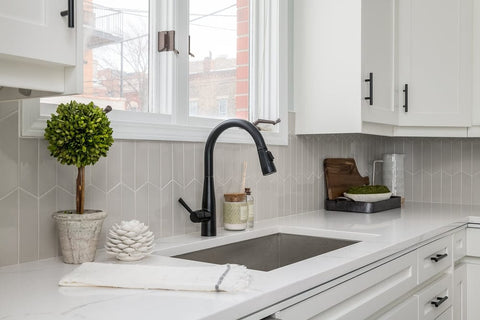
Credit: oasistile.com