
Painting a stove hood can give your kitchen a fresh look without spending a lot of money. Many homeowners ignore the hood, but this small project can transform the feel of your entire cooking space. Whether your hood is old and stained or you simply want a new color, the right approach can make it look new again.
This guide covers every step, from choosing materials to final touches, so even beginners can get excellent results. If you have never painted metal or appliances before, you’ll find practical tips and clear instructions here.
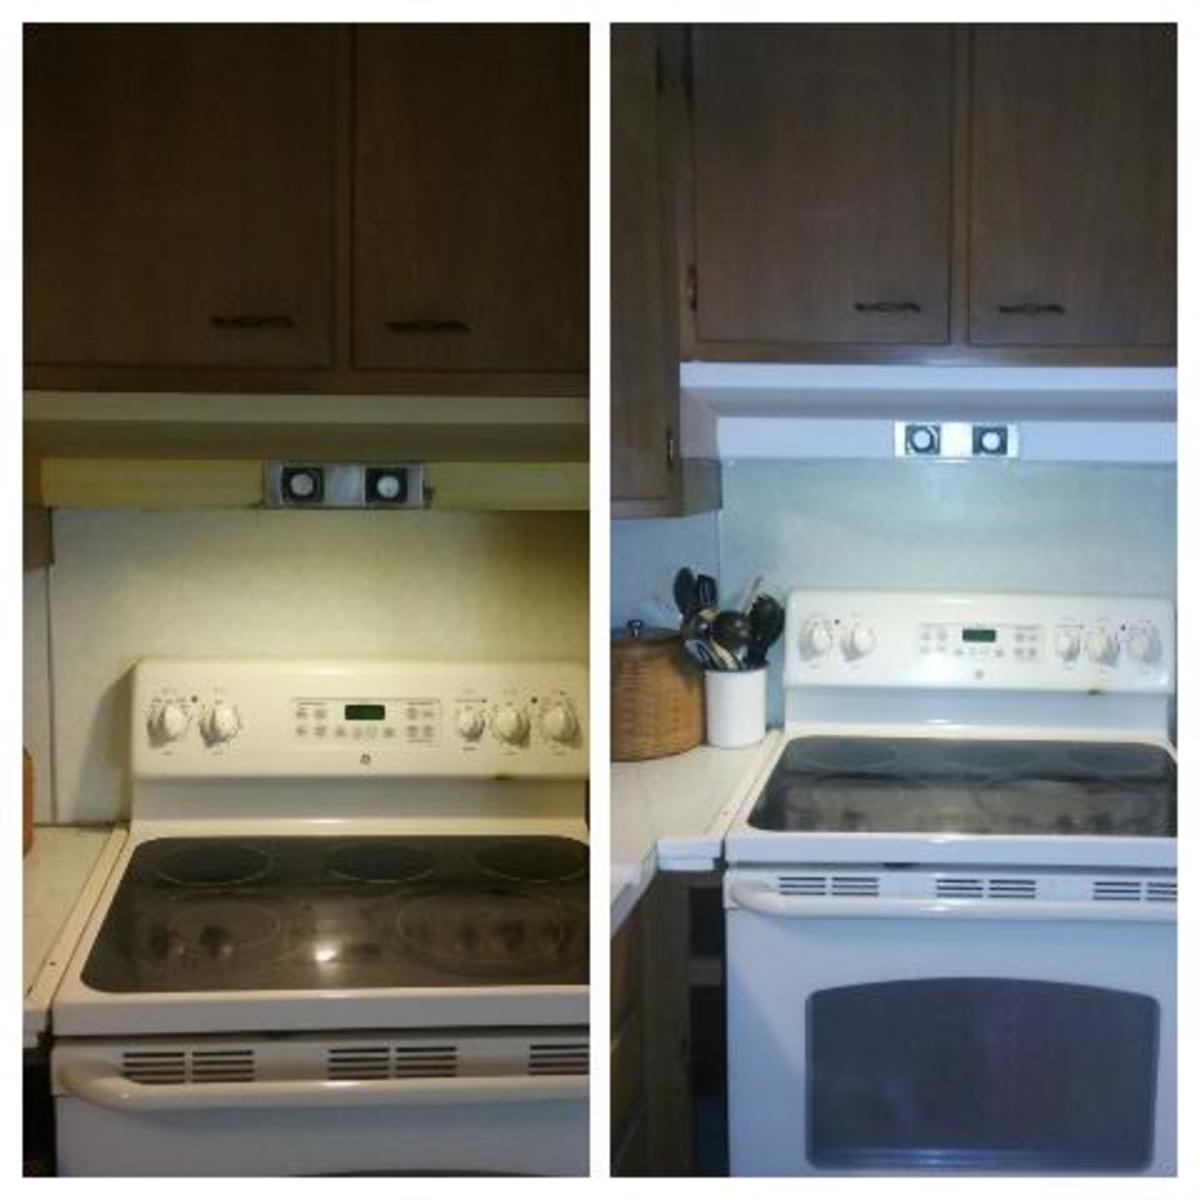
Why Paint Your Stove Hood?
People choose to paint their stove hoods for several reasons. Over time, these hoods collect grease, dust, and even rust. Factory paint can discolor from heat and cooking fumes. Instead of buying a new hood, a fresh coat of paint is a smart, cost-effective upgrade.
Painting also lets you match your hood to new cabinets or appliances. If you love DIY, it’s a satisfying project that can be done in a weekend.
A painted hood can add value to your kitchen and improve air quality if you also clean and repair the hood during the process. It’s also an eco-friendly choice because you reuse instead of replace. Some people worry about paint fumes or durability, but with the right products and preparation, a painted hood can look professional and last for years.
What To Consider Before Painting
Before you start, think about these important points:
- Type of Hood Material: Most stove hoods are metal (stainless steel or aluminum), but some are powder-coated or even plastic. Each surface needs different prep and paint.
- Heat Exposure: The hood sits above your stove, so it gets hot and oily. You need a paint that resists both heat and grease.
- Kitchen Use: If you cook daily, plan for downtime. You’ll need to let each coat dry fully before using your stove again.
- Ventilation: Painting indoors means strong fumes. Good airflow is essential for safety and drying.
- Color Choice: Lighter colors show stains; darker colors can make the hood stand out. Think about your overall kitchen style.
Tools And Materials You’ll Need
Gather all your supplies before starting. Having everything ready prevents mistakes and saves time. Here is a list of what you will need:
- Degreaser or strong kitchen cleaner
- Screwdriver (to remove the hood if needed)
- Painter’s tape
- Plastic sheeting or drop cloths
- Fine-grit sandpaper (220-320 grit is best)
- Tack cloth (for removing dust)
- High-heat primer (if your hood is bare metal or rusted)
- High-heat appliance paint (spray or brush-on)
- Paint tray and small foam roller (if using brush-on paint)
- Respirator mask and gloves
- Lint-free cloths
- Small brush for details
- Screws or containers for hardware
If you are unsure about what paint to choose, look for labels that say high-heat or appliance-safe. These paints resist temperatures up to 200°F or more, which is enough for most kitchen hoods.
Choosing The Right Paint
Not all paints are safe for stove hoods. Regular wall paint will peel and discolor quickly. You need a product designed to withstand heat, grease, and regular cleaning. There are two main types:
- High-heat spray paint: Fast, easy, and gives a smooth finish. Great for metal hoods.
- Appliance epoxy paint: More durable, available in spray or brush-on. Best for heavy use.
Here’s a quick look at some popular paint types:
| Paint Type | Finish | Heat Resistance | Best For |
|---|---|---|---|
| High-Heat Spray Paint | Satin/Gloss | Up to 1200°F | Metal hoods |
| Appliance Epoxy | Gloss | Up to 200°F | Metal/plastic hoods |
| Chalkboard Paint | Matte | Up to 180°F | Low-heat, decorative use |
Spray paint gives a factory-like finish but must be used in a well-ventilated area, ideally outdoors. Brush-on paint is easier for small spaces, but streaks can show if you use the wrong roller.
Pro Tip: If your hood is stainless steel, clear coat spray can help seal and protect the new color.
How To Prepare Your Stove Hood
Preparation is the most important step. Paint sticks best to a clean, smooth surface. Skipping prep leads to peeling, bubbling, and poor results. Here’s how to get your hood ready:
1. Remove The Hood (if Possible)
Unplug the hood or turn off the breaker. Remove screws with your screwdriver. Take photos of wiring if you need to reconnect later. Place screws in a small container so you don’t lose them. If you can’t remove the hood, tape plastic sheeting around the stove and nearby cabinets.
2. Clean Off Grease And Grime
Stove hoods collect sticky residue. Spray a degreaser or strong kitchen cleaner on all surfaces. Scrub with a sponge or brush. Rinse with water and let dry. Repeat if you see any oily spots.
3. Sand The Surface
Use fine-grit sandpaper to roughen the surface. This step is key for good paint adhesion. Focus on glossy or rusty areas. Wipe away dust with a tack cloth. If your hood is rusty, sand until you see clean metal.
4. Tape And Protect Surroundings
Tape off any buttons, lights, or areas you don’t want to paint. Cover the stove, backsplash, and counters with plastic sheeting or drop cloths. Paint overspray can travel farther than you think.
5. Ventilate The Area
Open windows and use fans to move air out. Wear a respirator mask to protect yourself from fumes.
Priming: When And How To Do It
Primer helps paint stick and lasts longer. Use a high-heat primer if:
- Your hood is bare metal
- You sanded off old paint
- There are rust spots
Spray or brush on a thin, even coat. Let it dry completely (check the can for times, usually 30-60 minutes). Sand lightly and wipe with a tack cloth before painting. If your hood is already painted and in good shape, you may be able to skip this step, but primer always helps with durability.
Credit: discover.hubpages.com
How To Paint A Stove Hood: Step-by-step
Now you’re ready to paint. Take your time and follow each step for a pro-level result.
Step 1: Shake Or Mix The Paint
If using spray paint, shake the can for 2-3 minutes. If using brush-on paint, stir well. This ensures even color and texture.
Step 2: Apply The First Coat
Hold spray paint 8-10 inches from the surface. Spray in light, sweeping motions. For brush-on paint, use a small foam roller for flat areas and a brush for corners. Avoid thick coats; they will drip or sag.
Let the first coat dry for the time listed on the can (usually 20-60 minutes).
Step 3: Inspect And Sand
Check for drips or uneven spots. Sand lightly if needed, then wipe with a tack cloth. This step is easy to miss but gives a smooth finish.
Step 4: Apply Additional Coats
Apply 2-3 thin coats for best coverage. Let each coat dry before adding the next. Most paints reach full color and durability after 3 coats.
Step 5: Dry And Cure
Let the paint dry at least 24 hours before touching or reinstalling the hood. Some paints require up to 7 days to reach full hardness (“cure”). Avoid cooking or heavy cleaning during this time.
Step 6: Reinstall The Hood
Reconnect wires and screws. Wipe away any fingerprints with a lint-free cloth. Remove painter’s tape and plastic sheeting.
Step 7: Final Touches
Check for missed spots. Touch up with a small brush if needed. Clean up your tools and enjoy your new look!
Comparison: Spray Paint Vs. Brush-on Paint
Choosing between spray and brush-on paint can be confusing. Here’s a side-by-side look at their pros and cons:
| Feature | Spray Paint | Brush-On Paint |
|---|---|---|
| Finish Quality | Very smooth | Can show brush marks |
| Ease of Use | Quick, but messy | Slower, more control |
| Ventilation Needs | High (more fumes) | Moderate |
| Cleanup | Easy (throw away can) | Need to wash brushes |
| Coverage | Good for flat surfaces | Better for corners |
Pro Insight: Many beginners think spray paint is always better. But in small kitchens, brush-on paint is less messy and easier to control. For large, flat hoods, spray gives a factory finish.

Credit: www.youtube.com
Common Mistakes And How To Avoid Them
Even experienced DIYers make errors when painting appliances. Here are mistakes to watch for:
- Skipping cleaning: Paint won’t stick to grease.
- Not sanding: Glossy or smooth surfaces cause peeling.
- Too thick coats: Leads to drips and long drying times.
- Poor ventilation: Fumes can be harmful and slow drying.
- Rushing drying times: Paint needs time to cure for durability.
- Ignoring hardware: Painting over screws or filters makes repairs hard later.
- Wrong paint type: Regular paints can melt or discolor.
Take your time and follow the steps in order. If you make a mistake, let the paint dry, sand lightly, and repaint.
Maintenance After Painting
A painted stove hood is tough, but it still needs care. Here’s how to keep it looking great:
- Clean with a soft, damp cloth. Avoid abrasive sponges.
- Use mild soap. Strong chemicals can damage the paint.
- Wipe splatters quickly to prevent stains.
- Check for chips or scratches and touch up as needed.
- Don’t use the hood until fully cured (check the paint can for times).
If you see peeling, gently sand and repaint that area with the same process.
Ideas For Customizing Your Stove Hood
Painting is just the beginning. You can personalize your hood even more:
- Add a metallic accent. Use gold or silver paint for a modern look.
- Stencil patterns. Tape on a stencil and spray over for a unique design.
- Two-tone colors. Paint the top and bottom different shades.
- Chalkboard paint. Write recipes or notes directly on your hood.
- Protective clear coat. Adds shine and makes cleaning easier.
When customizing, always use products safe for high-heat areas.
Safety Tips For Painting Appliances
Working with paints and primers requires care. Here are some safety basics:
- Wear a respirator mask. Paint fumes can be dangerous indoors.
- Use gloves to protect your skin from chemicals.
- Keep children and pets away until the project is finished.
- Never paint a hot hood. Wait until it is completely cool.
- Dispose of paint cans properly. Follow local rules for hazardous waste.
If you feel dizzy or smell strong fumes, open windows and leave the area.

Credit: www.houseonasugarhill.com
Painting A Rusty Stove Hood
Rust can be a real challenge, but it doesn’t mean you need a new hood. Here’s how to handle it:
- Sand off all rust until you see clean, shiny metal.
- Apply a rust-inhibiting primer. This prevents more rust from forming.
- Paint as usual with high-heat paint.
If the rust is severe (holes or flaking metal), replacement might be safer. For light rust, these steps restore both looks and safety.
Cost And Time Estimates
Painting a stove hood is affordable compared to replacing it. Here’s what you can expect:
- Supplies cost: $30–$70 (paint, primer, sandpaper, etc.)
- Time needed: 1–2 days (including drying time)
- Skill level: Beginner to intermediate
If you hire a professional, costs can be $150–$400. DIY saves money and gives you control over the result.
Real-world Example
Lisa, a homeowner in Ohio, wanted to update her kitchen but had a limited budget. Her stove hood was yellowed and greasy but worked fine. She spent $45 on supplies and followed the steps above. After a weekend of cleaning, sanding, and painting with appliance epoxy, her hood looked brand new. She matched the color to her refrigerator for a coordinated look. Her advice: “Don’t rush the sanding—it makes all the difference.”
Paint Brands To Consider
Many brands offer high-heat or appliance paints. Some popular choices are:
- Rust-Oleum High Heat
- Krylon Appliance Epoxy
- Valspar Appliance Enamel
- Seymour High-Temp Spray
Read reviews and choose one that matches your needs. Always buy a little extra for touch-ups.
When To Replace Instead Of Paint
Sometimes, painting is not enough. Consider replacing your hood if:
- The fan or light no longer works
- There is large-scale rust or holes
- You smell burning plastic or see exposed wires
- The hood is warped or bent out of shape
Painting covers cosmetic problems but not mechanical issues. If you’re unsure, consult a professional.
Environmental Impact
Repainting instead of replacing your stove hood helps the planet. It reduces landfill waste and saves the energy used to make new appliances. Choose low-VOC (volatile organic compounds) paints when possible for better air quality. Properly dispose of any leftover paint and used materials according to local guidelines. For more information on paint safety and disposal, see this EPA resource.
Frequently Asked Questions
How Long Does Painted Stove Hood Paint Last?
With proper prep and high-quality paint, a painted hood can last 5–10 years. Durability depends on cleaning habits and cooking frequency. Touch up chips promptly to prevent peeling.
Can I Paint A Stainless Steel Stove Hood?
Yes, but you must sand the surface and use a primer designed for metal. Stainless steel is very smooth, so good prep is critical for paint to stick.
Is Spray Paint Safe For Kitchen Appliances?
High-heat spray paints made for appliances are safe. Never use regular craft or wall spray paints. Always check the label for heat resistance.
How Do I Clean A Painted Stove Hood?
Use a soft, damp cloth and mild soap. Avoid scrubbing with abrasive pads or using harsh chemicals. Quick cleaning after spills helps keep the paint looking new.
What If I Want To Change The Color Again In The Future?
You can repaint over your old color by cleaning, sanding, and priming as before. Lighter colors may need more coats to cover a dark base.
A painted stove hood gives your kitchen a fresh look for a fraction of the cost of a new appliance. With care and patience, even beginners can get pro-quality results. The key is careful preparation, the right materials, and a steady hand.
Enjoy your “new” kitchen centerpiece—and the satisfaction of a job well done.