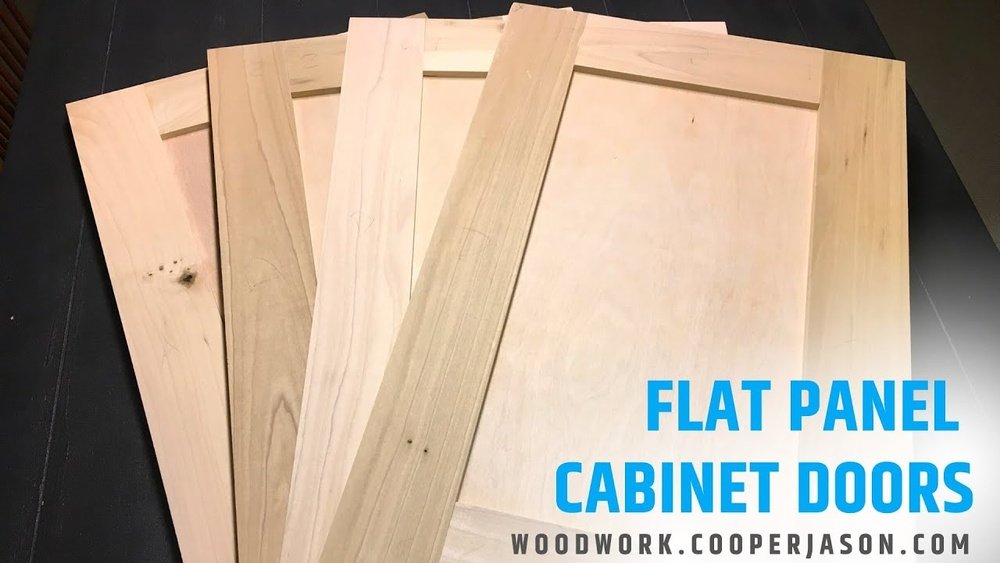
Making flat panel cabinet doors can transform the look of your kitchen or furniture. These doors are popular because they bring a modern, clean style. Many homeowners and woodworkers choose flat panel doors for their simplicity, smooth lines, and the way they work with almost any decor.
If you’ve ever wondered how to make flat panel cabinet doors yourself, you are in the right place. This guide will walk you through every step, from choosing materials to finishing and installing your doors. Whether you are new to woodworking or have some experience, you’ll find practical advice, detailed instructions, and a few insights that even skilled DIYers sometimes overlook.
Understanding Flat Panel Cabinet Doors
Flat panel cabinet doors are also known as shaker doors or slab doors. Unlike raised panel doors, flat panel doors have a completely smooth center. This style is easy to clean and offers a timeless look. There are two main types:
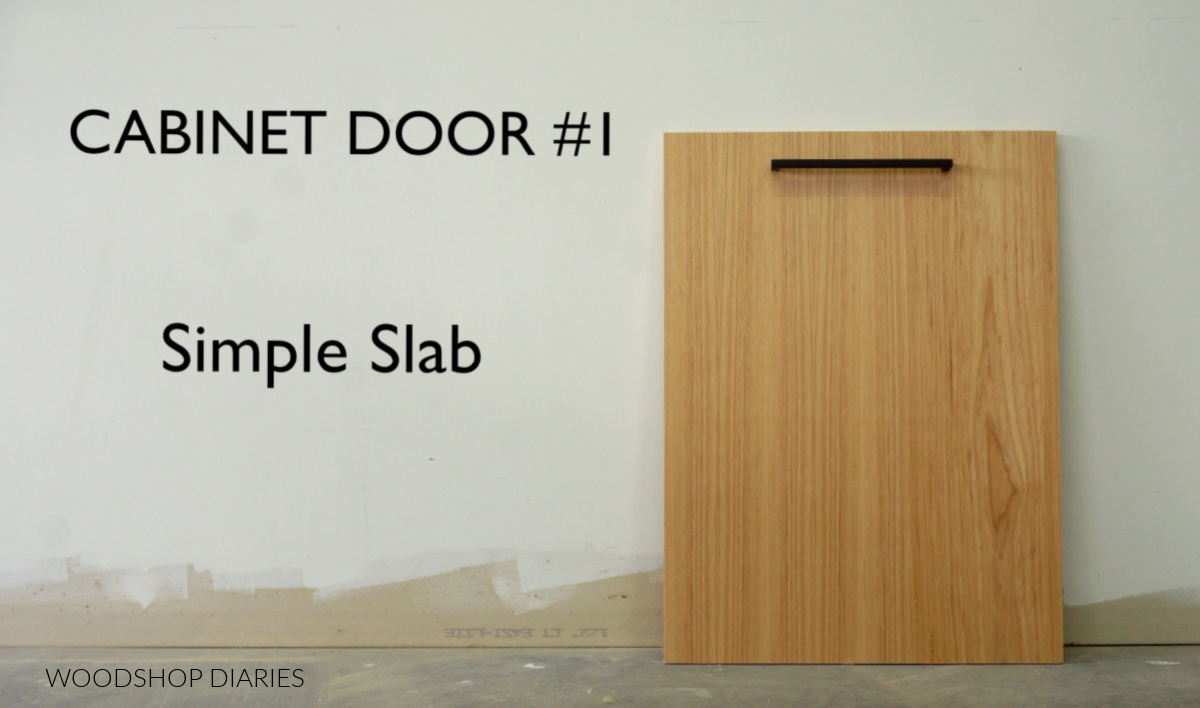
- Slab doors: Made from a single piece of wood or plywood.
- Frame-and-panel doors: Built with a wood frame around a flat center panel.
Most people prefer frame-and-panel construction for durability and stability, especially in larger doors. Understanding the difference will help you decide which type fits your needs and skill level.
Extra Detail: Frame-and-panel doors are less likely to warp over time because the panel is allowed to “float” inside the frame. This design absorbs seasonal wood movement, which is important in kitchens or bathrooms where humidity changes.
Example: A slab door is quick to make and looks very sleek, but if you have wide cabinet doors, a frame-and-panel will be stronger and less likely to bow in the middle.
Planning Your Project
Before picking up any tools, you need a clear plan. This will save time, money, and frustration.
Measure Carefully
Start by measuring the openings of your cabinets. Flat panel doors usually overlay the cabinet opening by about 1/2 inch on each side, but check your hardware’s recommendations. Write down the height and width for every door you need.
Practical Tip: Measure each cabinet opening separately—older cabinets are often not perfectly square, and measurements can vary even in the same kitchen.
Decide On Overlay Style
There are three common overlay styles:
- Full overlay: Doors cover almost the entire cabinet face.
- Partial overlay: Doors cover part of the face.
- Inset: Doors fit inside the cabinet frame.
Full overlay is the most popular for flat panel doors, giving a sleek, seamless look.
Extra Insight: Inset doors are harder to make because they need very precise sizing to fit inside the cabinet frame. Full overlay lets you hide small errors and looks more modern.
Make A Materials List
The main materials you’ll need:
- Wood for frames: Maple, poplar, and birch are common.
- Panel material: MDF (medium-density fiberboard), plywood, or hardwood.
- Wood glue
- Finish nails or brad nails
Also, list any hardware (hinges, handles) and finishing products (primer, paint, or clear finish).
Beginner’s Mistake: Forgetting to buy extra sandpaper, glue, or clamps can slow down your project. Double-check your list before heading to the store.
Budgeting Your Project
Here’s an average breakdown for a small kitchen (ten doors):
| Item | Estimated Cost (USD) |
|---|---|
| Hardwood (Frames) | $60 – $120 |
| MDF/Plywood (Panels) | $30 – $60 |
| Glue/Nails | $10 – $20 |
| Finishing Supplies | $30 – $70 |
| Hardware | $40 – $100 |
Tip: Buying wood in longer lengths and cutting yourself is cheaper than custom sizes. Try to buy all your wood from the same batch for consistent color and grain.
Extra Detail: If you plan to paint your doors, you can use less expensive wood for the frame (like poplar) since the paint will cover the grain and color.
Choosing Materials For Flat Panel Doors
Your choice of material will affect durability, cost, and the look of your doors.
Frame Material
Solid hardwood is the best choice for the frame. It resists warping and takes paint or stain well. Poplar is affordable, easy to work with, and paints smoothly. Maple and birch are harder and more durable.
Extra Example: If you want a painted look, poplar is perfect. If you want a natural finish that shows off wood grain, maple or birch is better.
Panel Material
- MDF: Very smooth and perfect for painting. It does not warp easily but is heavy.
- Plywood: Stable and lighter than MDF. Look for cabinet-grade plywood for a fine finish.
- Hardwood panels: More expensive, but show natural wood grain and can be stained.
Extra Detail: MDF is best for interior panels, not for use in high-moisture areas like bathrooms unless you use a moisture-resistant grade.
Why Not Use Particle Board?
Avoid particle board. It doesn’t hold screws well and swells with moisture. Flat panel doors need strength at the joints, so stick with MDF or plywood for panels.
Material Comparison Table
| Material | Best For | Cost | Paint/Stain | Durability |
|---|---|---|---|---|
| Poplar | Frames | Low | Paint | Good |
| Maple | Frames | Medium | Paint or Stain | Excellent |
| MDF | Panels | Low | Paint | Good (not water-resistant) |
| Plywood | Panels | Medium | Paint or Stain | Very Good |
Non-Obvious Tip: If you want to stain your doors, use plywood with a veneer that matches your frame wood for a seamless look.
Tools You’ll Need
Having the right tools will make the process smoother and safer. Here’s a practical list:
- Table saw or circular saw
- Miter saw
- Router (with straight and groove bits)
- Clamps (at least 4)
- Measuring tape and square
- Drill and bits
- Random orbit sander or sanding block
- Wood glue
- Brad nailer (optional, for speed)
If you don’t own some of these tools, you can rent them from home improvement stores.
Extra Detail: For beginners, a circular saw with a guide rail can replace a table saw for most cuts. If you’re making many doors, investing in a table saw and router will save time and improve accuracy.
Non-Obvious Insight: Use a digital angle finder or a reliable carpenter’s square to ensure your cuts are exactly 90 degrees. Even small errors in squareness can add up and cause problems during assembly.
Step-by-step Guide: How To Make Flat Panel Cabinet Doors
Let’s break down the process into clear, manageable steps. This guide focuses on frame-and-panel construction, which is the most common and reliable method.
1. Cut The Frame Pieces
Measure and cut the stiles (vertical pieces) and rails (horizontal pieces) for each door. Stiles are usually the full height of the door; rails fit between them.
- Standard frame width: 2 to 2.5 inches
- Cut all stiles to the same length for uniformity
Pro Tip: Make a few extra pieces in case of mistakes.
Example: If you need 10 doors, cut at least 22 stiles and 22 rails, plus 2-3 extra of each.
2. Cut The Panel
Cut your panel material (MDF or plywood) to fit inside the frame. The panel should be about 1/4 inch smaller in both height and width than the inside opening to allow for movement.
Panel thickness: 1/4 inch is standard, but 3/8 inch works for larger doors.
Practical Tip: Mark the front side of the panel if your material has a better face. This ensures the best side is visible after assembly.
3. Create Grooves In Frame Pieces
Use a router or table saw to cut a groove (rabbet) along the inside edge of each frame piece. This groove will hold the panel.
- Groove width: 1/4 inch
- Groove depth: 3/8 inch
Beginner Insight: Make test cuts on scrap wood to dial in the groove width before working on your actual pieces.
Extra Detail: If you use a router, set up a simple fence and use a straight bit for a consistent groove. For table saws, set your blade height and fence distance carefully, and use a featherboard for safety.
4. Cut The Ends (rails) To Fit
After grooving, cut the ends of your rails so that, when assembled, the total door width is correct. Rails fit inside the grooves of the stiles.
Non-Obvious Tip: Mark each rail and stile with their location (top, bottom, left, right) to avoid mixing them up later.
5. Dry Fit Everything
Without glue, assemble the frame and insert the panel. Check for square corners and correct sizing. Adjust as needed.
Common Mistake: Skipping this dry fit step can lead to misaligned doors and wasted materials.
Practical Tip: Lay your door on a perfectly flat surface during dry fit. If the frame rocks or doesn’t lie flat, check your cuts for accuracy before gluing.
6. Glue And Assemble The Door
Apply wood glue to the joints of the frame (not the panel edges, so the panel can expand). Assemble the frame around the panel, clamp firmly, and check for square. If you want extra strength, use brad nails through the frame corners.
Non-Obvious Tip: Do not glue the panel inside the grooves. Wood expands and contracts; gluing the panel will cause cracks over time.
Extra Detail: Use a damp cloth to clean any excess glue before it dries, especially in corners and on visible surfaces.
7. Let The Glue Dry
Leave the door clamped for at least 30 minutes (check your glue’s instructions). Once dry, remove the clamps.
Extra Tip: Let the doors sit for a few hours before further handling, especially if you plan to sand or cut hinge holes.
8. Sand The Door
Start with 120-grit sandpaper, then move to 180 or 220 for a smooth finish. Sand all sides, especially the edges and corners. Remove any excess glue before it hardens.
Extra Example: Run your hand over the surface—if you feel any rough spots or sharp edges, sand them again. Corners should be slightly rounded for safety and to prevent chipping.
9. Drill For Hinges
Mark and drill holes for your chosen hinges. Most cabinet doors use concealed European hinges. Use a jig for consistent placement.
Practical Example: For Euro hinges, the standard hole is 35mm wide and set about 3mm from the door edge. Mark all your doors before drilling to avoid mistakes.
10. Finish The Doors
Choose your finish—paint, stain, or clear coat. If painting, use a quality primer first. If staining, test on scrap pieces to see the final color.
Finishing Tips:
- Apply thin, even coats
- Sand lightly between coats
- Allow each coat to dry fully
Extra Detail: For a really smooth finish, wipe each coat with a tack cloth before applying the next layer. If you’re spraying, practice on a piece of cardboard or scrap wood to get your technique right.
Installing Flat Panel Cabinet Doors
Once your doors are finished and dry, it’s time to install them.
- Attach Hinges: Screw hinges into the pre-drilled holes.
- Mount the Doors: Hold the door in place, line it up, and mark screw locations on the cabinet.
- Adjust for Fit: Use the adjustment screws on European hinges to get perfect alignment.
- Install Handles or Knobs: Mark locations for hardware, drill holes, and attach.
Hidden Insight: Always install the upper hinge first. This supports the door’s weight while you attach the lower hinge.
Extra Tip: After mounting, open and close the doors several times to check for smooth operation and make small adjustments if needed. If doors rub or bind, tweak the hinge settings or sand the edges slightly.
Credit: www.woodshopdiaries.com
Customizing Flat Panel Doors
Flat panel doors are a blank canvas. Here are a few ways to make them unique:
- Add edge profiles: Use a router to create subtle designs on the frame.
- Mix materials: Use glass or metal panels for a modern twist.
- Paint bold colors: Don’t be afraid to go beyond white or gray.
- Add decorative hardware: Handles and pulls make a big difference.
Example: Frosted glass panels work well for upper cabinets, while lower cabinets can have wood panels for privacy and strength.
Extra Detail: You can also add thin strips of molding to the face for a more custom look, or use two-tone paint finishes for contrast.
Maintenance And Longevity
Flat panel doors are easy to care for, but a few habits will keep them looking new:
- Wipe spills quickly to avoid water damage.
- Clean with a damp cloth—avoid harsh chemicals.
- Check hinges and tighten screws yearly.
With proper care, these doors can last for decades.
Extra Tip: Every few months, add a drop of oil to hinges if they start to squeak. This prevents wear and keeps the doors operating smoothly.
Common Mistakes To Avoid
Even experienced woodworkers can make errors. Watch out for these:
- Not allowing for wood movement: Always leave a 1/8 inch gap around panels inside the frame.
- Skipping the dry fit: This leads to misaligned or twisted doors.
- Poor sanding: Rushing sanding leaves rough spots that show after painting.
- Overusing nails: Too many nails can split the frame.
Extra Example: If your workshop is humid, wood can swell after cutting. Let your doors sit for a day before final fitting, and adjust as needed.
Troubleshooting: Fixing Issues
Sometimes things don’t go as planned. Here’s how to fix common problems:
- Door warps after finishing: This usually means moisture imbalance. Let the door dry flat for several days. If it doesn’t flatten, you may need to remake the door.
- Panel rattles: Add a tiny dab of silicone caulk inside the groove at the center of each side. This holds the panel but lets it move.
- Gaps at corners: Fill small gaps with wood filler before painting.
Extra Detail: If the paint or finish looks uneven, sand lightly and apply another coat. For sticking doors, check for high spots and sand them down carefully.
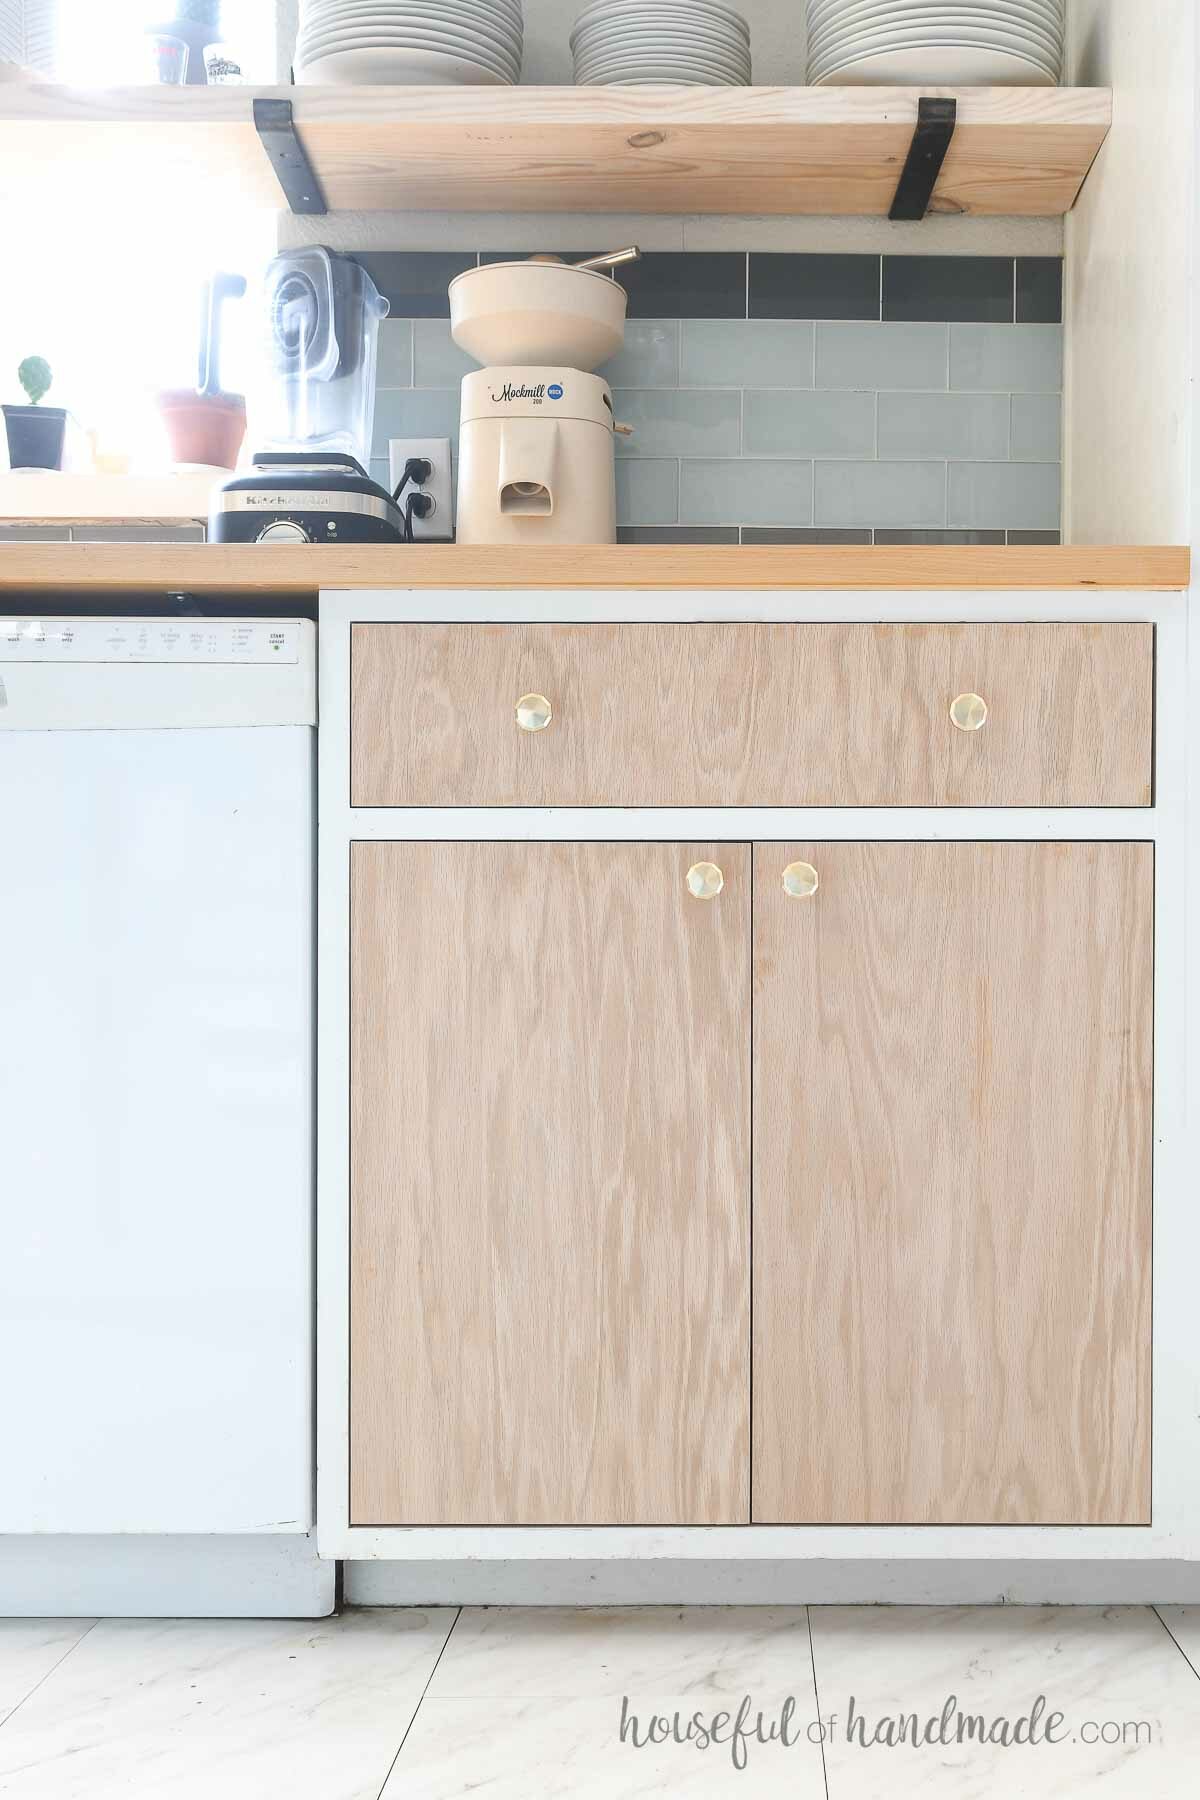
Credit: housefulofhandmade.com
Real-world Example: Kitchen Makeover
Let’s say you want to upgrade a standard 10-cabinet kitchen. You measure, build, and paint new flat panel doors. The total cost for materials and hardware is about $280. A similar upgrade from a cabinet company could cost over $1,500.
With careful planning, you can save money and get a custom look.
Extra Example: One homeowner replaced only the doors and hardware, kept the cabinet boxes, and updated the kitchen’s look in a weekend. The project took about 18 hours of work for a beginner, but the result looked like a full remodel.
Advanced Tips For Professionals
If you’ve made a few doors and want to step up your game:
- Use pocket screws for extra-strong joints.
- Try tongue-and-groove joinery for a more traditional look.
- Edge band panels with solid wood strips if you want to stain plywood.
- Spray finishes for a factory-smooth surface.
These techniques require more tools and skill, but deliver a higher-end result.
Extra Detail: For very large doors, consider adding a center rail for extra support. This helps prevent sagging over time.
Environmental Considerations
Using FSC-certified wood or low-formaldehyde MDF can make your project greener. Water-based finishes are safer for you and the environment. Replacing doors instead of full cabinets reduces waste.
For further reading on sustainable wood choices, check out EPA’s Green Home Guide.
Extra Example: Salvage old cabinet doors for parts—sometimes you can reuse stiles, rails, or even hinges to reduce material costs and environmental impact.
Cost Comparison: Diy Vs Buying
How much can you really save by making your own flat panel cabinet doors? Here’s a quick look:
| Option | Average Cost per Door | Customization | Time Required |
|---|---|---|---|
| DIY (materials only) | $25 – $45 | High | 4-8 hours (per kitchen) |
| Custom Cabinet Shop | $60 – $120 | Very High | 2-6 weeks (lead time) |
| Big Box Store (premade) | $40 – $85 | Low | 1-2 weeks |
Extra Detail: DIY takes more time, but you can match colors and sizes exactly to your needs—something that’s hard to get from store-bought doors.
Safety Tips
Working with wood and power tools requires attention to safety:
- Always wear eye and ear protection
- Use dust masks when sanding or cutting MDF
- Keep your work area clean and well-lit
- Unplug tools before changing blades or bits
Extra Tip: Keep a first-aid kit nearby. Small cuts and splinters are common, especially when handling raw wood.
Upgrading Existing Doors To Flat Panel
If you have old raised-panel doors, you might be able to reuse the frames. Remove the center panel and replace it with a flat MDF or plywood piece. This is a clever way to save time and materials.
Extra Example: Some older doors have glued-in panels. Use a chisel or multi-tool to carefully free the panel, then insert and secure your new flat panel.
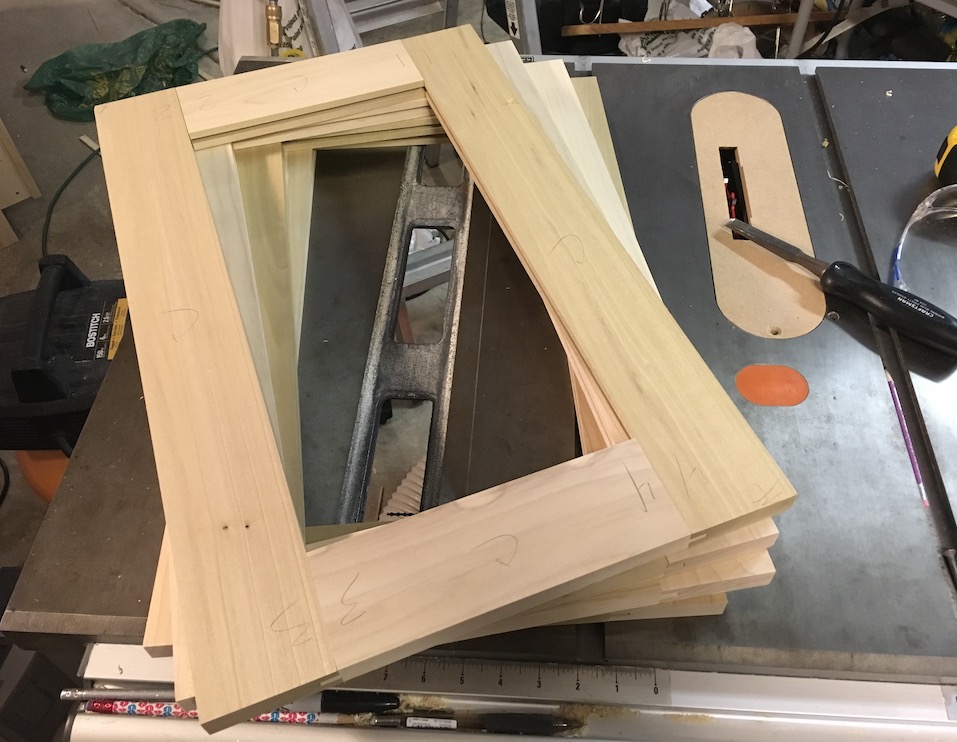
Credit: woodwork.cooperjason.com
Flat Panel Doors In Different Styles
Flat panel doors suit many styles:
- Modern: Plain slab doors with hidden hardware
- Farmhouse: Shaker doors painted white or soft colors
- Industrial: Mix wood frames with metal panels or dark finishes
- Scandinavian: Light woods, simple handles
Choose colors and hardware that match your home’s personality.
Extra Detail: For a vintage look, distress the paint slightly or use antique-style handles. For ultra-modern, stick to simple lines and matte finishes.
Non-obvious Insights For Success
- Humidity control matters: Store your wood indoors for at least a week before building. This prevents warping after installation.
- Test your finish: Always finish a sample board before doing the doors. Lighting and wood color can change the final look.
- Label your parts: When making multiple doors, use painter’s tape to label each piece. This prevents mix-ups.
Extra Insight: If you’re making doors for an entire kitchen, build one door first and install it. This lets you check your measurements and process before committing to all the doors.
Frequently Asked Questions
What Is The Best Wood For Flat Panel Cabinet Doors?
Poplar is great for painted doors because it’s affordable and smooth. For stained doors, choose maple or birch for a beautiful grain.
How Thick Should The Panel Be In A Flat Panel Door?
A 1/4 inch panel is standard for most doors. For larger doors (over 36 inches tall), use 3/8 inch for added strength.
Can I Make Flat Panel Doors Without A Router?
Yes, but a router gives the cleanest grooves. You can use a table saw with a dado blade, or even hand tools if you are experienced.
How Do I Prevent My Cabinet Doors From Warping?
Use well-dried wood and let it acclimate to your house before building. Keep your panel floating (not glued) inside the frame.
What Is The Difference Between Shaker And Slab Doors?
Shaker doors have a frame with a flat center panel. Slab doors are one solid piece, usually MDF or plywood, with no frame.
Making flat panel cabinet doors is a satisfying project that can improve your kitchen or furniture for years to come. With careful planning, the right materials, and attention to detail, you can create doors that look professional and last for decades.
Happy building!