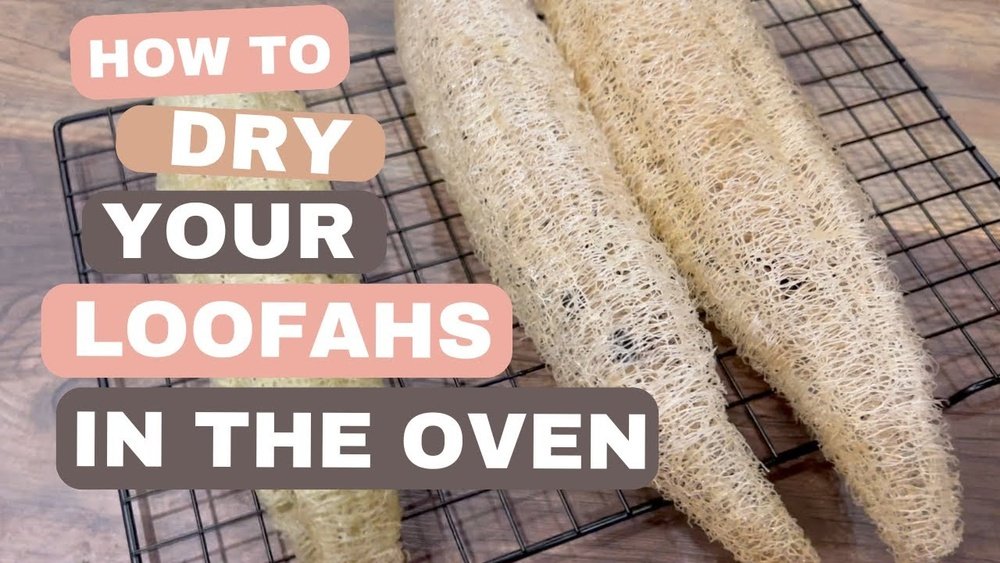
Drying luffa (or loofah) in your oven may sound unusual, but it is a practical way to turn this plant into a natural sponge quickly. Most people think you must leave luffas out in the sun for weeks. However, using your oven can save time, reduce mold risk, and give you a reliable way to prepare luffas even if you have limited space or live in a rainy climate.
This guide explains each step, from harvesting to storing your finished sponges. You’ll discover the best practices, common mistakes, and tips that even experienced gardeners sometimes overlook.
What Is Luffa And Why Dry It?
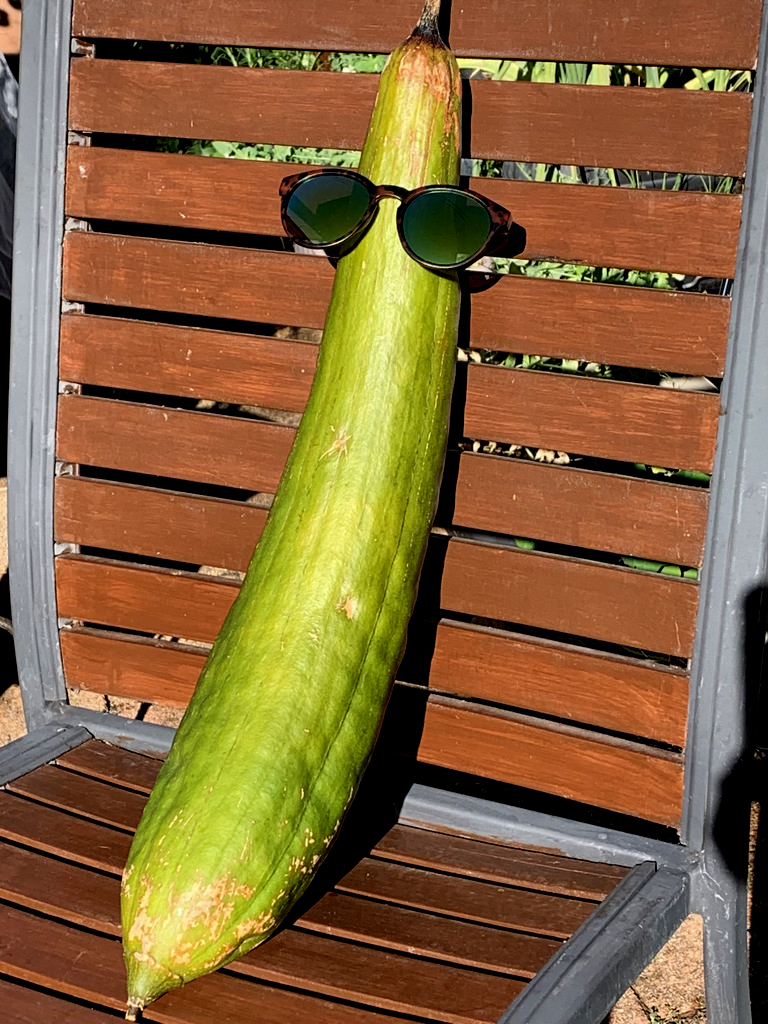
The luffa plant is a type of gourd, related to cucumbers and pumpkins. When young, its fruit is edible, but as it matures, its inside turns fibrous. This fibrous network is what becomes the familiar natural sponge. Drying luffa is necessary to stop mold, firm up the fiber, and make it usable for cleaning, bathing, or crafts.
People dry luffa for several reasons:
- To remove moisture and reduce the chance of rot or mildew.
- To make the fibers stiff enough for scrubbing.
- To store sponges for longer periods.
Drying luffa in the oven can help you control the process and get more consistent results than air drying, especially in humid or cold areas.
Gathering And Preparing Luffa For Oven Drying
Before using your oven, you need to harvest and prep your luffa gourds properly. This preparation stage is critical for good results.
When To Harvest Luffa
Harvest your luffa gourds when their skin turns brown or yellow and feels dry. The gourd will feel light compared to its size, and the skin may start to separate from the inside. If you wait too long, the fiber can become brittle. If you pick too early, the inside may still be mushy.
Here are signs your luffa is ready:
- Color: The outer skin is brown or yellow, with little or no green left.
- Texture: The skin feels dry and papery.
- Sound: Shaking the gourd, you might hear seeds rattle inside.
Tools And Supplies Needed
You won’t need many tools, but having the right ones helps:
- Sharp knife or garden shears
- Gloves (luffa skin can irritate some people)
- Large bowl for soaking
- Spoon or blunt stick for cleaning seeds
- Oven with temperature control
- Baking sheet or wire rack
- Parchment paper (optional)
Peeling And Cleaning
After harvesting, soak the luffa in warm water for 30–60 minutes. This loosens the skin and makes peeling easier. Some people peel dry luffas, but soaking usually gives better results and reduces the mess.
- Cut off both ends of the luffa with a sharp knife.
- Slice the skin lengthwise. Use your fingers to peel it off gently.
- Remove seeds by shaking or tapping the gourd. Use a spoon or blunt stick to push out stubborn seeds.
- Rinse the inside thoroughly to remove any sap or residue.
Tip: Save the seeds for planting next season.
Why Use The Oven For Drying Luffa?
Air drying is traditional, but it comes with drawbacks:
- Takes a week or more.
- Risk of mold in humid weather.
- Insects or animals may damage the gourd.
Oven drying is:
- Faster: Usually takes 1–3 hours.
- Safer: Reduces mold and mildew risks.
- Cleaner: Less exposure to bugs or outdoor contaminants.
However, oven drying requires attention to temperature and timing. Too hot, and you’ll burn the fiber. Too long, and the luffa can become brittle.
Step-by-step Guide: Drying Luffa In The Oven
Drying luffa in your oven is not complicated, but details matter. Here’s how to do it right.
1. Preheat Your Oven
Set your oven to lowest setting, usually between 150–200°F (65–93°C). Some ovens have a “warm” setting—this is ideal. Never use high heat, or you’ll damage the luffa.
2. Arrange Luffa On The Baking Sheet Or Rack
Lay your peeled, cleaned luffa on a baking sheet. For best airflow, use a wire rack placed on the sheet. This lets heat surround the luffa and speeds up drying.
If you have parchment paper, lay it under the luffa. This prevents sticking and makes cleanup easier.
Do not crowd the tray. Space the luffa pieces so air can circulate around each one.
3. Dry In The Oven
Place the tray in the center of the oven. Leave the oven door slightly open (about 1 inch) to let moisture escape. You can use a wooden spoon to keep the door ajar.
Check and turn the luffa every 30 minutes. This ensures even drying and prevents hot spots.
The drying time depends on:
- Oven temperature
- Size of luffa pieces
- Moisture content
A typical range is 1.5 to 3 hours.
4. Test For Doneness
You’ll know your luffa is dry when:
- The fiber feels stiff and crisp, but not brittle.
- No damp or cold spots remain inside.
- The color is light tan or pale brown.
Press with your finger—if it bounces back and feels dry, it’s done.
5. Cool And Store
Remove the luffa from the oven and let it cool on a rack. This prevents condensation, which can add moisture back.
Once cool, store the dried luffa in a breathable bag (like cotton or mesh) in a dry area. Avoid plastic, which can trap moisture and cause mold.
Oven Drying Vs. Air Drying: What’s The Difference?
To help you compare, here’s a look at the main differences between oven and air drying luffa.
| Aspect | Oven Drying | Air Drying |
|---|---|---|
| Time | 1–3 hours | 7–21 days |
| Mold Risk | Low | High (in humid climates) |
| Effort | Medium (needs checking) | Low (but must wait) |
| Result Consistency | Very consistent | Can be uneven |
| Best For | Urban/indoor drying, wet climates | Dry, sunny, outdoor spaces |
Insight: Oven drying produces more uniform results and is safer in areas where air drying is not practical.
Cutting, Shaping, And Using Dried Luffa
Once your luffa is dry, you can customize it for different uses.
Cutting Luffa
Use sharp scissors or a knife to cut the luffa into:
- Rounds (1–2 inch thick): Good for facial scrubs or small cleaning pads.
- Long pieces: For dish sponges or body scrubbers.
- Strips or cubes: For crafts or soap making.
Removing Remaining Seeds
Sometimes, a few seeds stay trapped inside. Tap the luffa on a hard surface or use tweezers to remove them. Seeds left in the sponge can rot over time.
Shaping And Softening
If the luffa feels too stiff, soak it in warm water for 10 minutes before use. For softer sponges, you can gently knead the luffa while wet, then let it air dry.
Note: Luffa is naturally rough. If you want a softer texture, rub the dried sponge between your hands to knock off loose fibers.
Cleaning And Whitening Luffa (optional Step)
Some people prefer their luffa to look very clean and pale. If your luffa is stained or you want it whiter, you can use a mild bleach solution.
- Mix 1 part household bleach with 10 parts water.
- Soak luffa pieces for 5–10 minutes.
- Rinse thoroughly under running water.
- Dry again (air dry or quick oven dry at low temperature).
Caution: Do not over-bleach. This can weaken the fiber and create a chemical smell.
Storing Dried Luffa
Proper storage is key to keeping your luffa usable for months.
- Store in a dry, well-ventilated place.
- Use a mesh bag or cardboard box.
- Avoid plastic or sealed containers.
If you notice any musty smell or soft spots, the luffa might have absorbed moisture. Redry in the oven for 30 minutes at 150°F.
Tip: Dried luffa can last up to 1 year if kept dry.
Credit: thegourmanticgarden.com
Common Mistakes When Drying Luffa In The Oven
Even experienced gardeners sometimes make errors with oven drying. Here are mistakes to avoid:
- Using too high heat: Anything above 200°F can burn the luffa, turning it brown and brittle.
- Crowding the oven tray: This slows drying and leads to uneven sponges.
- Not opening the oven door: Moisture needs to escape, or luffa will steam instead of dry.
- Forgetting to turn: Luffa fibers can scorch if left on one side too long.
- Storing before fully cool: Warm luffa in a sealed bag can sweat and mold.
Pro tip: Always check the thickest part of the luffa for dryness before storing.
Creative Uses For Oven-dried Luffa
A luffa sponge isn’t just for the bath. Here are some clever ways to use your dried luffa:
- Dishwashing sponge: Luffa’s tough fibers scrub without scratching.
- Body exfoliator: Used wet, it gently removes dead skin.
- Soap embed: Pour homemade soap around luffa slices for exfoliating bars.
- Garden scrubber: Clean tools, pots, or even vegetables.
- Crafts: Paint or dye the luffa for art projects, ornaments, or toys.
Example: Many crafters cut luffa into flower shapes and dye them for natural gift decorations.
Credit: egexo.com
Troubleshooting: If Your Luffa Isn’t Drying Properly
Sometimes, luffa stays too moist or ends up brittle. Here’s how to handle common problems:
- Still wet after 3 hours?
- Slice the luffa into smaller pieces and return to the oven.
- Check your oven temperature with a thermometer (some ovens run cool).
- Spongy but browning?
- Lower the oven temperature.
- Dry with the door open for longer.
- Strong odor or mold?
- Discard moldy luffa—don’t risk health.
- Use only clean, fresh luffa for oven drying.
- Seeds stuck inside?
- Tap harder or use a stream of water to flush them out before final drying.
Safety Tips For Oven Drying Luffa
- Always supervise the oven while drying.
- Keep flammable items away.
- Use oven mitts—luffa and trays can get hot.
- Never leave the house with the oven on.
- If you smell burning, turn off heat immediately.
Luffa Varieties And Their Drying Differences
Not all luffa types are the same. There are two main varieties:
- Luffa aegyptiaca (smooth luffa): Most common for sponges. Dries quickly and evenly.
- Luffa acutangula (angled luffa): Ridges on skin, sometimes harder to peel, but fiber is finer.
Here’s a quick comparison:
| Variety | Skin | Drying Time | Fiber Texture |
|---|---|---|---|
| Luffa aegyptiaca | Smooth | 1.5–2.5 hours | Coarser |
| Luffa acutangula | Ridged | 2–3 hours | Finer |
Most gardeners and crafters prefer Luffa aegyptiaca for oven drying, but both types work.
Key Benefits Of Oven-dried Luffa
Why choose oven drying over other methods? Here’s what you gain:
- Speed: Get sponges in hours, not weeks.
- Hygiene: Less chance for bacteria or mold.
- Quality: Fibers stay strong and flexible.
- Flexibility: Dry luffa any time of year, regardless of weather.

Credit: wildoakfarmsmo.com
Environmental Impact And Sustainability
Luffa sponges are biodegradable and compostable. Unlike plastic sponges, they break down in soil and add organic matter. Oven drying uses some energy, but it is still much less than industrial sponge production.
Growing your own luffa and drying it at home reduces packaging waste and chemical exposure. This small change can make your cleaning routine greener.
Additional Tips For Perfect Luffa Sponges
- For softer sponges, pick luffa slightly before they are fully dry on the vine.
- If you want stronger scrubbing power, let the luffa mature completely before harvesting.
- Rinse luffa with a mild vinegar solution before storing to reduce odor.
- Label your storage bags with the harvest date for easy rotation.
Advanced tip: If you want perfectly round, uniform sponges, place luffa in a round mold while oven drying. This can help shape them for crafts or gifts.
Real-world Example: Home Drying Experience
Consider the experience of a home gardener in the Pacific Northwest. Rain and humidity made air drying impossible—luffas would mold before drying. By following the oven drying method:
- Harvested 10 mature luffas in October.
- Peeled, cleaned, and dried each in the oven at 170°F for 2 hours.
- All sponges came out mold-free, strong, and ready for use.
- Stored in a mesh bag, they lasted through the whole year.
This method has helped many people in rainy areas enjoy luffa sponges with less waste.
Comparing Luffa To Synthetic Sponges
You might wonder how luffa stacks up against store-bought synthetic sponges. Here’s a summary:
| Feature | Luffa Sponge | Synthetic Sponge |
|---|---|---|
| Material | Natural plant fiber | Plastic/petroleum-based |
| Biodegradable | Yes | No |
| Cost | Low (if homegrown) | Varies |
| Durability | 2–3 months typical use | 1–2 months typical use |
| Compostable | Yes | No |
Resources For Growing And Using Luffa
If you want to learn more about growing luffa or creative uses, check out this Wikipedia article on luffa for in-depth background and history.
Frequently Asked Questions
How Do I Know When My Luffa Is Fully Dry In The Oven?
Check the thickest part of the luffa. It should feel dry, firm, and a bit springy—not soft or cool to the touch. If in doubt, dry for 15–30 minutes more at low temperature.
Can I Dry Luffa In A Toaster Oven?
Yes, if your toaster oven has a low-temperature setting and enough space. Follow the same rules: low heat, leave the door slightly open, and check often.
What Is The Best Temperature For Drying Luffa In The Oven?
Keep the oven between 150–200°F (65–93°C). Lower is better, as higher temperatures can damage the fiber.
Is It Safe To Bleach Luffa Sponges For Cleaning?
Yes, but use a mild bleach solution (1:10 with water) and rinse well. Over-bleaching can weaken the sponge and leave a chemical smell.
How Long Do Oven-dried Luffa Sponges Last?
If stored dry, they can last up to one year. For daily use (like in the shower or kitchen), replace every 2–3 months for best hygiene.
Drying luffa in your oven is a smart, practical way to make your own natural sponges. With a bit of care, you’ll enjoy sponges that are eco-friendly, effective, and tailored to your needs. Whether you’re interested in crafts, gardening, or reducing waste, this method gives you reliable results year-round.