Cleaning wood cabinets before painting is a crucial step if you want your paint job to last and look smooth. Many people think they can just wipe down their cabinets, slap on some paint, and call it done. But that approach often leads to chipping, peeling, and uneven color.
If you want a kitchen that looks fresh and professional, you need to start with a truly clean surface. Paint needs something solid and clean to stick to, or you’ll quickly see your hard work come undone. This guide will walk you through the entire process, from gathering supplies to the final rinse, so your cabinets are truly ready for a new coat of paint.
You’ll also discover tips and insights that even many DIYers miss, helping you avoid common mistakes that waste time and money.
Why Cleaning Wood Cabinets Is Important Before Painting
Painting over dirt, grease, or old finish leads to a messy look and poor durability. Wood cabinets collect a surprising amount of grease, dust, and even smoke residue—especially in kitchens. If these contaminants are left behind, new paint won’t stick well, and you’ll see problems like bubbling or flaking within weeks or months.
A clean cabinet surface lets the primer and paint bond directly to the wood. This means the paint will last longer, look smoother, and resist chips and scratches. Skipping this step almost always means you’ll need to redo your work sooner.
Remember, cleaning isn’t just about appearance—it’s about making your cabinets strong enough to handle daily use.
Tools And Materials You Will Need
Before you begin, make sure you have everything you need. Using the right tools makes the job faster and more effective. Here’s a list of essential items:
- Mild dish soap – For basic cleaning and degreasing
- White vinegar – Cuts grease and neutralizes odors
- TSP (trisodium phosphate) or a TSP substitute – Heavy-duty cleaner for stubborn grime
- Warm water – To mix with cleaning solutions and rinse
- Soft sponges and microfiber cloths – Won’t scratch the wood surface
- Bucket – For mixing and carrying water
- Soft-bristled brush or old toothbrush – Reaches into corners and detailed trim
- Rubber gloves – Protect your hands from chemicals
- Scraper or putty knife – For sticky residue (use gently)
- Vacuum with brush attachment – Removes loose dust before wet cleaning
- Painter’s tape and plastic sheets – Protects floors, counters, and walls from drips
- Screwdriver – To remove cabinet hardware
- Drop cloth – Keeps your workspace clean
Many beginners forget to use a vacuum first, which can push dust into the wood grain when you start wiping. Also, using a TSP substitute is safer than the original TSP, which can irritate skin and damage some surfaces.
Preparing Your Workspace
Cleaning cabinets can get messy. Protect your kitchen and make the job easier by preparing your workspace in advance.
- Move small appliances and countertop items away from the cabinets.
- Lay a drop cloth or old towels on the floor to catch drips.
- Tape plastic sheeting over nearby walls and backsplashes.
- Open windows or turn on a fan for ventilation, especially if using stronger cleaners.
- Wear old clothes and gloves.
If you have pets or small children, keep them out of the area to prevent contact with cleaning solutions.
Removing Cabinet Doors, Drawers, And Hardware
You’ll get better results if you remove doors and hardware before cleaning. This allows you to reach every surface and avoid getting cleaner on hinges or knobs.
- Use a screwdriver to remove cabinet doors and pull out drawers.
- Put all screws, knobs, and hinges in labeled bags so you don’t lose them.
- Place the doors and drawers on a flat surface, like a worktable or covered floor, for cleaning.
- Label each door with a piece of painter’s tape so you know where it goes later.
Many DIYers skip this step, but even a small amount of missed grease on a hinge area can ruin your paint job over time.
Credit: www.dododsondesigns.com
Dusting And Vacuuming
Before you get anything wet, remove loose dirt and dust. Wet dust turns into a sticky mess and can scratch the wood if rubbed in.
- Use a vacuum with a brush attachment to gently remove dust from all surfaces, including corners and grooves.
- Wipe surfaces with a dry microfiber cloth to catch any remaining particles.
Pay extra attention to the top edges of doors and drawers, where dust often collects.
Degreasing And Basic Cleaning
Kitchens, especially above the stove, accumulate layers of grease and cooking residue. Grease is invisible at first but will stop paint from sticking. Here’s how to clean it off:
Step 1: Mix Your Cleaning Solution
For most cabinets, a mixture of warm water and dish soap works well. For extra cleaning power, add a cup of white vinegar per gallon of water.
Step 2: Wash The Cabinets
- Dip a sponge in the solution and wring it out so it’s damp, not dripping.
- Wipe all cabinet surfaces, inside and out, including edges and corners.
- Use a soft-bristled brush or old toothbrush for grooves and detailed trim.
- Rinse the sponge often and change the water when it looks dirty.
Don’t soak the wood—excess water can cause warping or swelling.
Step 3: Rinse And Dry
- Wipe cabinets with a clean, damp cloth to remove soap residue.
- Dry immediately with a microfiber cloth or towel.
Let cabinets dry fully before moving to stronger cleaners or sanding.
Tackling Tough Stains And Grease
Some cabinets, especially in older kitchens, have stains or sticky spots that dish soap won’t remove. This is where TSP or a TSP substitute is useful.
Using Tsp Safely
- Mix TSP according to package directions, usually about a tablespoon per gallon of warm water.
- Wear rubber gloves to protect your skin.
- Dip a sponge in the solution and scrub stained or greasy areas.
- Use a toothbrush for corners and carvings.
- Rinse with clean water and dry with a towel.
TSP is powerful but can dull wood or strip old finishes. Test it first in a hidden spot. For a less harsh option, try a TSP substitute that is designed for painted wood and is more eco-friendly.
Removing Sticky Residue
Sometimes, cabinets have sticky spots from spilled syrup, tape, or old labels. Use a plastic scraper or putty knife to gently lift these areas, then wipe with your cleaning solution. Do not use metal tools, as they can scratch the surface.
Addressing Mold And Mildew
Mold is rare but can appear in humid kitchens or under sinks. It must be removed before painting.
- Mix a solution of one part vinegar to three parts water.
- Wipe the affected area with a sponge or cloth.
- Allow the solution to sit for 10 minutes.
- Rinse with clean water and dry thoroughly.
If you see black spots that don’t wipe off, you may need a commercial mold remover. Always wear gloves and ventilate the area.
Removing Old Wax And Polish
Some cabinets have a wax or polish finish that blocks paint. These coatings are often invisible but feel slippery to the touch.
- Use a degreaser or mineral spirits on a soft cloth.
- Rub gently along the wood grain until the surface feels clean, not slick.
- Wipe with a damp cloth to remove residue and dry.
Test in a hidden corner first. Never use harsh chemicals without checking compatibility with your cabinet’s finish.
Sanding After Cleaning
Once the cabinets are clean and dry, light sanding creates a slightly rough surface that helps paint stick.
- Use 220-grit sandpaper or a sanding sponge.
- Sand all flat surfaces lightly—just enough to dull the shine.
- Wipe away dust with a damp microfiber cloth.
- Allow the cabinets to dry again before priming.
Sanding is not about removing all the old finish, but about giving the paint a good surface to grip.
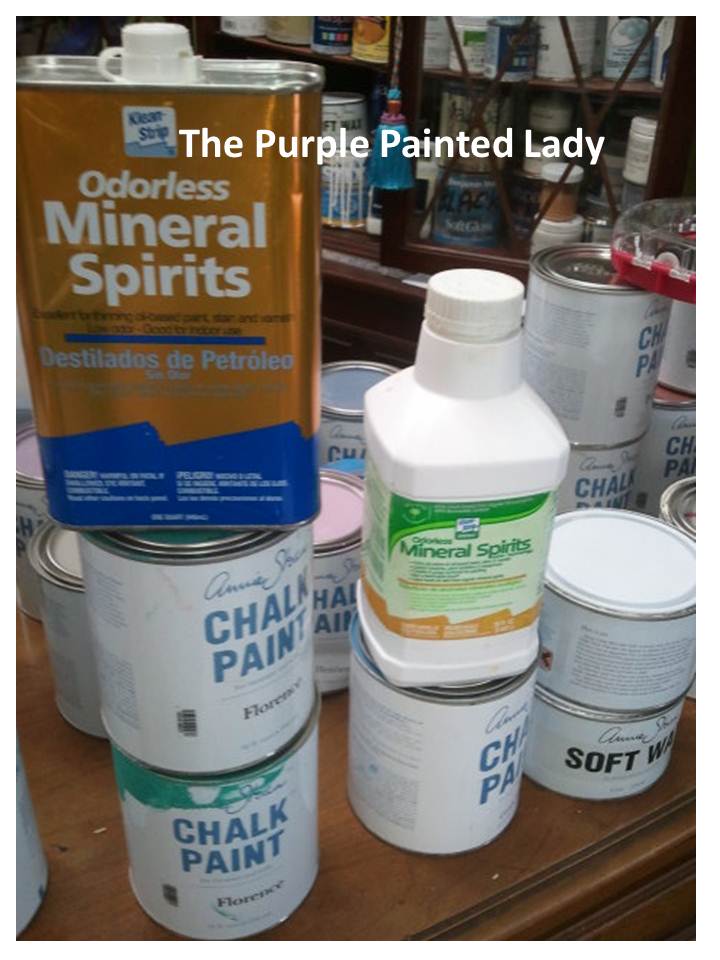
Credit: www.thepurplepaintedlady.com
Checking For Repair Needs
Cleaning can reveal small damage you didn’t notice before. Look for cracks, chips, holes, or loose veneer.
- Fill small holes with wood filler and let it dry.
- Sand smooth and wipe clean.
- For peeling veneer, glue it down and clamp until dry.
Do these repairs before you paint for the best finish.
Comparing Cleaning Solutions For Wood Cabinets
Different cleaning products work better for different types of stains and wood finishes. Here’s a comparison to help you choose:
| Cleaner | Best For | Pros | Cons |
|---|---|---|---|
| Dish Soap & Vinegar | Light grease, general cleaning | Safe, inexpensive | May not remove heavy grease |
| TSP | Heavy grease, smoke stains | Very strong, effective | Can dull finish, needs gloves |
| TSP Substitute | Medium stains, eco-friendly homes | Safer, less toxic | May need extra scrubbing |
| Mineral Spirits | Wax, polish removal | Removes residue well | Strong smell, flammable |
| Vinegar Solution | Mold, mildew | Natural, deodorizes | Not for all finishes |
Common Mistakes To Avoid
Many people make simple mistakes that can ruin their cabinets or make painting harder. Here’s what to watch out for:
- Skipping the cleaning step. Even new cabinets can have oils or dust.
- Using too much water. Excess moisture can damage wood and loosen glue joints.
- Not rinsing cleaning solutions. Leftover soap or TSP can cause paint to bubble or peel.
- Forgetting to remove hardware. Paint can stick to hinges and knobs, making them hard to use.
- Skipping sanding. Paint won’t bond well to glossy or slick surfaces.
- Not allowing cabinets to dry completely. Damp wood can cause paint to blister.
- Using harsh chemicals without testing. Always test in a hidden area first.
Avoiding these mistakes saves time and prevents frustration later.
How Long To Wait Before Painting
After cleaning, patience is important. Even if cabinets feel dry, tiny amounts of moisture can remain in the wood or seams.
- Wait at least 24 hours after the final cleaning before painting.
- In humid climates, increase waiting time to 48 hours.
- Use a fan or dehumidifier to speed drying if needed.
Painting too soon is a common mistake that can ruin a perfect prep job.
Final Surface Prep: A Checklist
Before you start priming, double-check your work. Here’s a quick checklist:
- All surfaces are free of grease, dust, and sticky spots.
- Hardware is removed and stored safely.
- Repairs (holes, chips, veneer) are filled and sanded.
- Cabinets are completely dry.
- Surfaces have been lightly sanded and wiped clean.
- The workspace is protected with drop cloths and plastic.
If you can check every box, you’re ready for primer and paint.
Real-world Example: Cleaning Cabinets For A Kitchen Makeover
Let’s look at a typical kitchen cleaning project. Sarah, a homeowner in Ohio, wanted to paint her 15-year-old oak cabinets. She started by removing all the doors, labeling each one with painter’s tape. After vacuuming, she used a mix of hot water, dish soap, and vinegar.
In greasy spots above the stove, she switched to a TSP substitute and scrubbed with a toothbrush. She found sticky residue under the handles, which she scraped off gently. After rinsing and drying, Sarah lightly sanded every cabinet surface. She waited two days before applying primer, and her new paint job still looks great two years later.
This real-world process shows the benefit of patience, multiple cleaning methods, and attention to detail.
Cost And Time Estimates
Cleaning cabinets takes time, but it’s far less expensive than replacing them. Here’s what to expect:
| Step | Time (per 10 cabinets) | Typical Cost (USD) |
|---|---|---|
| Removing doors/hardware | 30-45 minutes | $0 (tools usually on hand) |
| Vacuum & dry dust | 20-30 minutes | $0 |
| Basic cleaning | 1-2 hours | $5 (soap, vinegar) |
| Tough stain removal | 30-60 minutes | $10 (TSP or substitute) |
| Rinse & dry | 30 minutes | $0 |
| Sanding & repairs | 1-2 hours | $10 (sandpaper, filler) |
Allow at least a full day for the cleaning, plus drying time. The average total cost for supplies is usually under $30, not including paint and primer.
Safety And Environmental Tips
Some cleaning products can be harsh. Protect your health and the environment by following these tips:
- Always wear gloves and open windows for ventilation.
- Store cleaning products out of reach of children and pets.
- Do not pour strong cleaners (like TSP) down the drain—check your local disposal rules.
- Use old towels or rags and wash them separately from clothes.
- Consider eco-friendly cleaners for regular maintenance after painting.
What To Do After Cleaning
Once your cabinets are perfectly clean and dry, you’re ready for the next steps:
- Prime the cabinets. Use a quality primer designed for wood, especially if you used strong cleaners.
- Paint with your chosen color. Apply thin, even coats for the best finish.
- Let each coat dry fully before adding another.
- Reattach hardware and doors only after the paint has cured.
Cleaning is the foundation for a beautiful, long-lasting result.
Non-obvious Insights For Better Results
Many beginners miss a few important tricks:
- Always clean the back side of doors and drawer fronts. Even if you don’t plan to paint them, hidden grease can migrate and affect painted surfaces.
- If you have glass-front cabinets, clean the glass and frame separately to avoid streaks.
- Never use oil-based cleaners before painting with water-based paint, as residues can cause paint to bead or separate.
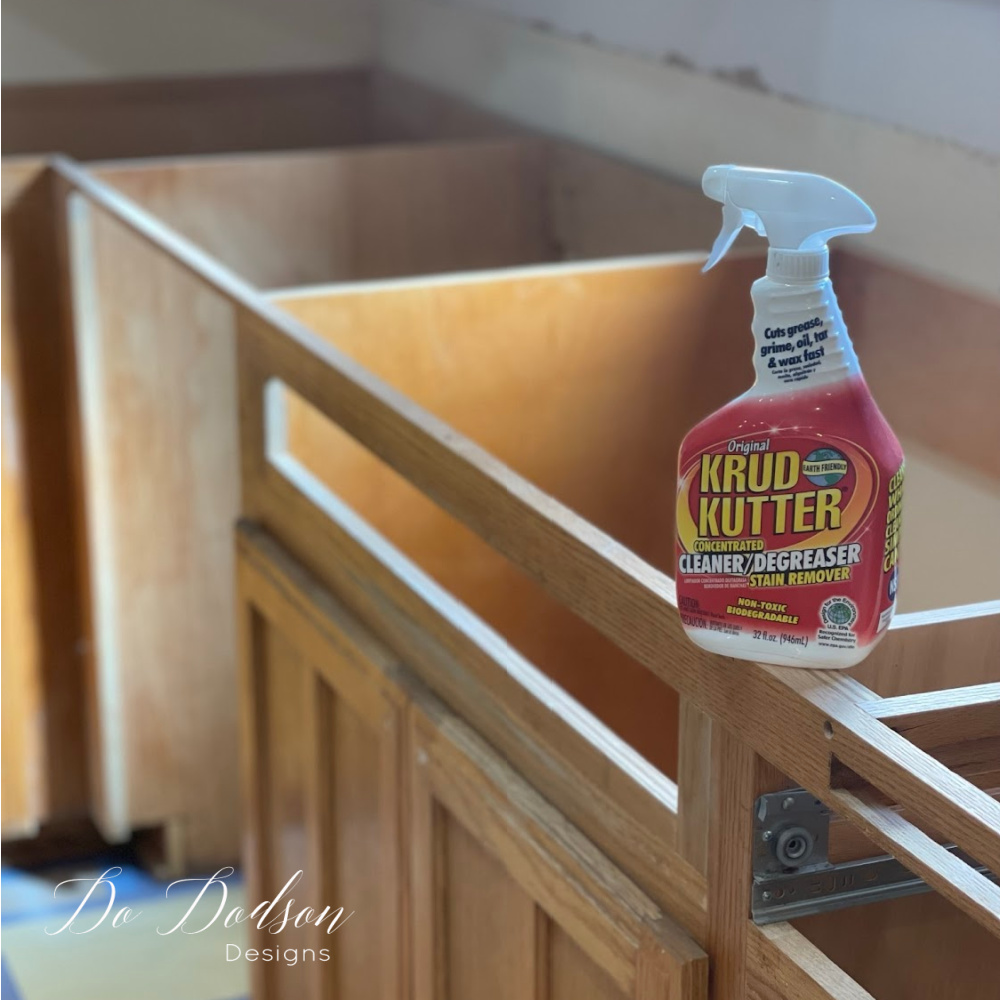
Credit: www.dododsondesigns.com
When To Call A Professional
Most homeowners can clean their own cabinets, but if you see heavy mold, water damage, or very old paint (which might contain lead), call a pro. Lead paint is dangerous to sand or strip without special precautions.
Further Reading
For more on safe cleaning products and painting techniques, check resources from the Environmental Protection Agency or trusted home improvement sites like Bob Vila.
Frequently Asked Questions
How Do I Know If My Cabinets Are Clean Enough To Paint?
Wipe a clean, damp cloth across the surface. If it comes away clean and not greasy, your cabinets are ready. Run your hand over the wood; it should feel dry and slightly rough, not slippery.
Can I Use Bleach To Clean My Wood Cabinets Before Painting?
Bleach is not recommended for wood cabinets because it can damage the finish and dry out the wood. Use vinegar or a TSP substitute for tough stains, and only use bleach for serious mold (then rinse very well).
What Should I Do If My Cabinets Have A Heavy Smoke Smell?
For smoke residue, use TSP or a special smoke odor remover. Wash thoroughly and allow cabinets to dry completely. You may also need to use a stain-blocking primer to seal in odors before painting.
Is It Necessary To Remove The Cabinet Doors, Or Can I Clean And Paint Them In Place?
Removing doors and hardware gives the best access and avoids drips on hinges or knobs. If you can’t remove them, work carefully and use painter’s tape to protect hardware.
How Soon Can I Paint After Cleaning Wood Cabinets?
Wait at least 24 hours after the final cleaning, and longer if the weather is humid. The wood must be completely dry to ensure the paint sticks well.
Cleaning wood cabinets before painting takes effort, but it’s the secret to a beautiful, durable finish. A little patience and attention to detail now will save you time and frustration later. Whether you’re updating a few cabinets or your entire kitchen, clean surfaces are always the best starting point.