Painting your cabinets is one of the fastest ways to refresh your kitchen or bathroom. But after the last brushstroke dries, a new challenge begins: making sure your cabinets stay clean and beautiful without damaging the fresh paint. Many people think cleaning newly painted cabinets is just like cleaning any other surface, but that’s not true. Fresh paint needs special care, especially in the first weeks and months. If you use the wrong cleaner, scrub too hard, or even clean too soon, you can ruin your hard work.
This article will guide you step-by-step through everything you need to know to clean newly painted cabinets safely. You’ll learn when to clean, what products to use, and how to avoid mistakes that can cause chipping, fading, or streaks. You’ll also discover smart tips most beginners miss—like how humidity affects paint curing and why microfiber cloths are better than regular rags.
Whether you painted your cabinets yourself or hired a pro, following these strategies will keep your cabinets looking flawless for years.
Understanding Paint Curing And Why Timing Matters
Before you grab a sponge, it’s important to know that fresh paint goes through a process called curing. This means the paint is drying and hardening, which can take days or even weeks, depending on the paint type and room conditions.
What Is Paint Curing?
Curing is not just drying. Most paints feel dry to the touch in a few hours, but that doesn’t mean they’re ready for cleaning. Latex and acrylic paints, which are common for cabinets, can take 14 to 30 days to fully cure. Oil-based paints might take even longer.
During curing, the paint molecules bond and harden. If you clean too soon, you risk smudging, scratching, or even peeling off the paint. For best results, wait at least 2-3 weeks after painting before doing any deep cleaning.
Factors That Affect Curing Time
- Humidity: High humidity slows down curing.
- Temperature: Colder rooms slow the process; aim for 60–80°F (16–27°C).
- Paint thickness: Thicker coats take longer to cure.
- Ventilation: Good airflow helps paint cure faster.
How To Test If Paint Is Cured
Gently press your fingernail into a hidden spot. If it leaves a mark, the paint needs more time. If not, you’re safe to clean.
Essential Tools And Products For Cleaning Painted Cabinets
Choosing the right cleaning tools and products is crucial. The wrong items can scratch or dull the finish, especially in the first months.
Must-have Cleaning Tools
- Microfiber cloths: These are gentle, trap dust, and won’t scratch paint.
- Soft sponges: Use plain, non-abrasive sponges.
- Soft-bristle brush: Good for corners or detailed cabinet trim.
- Bucket: For mixing gentle cleaning solutions.
- Spray bottle: For easy application of diluted cleaners.
Safe Cleaning Solutions
- Warm water: Sometimes, plain water is enough.
- Mild dish soap: Choose pH-neutral, dye- and fragrance-free if possible.
- White vinegar: Mix with water (1:10 ratio) for extra cleaning power, but use sparingly.
- Specialty cabinet cleaner: Only if it’s labeled safe for painted finishes.
What To Avoid
- Harsh chemicals: Bleach, ammonia, and strong degreasers can ruin paint.
- Abrasive pads: Steel wool or rough sponges scratch surfaces.
- Oil-based cleaners: These can discolor or break down paint.
- Furniture polish: Leaves greasy residue and can attract dust.
Preparing To Clean: Steps Before You Start
A little preparation protects your cabinets and makes cleaning easier.
- Check paint cure time: Confirm your cabinets are ready for cleaning.
- Remove items: Take out dishes, food, or anything inside or on top of cabinets.
- Open windows: Good ventilation helps dry cabinets quickly.
- Gather supplies: Have all tools and cleaners ready before starting.
- Test in a hidden area: Try your cleaning solution on the inside of a door.
Step-by-step Cleaning Process For Newly Painted Cabinets
Cleaning newly painted cabinets isn’t difficult, but you do need to be gentle. Here’s how to do it right.
1. Dusting
Start by dusting. Use a dry microfiber cloth to wipe all surfaces, including the tops and edges. Removing dust first prevents scratching when you wipe with a damp cloth.
2. Spot Cleaning
For small splashes or fingerprints, lightly dampen a microfiber cloth with warm water. Gently dab the spot—don’t rub hard. For stubborn spots, add a drop of mild dish soap and rinse with plain water after.
3. Full Surface Wipe Down
If your cabinets need more than spot cleaning:
- Fill a bucket with warm water and a few drops of mild dish soap.
- Soak your microfiber cloth, then wring it out well. The cloth should be damp, not wet.
- Wipe cabinet doors, fronts, sides, and hardware gently.
- Rinse your cloth often to avoid spreading dirt.
- Immediately dry each area with a clean, dry microfiber cloth.
4. Cleaning Handles And Hardware
Cabinet handles get touched the most and collect oils and grime. Use a soft-bristle brush dipped in soapy water. Scrub gently, then wipe with a damp cloth and dry.
5. Cleaning Trim And Grooves
Detailed trim can trap dust. Use a soft brush or a cotton swab for corners. Avoid soaking the area; too much water can seep into cracks and damage paint.
6. Drying
Painted cabinets need to dry quickly after cleaning. Always finish by wiping with a dry microfiber cloth. This prevents streaks and water spots.
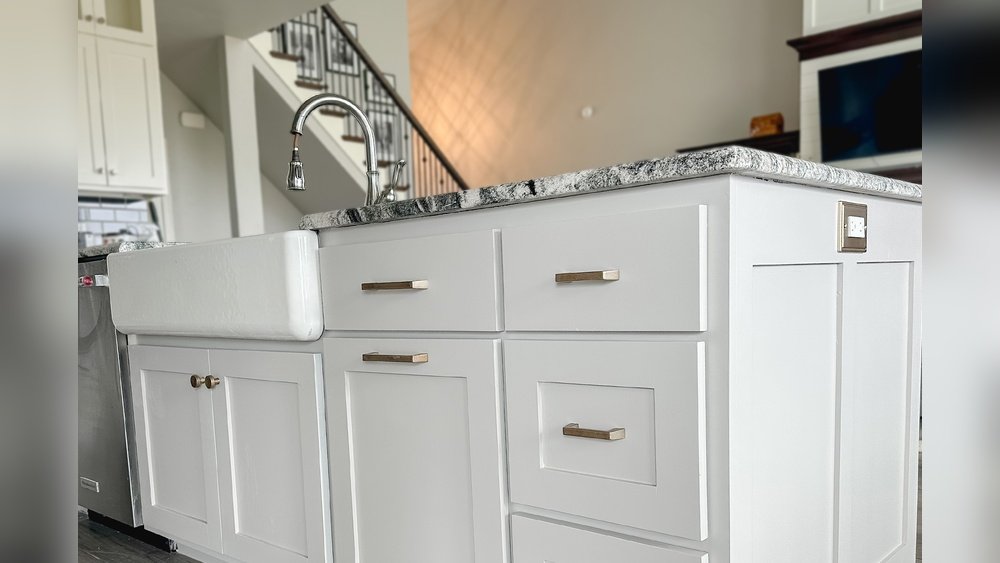
Credit: www.kilz.com
How Often Should You Clean Newly Painted Cabinets?
Frequency depends on your kitchen or bathroom use, but here’s a general guideline:
- Dusting: Once a week
- Spot cleaning: As needed (immediately after spills or splashes)
- Full wipe down: Every 2–4 weeks
- Deep cleaning: Every 3–6 months (after paint is fully cured)
If you cook a lot or have young kids, you might need to clean more often.
Common Mistakes To Avoid
Many people damage their cabinets without realizing it. Here are mistakes to watch for:
- Cleaning too soon: Wait until paint is fully cured.
- Using too much water: Excess moisture can seep into seams and cause bubbling or peeling.
- Scrubbing hard: Gentle wiping is enough. Scrubbing can dull the finish.
- Ignoring hardware: Dirty handles make cabinets look older.
- Using strong chemicals: These can break down paint and cause discoloration.
- Skipping drying: Letting cabinets air dry can leave water spots and streaks.
Comparing Cleaning Methods: What Works Best?
Different cleaning methods have different effects on newly painted cabinets. Here’s a comparison to help you choose the safest option:
| Method | Effectiveness | Risk to Paint | Best For |
|---|---|---|---|
| Microfiber Cloth + Water | Good for dust, light dirt | Very Low | Routine cleaning |
| Dish Soap Solution | Excellent on grease, food spots | Low | Weekly wipe-down |
| White Vinegar Solution | Good for sticky spots | Medium (if too strong) | Occasional tough spots |
| Commercial Cabinet Cleaner | Varies by brand | Medium (check label) | Deep cleaning (cured paint) |
Stick with water and mild soap for the first few months. Save stronger cleaners for after the paint is fully cured.
Special Situations: Handling Stains And Sticky Messes
Even with careful cleaning, sometimes you’ll find tough spots—grease, crayon, or sticky syrup. Here’s how to handle these safely on new paint.
Grease Stains
- Mix a few drops of dish soap with warm water.
- Apply with a damp microfiber cloth, gently wipe.
- Rinse with clean water and dry immediately.
For stubborn grease, try a vinegar-water mix (1 part vinegar to 10 parts water), but test first.
Food And Drink Spills
Wipe up spills as soon as possible to prevent stains. For dried-on spots, soften with a damp cloth for a few minutes, then wipe gently.
Marker, Crayon, Or Ink
Use a damp cloth with mild soap. Avoid magic erasers—they can remove paint. If marks persist, wait until paint is fully cured before trying a gentle stain remover.
Sticky Residue (tape, Stickers)
Apply a damp cloth for several minutes to soften the sticky area. Gently rub until the residue lifts. Avoid using oil-based products or scraping tools.
Protecting Your Painted Cabinets For The Long Term
Proper cleaning is just one part of maintaining beautiful cabinets. Here’s how to protect your investment:
- Use liners inside cabinets to catch spills.
- Install soft-close hardware to prevent slamming.
- Avoid hanging wet towels on cabinet doors—moisture damages paint.
- Open windows when cooking to reduce grease buildup.
- Fix drips immediately—water sitting on paint can cause peeling.
Comparing Cabinet Paint Types And Their Cleaning Needs
Not all cabinet paints are created equal. Some are tougher and easier to clean. Here’s a look at popular types:
| Paint Type | Durability | Recommended Cleaners | Special Care |
|---|---|---|---|
| Latex (Acrylic) | Good | Water, mild soap | No harsh scrubbing |
| Oil-Based | Excellent | Water, mild soap | Longer cure time |
| Chalk Paint | Fair | Water, specialty wax cleaner | Needs sealing |
| Lacquer | Very High | Water, gentle cleaner | No alcohol-based products |
If you don’t know your cabinet paint type, check with your painter or look for leftover cans.
Two Overlooked Tips Most People Miss
1. Change Your Cleaning Cloths Often
Many people use the same cloth for the whole kitchen. But a dirty cloth can spread grease or grit, scratching your cabinets. Use fresh cloths for each area, especially on white or light-colored cabinets.
2. Watch Out For Humidity
Kitchens and bathrooms are humid. Too much moisture in the air can slow down paint curing and make cabinets sticky. Use your stove vent or a dehumidifier if you notice sticky surfaces even after cleaning.
Handling High-traffic Areas And Kids
Cabinets near sinks, stoves, or where kids play will get dirtier faster. For these areas:
- Clean more often, but still use gentle products.
- Consider adding removable plastic film inside doors to catch fingerprints.
- Teach kids not to kick or hang on cabinet doors—paint can chip from impacts.

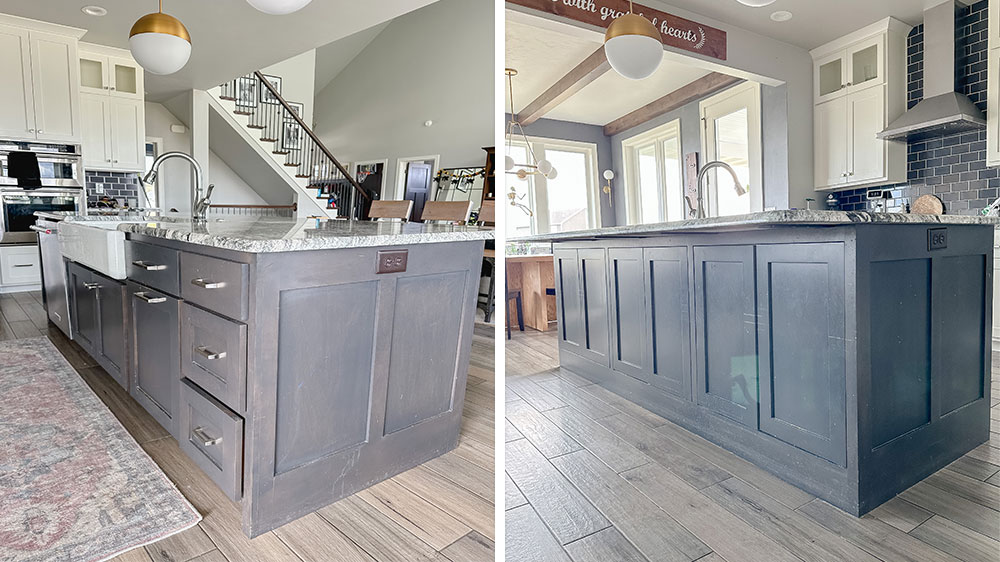
Credit: www.reddit.com
When To Call A Professional
If your cabinets have large stains, peeling paint, or water damage, home cleaning may not be enough. Call a pro painter or cabinet refinisher if:
- Paint peels or bubbles after cleaning.
- There are sticky stains you can’t remove without scrubbing hard.
- Cabinets swell or warp from water.
A professional can touch up paint or recommend the right fix.
Real-life Examples: What Works And What Doesn’t
Example 1: Success Story
Maria painted her kitchen cabinets with acrylic latex paint. She waited three weeks before cleaning and used only microfiber cloths and water. Her cabinets still look new after a year, even with daily cooking.
Example 2: Common Mistake
John cleaned his newly painted cabinets with a regular kitchen cleaner labeled “degreaser” after just one week. The paint dulled, and small chips appeared near the handles. He later learned the product contained ammonia, which broke down the paint.
Example 3: Sticky Mess
A family with young kids struggled with crayon marks. They used a damp cloth and mild soap, but the marks didn’t come off until the paint fully cured after a month. Patience prevented damage.
Environmental Factors: What To Watch For
- Direct sunlight: Fades paint over time; use window coverings if possible.
- Steam from cooking or showers: Causes paint to soften or streak; always ventilate.
- Hard water: Leaves mineral spots. Dry cabinets after cleaning to avoid buildup.
How To Touch Up After Cleaning
If you notice a small chip or scratch after cleaning:
- Clean the area gently and let it dry.
- Use a tiny artist’s brush to dab matching paint on the spot.
- Let it dry fully and avoid cleaning that area for a week.
Keep a small jar of leftover paint for future touch-ups.
Tracking Your Cabinet Care
Keeping a simple cleaning log helps you remember when you last dusted or did a full wipe-down. This is especially helpful for busy families or shared spaces.
Sample log entry:
- March 1: Wiped all cabinets with water and microfiber
- March 15: Cleaned handles with soapy water
- April 1: Deep cleaned after paint cured
Comparing Painted Cabinets To Other Surfaces
Painted cabinets need more gentle care compared to wood veneer, laminate, or metal.
| Surface | Cleaning Difficulty | Recommended Products | Special Concerns |
|---|---|---|---|
| Painted Wood | Medium | Water, mild soap | Scratches, water damage |
| Laminate | Low | All-purpose cleaner | Peeling edges |
| Wood Veneer | Medium | Wood cleaner | Fading, warping |
| Metal | Low | Non-abrasive cleaner | Rust, fingerprints |
If you switch from wood to painted cabinets, adjust your cleaning habits.

Credit: www.reddit.com
Safe Cleaning For The First Year
Even after paint is cured, it continues to harden for several months. For the first year:
- Stick to gentle cleaning methods.
- Avoid waxing or polishing—these are for older, fully cured paint.
- Reinspect high-traffic areas every few months for wear.
Best Practices For A Long-lasting Finish
Here’s a summary of the best ways to keep your painted cabinets looking new:
- Dust weekly with a dry microfiber cloth.
- Wipe spills immediately with a damp cloth.
- Use mild soap solution for regular cleaning.
- Dry all surfaces after cleaning to prevent water spots.
- Avoid harsh chemicals and rough tools.
- Protect from heat and moisture—ventilate when cooking or showering.
- Touch up paint as needed to fix chips right away.
Additional Resources
For more tips on paint care and cleaning, the Better Homes & Gardens website has expert advice and common mistakes to avoid.
Frequently Asked Questions
How Soon Can I Clean My Newly Painted Cabinets?
Wait at least 2–3 weeks after painting before doing any cleaning, even light dusting. The paint needs time to cure fully.
What Is The Safest Cleaning Solution For Painted Cabinets?
The safest choice is warm water with a few drops of mild dish soap. Avoid harsh chemicals, bleach, or strong degreasers.
Can I Use Vinegar To Clean Painted Cabinets?
You can use a very diluted vinegar-water solution (1:10 ratio) for tough spots, but always test in a hidden area first. Too much vinegar can dull paint.
What If I Find Scratches Or Chips After Cleaning?
Clean the area, let it dry, and touch up with matching paint using a small brush. Avoid cleaning that area for a week after touch-up.
How Do I Prevent Sticky Residue And Fingerprints?
Clean spills right away, use microfiber cloths, and avoid oily sprays. For high-traffic areas, clean more often and consider cabinet liners.
Painting your cabinets can transform a space, but keeping them beautiful takes the right cleaning habits. With gentle care, patience, and the tips in this guide, your painted cabinets will stay clean and vibrant for years—no matter how busy your kitchen or bathroom gets.