
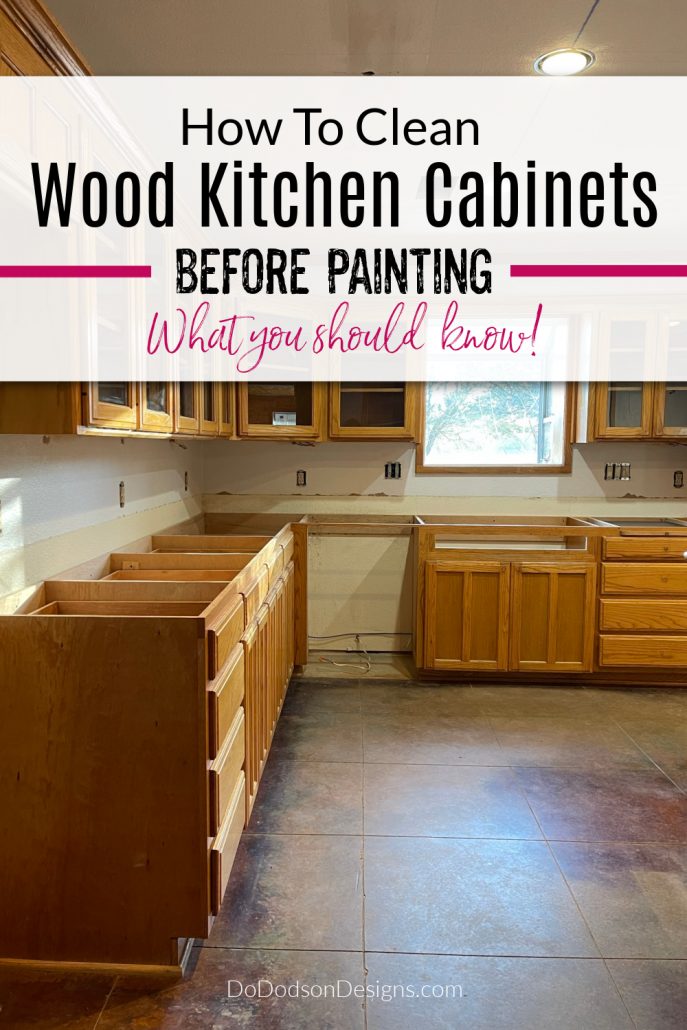
Transforming your kitchen with fresh paint can make a huge difference. But there’s one step you cannot skip: cleaning the cabinets before painting. This process is more than just wiping away dust. Kitchens are full of grease, food splatters, and sticky residue that paint will not stick to. If you want your paint job to last and look professional, you need to clean your kitchen cabinets the right way.
Many people try to save time by rushing this stage or using the wrong products. This often leads to peeling paint, stains showing through, or a rough surface. Cleaning your cabinets properly is not hard, but it does require patience and the right method.
In this guide, you’ll learn everything you need to know—from what products to use, to how to handle different cabinet materials, to common mistakes to avoid. Whether you have wood, laminate, or painted cabinets, you’ll find clear steps and practical advice here.
Let’s get your cabinets ready for a flawless, long-lasting paint finish.
Why Cleaning Kitchen Cabinets Before Painting Is Essential
Painting over dirty cabinets causes many problems. Grease and grime stop paint from sticking. The surface may look smooth, but even a thin layer of oil or dust will cause peeling and bubbling later. Paint also highlights every flaw—so any food splatters, old stains, or sticky fingerprints will be even more visible.
There’s another reason why cleaning matters: better adhesion. Clean cabinets help primer and paint stick tightly, creating a smooth, even finish. Skipping this step means your hard work (and money spent on paint) could be wasted.
Even if your cabinets look clean, kitchens collect invisible layers of cooking oil, smoke, and dust. These build up over months and years, especially near stoves and sinks. A good cleaning removes all of these problems at the source.
Understanding Your Cabinet Material
Not all cabinets are the same. The cleaning method you use depends on the material.
Wood Cabinets
Wood cabinets are common and durable, but they absorb oil and water easily. Use gentle cleaners and avoid soaking with water. Abrasive pads can scratch the finish.
Laminate Cabinets
Laminate cabinets have a plastic coating. They are less likely to stain but can be damaged by harsh chemicals. Use non-abrasive sponges and avoid strong solvents.
Painted Cabinets
Painted cabinets need extra care. Scrubbing too hard can strip away the old paint. Use mild cleaners and soft cloths.
Metal Cabinets
Metal cabinets are rare but found in some modern kitchens. They can rust if left wet. Dry them quickly after cleaning.
Veneer Cabinets
Veneer cabinets have a thin layer of wood over plywood. Too much water can loosen the veneer. Clean gently to avoid lifting the surface.
Before starting, always test your cleaner on a hidden spot. This way, you make sure there is no discoloration or damage.
Supplies And Tools You Will Need
Using the right tools will save you time and give the best results. Here’s what you need:
- Mild dish soap (grease-cutting)
- White vinegar
- Baking soda
- Bucket of warm water
- Microfiber cloths
- Soft sponge (non-abrasive)
- Old toothbrush or small scrub brush
- Rubber gloves
- Putty knife or plastic scraper
- Drop cloths or old towels
- Painter’s tape
- Screwdriver (for removing hardware)
- Degreaser (optional, for tough grease)
- TSP (trisodium phosphate, for heavy-duty cleaning)
- Spray bottle
Each item has a purpose. For example, microfiber cloths pick up dirt without scratching. An old toothbrush gets into corners and grooves. A plastic scraper is safer than metal for removing stuck-on gunk.
Setting Up Your Workspace
Preparation makes the job smoother and safer.
- Empty the Cabinets: Take out all dishes, food, and shelf liners. This gives you full access to every surface.
- Protect Countertops and Floors: Lay down drop cloths or old towels. Cleaning solutions can drip or spill.
- Remove Cabinet Doors and Hardware: Use a screwdriver to take off doors, handles, and knobs. Label each door and its hardware with masking tape so you remember where everything goes.
- Open Windows or Use Fans: Good ventilation is important, especially if you use strong cleaners like TSP or commercial degreasers.
A well-organized workspace helps you avoid mess and get better results.
Credit: www.dododsondesigns.com
Step-by-step: How To Clean Kitchen Cabinets Before Painting
Follow these steps for a deep, paint-ready clean.
Step 1: Dry Dusting And Vacuuming
Start by removing loose dirt and dust. Use a vacuum with a brush attachment to clean inside corners and along cabinet tops. Wipe shelves, door fronts, and edges with a dry microfiber cloth. This step prevents dirt from turning into mud when wet.
Step 2: Mixing The Right Cleaner
For most kitchens, a mix of warm water and grease-cutting dish soap works well. Fill a bucket with warm water, then add a few drops of dish soap. For extra cleaning power, add a cup of white vinegar. Vinegar helps cut grease and remove odors.
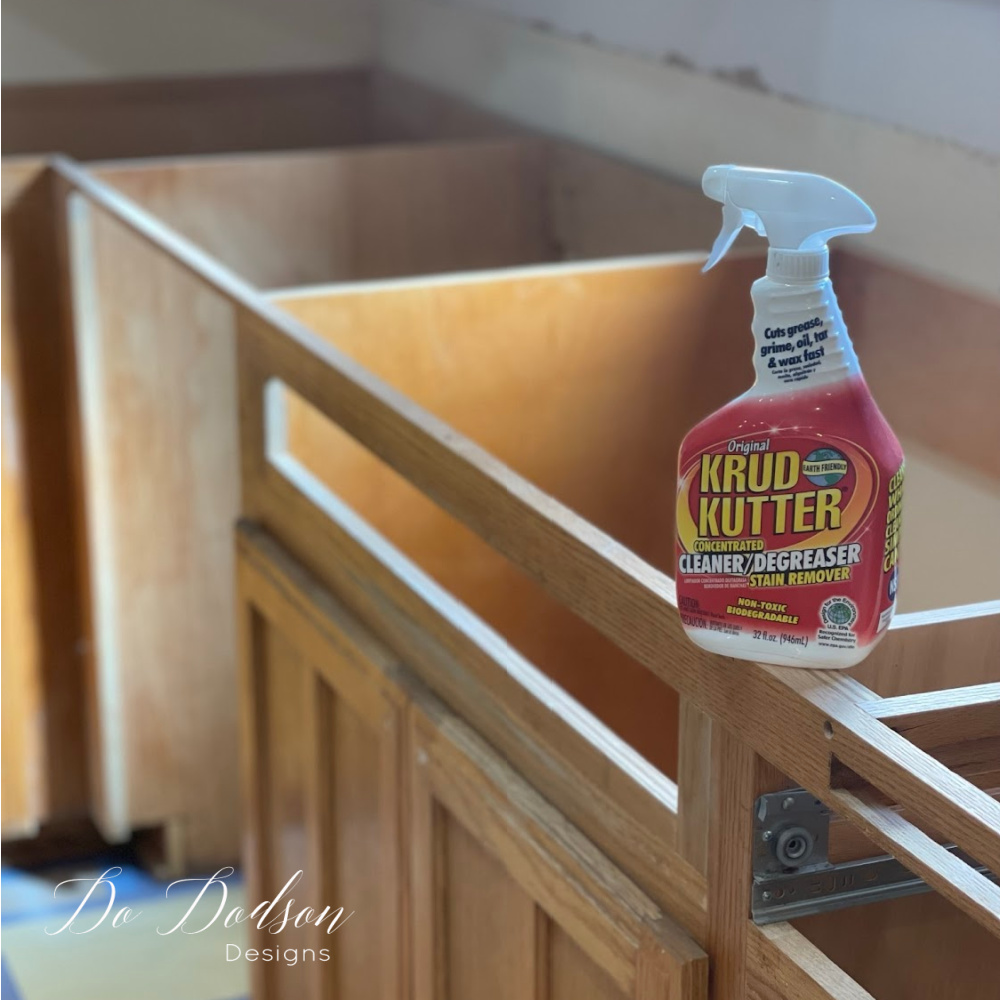
If your cabinets are very greasy, consider a commercial degreaser or mix 1 tablespoon of TSP in a gallon of warm water. TSP is powerful but should be used with gloves and rinsed off completely.
Step 3: Scrubbing The Surfaces
Dip a soft sponge or cloth into your cleaning solution. Wring it out so it’s damp, not soaking wet. Wipe all cabinet surfaces—doors, drawer fronts, sides, and frames. For sticky spots or old stains, sprinkle baking soda on a damp sponge and scrub gently.
Use an old toothbrush for grooves, corners, and around hardware holes. A plastic scraper can carefully lift off dried food or paint splatters.
Pro Tip: Always scrub with the wood grain, not against it. This prevents scratches and keeps the finish looking smooth.
Step 4: Rinse And Dry
After cleaning, wipe each area with a clean cloth dampened with plain water. This removes any soap or cleaner left behind. Dry with a fresh towel immediately to prevent moisture damage.
Step 5: Tackling Tough Grease And Stains
Some kitchens have thick, sticky grease—especially above the stove. For these spots:
- Spray with a degreaser and let it sit for a few minutes.
- Scrub gently with a sponge or brush.
- Rinse and dry as usual.
For stubborn stains, make a paste of baking soda and water. Apply it to the stain, let it sit for 10 minutes, then scrub and rinse.
Step 6: Cleaning Inside The Cabinets
Don’t forget the inside! Clean shelves, walls, and the underside of cabinets. Remove shelf liners if needed. Clean as above, using less water to avoid soaking the wood or veneer.
Step 7: Cleaning Hardware
Handles, hinges, and knobs collect grime too. Soak them in warm, soapy water for 15-20 minutes. Scrub with a brush, rinse, and dry well. Clean hardware means no sticky surprises when you reinstall them.
Step 8: Final Inspection
Look over your work. Feel the surfaces—if they’re still sticky or greasy, repeat the cleaning. Cabinets should feel smooth, dry, and free of residue. A clean surface is key for paint to stick.
Common Mistakes To Avoid
Many people make avoidable errors during cabinet cleaning. Here’s what to watch out for:
- Using Too Much Water: Oversoaking can damage wood or loosen veneer. Always wring out your cloth.
- Skipping Rinsing: Leftover soap or chemicals will stop paint from sticking. Rinse and dry every area.
- Scrubbing Too Hard: Abrasive pads or brushes can scratch cabinet surfaces. Be gentle.
- Not Removing Hardware: Paint around handles looks messy and leads to peeling paint later.
- Ignoring Hidden Spots: Paint won’t hide dirt in corners or under shelves. Clean everywhere paint will go.
- Using Harsh Chemicals: Bleach, ammonia, or strong solvents can damage finishes. Stick with mild cleaners unless the grease is very heavy.
Credit: www.dododsondesigns.com
Special Cleaning Situations
Sometimes, cabinets need extra attention. Here’s how to handle common challenges.
Sticky Or Tacky Surfaces
Grease buildup can feel sticky, even after basic cleaning. Use a degreaser or a vinegar-water mix (equal parts) and let it sit on the sticky area for 10 minutes before scrubbing.
Mold And Mildew
Mold appears as black or green spots, usually in damp areas. Mix one part vinegar with one part water. Spray on the mold, let sit for 30 minutes, then scrub and rinse. Always wear gloves and ventilate the room.
Smoke Residue
If your kitchen has had heavy smoking or a fire, there may be a yellow or brown film. Use TSP for this job, as it breaks down smoke stains. Rinse well and dry completely.
Water Stains
Water rings or stains need gentle treatment. Try a paste of baking soda and water. Rub gently with a soft cloth, then rinse and dry.
Heavy Grease
For thick, stubborn grease, heat helps. Place a warm, damp cloth over the area for a few minutes to soften the grease, then scrub with a degreaser.
When To Use Tsp (trisodium Phosphate)
TSP is a strong cleaner used by professionals. It’s especially useful for heavy grease, smoke residue, or when cabinets have a glossy finish that needs deglossing. Always follow these safety tips:
- Wear rubber gloves and eye protection.
- Mix according to package instructions (usually 1 tablespoon per gallon of water).
- Rinse surfaces with clean water after using TSP.
- Never mix TSP with ammonia or other chemicals.
TSP is not needed for light cleaning, but it’s the best option for really tough jobs.
Comparing Cleaning Products: Soap, Vinegar, And Degreaser
Different cleaning products offer different strengths. Here’s a simple comparison:
| Product | Strength | Best Use | Risks |
|---|---|---|---|
| Dish Soap | Mild | General dirt, light grease | None |
| Vinegar | Moderate | Grease, odors, stains | May dull some finishes |
| Degreaser | Strong | Heavy grease | Can damage finishes if not rinsed |
| TSP | Very Strong | Smoke, heavy stains, deglossing | Must be rinsed well, use gloves |
Tip: For most kitchens, start with dish soap and water. Use vinegar or degreaser only where needed.
How Long Does Cleaning Take?
The time you need depends on the size of your kitchen and the amount of grease.
- Small kitchen (8-12 cabinets): 2-3 hours
- Medium kitchen (13-20 cabinets): 3-5 hours
- Large kitchen (21+ cabinets): 6+ hours
If you have a lot of built-up grease or need to remove shelf liners, add extra time. Rushing this step often leads to poor paint results.
How Clean Is Clean Enough?
Many people wonder: how clean do the cabinets need to be? The answer is simple: Cabinets should feel smooth, dry, and free from any sticky spots. Run your hand over the surface. If it feels squeaky clean, you’re ready for paint.
Try this test:
- Wipe a clean, white cloth over the surface after cleaning. If it comes away dirty or greasy, repeat the cleaning.
Preparing Cabinets For Sanding And Priming
After cleaning, let your cabinets dry completely. This can take 1-2 hours, or longer if the kitchen is humid. Only when the surface is totally dry should you move to sanding or priming.
Why wait? Even a little moisture can cause paint to bubble or peel. Patience pays off.
What About Inside The Cabinets?
Even if you only plan to paint the outside, it’s smart to clean inside as well. Dirt and grease from inside can spread to painted surfaces later. Plus, you may change your mind and want to paint inside shelves in the future.
Real-world Example: Cleaning A Greasy Kitchen Cabinet
Let’s look at a real example. Maria’s kitchen had wood cabinets above her stove that felt sticky and looked yellow. She tried regular soap and water, but the grease stayed.
What worked for Maria:
- She mixed equal parts vinegar and warm water in a spray bottle.
- She sprayed the solution on the greasy spots and let it sit for 10 minutes.
- Using a soft sponge and an old toothbrush, she scrubbed the sticky areas.
- After rinsing with clean water and drying, the cabinets felt smooth and clean.
Maria then painted her cabinets. The paint stuck well and has lasted for years. The key was letting the cleaner sit and using gentle tools.
Comparing Manual Vs. Chemical Cleaning
Some people wonder if they need special cleaners, or if regular soap is enough. Here’s a quick comparison:
| Method | Pros | Cons | Best For |
|---|---|---|---|
| Manual (Soap & Water) | Safe, inexpensive, easy | May not remove heavy grease | Light to moderate dirt |
| Chemical (Degreaser, TSP) | Removes tough stains, fast | Stronger smell, needs good rinsing | Heavy grease, smoke, sticky residue |
If you’re not sure, start with the mildest method and only use chemicals if needed.
Cleaning Cabinet Glass And Mirrors
Some kitchen cabinets have glass inserts or mirrored doors. Clean these with a vinegar-water mix or glass cleaner. Avoid spraying directly on the wood—spray your cloth instead and wipe the glass. Dry with a lint-free towel for a streak-free finish.
Credit: www.dododsondesigns.com
Final Steps Before Painting
Once cleaning is done, take these final actions:
- Fill any dents or holes with wood filler and sand smooth.
- Lightly sand all surfaces to help primer and paint stick.
- Wipe away sanding dust with a tack cloth or damp microfiber cloth.
- Let everything dry fully.
Double-check that all hardware is clean and ready to reinstall.
Environmental And Health Safety
Some cleaners (like TSP or strong degreasers) can irritate skin and eyes. Always wear gloves and ventilate your kitchen. Store chemicals out of reach of children and pets.
If you want a green option, stick with dish soap, vinegar, and baking soda. These are safe, non-toxic, and break down grease well for most kitchens.
Quick Reference: Cleaning Steps Checklist
Here’s a fast checklist you can print or save:
- Empty cabinets and protect surfaces.
- Remove doors and hardware.
- Dry dust and vacuum.
- Wash with soapy water or cleaner.
- Scrub stubborn spots with baking soda or degreaser.
- Rinse with clean water.
- Dry all surfaces fully.
- Clean inside cabinets and hardware.
- Inspect and repeat cleaning if needed.
Following these steps ensures your cabinets are truly ready for a professional paint job.
Two Non-obvious Insights For A Better Result
- Let the cleaner soak: On greasy areas, letting your cleaning solution sit for 5-10 minutes before scrubbing can make a big difference. Don’t rush—time does the hard work for you.
- Label hardware and doors: Use painter’s tape to mark where each door and piece of hardware belongs. This saves hours of confusion when reinstalling, especially if cabinet doors look similar.
When To Call A Professional
If your cabinets are very old, damaged, or covered in heavy smoke or grease, you may need a professional cleaning service. Pros have tools and chemicals that are not available to homeowners. This can be a good investment if you want a perfect finish or if your cabinets are valuable.
Further Reading
For more on the science behind cleaning and adhesion, check out the Surface Chemistry article on Wikipedia.
Frequently Asked Questions
How Long Should I Wait After Cleaning Before Painting My Cabinets?
Cabinets should be completely dry before painting. Wait at least 1-2 hours after the final rinse. If your kitchen is humid, wait longer. Painting on damp surfaces causes paint to bubble and peel.
Can I Use Bleach Or Ammonia To Clean Kitchen Cabinets?
It’s best not to use bleach or ammonia. These chemicals can damage cabinet finishes and leave behind residue that prevents paint from sticking. Stick to dish soap, vinegar, or TSP for heavy-duty cleaning.
Do I Need To Clean New Cabinets Before Painting?
Yes. Even new cabinets have dust, oils from manufacturing, or fingerprints. A quick wipe with soapy water ensures the paint sticks well and looks smooth.
What Should I Do If My Cabinets Are Sticky After Cleaning?
Sticky cabinets mean there is still grease. Try a vinegar-water mix or a degreaser. Let the solution sit for 5-10 minutes, then scrub and rinse again. Repeat until the surface feels clean and dry.
Is It Necessary To Remove Cabinet Doors Before Cleaning And Painting?
Removing doors makes cleaning and painting easier and more thorough. You can reach every surface and avoid drips or missed spots. Label each door and its hardware to make reinstallation simple.
Giving your cabinets a deep clean is the foundation of a great paint job. With the steps and tips above, you can be sure your kitchen will look fresh, clean, and beautiful for years to come.