Using an Instant Pot can feel a bit overwhelming, especially if you’re new to pressure cooking. The different buttons and settings might seem confusing at first glance. However, one feature that stands out for its convenience is the Delay Start function. Imagine prepping a meal in the morning, setting your Instant Pot, and coming home to a hot, freshly cooked dish. That’s the power of Delay Start. In this guide, you’ll discover exactly how to use Delay Start on your Instant Pot, practical tips to avoid common mistakes, and expert advice to make meal planning easier and safer.
What Is Delay Start On An Instant Pot?
Delay Start is a timer feature that lets you decide when the Instant Pot should begin cooking. Instead of starting right away, you set a delay for a certain number of hours and minutes. This means you can load all your ingredients in the morning, set your Instant Pot to start cooking in the afternoon, and have your meal ready when you want it.
For busy people, this feature is a game-changer.
This function is available on most modern Instant Pot models. But not every model has it, and the way you set it can differ. Always check your user manual to be sure. Delay Start is especially useful for recipes where you want food to be hot and fresh at a specific time.
Why Use Delay Start?
The main reason people use Delay Start is convenience. Here are some common situations where it’s helpful:
- Meal Planning: Prepare meals in advance, especially for dinner after work.
- Busy Mornings: Set breakfast porridge or oatmeal to cook before you wake up.
- After-School Snacks: Have food ready for kids when they come home.
- Saving Time: Multitask without worrying about overcooking.
- Cooking Beans or Grains: Start these foods soaking or cooking while you’re away.
But Delay Start isn’t just about convenience. It can also help with energy savings if you set cooking for off-peak hours (when electricity is cheaper in some places). Still, there are important food safety concerns (explained later) to keep in mind.
How Delay Start Works On An Instant Pot
Understanding how Delay Start works helps you use it correctly. The function is simple in concept: You set the cooking program, then use Delay Start to tell the Instant Pot how long to wait before it begins.
Here’s what happens:
- You add all ingredients into the inner pot.
- You select your desired cooking program (like Pressure Cook, Rice, or Soup).
- You set the cooking time.
- You activate Delay Start and choose how many hours and minutes to delay.
- The Instant Pot waits for the set delay, then automatically begins cooking.
After cooking, most Instant Pots switch to Keep Warm mode, holding your food at a safe temperature until you’re ready to eat.
Which Instant Pot Models Have Delay Start?
Not all Instant Pot models include Delay Start. Here’s a quick comparison of popular models and their Delay Start features:
| Model Name | Delay Start Feature | Maximum Delay Time |
|---|---|---|
| Instant Pot Duo | Yes | 24 hours |
| Instant Pot Lux | Yes | 24 hours |
| Instant Pot Ultra | Yes | 24 hours |
| Instant Pot Duo Nova | Yes | 24 hours |
| Instant Pot Duo Crisp | No | N/A |
| Instant Pot Pro | Yes | 24 hours |
If you’re shopping for an Instant Pot and Delay Start is important to you, always check the product details. Some air fryer models or older versions may not include this function.
How To Use Delay Start: Step-by-step Instructions
Using Delay Start is simple once you know the steps. Here’s a detailed guide for most Instant Pot models:
- Add Ingredients: Place all ingredients into the inner pot. Make sure the sealing ring is in place and the lid is locked.
- Select Cooking Program: Press the button for the program you want (for example, Pressure Cook, Rice, or Soup).
- Set Cooking Time: Use the + or – buttons to choose your desired cooking time.
- Activate Delay Start: Press the Delay Start (or Timer) button. Some models call it “Timer.”
- Set Delay Time: Use the + or – buttons to set how many hours and minutes you want the delay to last. For example, if you want the cooking to begin in 3 hours, set “3:00.”
- Confirm Settings: Wait a few seconds. The display will show the countdown. The Instant Pot will start after the delay.
- Walk Away: The Instant Pot will automatically begin cooking after the delay and switch to Keep Warm when done.
Example: Setting Delay Start For Rice
Let’s say you want rice ready at 7:00 p.m., but you’re leaving the house at 3:00 p.m. and it takes 30 minutes to cook.
- Add rice and water to the pot.
- Close the lid and set the valve to “Sealing.”
- Press “Rice” and adjust the time if needed.
- Press “Delay Start” and set for 3 hours and 30 minutes.
- The Instant Pot will start at 6: 30 p.m. and finish at 7:00 p.m.
What Types Of Recipes Work Best With Delay Start?
Delay Start is perfect for certain types of recipes, but not all. Here’s what works well:
- Grains: Rice, oats, quinoa, and other grains.
- Legumes: Beans, lentils, and chickpeas.
- Soups and Stews: Non-dairy soups, stews, and chili.
- One-Pot Meals: Recipes where all ingredients cook together.
- Breakfasts: Oatmeal, breakfast casseroles.
Some foods are not safe for Delay Start (see the next section for details). Dairy, eggs, meat, and fish should not sit at room temperature for long periods.
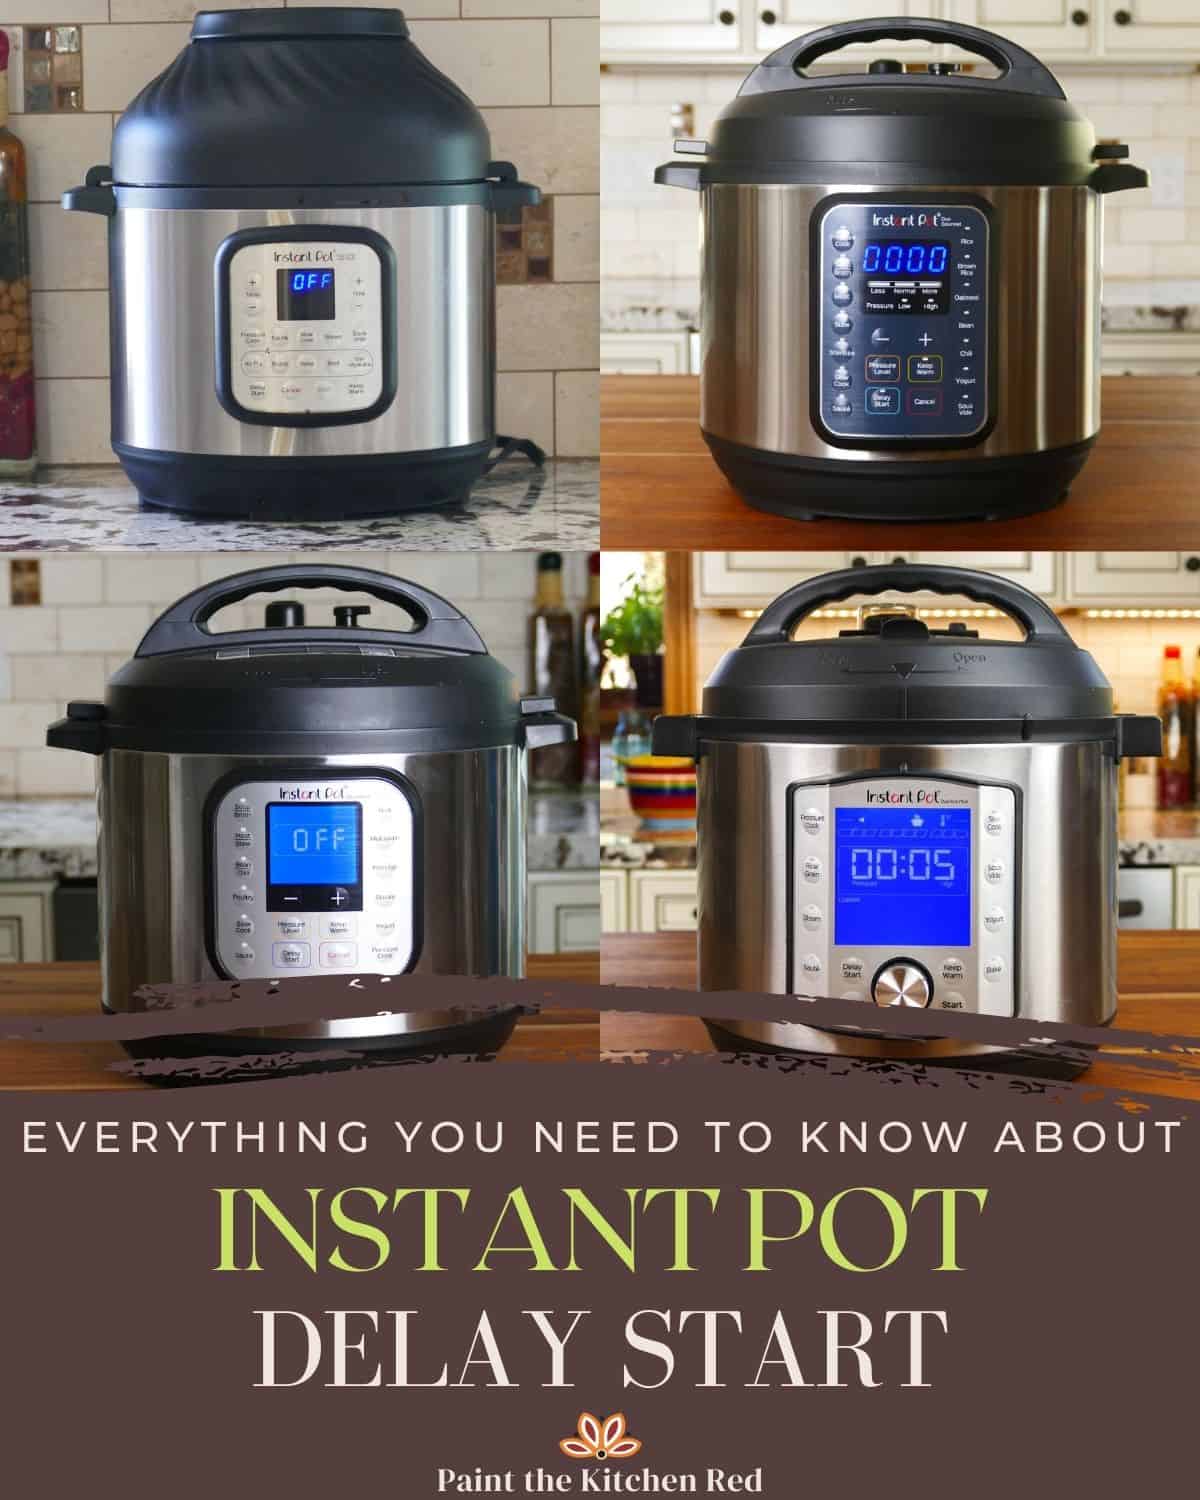
Credit: www.paintthekitchenred.com
Food Safety When Using Delay Start
One of the most important things to understand about Delay Start is food safety. The Instant Pot does not keep food cold before cooking. If you leave perishable foods like raw meat, fish, eggs, or dairy at room temperature for more than two hours, bacteria can grow quickly and cause foodborne illness.
Safe Delay Start Tips
- Only use Delay Start for non-perishable foods (dry grains, beans, water, broth, seasonings).
- If using vegetables, choose hardy types like carrots or potatoes. Avoid cut leafy greens.
- Do not use Delay Start for any recipe with raw meat, poultry, fish, eggs, or dairy.
- If you must use perishable items, refrigerate the entire inner pot before setting Delay Start. Some experienced users do this, but it comes with risks.
- Never set Delay Start for more than 2 hours with perishable foods, according to USDA guidelines.
For more information on food safety, check the US Food Safety website.
Common Mistakes When Using Delay Start
Even experienced users can make mistakes with Delay Start. Here are some common problems and how to avoid them:
- Leaving Perishables Too Long: Never delay cooking meat, eggs, or dairy more than two hours.
- Forgetting the Water: Pressure cooking requires enough liquid. Dry grains or beans without enough water can burn.
- Not Sealing the Lid: If the lid is not closed properly or the valve is set to “Venting,” the Instant Pot will not build pressure.
- Wrong Program Selection: Some functions (like Sauté or Yogurt) do not work with Delay Start.
- Incorrect Delay Time: Double-check your math. If you set the delay too long, food may not be ready when you want.
- Ingredient Texture: Some vegetables or delicate ingredients may become mushy if left in water for a long delay.
Advanced Tips For Delay Start Success
If you want to get the most from Delay Start, here are some advanced tips that most beginners miss:
- Layer Ingredients: Put the hardest ingredients (like beans or root vegetables) on the bottom and delicate ones (like rice) on top. This way, delicate foods don’t soak too long.
- Use Frozen Ingredients: If you must use meat or seafood, add them frozen. This keeps them cold longer, but remember, it still carries risk.
- Pre-Soak Beans: For beans, pre-soak them in advance and use Delay Start only for the final cooking. This gives better texture and reduces cook time.
- Use Delay Start Overnight: For steel-cut oats or porridge, you can set Delay Start before bed and wake up to hot breakfast.
- Keep Warm Setting: Remember, after cooking, the Instant Pot keeps food at a safe serving temperature. Adjust the Keep Warm time in your model if needed.
Instant Pot Delay Start Vs. Keep Warm Function
These two features are different but often confused. Delay Start is about when cooking begins. Keep Warm is about maintaining food temperature after cooking.
Here’s a simple comparison:
| Feature | Purpose | When to Use |
|---|---|---|
| Delay Start | Postpones the start of cooking | When you want food ready at a certain time, but need to prep early |
| Keep Warm | Keeps food hot after cooking ends | When you’re not ready to eat as soon as cooking finishes |
You can use both together. Set Delay Start to begin cooking later, and the Instant Pot will switch to Keep Warm automatically when done.
How Long Can Delay Start Be Set?
Most Instant Pot models allow a maximum delay of 24 hours. This is more than enough for most recipes. However, as mentioned earlier, food safety limits how long you can safely use Delay Start with perishable foods.
If you’re cooking only grains, beans, or water, you can use the full 24-hour delay. For anything with fresh produce or other perishables, keep the delay as short as possible.
Practical Meal Ideas Using Delay Start
Looking for inspiration? Here are some practical meal ideas that work well with Delay Start:
- Overnight Oatmeal: Combine steel-cut oats, water, and dried fruit. Set Delay Start before bed for a hot breakfast in the morning.
- Rice for Dinner: Load rice and water in the morning. Set Delay Start so rice is ready for dinner.
- Soup or Stew: Use only shelf-stable ingredients (like canned tomatoes, beans, and broth) for a safe, delayed soup.
- Quinoa Salad Base: Cook quinoa with spices while you’re at work. Add fresh veggies later.
- Chili with Canned Beans: Use canned beans and tomatoes, spices, and Delay Start for a hearty, safe chili.
These meals are simple, avoid perishable items, and benefit most from the Delay Start feature.
Troubleshooting Delay Start Problems
Sometimes, things don’t go as planned. Here’s how to solve common problems:
Delay Start Button Not Working
- Make sure your model actually has Delay Start. Some models label it as “Timer.”
- You must select the cooking program before pressing Delay Start.
- If the Instant Pot is already hot (from a previous use), unplug and let it cool before trying again.
Instant Pot Doesn’t Start After Delay
- Check the lid and sealing ring.
- Ensure the power cord is fully plugged in.
- If you set Delay Start for a very short time (like 1 minute), the program may not activate.
Error Codes During Delay Start
- E6 or “Burn” error often means not enough liquid. Add more water or broth.
- If you see “Lid” error, check the lid position.
If your Instant Pot continues to give errors, consult your user manual or customer support.
How To Clean And Maintain Your Instant Pot After Using Delay Start
Proper cleaning keeps your Instant Pot working well for years. Here’s how to clean it after using Delay Start:
- Unplug and Cool Down: Always unplug and let the pot cool before cleaning.
- Remove Inner Pot: Wash the stainless steel inner pot with warm, soapy water.
- Clean Sealing Ring: Remove and wash the silicone sealing ring. It can absorb food smells, so clean it regularly.
- Wipe the Lid: Wash the lid by hand. Pay attention to the steam release valve.
- Wipe Exterior: Use a damp cloth to clean the outside. Never immerse the base in water.
- Dry Completely: Make sure all parts are dry before reassembling.
If you use Delay Start with grains or beans, check for stuck-on food at the bottom. Soak the pot if needed before washing.
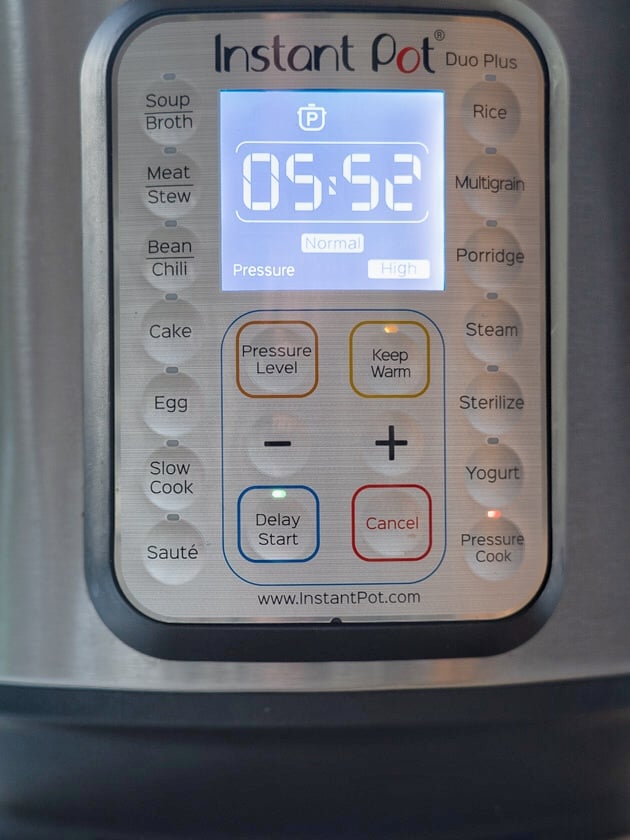
Credit: www.dadcooksdinner.com
Delay Start For Beginners: Essential Do’s And Don’ts
If you’re new to Delay Start, these simple guidelines will help you avoid mistakes:
Do:
- Use for grains, beans, and shelf-stable recipes.
- Check the sealing ring and lid before leaving.
- Use enough liquid to prevent burning.
- Double-check your delay and cook time.
- Keep the Instant Pot away from the edge of counters, especially if you’re not home.
Don’t:
- Use Delay Start for meat, eggs, dairy, or fish sitting at room temperature.
- Leave perishable foods unrefrigerated for more than two hours.
- Forget to lock the lid and set the valve to “Sealing.”
- Ignore error codes or warning signals.
Understanding Instant Pot Delay Start Limits
There are some limits and quirks with Delay Start that you should know:
- Delay Start does not work with Sauté, Yogurt, or some specialty modes.
- If you lose power during Delay Start, the timer resets and the program is canceled.
- Delay Start does not have a “repeat” or “recurring” option. You must set it each time.
- Some Instant Pot models require you to press “Start” after setting Delay Start.
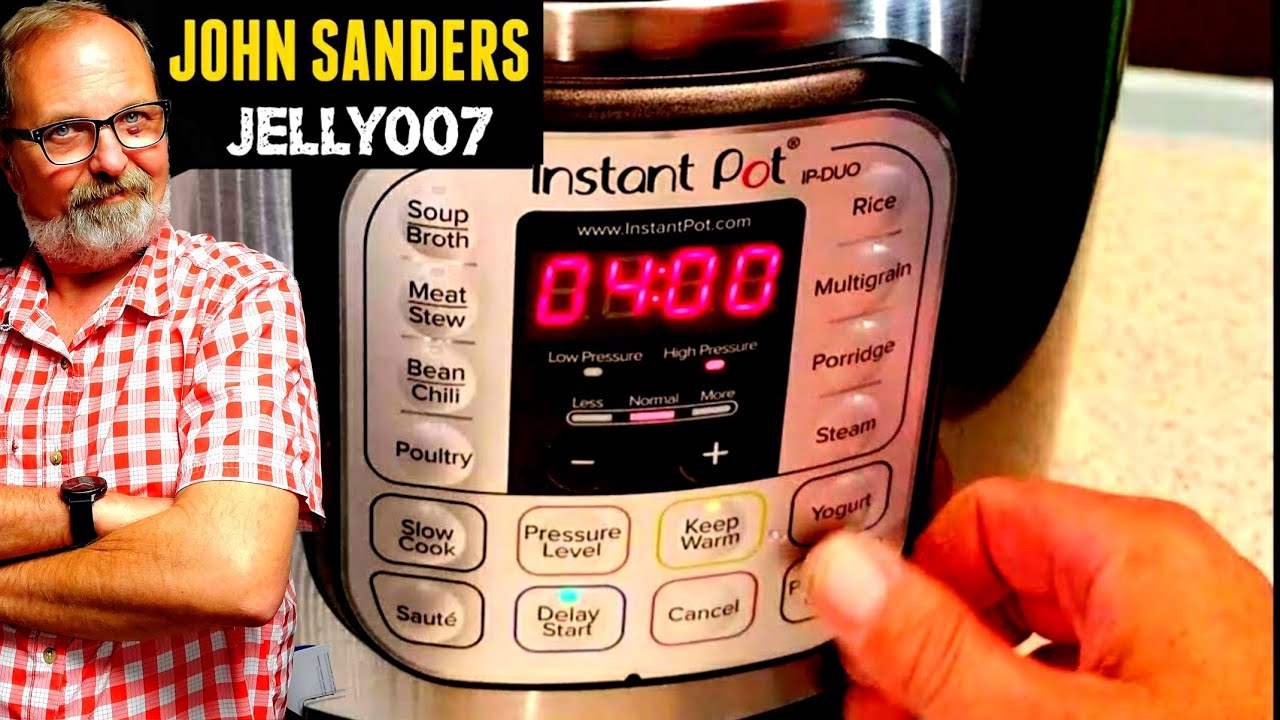
Credit: www.youtube.com
Comparing Delay Start To Other Kitchen Appliances
Many kitchen appliances (like slow cookers and rice cookers) have timers or delay options. Here’s how Delay Start in an Instant Pot compares:
| Appliance | Delay Start Feature | Food Safety Concerns |
|---|---|---|
| Instant Pot | Yes (most models) | High (due to pressure cooking and sealed environment, but still risky with perishables) |
| Slow Cooker | Some models | Even higher risk, since food is not heated quickly |
| Rice Cooker | Most models | Lower (for dry rice/grains, not for mixed dishes) |
The Instant Pot is generally safer because it heats food quickly under pressure, but it’s still important to avoid leaving perishable ingredients at room temperature for long periods.
Delay Start And Meal Prep: Time Management Tips
Delay Start helps with meal prep and time management. Here’s how to use it effectively:
- Plan your week’s meals and prep ingredients in advance.
- Use Delay Start for breakfast grains, dinner sides, or non-perishable soups.
- Combine with a slow cooker or air fryer for more meal options.
- Set a reminder on your phone to check the Instant Pot when you return home.
Many people find that Delay Start becomes essential for busy schedules. But remember, time savings should never come at the expense of food safety.
Mistakes Beginners Miss With Delay Start
Beginners often overlook two important things:
- Ingredient Swelling: Beans and grains swell as they soak. If you fill the pot too high, it may overflow or not seal properly. Always keep the inner pot below the MAX line.
- Delayed Texture Changes: Some ingredients, like potatoes, can become overly soft or break apart if they sit in water before cooking. Plan your recipes to add delicate items after cooking when possible.
Understanding these details helps you make better meals and keep your Instant Pot in great shape.
Frequently Asked Questions
How Do I Know If My Instant Pot Model Has Delay Start?
Check the control panel for a button labeled “Delay Start” or “Timer. ” Most modern models (Duo, Lux, Ultra, Pro) include this feature. If you don’t see it, check your user manual or search for your model’s features online.
Is It Safe To Use Delay Start With Raw Meat Or Dairy?
No, it is not recommended. Bacteria can grow quickly if raw meat, fish, eggs, or dairy are left at room temperature for more than two hours. Only use Delay Start with non-perishable foods, or refrigerate the inner pot and keep the delay short.
Can I Use Delay Start For All Cooking Programs?
No. Delay Start works only with pressure cooking and some basic programs (like Rice or Soup). It does not work with Sauté, Yogurt, or certain specialty functions. Always check your manual.
What’s The Maximum Delay Start Time I Can Set?
Most Instant Pot models allow up to 24 hours. However, food safety limits how long you should delay starting, especially with perishable foods.
What Should I Do If The Instant Pot Gives A “burn” Error After Delay Start?
This usually means there wasn’t enough liquid, or food stuck to the bottom. Always add enough water or broth, and avoid thick sauces or sticky ingredients sitting on the bottom during Delay Start.
Using Delay Start on your Instant Pot can make meal planning much easier and more flexible. By understanding how this function works and following food safety rules, you’ll enjoy hot, delicious meals exactly when you want them—without stress or last-minute cooking.