Camping brings you close to nature, and for many, it’s a time to slow down and enjoy simple pleasures—like a fresh cup of coffee in the morning. But how do you make good coffee in the wild without your kitchen? This is where the percolator becomes your best friend. Percolator coffee has a rich, classic taste that suits the outdoors. If you’ve ever wondered how to use a percolator while camping, or why many outdoor lovers prefer it over instant coffee or single-use pods, you’re in the right place. This guide will cover every detail, from choosing and setting up your percolator to brewing, cleaning, and solving common problems. Along the way, you’ll find practical tips, safety advice, and ways to get the best flavor out of your camp coffee experience.
What Is A Camping Percolator?
A camping percolator is a coffee maker made for outdoor use. It uses a simple process: hot water moves through coffee grounds over and over, pulling out the flavor and aroma. Most camping percolators are made of stainless steel or aluminum, which are durable and resist rust. They don’t need electricity, just a fire, stove, or hot coals.
How Does A Percolator Work?
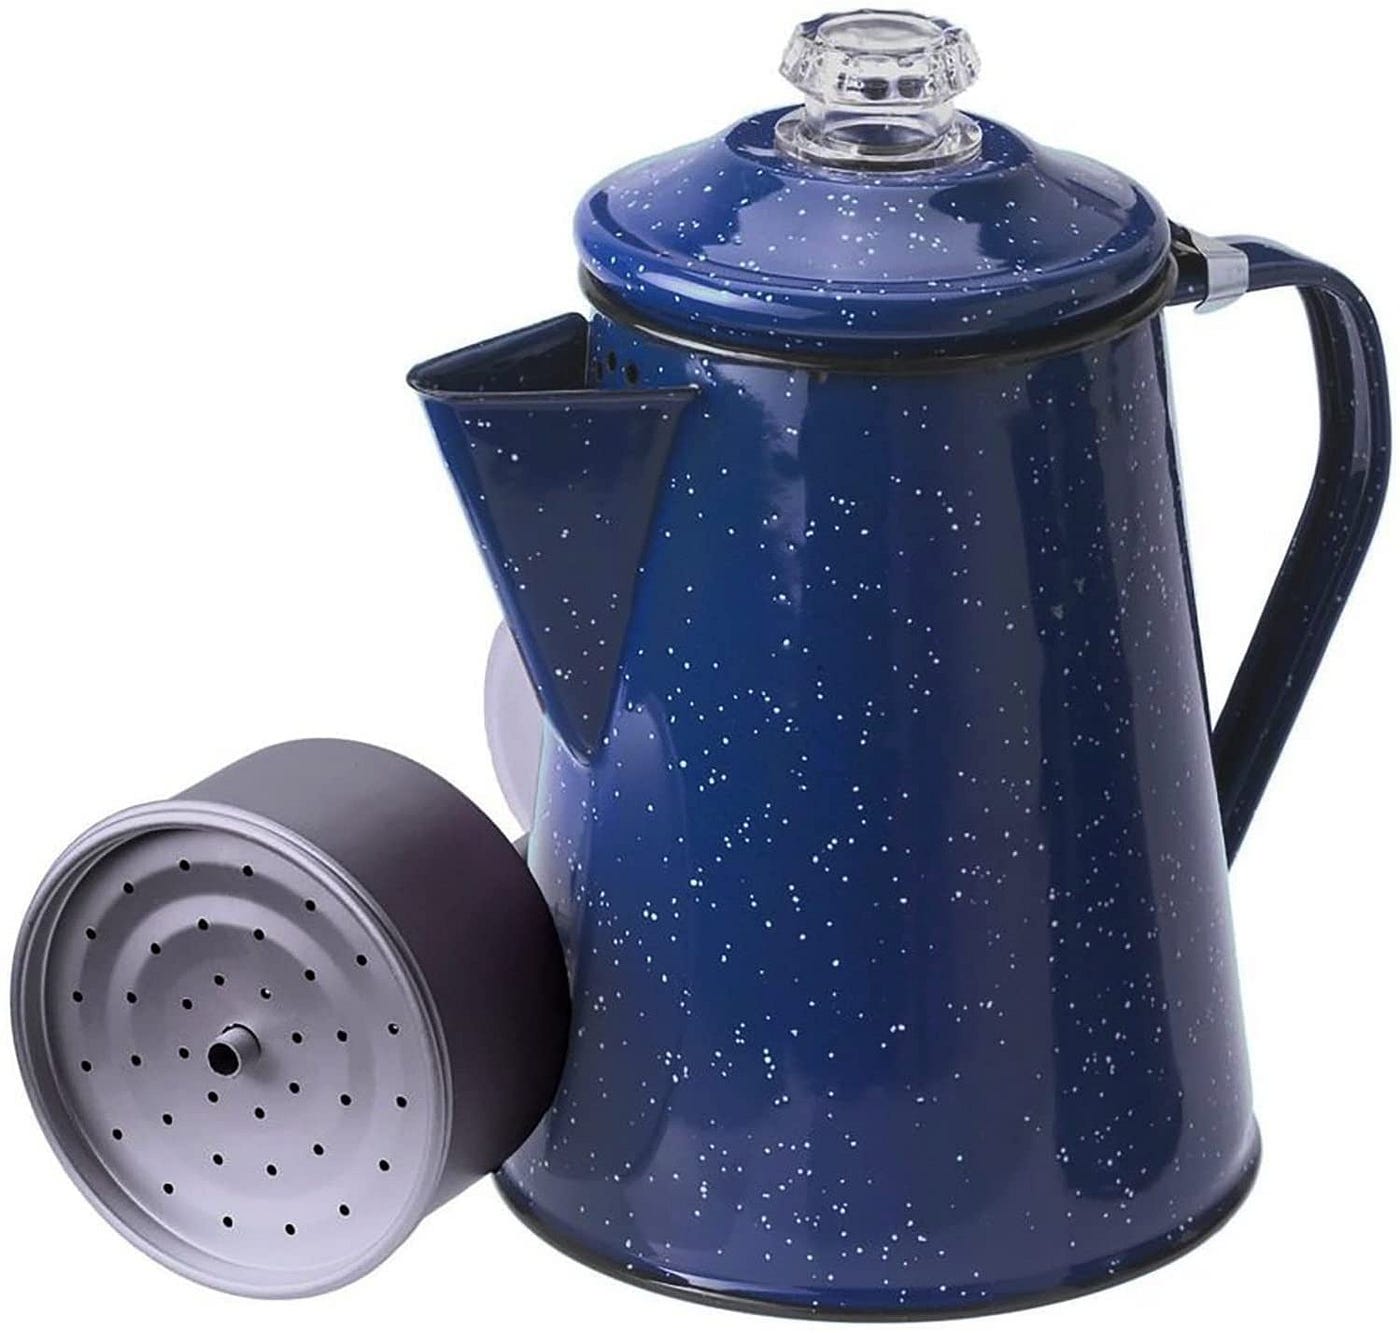
A percolator has three main parts:
- The pot (holds water)
- The filter basket (holds ground coffee)
- The tube (moves boiling water up)
When you heat the percolator, boiling water rises through the tube and drips over the coffee grounds. The brewed coffee drips back down into the pot, and the cycle repeats, making the coffee stronger with each cycle.
Why Choose A Percolator For Camping?
Coffee percolators have been used for generations. Modern campers still choose them for several reasons:
- Durability: Made to handle rough handling and high heat.
- No Electricity Needed: Perfect for remote areas.
- Makes Multiple Cups: Serve groups, not just one person.
- Classic Flavor: The brewing style creates bold, rich coffee.
- Simple Parts: Fewer things to break or lose.
While methods like pour-over or French press are popular, percolators are trusted for their reliability and simplicity at the campsite.

Credit: www.youtube.com
Choosing The Right Percolator For Camping
Not all percolators are created equal. Picking the right one ensures you get the best coffee and a hassle-free experience.
Key Features To Consider
- Material: Stainless steel is rust-proof and long-lasting. Aluminum is lighter but can dent easily.
- Capacity: Common sizes range from 4 to 12 cups. Think about your group size.
- Weight: Backpackers need lightweight models; car campers can use heavier ones.
- Heat Source Compatibility: Some are made for open fire, others for camp stoves.
- Viewing Knob: This clear knob on top lets you see the brewing color.
- Removable Parts: Easier cleaning and maintenance.
Comparison Of Popular Camping Percolators
Here’s a quick look at how common percolator models compare:
| Model | Material | Capacity | Weight | Best For |
|---|---|---|---|---|
| GSI Outdoors Glacier | Stainless Steel | 6, 9, 12 Cups | Medium | Group Camping |
| Farberware Classic | Stainless Steel | 8, 12 Cups | Heavy | Car Camping |
| Texsport Aluminum | Aluminum | 9 Cups | Lightweight | Backpacking |
| Stanley Adventure | Stainless Steel | 6 Cups | Medium | Solo or Duo |
Common Mistakes When Choosing
- Picking a percolator that’s too big or too small for your group
- Choosing a model not compatible with your stove or campfire
- Ignoring weight if you hike long distances
What You Need Before Brewing
Before making your first pot of camp coffee, gather these essentials:
- Percolator (clean and assembled)
- Coffee grounds (medium-coarse grind works best)
- Fresh water (filtered if possible)
- Heat source (campfire, propane stove, or grill)
- Measuring cup or spoon
- Mug or thermos
- Heatproof gloves (for handling hot metal)
- Timer or watch
- Stirrer (optional, for mixing before serving)
- Cleanup supplies (brush, biodegradable soap, towel)
Why Medium-coarse Grind?
Medium-coarse coffee grounds are ideal for percolators. Fine grounds can slip through the basket, making your coffee gritty. If you grind your own beans, aim for a texture similar to rough sand.

Credit: cafely.com
Step-by-step: How To Use A Percolator Camping
Let’s walk through the whole process, from setup to that first sip.
1. Clean And Assemble The Percolator
Even new percolators can have dust or oil from the factory. Wash all parts with warm water and mild soap. Rinse well and dry.
- Insert the tube into the center hole of the pot.
- Place the basket on the tube.
2. Measure And Add Water
Decide how much coffee you want to make. Percolator cups are usually 5-6 ounces each.
- For 4 cups, fill the pot with 20–24 ounces of water.
- Use filtered water for the best taste.
Pour water into the bottom chamber, making sure not to overfill above the tube’s bottom.
3. Add Coffee Grounds
- Use 1–2 tablespoons of ground coffee per 6 ounces of water. Adjust for taste.
- Place grounds in the filter basket. Level them gently; do not press down hard.
- Some people use paper filters cut to fit for less sediment, but this is optional.
4. Set Up Your Heat Source
Campfires, propane stoves, or grills all work. For best results:
- Place the percolator on a stable, level spot.
- Avoid direct contact with large flames (they can warp the pot).
5. Start Brewing
- Assemble the percolator, making sure the lid and viewing knob are secure.
- Place it on the heat.
- Keep the heat medium to avoid boiling over.
You’ll hear a gentle “perking” sound as water rises and falls. Watch the knob: at first, you’ll see clear water bubbles. As brewing continues, the color darkens.
6. Time Your Brew
- For mild coffee: 7–8 minutes after perking starts
- For strong coffee: 10–12 minutes
Do not let it boil violently; this makes bitter coffee.
7. Remove And Serve
- Use heatproof gloves to take the percolator off the heat.
- Let it sit for 1–2 minutes to let grounds settle.
- Remove the basket and tube carefully—hot steam will escape!
- Stir the pot gently, then pour into mugs.
8. Clean Up
- Dump used grounds far from water sources (it’s good for soil).
- Rinse all parts. Use a brush for the basket and tube.
- Dry all parts before packing to avoid rust.
Tips For Perfect Percolator Coffee Every Time
Even with simple gear, a few tricks can make your camp coffee shine.
Control Heat
Too much heat makes coffee bitter. Keep the percolator just below boiling—gentle perking is the goal.
Watch The Color
The viewing knob is your friend. When the color looks right for your taste, it’s done.
Experiment With Amounts
Try different ratios of water and grounds. Write down what you like, especially if you’re new to percolators.
Use Good Water
Bad-tasting water equals bad coffee. If your camping water is hard or mineral-rich, use filtered or bottled water if possible.
Pre-heat Your Mug
Warm your mug with a splash of hot water before pouring the coffee. This keeps your drink hotter longer.
Avoid Over-perking
The longer you let it percolate, the stronger (and sometimes more bitter) the coffee. Set a timer if you tend to forget.
Common Percolator Problems And How To Fix Them
New users often run into a few issues. Here’s how to solve them.
Coffee Is Too Weak
- Not enough coffee grounds
- Brew time too short
- Water not hot enough
Solution: Add more grounds, let it perk longer, or increase the heat slightly.
Coffee Is Too Bitter
- Brew time too long
- Heat too high
- Coffee ground too fine
Solution: Use a coarser grind, reduce brew time, or lower heat.
Grounds In The Coffee
- Basket holes too large
- Using fine grounds
- No filter paper
Solution: Switch to medium-coarse grounds or use a paper filter.
Percolator Boils Over
- Filled above max line
- Heat too high
Solution: Fill to the right level, watch the heat, and keep the lid on.
Percolator Parts Rusting
- Not dried fully before storing
Solution: Always dry all parts thoroughly before packing away.
Safety Tips When Using A Percolator Camping
Hot metal and boiling water can be dangerous in the wild. Stay safe with these steps:
- Always use heatproof gloves when touching the percolator.
- Place the pot on a steady, level surface.
- Keep children and pets away from the fire or stove.
- Never open the lid while the pot is perking (steam burns! ).
- Let the percolator cool before cleaning or disassembling.
Cleaning And Caring For Your Percolator
A well-cared-for percolator can last decades. Here’s how to keep it in top shape.
Routine Cleaning
- After every use, rinse all parts with warm water.
- Use a soft brush to clean the basket, tube, and pot.
- For stuck-on stains, soak in hot soapy water.
Deep Cleaning (once A Month)
- Mix 1/4 cup baking soda with water, fill the pot, and run a perking cycle with no grounds.
- Rinse thoroughly.
- For tough stains, use a vinegar-water mix.
Packing For Storage
- Dry all parts completely.
- Store with the lid off to let air flow inside.
Avoiding Odors
- Don’t store with wet grounds inside.
- If your percolator smells bad, run a perking cycle with just water and a bit of vinegar.
Comparing Percolators With Other Camping Coffee Makers
There are many ways to brew coffee outdoors. Here’s how the percolator stacks up against other popular methods:
| Method | Flavor | Ease of Use | Cleanup | Portability | Best For |
|---|---|---|---|---|---|
| Percolator | Bold, classic | Medium | Medium | Medium | Groups, tradition |
| French Press | Rich, smooth | Easy | Messy | Medium | Car camping |
| Pour-Over | Clean, bright | Easy | Easy | Very light | Solo backpackers |
| Instant Coffee | Variable | Very easy | Very easy | Very light | Minimalists |
Non-obvious Insights
- Percolators can make boiling water for other uses (like oatmeal) while you brew coffee—saving fuel and time.
- You can use a percolator to brew loose-leaf tea or even heat soup in a pinch.
Advanced Tips: Customizing Your Camp Percolator Coffee
Once you’re comfortable with the basics, try these ideas to take your brew to the next level.
Add Spices
- Toss a pinch of cinnamon, nutmeg, or cardamom into the grounds for a unique flavor.
- Add a few crushed cocoa nibs for a mocha twist.
Cold-soak The Grounds
Before brewing, let your grounds soak in cold water for 10 minutes. This can reduce bitterness and make the coffee smoother.
Pre-infuse With Hot Water
Pour just enough hot water over the grounds before assembling the pot. Let it sit for 30 seconds. This “blooms” the coffee, releasing more flavor.
Try Different Roasts
Experiment with medium and dark roasts to see which you prefer. Dark roast is less acidic, while medium has more complex flavors.
Use A Thermometer
For maximum control, check water temperature. Aim for 195–205°F (90–96°C). If you don’t have a thermometer, water should be just below a rolling boil.
Troubleshooting: When Things Go Wrong
Even with practice, things can go off track. Here are quick solutions to common headaches:
- Coffee Tastes Metallic: This often happens with new aluminum percolators. Run two or three cycles with water and a tablespoon of baking soda before brewing coffee.
- Coffee is Cloudy: Usually from over-extraction. Brew for less time, or use fewer grounds.
- Percolator Won’t Perk: Check that the tube is not clogged and the water level is not below the tube’s base.
- Plastic Knob Cracks: Replace with a glass knob, which handles heat better.
- Grounds Spill Over: Don’t overfill the basket; leave room at the top.
Making Percolator Coffee In Bad Weather
Rain, wind, or cold can make camp cooking tricky. Here’s how to keep your coffee routine on track:
- Shield your stove or fire from wind with rocks or a windscreen.
- Use a lid at all times to keep out rain or ash.
- In very cold weather, pre-warm the percolator with hot water before adding coffee.
- Avoid brewing inside a tent (fire hazard and carbon monoxide risk).
Environmental Considerations
Responsible camping means leaving no trace. Follow these tips:
- Scatter used coffee grounds away from water sources.
- Use biodegradable soap for cleaning.
- Don’t dump hot water or grounds in streams or lakes.
Using a percolator avoids plastic waste from single-serve pods, making it a greener choice.
Credit: medium.com
Percolator Camping: Real-world Examples
Many campers develop their own rituals with percolator coffee. For example:
- Some hikers set their percolator near the fire before sunrise, so coffee is ready as the day begins.
- Group campers often assign one person as “camp barista” to manage the coffee cycle.
- Families enjoy the percolator’s rhythm—a gentle “perk” sound signals breakfast is coming.
Where To Learn More
You can find more about percolator history and brewing science at resources like the Wikipedia Coffee Percolator page.
Frequently Asked Questions
How Much Coffee Do I Put In A Camping Percolator?
A good starting ratio is 1–2 tablespoons of ground coffee per 6 ounces of water. Adjust to your taste. If you like strong coffee, use more; for milder coffee, use less.
What Grind Size Is Best For Percolator Coffee?
Use medium-coarse grounds. If the grind is too fine, you’ll get sediment in your cup. If it’s too coarse, the coffee will be weak.
Can I Use A Percolator On Any Campfire Or Stove?
Most percolators work on open fires, grills, or camp stoves. Check the manufacturer’s instructions. Avoid placing directly on large flames, which can warp the pot.
How Do I Clean My Percolator At Camp?
Rinse with warm water after each use. Use a soft brush for the basket and tube. If you have soap, use biodegradable types. Dry all parts before packing.
Why Does My Percolator Coffee Taste Bitter?
Bitterness comes from over-brewing or too much heat. Try reducing the brew time, lowering the heat, or using a coarser grind.
Camping with a percolator brings a sense of tradition and comfort. The process may take a few extra minutes, but the reward is a hot, flavorful cup you can enjoy in the great outdoors. With a little practice, you’ll master the art of percolator coffee and maybe even make it the highlight of your camping mornings.