If you use a Ninja Blender regularly, you know how important sharp blades are for blending, chopping, and pureeing. Over time, even the best blades can get dull, making your smoothies less smooth and your salsas chunky. Sharpening your Ninja Blender blades might sound difficult, but with the right steps, anyone can do it safely at home.
This guide will show you everything you need to know, from how the blades work to detailed steps, safety tips, and how to keep them sharp longer. Whether you’re a kitchen pro or just starting, you’ll learn practical ways to get the most out of your Ninja Blender.
Why Sharp Blender Blades Matter
Sharp blades are the heart of any blender. When Ninja Blender blades are sharp, you get:
- Smooth blends: No more chunks of fruit or ice.
- Faster results: Less time blending means less wear on your motor.
- Even chopping: Salsas, dips, and soups have a better texture.
- Longer appliance life: Dull blades make the motor work harder, which can shorten your blender’s life.
Dull blades force you to blend for longer, which heats up your food and can even burn out the motor. If you notice your blender isn’t performing like before, blade sharpness is often the cause.
Understanding Ninja Blender Blades
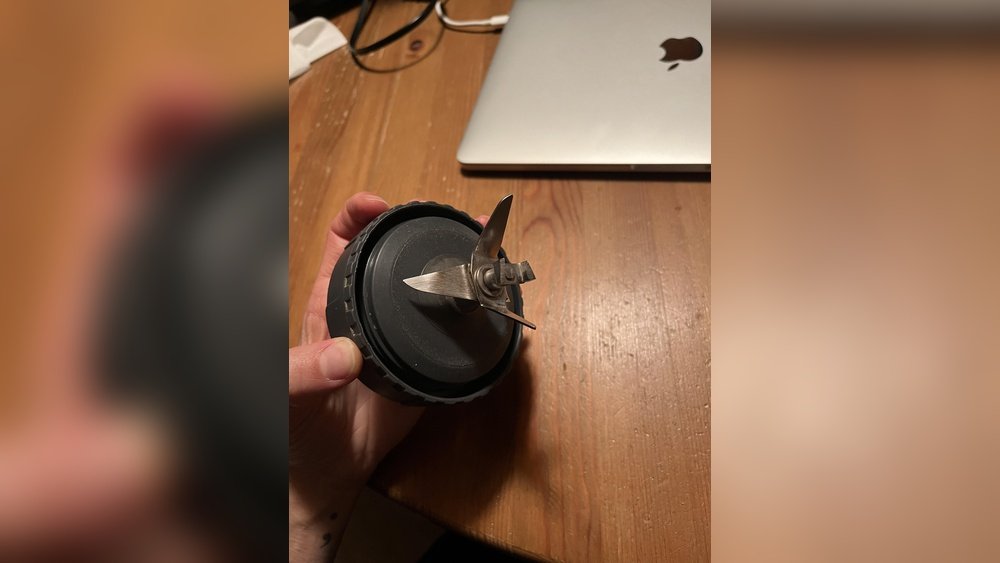
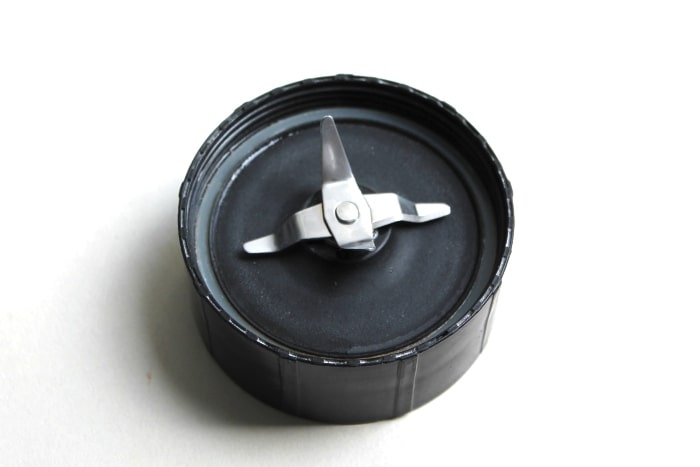
Before sharpening, it helps to know what you’re working with. Ninja Blender blades are made from high-quality stainless steel. They’re designed for heavy use and are arranged in a unique stacked pattern. This lets them chop and blend from multiple angles. Most Ninja blenders use removable blade assemblies, which means you can take the blades out for cleaning and sharpening.
There are several types of Ninja Blender blades:
- Stacked blade assembly: Most popular. Multiple blades at different heights.
- Single flat blade: Used in some small models.
- Dough or specialty blades: For kneading or mixing.
Knowing your blade type is important because it affects how you sharpen and reassemble it.
Signs Your Ninja Blender Blades Need Sharpening
Not sure if your blades are dull? Look for these signs:
- Uneven blending: Chunks of food remain after blending.
- Longer blending time: Recipes take longer to finish.
- Motor strain: The motor sounds like it’s working harder.
- Food jams: Ingredients get stuck or blades stop turning.
- Visible nicks or dullness: The edge looks worn or rounded.
If you see any of these, it’s time to sharpen your blades.
Are Ninja Blender Blades Supposed To Be Sharpened?
Many people wonder if blender blades are meant to be sharpened. While Ninja recommends replacing damaged blades, sharpening is safe if done carefully. Stainless steel can be sharpened several times before needing replacement. Home sharpening saves money, reduces waste, and keeps your blender working like new. Just remember: if the blade is bent, cracked, or seriously damaged, replace it instead.

Credit: www.youtube.com
Safety First: Preparing For Sharpening
Sharpening blender blades is not risk-free. These steps keep you safe:
- Unplug the blender: Never work on a plugged-in appliance.
- Wear cut-resistant gloves: Prevent cuts from sharp edges.
- Clear your workspace: Remove clutter to avoid accidents.
- Use proper tools: Only use recommended sharpening tools.
Never rush. Take your time to prevent slips or injuries.
Tools And Materials Needed
You don’t need expensive tools to sharpen Ninja Blender blades. Here’s what works best:
- Whetstone or sharpening stone: The most controlled method.
- Sharpening rod or file: Good for quick touch-ups.
- Fine-grit sandpaper (600-1000 grit): For minor sharpening.
- Screwdriver or wrench: To remove the blade assembly.
- Cut-resistant gloves: For your safety.
- Cleaning brush and dish soap: To clean the blades after sharpening.
- Soft cloth or towel: For drying.
Avoid using electric grinders—they can overheat and damage the blade.
Removing Ninja Blender Blades
To sharpen properly, you need to remove the blade assembly from the blender jar. Here’s how:
- Unplug the blender.
- Remove the jar from the base.
- Unscrew the blade assembly. Most Ninja models have a removable blade that twists out from the bottom. If unsure, check your user manual or look for a twist-and-lock mechanism.
- Handle the blade carefully. Even dull blades can cut.
If your model has a non-removable blade, you can still sharpen it, but be extra cautious and work with the blade fixed in place.
Cleaning The Blades Before Sharpening
Sharpening dirty blades can scratch or damage them further. Clean first:
- Use warm soapy water and a soft brush.
- Scrub away any food residue or grease.
- Rinse thoroughly and dry completely with a towel.
Never sharpen wet blades—they can slip and cause injury.
Credit: riseandblend.com
Step-by-step Guide: How To Sharpen Ninja Blender Blades
Now you’re ready for the main event. Follow these steps for the best results.
1. Inspect The Blade
Before sharpening, look for damage. If the blade is cracked or badly bent, replace it. Only sharpen blades that are still structurally sound.
2. Choose Your Sharpening Method
There are three main methods:
Using A Whetstone
A whetstone gives you the most control and the sharpest edge. Here’s how:
- Wet the stone with water.
- Hold the blade at a 15-20 degree angle.
- Move the blade across the stone in one direction, away from your body.
- Repeat 6-10 times per edge.
- Flip and sharpen the other side.
- Wipe the blade clean after sharpening.
Using A Sharpening Rod Or File
- Hold the rod at a 15-20 degree angle to the blade.
- Slide the blade down the rod, starting at the base and moving to the tip.
- Repeat for each blade edge.
- Use light, even pressure.
Using Fine-grit Sandpaper
- Lay the sandpaper flat.
- Hold the blade at the correct angle.
- Move the edge across the sandpaper.
- Check sharpness after several passes.
3. Sharpen Each Blade Edge
Ninja blades often have several edges at different heights. Sharpen each one:
- Work slowly and methodically.
- Keep the angle steady.
- Test sharpness with your thumb (gently touch the edge, don’t slide).
4. Clean And Dry The Blade
After sharpening, wash away any metal shavings:
- Rinse under warm water.
- Use a brush to remove filings.
- Dry completely to prevent rust.
5. Reassemble The Blender
- Place the blade assembly back into the jar.
- Tighten securely.
- Make sure all seals and gaskets are in place.
- Test with water first to ensure no leaks.
Tips For Sharpening Different Ninja Blender Blade Types
Ninja makes several blade assemblies. Here’s how to handle each:
Stacked Blades
- Sharpen each level separately.
- Use a small sharpening rod for tight spaces.
- Rotate the blade to access all sides.
Flat Blades
- Sharpen as you would a regular knife.
- Focus on both sides of the edge.
Dough Or Specialty Blades
- Usually not sharpened, as they are for mixing, not cutting.
- If dull, consider replacement instead.
How Often Should You Sharpen Ninja Blender Blades?
The answer depends on how much you use your blender:
- Daily use: Sharpen every 3-6 months.
- Weekly use: Once a year is usually enough.
- Occasional use: Check sharpness every 12-18 months.
Other factors affect frequency:
- Blending ice or hard foods: Blades dull faster.
- Using dishwasher: Can wear edges over time.
Check sharpness regularly, and don’t wait for problems to appear.
Comparing Home Sharpening Vs. Blade Replacement
Is it better to sharpen or just buy a new blade? Here’s a quick comparison:
| Factor | Sharpening | Replacement |
|---|---|---|
| Cost | Free or low (just tools) | Usually $20-$40 per blade |
| Time | 15-30 minutes | Order and wait for delivery |
| Difficulty | Easy with practice | Very easy |
| Eco-friendliness | More sustainable | Creates waste |
| Results | Like new if done well | Guaranteed sharp |
If your blade is just dull, sharpening is better. If it’s damaged, always replace.
Mistakes To Avoid When Sharpening Ninja Blender Blades
Even smart users make mistakes. Watch out for these:
- Wrong angle: Too steep or flat ruins the edge.
- Forcing the blade: Use gentle pressure.
- Skipping cleaning: Metal filings can get in food.
- Not drying fully: Wet blades rust quickly.
- Using power tools: Overheats and warps the metal.
- Ignoring safety gear: Gloves are essential.
Most mistakes come from rushing. Take your time for the best results.
Maintaining Sharpness: Everyday Care For Blender Blades
You can keep your blades sharp longer with a few habits:
- Rinse after each use: Prevents food from sticking and hardening.
- Hand wash: Dishwashers can dull blades.
- Dry immediately: Stops rust.
- Avoid ice when possible: Blending ice often dulls blades.
- Don’t blend bones or hard seeds: These damage the edge.
Store the blender with the lid off to let air circulate and prevent moisture buildup.
How Do Ninja Blender Blades Compare To Other Brands?
Ninja blades are famous for their unique stacked design, but how do they compare?
| Brand | Blade Material | Design | Sharpening Difficulty |
|---|---|---|---|
| Ninja | Stainless steel | Stacked, multi-level | Moderate |
| Vitamix | Hardened steel | Flat, four-tip | Easy |
| NutriBullet | Stainless steel | Cross blade | Easy |
| Oster | Stainless steel | Four-tip | Easy |
Ninja’s stacked blades are slightly harder to sharpen, but they cut more efficiently. Other brands often have flat blades, which are easier to maintain but may not blend as evenly.
Signs It’s Time To Replace, Not Sharpen
Sharpening can’t fix every problem. Replace your blades if:
- The blade is bent or cracked.
- There are large chips or missing pieces.
- The blade assembly is rusty or corroded.
- The gasket or seals are worn out.
- The blade wobbles or won’t tighten.
For safety and performance, always use genuine Ninja parts.
Real-world Example: Sharpening A Ninja Blender Blade
Maria, a busy mom, uses her Ninja Blender daily for smoothies and soups. After a year, she noticed her blender left chunks of spinach and ice. Following the steps above, she removed the stacked blade assembly, cleaned it, and sharpened each edge with a whetstone.
The process took about 20 minutes. After reassembling, her first smoothie was perfectly smooth—just like new.
Insight: Many people think only knives need sharpening, but blender blades benefit just as much. Also, most users don’t realize they can extend blade life by regular cleaning and avoiding the dishwasher.
How To Test Blade Sharpness Safely
Never run your finger along the edge. Instead:
- Paper test: Hold a piece of paper and gently try to slice it with the blade. A sharp blade will cut easily.
- Tomato test: Try blending a small piece of tomato. If it purees quickly, the blade is sharp.
- Visual check: A sharp blade has a clean, shiny edge.
If the blade fails these tests, it needs more sharpening.

Credit: www.youtube.com
How To Sharpen Ninja Blender Blades Without Removing Them
Sometimes the blade can’t be removed. Here’s what to do:
- Unplug the blender.
- Tilt the jar to expose the blade edge.
- Use a small sharpening rod or sandpaper.
- Work slowly, avoiding the jar walls.
- Wipe away any filings before use.
Be extra careful not to scratch the inside of the jar.
How To Keep Blades Sharp Longer: Advanced Tips
Want your sharp blades to last? Try these:
- Blend in short bursts: Continuous running heats and dulls the edge.
- Use pulse mode: Lets ingredients settle and prevents blade stress.
- Pre-chop large items: Don’t force the blade to do all the work.
- Soak hard ingredients: Soften nuts or dried fruit before blending.
These small habits make a big difference over time.
Environmental Benefits Of Sharpening Vs. Replacing
Sharpening blades doesn’t just save money—it’s better for the environment. Manufacturing new blades uses energy and materials. By sharpening, you reduce metal waste and packaging. According to the Environmental Protection Agency, Americans throw away over 12 million tons of small appliances each year. Keeping your Ninja Blender blades sharp helps reduce this number.
Common Myths About Blender Blade Sharpening
You might hear these myths—don’t believe them:
1. “blender Blades Are Self-sharpening.”
Not true. All blades dull with use.
2. “you Can’t Sharpen Stainless Steel.”
Stainless steel is designed to be resharpened.
3. “dishwasher Cleaning Keeps Blades Sharp.”
Actually, dishwashers can dull blades faster.
4. “only Professionals Should Sharpen Blades.”
Home sharpening is safe with proper steps.
Knowing the facts helps you get the most from your blender.
Troubleshooting After Sharpening
If your blender still isn’t working right after sharpening:
- Check that the blade assembly is tight and properly sealed.
- Make sure the jar and lid are aligned.
- Run a test with water before blending food.
- If leaks or odd noises continue, the blade or gasket may need replacement.
Never force a blender that isn’t working smoothly—this can cause further damage.
Comparing Different Sharpening Tools
Each tool has its strengths and weaknesses:
| Tool | Control | Sharpness | Ease of Use | Cost |
|---|---|---|---|---|
| Whetstone | Excellent | Very high | Medium | Low |
| Sharpening rod/file | Good | High | Easy | Low |
| Sandpaper | Good | Medium | Very easy | Very low |
| Electric grinder | Poor | Very high but risky | Medium | Medium |
For most people, a whetstone or sharpening rod is the best mix of safety and effectiveness.
When To Call A Professional
If you’re not confident sharpening at home, some kitchenware stores and knife shops offer blade sharpening services. This is a good option if:
- The blade is extremely dull or chipped.
- You have limited tools or mobility.
- You want a perfect factory edge.
Search for “blade sharpening service” in your area or ask at your local kitchen store.
Additional Resources
For more on blender maintenance and sharpening, check the official Ninja Blender website or this Wikipedia article on blenders.
Frequently Asked Questions
How Often Should I Sharpen My Ninja Blender Blades?
For daily use, sharpen every 3-6 months. If you use your blender less, once a year is usually enough. Always check for dullness before sharpening.
Can I Sharpen Ninja Blender Blades With A Knife Sharpener?
You can use a small manual or rod-style knife sharpener. Electric sharpeners are not recommended—they can damage the blade.
Is It Safe To Sharpen Blender Blades At Home?
Yes, with proper tools and safety gear. Always unplug the blender, wear gloves, and work slowly.
What Should I Do If My Blades Are Rusty?
Replace rusty blades. Rust can contaminate food and weaken the metal. Clean and dry your blades after every use to prevent rust.
Do All Ninja Blender Models Have Removable Blades?
Most do, but some compact or specialty models have fixed blades. Check your manual or the bottom of the jar to see if yours is removable.
Keeping your Ninja Blender blades sharp doesn’t just improve blending—it protects your investment and keeps your kitchen running smoothly. With these tips, you can enjoy smooth, fast, and safe blending for years to come.