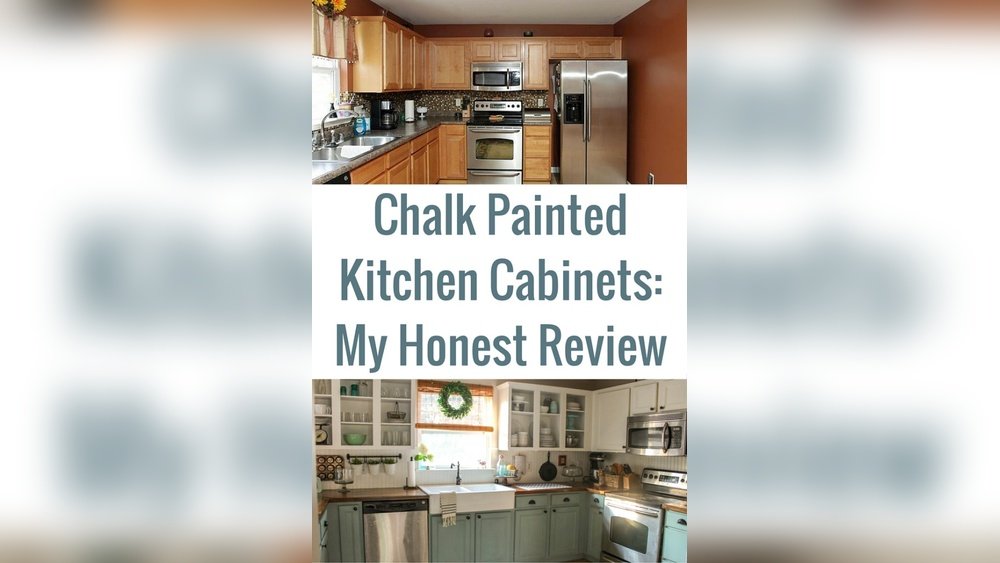
Painting your kitchen cabinets with chalk paint can completely change the look and feel of your kitchen—without the chaos or cost of a full remodel. Many people worry that painting cabinets is too hard or won’t last, but with chalk paint, even beginners can get professional-looking results.
This method is popular because it’s simple, doesn’t require lots of prep, and gives a beautiful matte finish. If you want to give your kitchen a fresh style, chalk paint is a smart, budget-friendly option.
Choosing chalk paint means less sanding and priming, which saves time. But to get the best results, you need to know the right steps, the tricks professionals use, and the common mistakes to avoid. In this guide, you’ll discover everything—from tools and prep, to painting, sealing, and caring for your cabinets.
You’ll also learn little-known tips that make a big difference, so your painted cabinets stay gorgeous for years.
Why Choose Chalk Paint For Kitchen Cabinets?
Chalk paint stands out for its easy use and smooth, velvety finish. It sticks to wood, laminate, MDF, and even metal, making it perfect for most kitchens. Unlike traditional paint, chalk paint requires little to no sanding or priming, which is a big advantage if you have busy days or limited DIY experience.
Another reason people love chalk paint is the wide range of colors. You can choose classic white, bold navy, or even custom blends. Plus, chalk paint is low in odor and dries quickly. Most brands are water-based, so cleaning up spills or brushes is simple.
However, chalk paint does have a matte finish. If you want a glossy look, you’ll need to add a topcoat or wax. The matte surface makes kitchens feel warm and modern, but it can show stains if you don’t seal it well.
With proper sealing, chalk-painted cabinets can last for many years without fading or chipping.
Planning Your Project
Before you buy paint or pick up a brush, you need a clear plan. This step is often rushed, but it’s key for success. Think about these points:
- Color choice: Lighter colors make small kitchens feel bigger, while dark shades add drama.
- Amount of paint: One quart of chalk paint usually covers 150 square feet. Measure your cabinets to estimate how much you need.
- Timeline: Set aside at least two days—one for prep and painting, another for curing and sealing.
Decide if you want to paint all cabinets or just the uppers or lowers. Some people paint only the doors, leaving the frames as they are. Also, consider if you’ll change hardware (handles or knobs) for a totally new look.
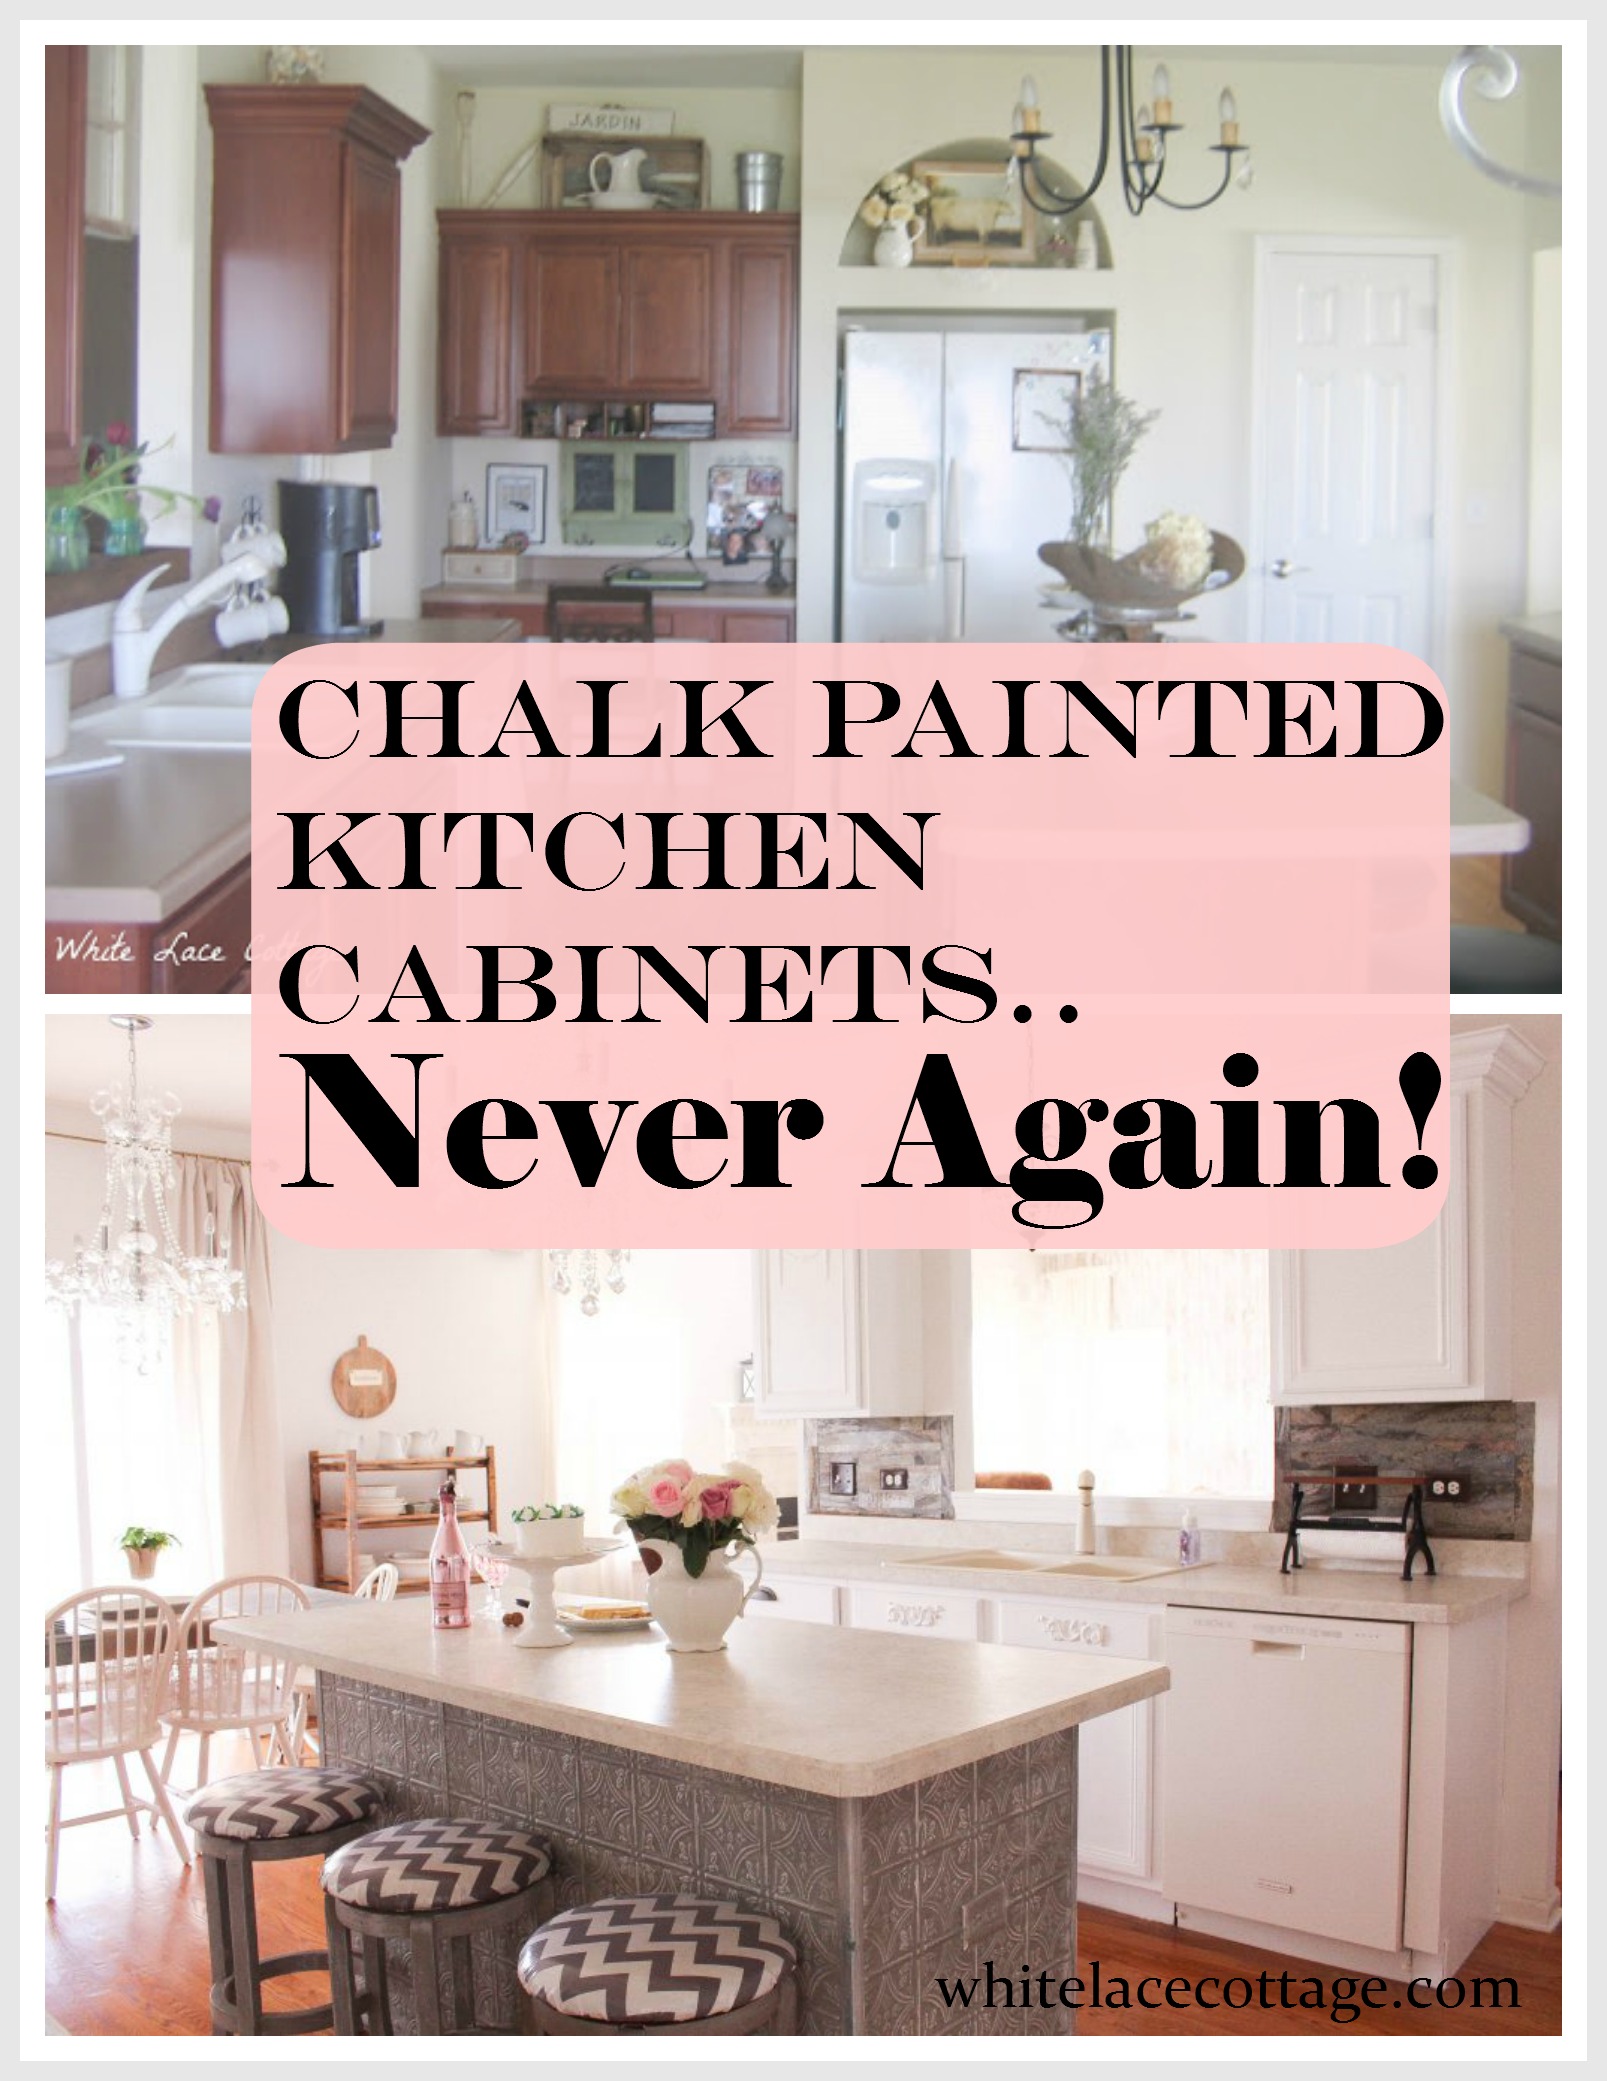
Credit: www.whitelacecottage.com
Tools And Materials You’ll Need
Having the right tools makes painting easier and gives a better result. Here’s a list of what you’ll need:
- Chalk paint (your chosen color)
- Paint brushes and/or rollers (synthetic for smooth finish, natural for rustic look)
- Screwdriver (to remove cabinet doors and hardware)
- Painter’s tape (for clean edges)
- Drop cloths or old sheets
- Mild cleaner or degreaser (like dish soap or TSP)
- Sandpaper (120–220 grit) (optional, for rough spots)
- Microfiber cloths or tack cloth
- Wax or topcoat sealer (for protection)
- Stir stick
- Small containers or plates (for paint)
- Gloves (to protect hands)
- Vacuum or brush (to remove dust)
It’s smart to buy a little extra paint, especially if you plan to do touch-ups later.
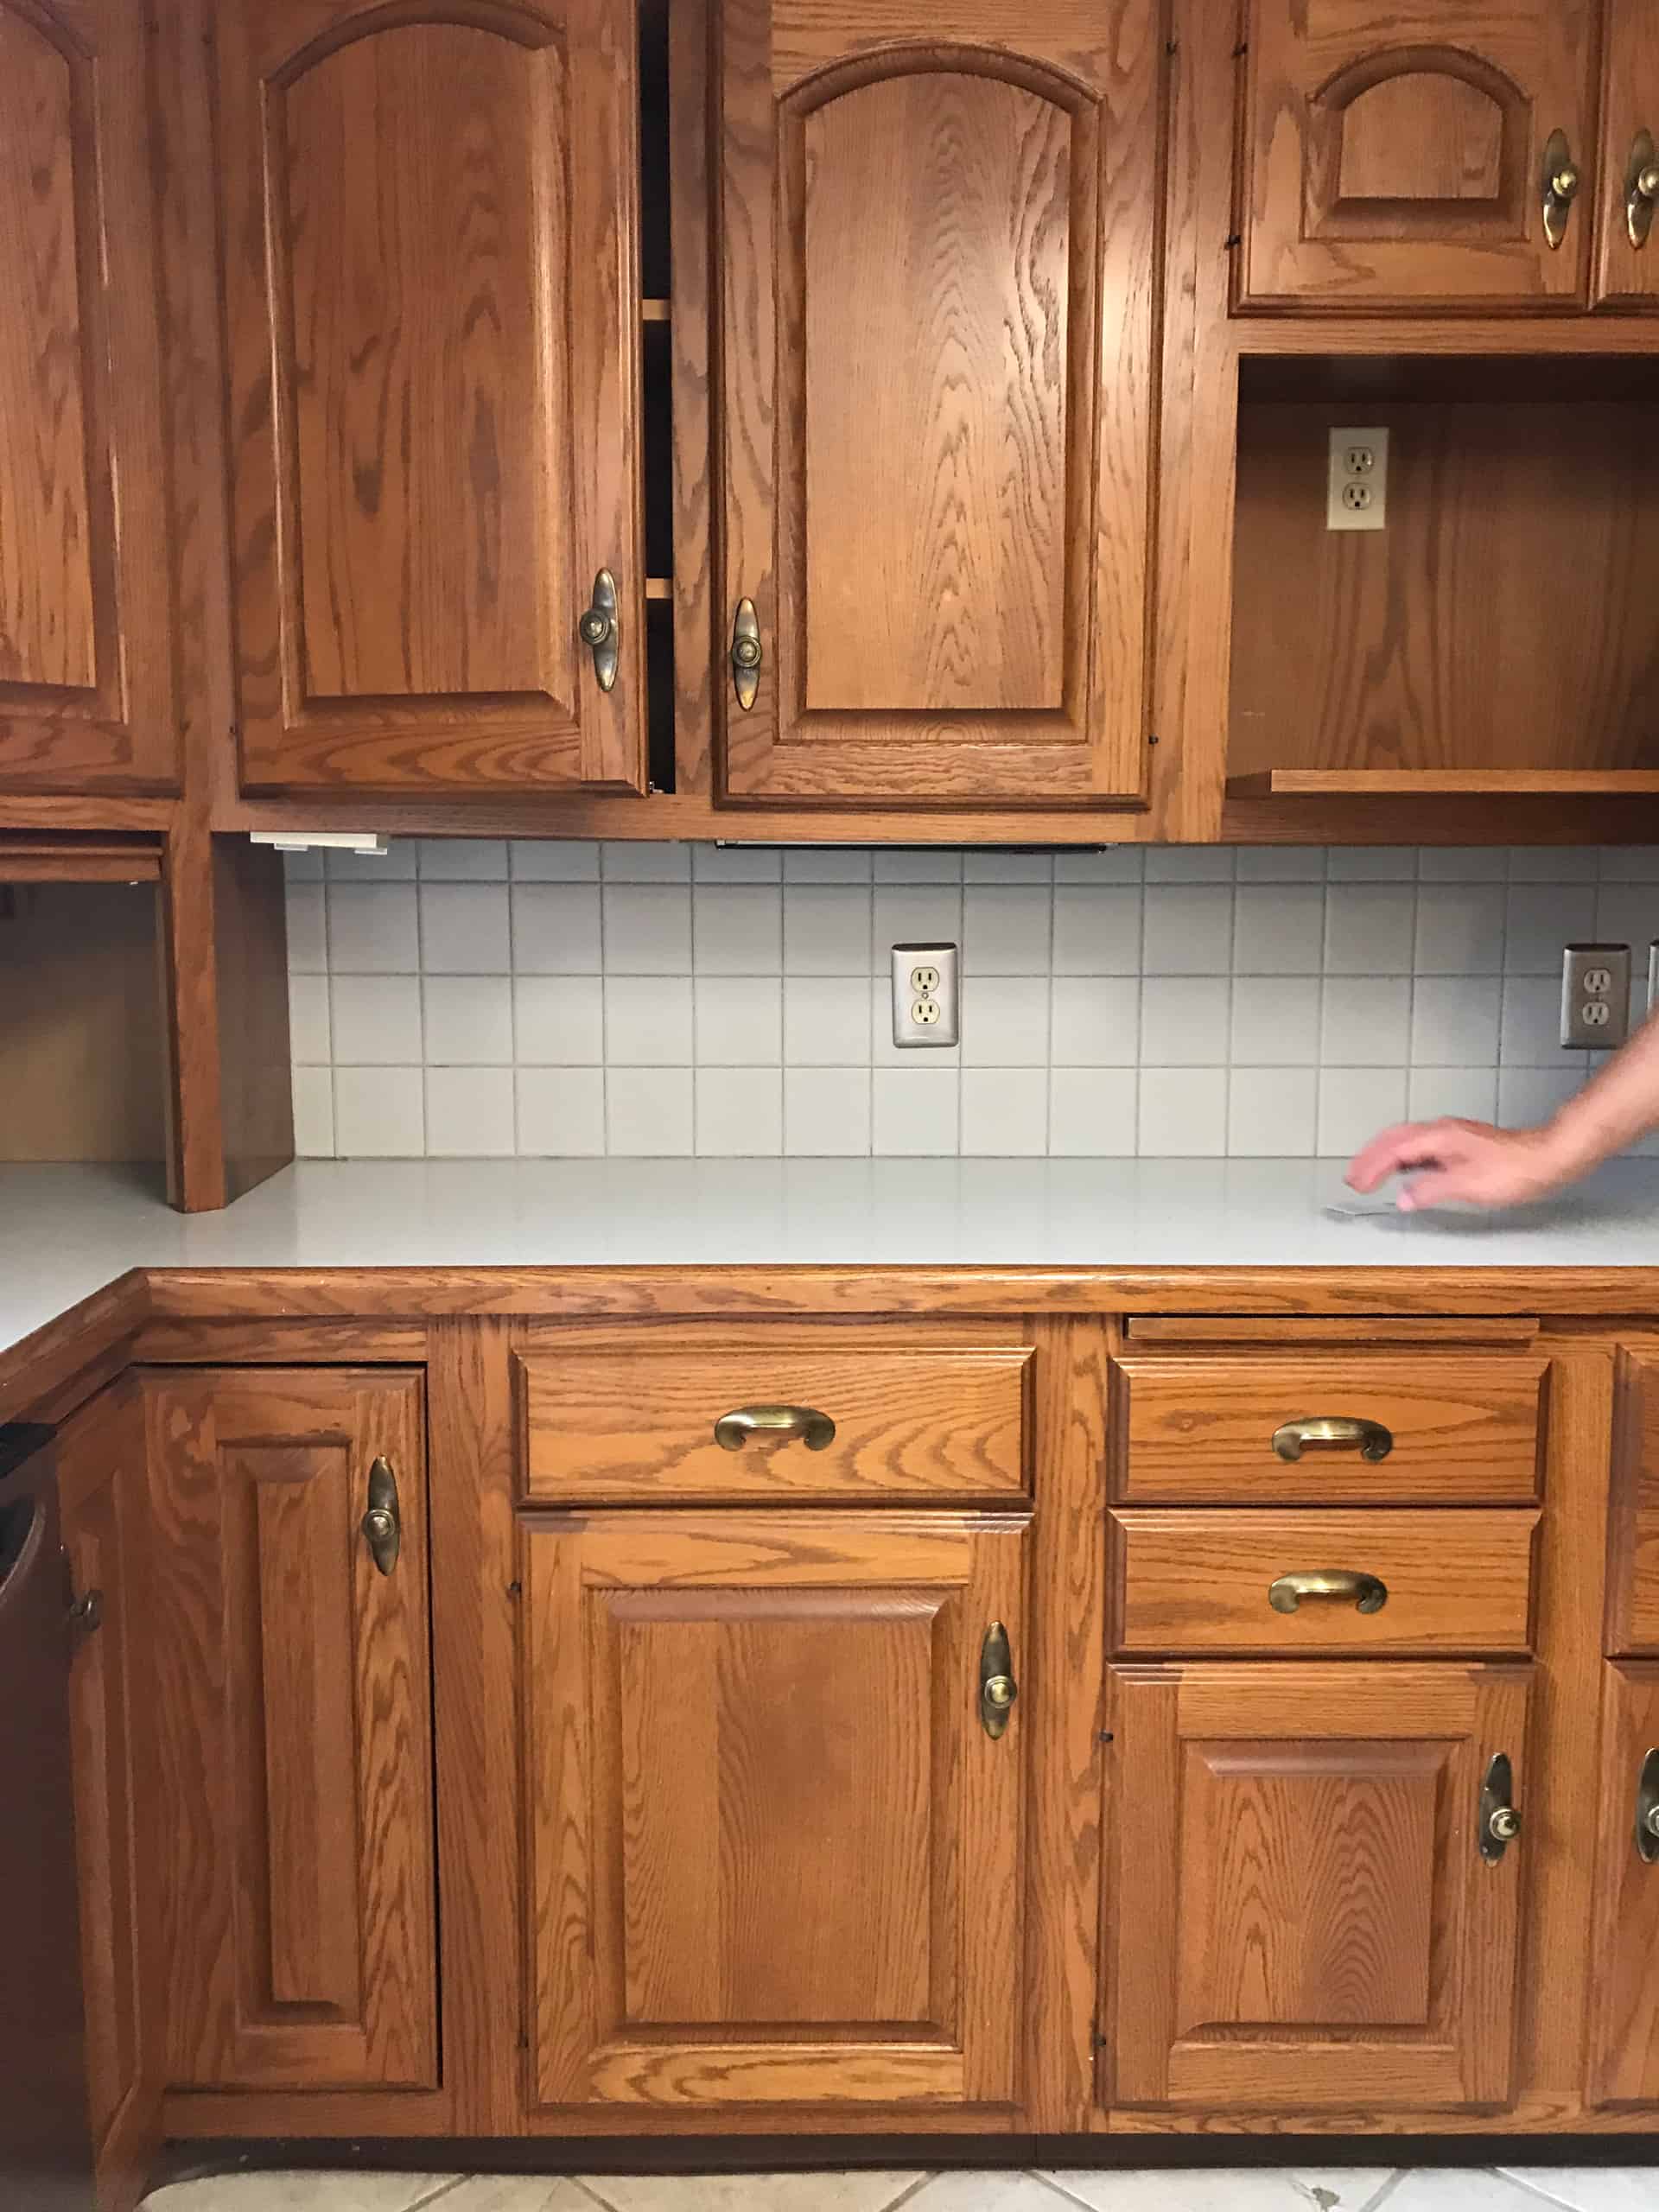
Prepping Your Kitchen Cabinets
Skipping prep is the most common mistake. Even though chalk paint is forgiving, preparation helps the paint stick and last longer.
1. Clear And Clean
Remove everything from your cabinets. Take out food, dishes, and anything on the counters. This prevents accidents and keeps things tidy.
Next, clean all surfaces with a mild cleaner. Kitchen cabinets often have grease or oils that stop paint from sticking. Pay special attention to handles and edges.
2. Remove Doors And Hardware
Use a screwdriver to take off doors, drawers, and all hardware (knobs, handles, hinges). Put screws and handles in labeled bags so you don’t lose them.
Tip: Number each door and its location using masking tape. This way, you’ll know exactly where each one goes later.
3. Tape And Protect
Cover countertops, appliances, and floors with drop cloths. Use painter’s tape around edges, walls, and any part you don’t want to paint.
4. Light Sanding (if Needed)
Chalk paint can cover most surfaces without sanding. But glossy or damaged cabinets need a quick scuff with 120–220 grit sandpaper. Wipe off all dust with a tack cloth or damp microfiber cloth.
5. Dry Thoroughly
Let cabinets dry completely before painting. Even a small amount of moisture can cause problems.
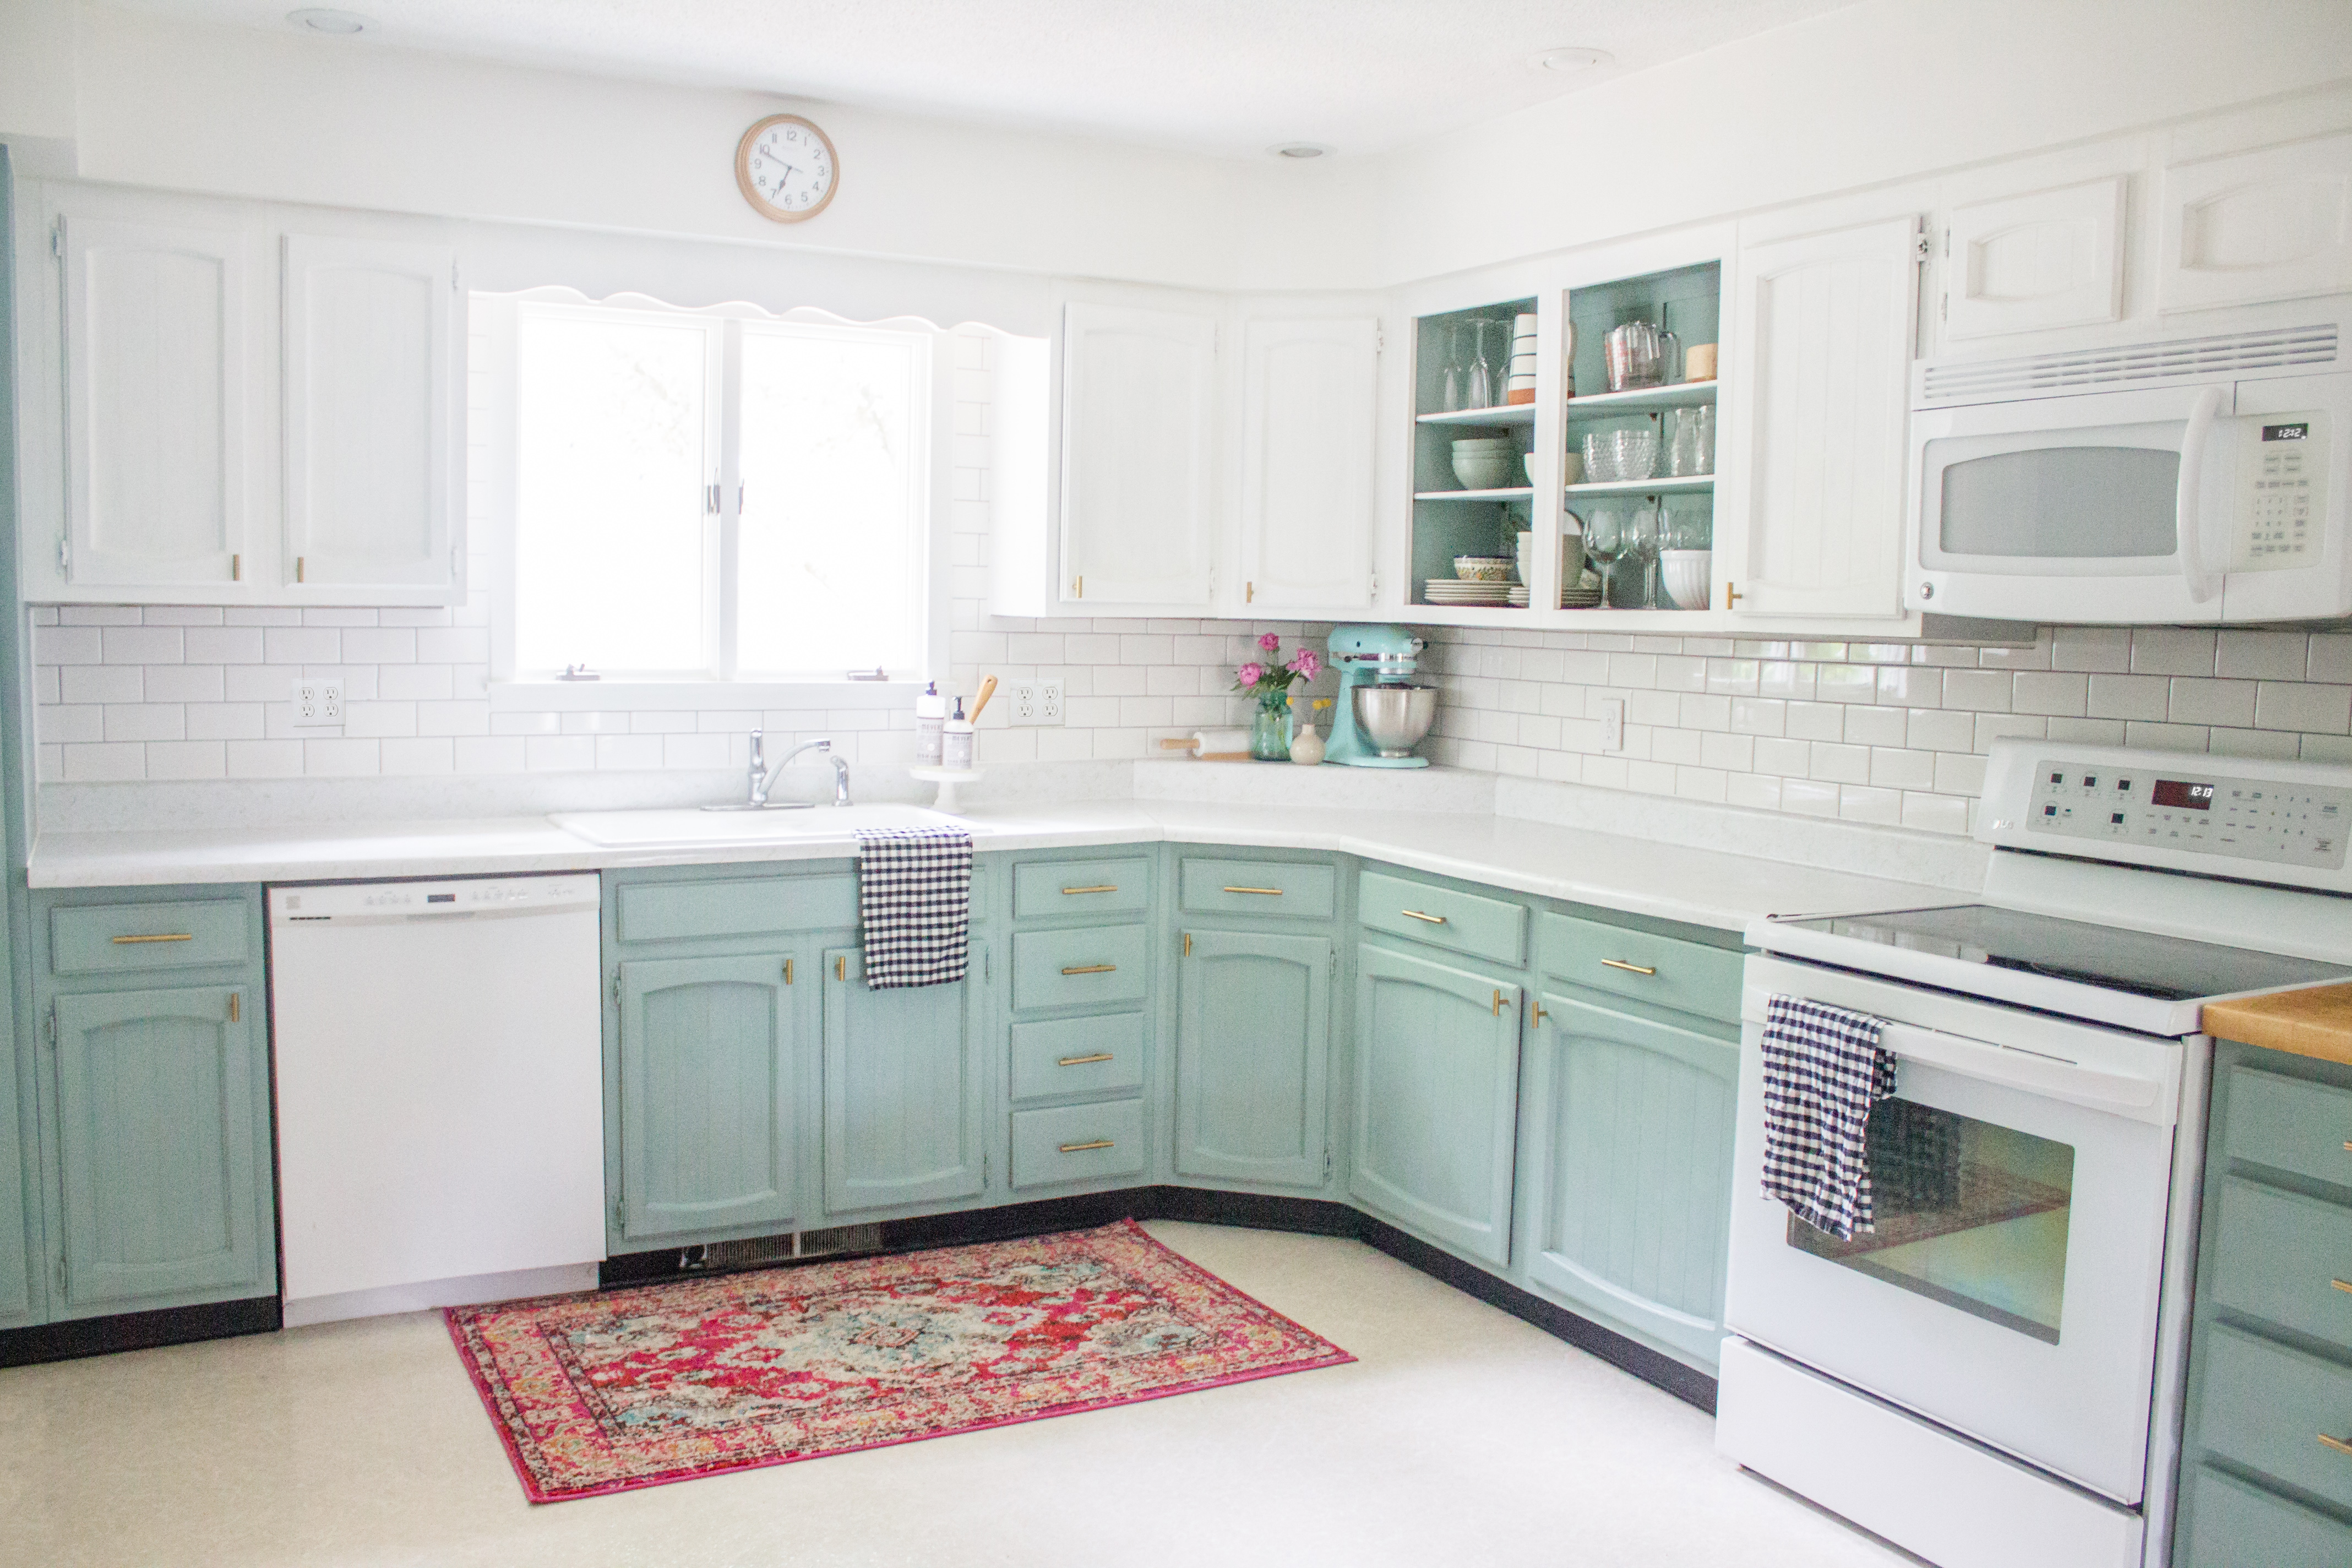
Credit: hollandavenuehome.com
Choosing The Right Chalk Paint And Sealer
Not all chalk paints are the same. Some brands are thicker, others have more color options. Popular choices include Annie Sloan, Rust-Oleum, and Behr. Look for paints labeled “kitchen-safe” or “low VOC. ”
Comparing Popular Chalk Paint Brands
Here’s a quick comparison to help you choose:
| Brand | Color Range | Dry Time | Finish | Price (quart) |
|---|---|---|---|---|
| Annie Sloan | 30+ | 1 hour | Matte | $38–$42 |
| Rust-Oleum | 15+ | 30–60 min | Matte | $20–$25 |
| Behr | 25+ | 1 hour | Matte | $19–$22 |
| KILZ | 10+ | 1–2 hours | Matte | $18–$21 |
Tip: Some paints have built-in topcoats, but most require a separate sealer for kitchens.
Choosing A Sealer
A good sealer protects the paint from stains, water, and daily use. You can use wax, polyurethane, or polycrylic. Wax gives a soft, old-world look, but needs reapplying every year. Polyurethane and polycrylic are more durable and water-resistant, making them better for busy kitchens.
How To Paint Kitchen Cabinets With Chalk Paint: Step-by-step
Follow these steps for a flawless finish.
Step 1: Stir And Pour Paint
Open your chalk paint and stir it well. If it’s too thick, you can add a little water (about a tablespoon at a time). Pour some paint into a small container—this is easier to carry and keeps the main can clean.
Step 2: Start With The Frames
Use a brush or small roller to paint the cabinet frames (the part attached to the wall) first. Work in thin, even coats. Don’t worry if the first coat looks streaky—chalk paint covers better with the second coat.
Step 3: Paint Doors And Drawers
Lay the doors flat on a covered table or saw horses. Start with the back side, then flip to the front after it dries. Brush in the same direction as the wood grain for a smooth look.
Step 4: Let Each Coat Dry
Most chalk paint dries in 30–60 minutes, but waiting 2 hours between coats is safer, especially in humid weather.
Step 5: Apply A Second Coat
After the first coat is dry, add a second thin layer. This hides streaks and gives full coverage. Check for drips or thick spots and smooth them out right away.
Step 6: Fix Mistakes
If you see brush marks or dust bumps, lightly sand with fine-grit sandpaper after the second coat. Wipe off the dust before sealing.
Step 7: Apply Sealer
Wait 24 hours after painting before sealing. Use a clean brush or cloth to apply wax in circular motions, or use a synthetic brush for polycrylic. Let the sealer dry fully before handling the cabinets.
Step 8: Reattach Hardware And Doors
After the final coat of sealer is dry (check the label for timing), put hardware and doors back on. Remove painter’s tape and clean up your workspace.
Advanced Tips For A Professional Finish
Many people miss these small details, but they make your cabinets look custom-made.
- Tinted wax: For a vintage look, use dark or colored wax over the paint.
- Feather edges: Lift the brush at the end of each stroke to avoid harsh lines.
- Protect inside edges: Only paint what shows; leave hidden edges bare to prevent sticking.
- Small brush for details: Use an artist’s brush for corners or trim.
- Numbered system: Mark each door and drawer so everything goes back in the right spot.
Common Mistakes And How To Avoid Them
Painting kitchen cabinets with chalk paint is simple, but a few mistakes can spoil the result. Here’s how to steer clear:
- Skipping cleaning: Paint won’t stick to greasy cabinets. Clean well before starting.
- Painting too thick: Thick coats take longer to dry and may chip. Always use thin layers.
- Not sealing: Kitchens are humid and busy. If you don’t seal, the paint will stain or scratch.
- Rushing between coats: Chalk paint dries fast, but let each coat cure. If you rush, the finish may peel.
- Painting hinges: Take off hardware. Painted hinges look messy and won’t last.
Comparing Chalk Paint To Other Methods
Some people wonder if chalk paint is really better than regular latex or oil-based paint. Here’s a simple comparison:
| Feature | Chalk Paint | Latex Paint | Oil-Based Paint |
|---|---|---|---|
| Prep Needed | Minimal | Medium (sanding/priming) | High (sanding/priming) |
| Dry Time | Fast (1 hour) | Moderate (2–4 hours) | Slow (6–8 hours) |
| Finish | Matte, velvety | Satin, semi-gloss, gloss | Glossy, hard |
| Ease of Use | Very easy | Moderate | Harder (smell, cleanup) |
| Cleanup | Water | Water | Solvent |
| Durability | High (with sealer) | High | Very high |
Chalk paint is the best choice if you want speed, low smell, and an easy process. Latex and oil-based paints are more work and take longer to cure, but can give different looks if you want gloss or extra durability.
Caring For Your Chalk Painted Cabinets
After all your hard work, you want your cabinets to stay beautiful. Here’s how to keep them looking new:
- Wipe spills quickly: Water or oil can stain if left on the surface.
- Use gentle cleaners: Avoid strong chemicals; a soft cloth with mild soap is best.
- Re-wax or seal as needed: Wax finishes may need a touch-up every year. Polycrylic lasts longer.
- Avoid sharp tools: Don’t scrape with knives or metal pads.
- Check for chips: Touch up paint with a small brush if you see any damage.
With good care, chalk painted cabinets can last five years or more before needing attention.
Real-life Examples And Results
Many homeowners have shared their success with chalk paint. Here are two examples:
Case 1: Amy from Michigan had old, yellowed oak cabinets. She used two coats of light gray chalk paint and sealed with polycrylic. She finished her whole kitchen in one weekend for under $200. Two years later, her cabinets still look fresh, with only a few small chips near the sink.
Case 2: Mark and Lisa in Texas wanted a rustic look. They painted their cabinets with navy blue chalk paint, then used dark wax for an aged effect. Their friends thought they bought new cabinets. They say the project took more time to dry than to paint, and they love the easy cleanup.
Cost And Time Breakdown
It’s smart to know what to expect before you start.
| Item | Estimated Cost | Time Needed |
|---|---|---|
| Chalk Paint (2 quarts) | $40–$80 | 1–2 hours (painting) |
| Sealer (polycrylic or wax) | $15–$30 | 1 hour (sealing) |
| Brushes/Rollers | $10–$25 | N/A |
| Misc. Supplies | $10–$20 | N/A |
| Total | $75–$155 | 6–12 hours (including drying) |
Compared to the thousands of dollars needed for new cabinets, chalk paint is a great value.
Credit: abeautifulmess.com
Non-obvious Insights That Make A Big Difference
Most guides miss these small but important details:
- Humidity affects dry time: If your kitchen is humid, paint and sealer take longer to cure. Use fans or open windows to speed things up.
- Mix enough paint at once: Chalk paint shades can vary between batches. Mix all you’ll need ahead of time, especially for custom colors.
- Don’t forget the insides: If you leave cabinet interiors unpainted, they may look unfinished when doors are open. Decide if you want to paint the inside surfaces too.
Environment And Safety Considerations
Chalk paint is safer than oil paints, but it’s still smart to:
- Open windows for airflow.
- Wear gloves to protect your skin.
- Keep paint and wax away from kids and pets.
If you want to read more about paint safety, check the EPA’s guidance.
Frequently Asked Questions
Can I Use Chalk Paint On Laminate Kitchen Cabinets?
Yes, chalk paint sticks to most surfaces, including laminate. Clean and lightly sand glossy areas, and use a sealer for best durability.
How Long Does Chalk Paint Last On Kitchen Cabinets?
With proper cleaning and sealing, chalk painted cabinets can last 5 years or more. You may need to reapply wax or touch up high-use areas.
Do I Need To Prime Before Using Chalk Paint?
Usually, no primer is needed. However, if your cabinets are very slick or stained, a primer can help the paint stick and prevent bleed-through.
Is It Safe To Use Chalk Paint In The Kitchen?
Most chalk paints are low VOC and safe for indoor use. Always check the label and use good ventilation during painting and sealing.
Can I Change The Color Later If I Get Tired Of It?
Yes, you can paint over chalk paint with a new color. Just clean the cabinets, lightly sand, and apply the new paint and sealer.
Painting kitchen cabinets with chalk paint is a project almost anyone can do. With good prep, smart choices, and a little patience, you can create a kitchen you love—without spending a fortune or living with dust and noise for weeks.
The best part? Every time you walk into your kitchen, you’ll see the difference you made yourself.