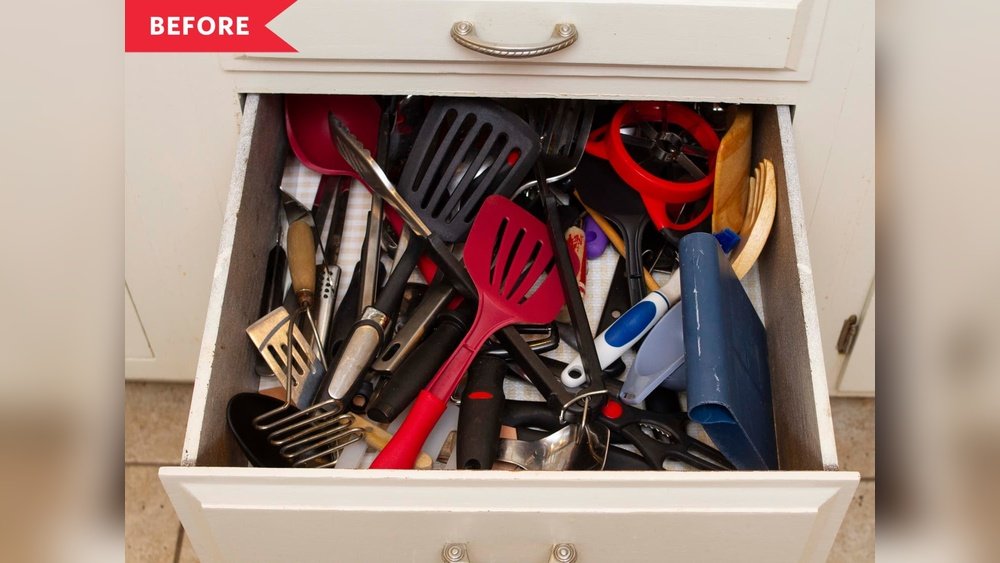
A messy utensil drawer can make your whole kitchen feel unorganized. You waste time searching for a whisk, or worse, you cut your hand on a loose knife. But when your utensil drawer is organized, cooking becomes easier, safer, and more enjoyable.
If you’ve ever opened your drawer and felt overwhelmed by clutter, you’re not alone. Many people struggle to keep this small but important space in order. The good news is, with the right approach, you can transform your utensil drawer from chaotic to calm.
Organizing this space is more than just tidying up—it’s about creating a simple system that works for you every day. In this guide, you’ll find practical steps, clever tips, and real examples to help you organize any utensil drawer, no matter the size or shape.
From choosing the best organizers to maintaining your new setup, you’ll discover everything you need to turn your kitchen drawer into a tool that helps, not hinders, your daily routine.
Why A Well-organized Utensil Drawer Matters
A utensil drawer is used many times a day. When it’s organized, you save time and effort. You also avoid frustration—no more digging for a spatula when food is burning. An organized drawer also keeps your utensils in better condition, preventing scratches and damage.
Research shows that people waste an average of 55 minutes per day searching for things they need at home. In the kitchen, the utensil drawer is one of the most commonly searched places. When this space is efficient, you cook faster and feel less stressed.
Another benefit is safety. Loose, sharp items like peelers or paring knives in a cluttered drawer can cause cuts. By organizing, you reduce the risk of accidents.
Assessing Your Current Utensil Drawer
Before you start organizing, take a good look at your current situation. Open the drawer and notice how you feel. Is it crowded? Hard to close? Are there items you never use?
Take everything out of the drawer and lay your utensils on a clean surface. This allows you to see exactly what you have. You may be surprised by duplicates or tools you didn’t remember owning.
Common Problems In Most Utensil Drawers
- Too many utensils – It’s easy to collect extra tools over the years.
- Random placement – Without sections, utensils slide around and mix together.
- Damaged items – Worn or broken tools take up space but aren’t useful.
- Non-utensil clutter – Batteries, twist ties, or receipts often end up here.
A clear assessment helps you know what needs fixing and what you can let go.
Decluttering: What To Keep, Donate, Or Toss
Decluttering is a key step in organizing any utensil drawer. The goal is to keep only what you use and love.
Steps For Effective Decluttering
- Sort by type: Group similar utensils together—spoons, spatulas, peelers, etc.
- Ask questions: For each item, ask: Do I use this at least monthly? Is it in good condition? Does it make my cooking easier?
- Set aside duplicates: Keep only your favorites. If you have three bottle openers, pick the best one.
- Remove broken or worn items: If a utensil is bent, rusty, or melted, it’s time to replace it.
- Decide on ‘maybe’ items: Place rarely used tools in a separate box. If you don’t use them in the next three months, donate them.
Items To Remove From The Utensil Drawer
- Old takeout chopsticks or plasticware
- Single-use gadgets (banana slicer, egg separator) if rarely used
- Non-kitchen items (pens, rubber bands, matches)
- Utensils with missing parts
Pro tip: If you haven’t used a utensil in the past year, you probably don’t need it.
Choosing The Right Drawer Organizer
After decluttering, your next step is to find the best way to separate and store your utensils. There are many types of organizers, and the right one depends on your drawer size, utensil types, and budget.
Main Types Of Utensil Drawer Organizers
| Type | Best For | Pros | Cons |
|---|---|---|---|
| Tray Dividers | Most standard drawers | Easy to install, affordable, many sizes | Fixed compartments, may not fit large items |
| Expandable Organizers | Drawers of different widths | Adjustable, custom fit | Can be pricier, moving parts may wear out |
| Custom Inserts | High-end kitchens, odd-shaped drawers | Perfect fit, premium look | Expensive, not flexible if you change utensils |
| DIY Solutions | Budget, unique needs | Cheap, flexible, creative | May look less polished, time-consuming |
How To Measure Your Drawer
Use a tape measure to check the length, width, and height of your drawer. Write down these numbers before shopping. Most organizers list their dimensions clearly. Always allow a little space (about 0. 5 inches) for easy removal.
Material Choices
Common materials include plastic, bamboo, metal, and wood. Bamboo organizers are popular because they are sturdy, eco-friendly, and look good in most kitchens. Plastic trays are affordable and easy to clean. Consider what matches your kitchen style and how easy the material is to wipe down.
Sorting And Grouping Utensils
With your organizer ready, it’s time to sort your utensils by use. Grouping similar items together makes it easy to grab what you need.
Smart Ways To Group Utensils
- By function: Keep all stirring spoons together, all cutting tools together, etc.
- By frequency of use: Place everyday tools in the most accessible section. Less-used items go in the back or sides.
- By size: Large spatulas and tongs need bigger sections; small peelers or measuring spoons fit in smaller ones.
Non-obvious insight: Try to keep sharp items like paring knives or peelers in a separate, covered section. This not only protects your fingers but also keeps blades sharper for longer.
Example Groupings
- Cooking essentials: Spatulas, wooden spoons, slotted spoons
- Prep tools: Peelers, graters, can openers
- Serving utensils: Ladles, serving forks, cake servers
- Specialty items: Zesters, corn holders, sushi mats
If you have children, consider a small section for their utensils, such as small forks or fun spoons.
Arranging Utensils For Easy Access
How you place utensils in the drawer makes a big difference. Think about your cooking routine. Which tools do you reach for every day? These should be front and center.
Layout Tips
- Place most-used utensils at the front of the drawer.
- Arrange items so you can see the whole utensil, not just the handle.
- Store long utensils horizontally to avoid catching when you open or close the drawer.
- Keep sharp tools in a special tray, sheath, or section to avoid injury.
Stacking Vs. Laying Flat
Some people stack smaller items, like measuring spoons, but flat arrangements are usually better for visibility and speed.
Non-obvious insight: If your drawer is deep, consider a two-level organizer. This doubles your storage without making the drawer crowded.
Using Drawer Space Efficiently
Maximizing space is key, especially in small kitchens. Even in large drawers, smart use of space helps keep everything tidy.
Vertical Vs. Horizontal Organizers
Some organizers run side-to-side, others front-to-back. Choose the layout that fits your utensils best. For example, if you have long spatulas, a front-to-back organizer prevents bending.
Double Layers And Sliding Trays
Double-layer organizers add a second “shelf” inside your drawer. You can store less-used tools underneath and slide the top tray to reach them. Sliding trays are great for deep drawers.
Tall Vs. Shallow Drawers
| Drawer Depth | Best Use | Organizing Tips |
|---|---|---|
| Shallow (2-3 inches) | Flatware, small utensils | Lay items flat, single layer, use slim dividers |
| Standard (4-5 inches) | Most utensils | One or two layers, mix and match tray sizes |
| Deep (6+ inches) | Large tools, gadgets | Stackable trays, vertical storage for big items |
Using The Sides And Corners
Don’t forget the corners of your drawer. Small baskets or silicone cups can hold odd-shaped items like corn holders or wine stoppers.
Cleaning And Maintaining Your Utensil Drawer
A clean drawer keeps your utensils hygienic and extends their life. Start with a deep clean before organizing, then do simple maintenance.
Deep Cleaning Steps
- Remove all utensils and organizers.
- Vacuum crumbs and debris from the drawer.
- Wipe the inside with warm, soapy water or a gentle cleaner.
- Dry completely before replacing items.
Pro tip: For sticky messes, sprinkle baking soda and scrub gently with a damp cloth.
Ongoing Maintenance
- Wipe out the drawer monthly to remove crumbs.
- Clean organizers with hot, soapy water as needed.
- Check for broken or dirty utensils every few months.
- Rearrange if you add new tools or remove old ones.
Keeping a small cleaning cloth at the front of the drawer can remind you to wipe up spills right away.
Solutions For Small Or Awkward Drawers
Not every kitchen has big, standard drawers. If your space is limited or shaped oddly, you still have options.
Narrow Drawers
Use organizers that fit lengthwise. Store only the essentials here—everyday forks, spoons, or a few favorite tools.
Corner Drawers
Install wedge-shaped organizers or use small baskets to keep items from sliding.
Extra-deep Drawers
Stackable trays or vertical utensil holders help use the full height. You can store baking tools, rolling pins, or even small appliances in these drawers.
No Drawer? Use An Alternative
If you lack a utensil drawer, use a counter crock, wall hooks, or a hanging rack. These can look stylish and keep tools within reach.
Upgrading Your Utensil Drawer Over Time
A good organization system is flexible. As your cooking habits change, your drawer setup should adapt.
- Add dividers if you buy new utensils.
- Remove rarely used tools every few months.
- Upgrade organizers if your current one breaks or doesn’t fit new items.
- Label sections if multiple family members use the kitchen. This helps everyone return items to the right spot.
Credit: www.thekitchn.com
Mistakes To Avoid When Organizing
Even with the best intentions, common mistakes can make your drawer messy again.
Top Mistakes
- Overfilling the drawer: Too many utensils lead to clutter. Keep only what you need.
- Using organizers that don’t fit: Always measure your drawer before buying.
- Ignoring maintenance: Without regular cleaning, crumbs and spills build up.
- Mixing sharp and soft tools: Keep sharp items separate to avoid damage or injury.
- Not adjusting for changes: As you buy new tools, make space by removing old ones.
Organizing For Special Needs Or Family Kitchens
Every kitchen is unique. If you have children, seniors, or people with limited mobility in your home, consider their needs.
- Use soft-grip utensils for arthritis or weak hands.
- Keep kids’ utensils in a special section, away from sharp items.
- Use labels or color coding for family members or helpers.
- Place heavy or sharp tools in harder-to-reach spots for safety.

Credit: www.lelaburris.com
Organizing For Different Cooking Styles
Your utensil drawer should match how you cook.
- Bakers: Keep measuring cups, spatulas, and whisks front and center.
- Grillers: Tongs, grill brushes, and skewers should be easy to grab.
- Vegetarian cooks: Have peelers, paring knives, and salad tongs in prime spots.
- Frequent hosts: Add extra serving spoons, cake servers, or cheese knives.
Creative Diy Organizing Ideas
If you’re on a budget or like to get creative, try some DIY solutions.
- Use small boxes or trays from other products as dividers.
- Cut cardboard or foam board to size for custom sections.
- Use silicone baking cups for tiny items.
- Repurpose ice cube trays for corn holders or bottle stoppers.
These ideas save money and let you customize your drawer exactly as you like.
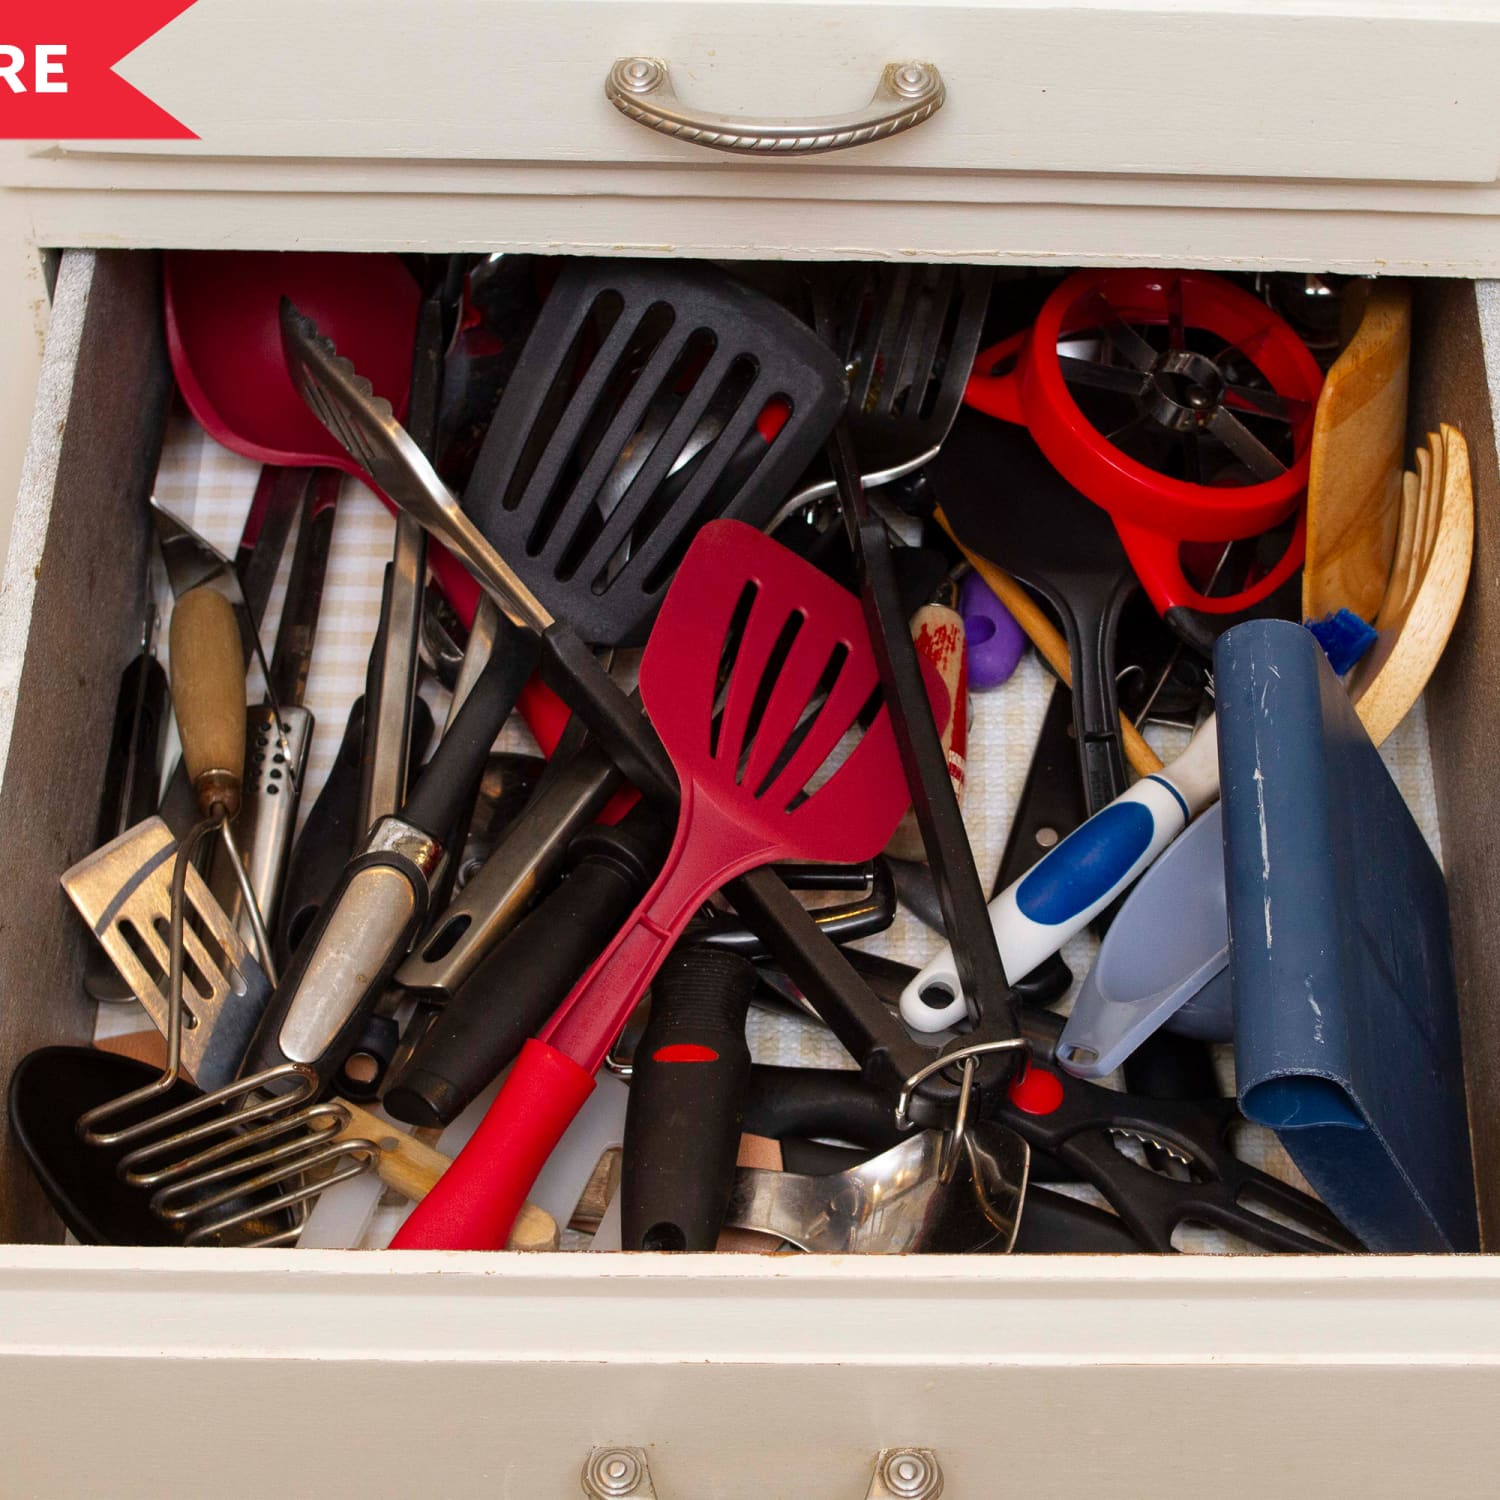
Real-life Example: Transforming A Messy Utensil Drawer
Let’s look at a real example to see these tips in action.
Maria had a standard-sized drawer full of mixed utensils—spatulas, scissors, even a flashlight. She spent minutes searching for tools every day.
She started by emptying the drawer and sorting items. She found three can openers, two broken peelers, and several unused gadgets. After donating extras and tossing broken tools, she was left with only what she used.
Maria measured her drawer and bought an expandable bamboo organizer. She grouped her utensils by type and use. Everyday tools went at the front, baking tools in the middle, and rarely used items at the back.
After cleaning the drawer, she placed everything neatly. Now, she finds what she needs in seconds, and her kitchen feels more peaceful.
Maintenance: Keeping Your Drawer Organized For The Long Term
Your drawer will only stay organized if you maintain it. The best systems are easy to keep up.
Simple Maintenance Routine
- Quick weekly check: Put stray items back where they belong.
- Monthly wipe-down: Clean crumbs or spills before they build up.
- Seasonal declutter: Remove unused items every few months.
- Update as needed: If you get new utensils, make room by donating or storing old ones.
If you share your kitchen, remind family members to return items to their spots.
Tools And Apps For Planning Your Organization
Technology can help you plan your new system.
- Use your smartphone to take photos of your drawer before and after.
- Try kitchen organization apps for inspiration.
- Search for images or guides on Pinterest for creative ideas.
- Use a simple notes app to list what you have and what you need.
Some apps even let you design a virtual drawer to test layouts before buying organizers.
Sustainability: Organizing With The Environment In Mind
Organizing your utensil drawer can also help the planet.
- Choose bamboo or recycled plastic organizers instead of disposable plastic.
- Donate extra utensils instead of throwing them out.
- Reuse small boxes or containers for dividers.
- Avoid buying trendy gadgets you won’t use long-term.
When you buy quality, multi-use tools, you reduce waste and clutter.
Where To Buy The Best Utensil Drawer Organizers
You can find quality organizers at stores like Target, IKEA, Walmart, and The Container Store. Online, check Amazon for a wide selection.
When shopping, read reviews and look for products with easy returns. Measure your drawer before buying to avoid mistakes.
For more ideas and expert advice, visit The Spruce.
Frequently Asked Questions
What Is The Best Way To Organize A Utensil Drawer?
The best method is to declutter first, then use dividers or trays to separate utensils by type and frequency of use. Place your most-used tools at the front for easy access. Keep sharp items in a covered section for safety.
How Often Should I Clean My Utensil Drawer?
Wipe out crumbs or spills every month. Do a deep clean—removing everything and washing the organizers—every three to six months, or more often if you cook daily.
What Should Not Go In A Utensil Drawer?
Avoid putting sharp knives, heavy tools, or non-kitchen items in your utensil drawer. These can cause injury, damage other utensils, or take up valuable space.
Can I Organize A Utensil Drawer Without Buying Anything?
Yes. Use small boxes, food containers, or cut cardboard to create your own dividers. Repurpose items you already have for a low-cost solution.
How Do I Keep My Utensil Drawer Organized Long-term?
Maintain your system with regular checks, clean-ups, and decluttering. Make it easy for everyone in your home to return items to their proper spots. Adjust your setup if your needs change.
An organized utensil drawer transforms your kitchen experience. You’ll cook faster, reduce stress, and enjoy a tidier, safer space. With a little effort and the right tools, you’ll wonder how you ever lived with a messy drawer.

Credit: www.kevinandamanda.com