
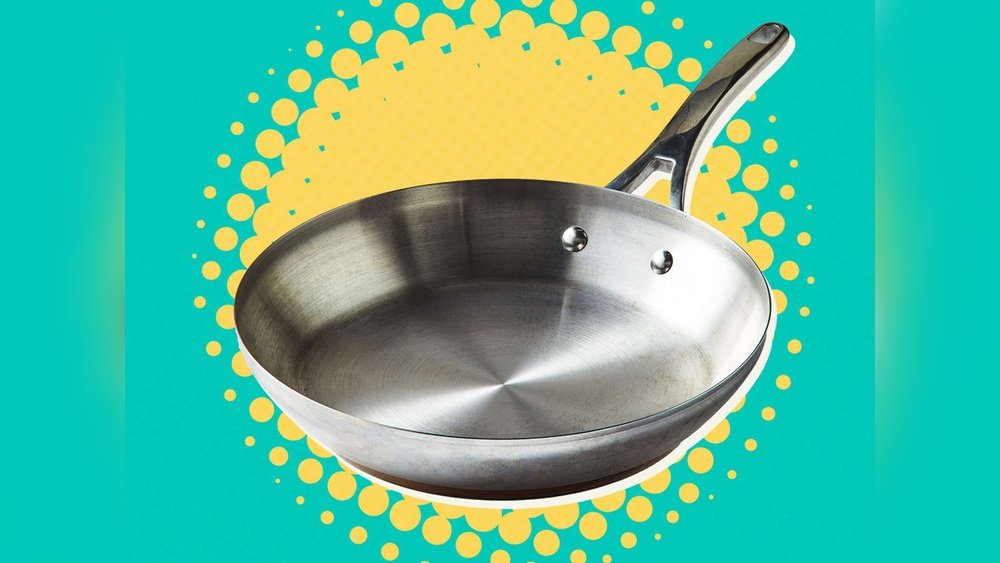
Making stainless steel nonstick is a dream for many home cooks. Stainless steel pans are strong, last a long time, and look beautiful. But they are famous for food sticking, which can turn cooking into a difficult task. If you’ve ever tried to fry eggs or fish in a stainless steel pan, you know the struggle.
The good news is, with the right techniques, you can turn your stainless steel cookware into a nonstick surface without buying expensive coatings or new pans.
This article will show you everything you need to know about making stainless steel nonstick. We’ll look at why food sticks, how to prepare your pan, and the science behind the process. You’ll learn step-by-step methods, practical tips, and mistakes to avoid. We’ll also compare stainless steel to other cookware, so you can see the real benefits. By the end, you’ll confidently cook on stainless steel like a professional chef.
Understanding Stainless Steel Cookware
Stainless steel is popular in kitchens for many reasons. It doesn’t rust, is easy to clean, and can handle high heat. However, it’s not naturally nonstick. The surface is smooth but not coated, so it reacts with food proteins and causes sticking.
Why Do Foods Stick To Stainless Steel?
Sticking happens because of two main reasons:
- Surface roughness: Even polished stainless steel has tiny pores and bumps.
- Protein reaction: Foods with protein (like eggs, fish, chicken) bond with the pan at high heat.
When you place cold food on a hot pan, moisture evaporates and proteins latch onto the metal. If the pan isn’t hot enough or is too hot, sticking gets worse.
Stainless Steel Vs Other Cookware
Let’s compare stainless steel, nonstick, and cast iron pans.
| Cookware Type | Heat Tolerance | Nonstick Ability | Durability | Maintenance |
|---|---|---|---|---|
| Stainless Steel | Up to 500°F | Low (unless seasoned) | Very High | Easy |
| Nonstick (Teflon) | Up to 400°F | High | Medium | Gentle (avoid scratches) |
| Cast Iron | Up to 600°F | High (if seasoned) | Very High | Medium (needs seasoning) |
Stainless steel wins for durability and heat tolerance. If you learn to make it nonstick, you get the best of both worlds.
The Science Behind Making Stainless Steel Nonstick
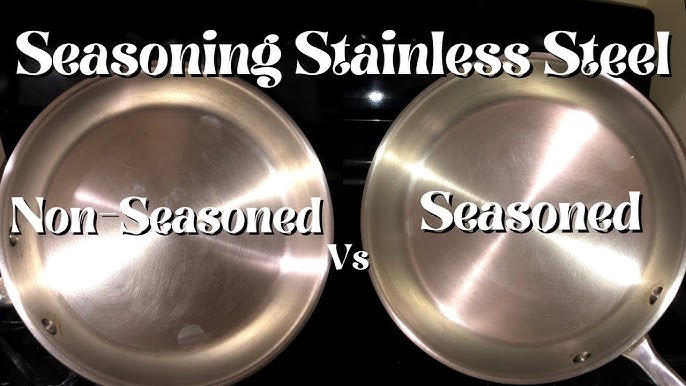
Stainless steel can become nonstick by creating a thin oil layer on its surface. This is similar to seasoning cast iron. The oil fills pores and creates a barrier, so food slides off instead of sticking.
How Seasoning Works
Seasoning means heating oil so it bonds to the pan and forms a smooth layer. This layer is not visible, but it changes the way food reacts with the metal.
- Polymerization: When oil is heated above its smoke point, it turns into a hard, slick surface.
- Barrier effect: The oil barrier keeps proteins from bonding with the pan.
Some people think seasoning only works for cast iron, but stainless steel can be seasoned too.
Step-by-step Guide: Making Stainless Steel Nonstick
Here’s a clear process to season your stainless steel pan and make it nonstick.
What You’ll Need
- Stainless steel pan (clean and dry)
- High smoke point oil (grapeseed, canola, sunflower, or avocado oil)
- Paper towels or soft cloth
- Stove
Step 1: Clean Your Pan Thoroughly
Before seasoning, wash your pan with warm water and dish soap. Remove all grease, old oil, or burnt bits. Dry completely. Any residue will stop the oil from bonding.
Step 2: Choose The Right Oil
Pick an oil with a high smoke point (above 400°F). Grapeseed, canola, and avocado oils work well. Avoid butter or olive oil, which burn quickly.
Step 3: Heat The Pan
Place the pan on the stove. Turn heat to medium-high. Let it heat for 2-3 minutes. You want the pan hot but not smoking.
Step 4: Add Oil
Pour a small amount (1-2 teaspoons) of oil into the pan. Swirl to cover the surface. Use a paper towel to spread oil evenly, including the sides.
Step 5: Heat Until Smoking
Continue heating the oiled pan. Watch for smoke. When the oil starts to smoke, turn off heat. Let the pan cool for 10 minutes.
Step 6: Wipe Excess Oil
After cooling, use a paper towel to wipe away extra oil. The surface should look shiny but not greasy.
Step 7: Repeat For Better Results
For a stronger nonstick layer, repeat steps 4-6 three to four times. Each layer makes the pan slicker.
Step 8: Test Nonstick Ability
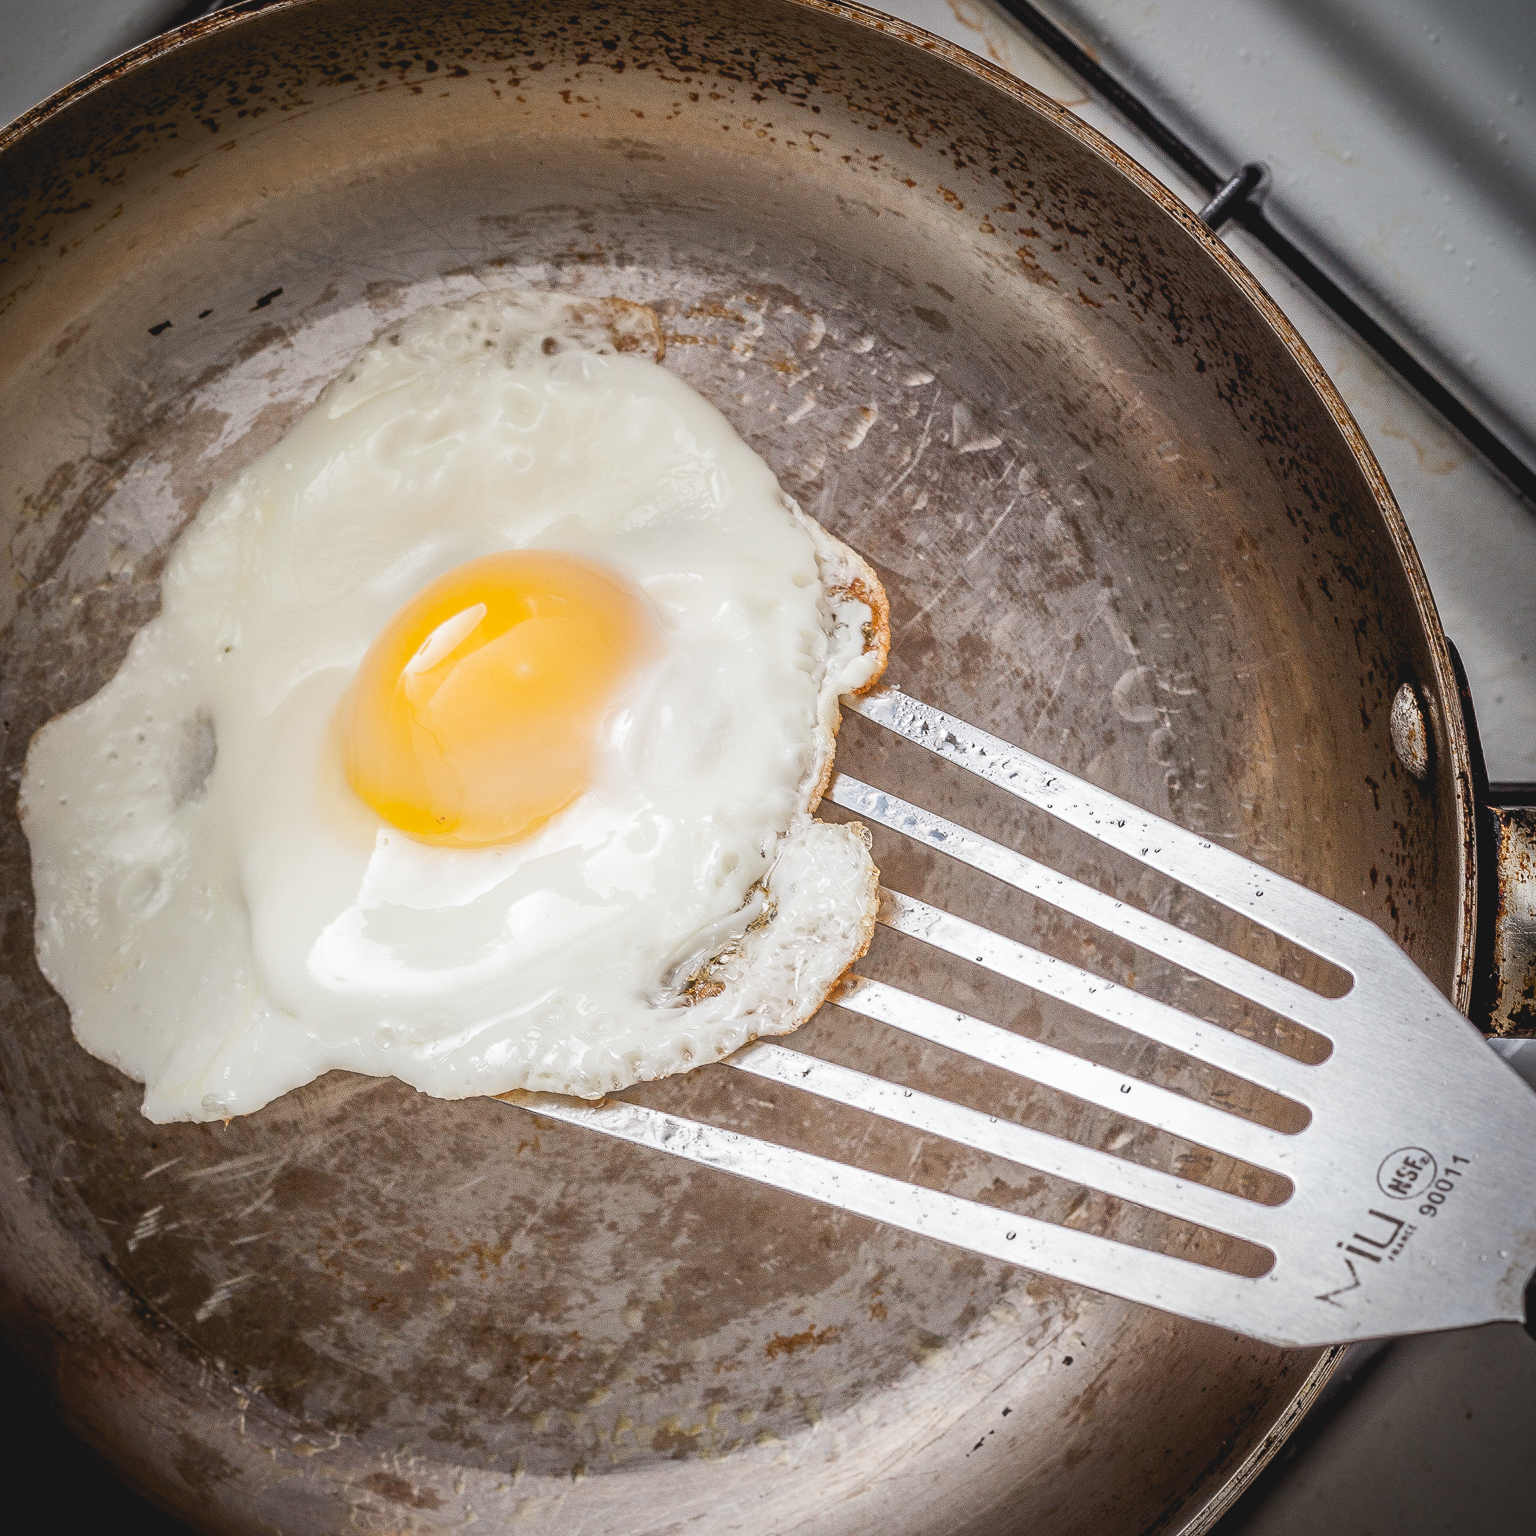
Crack an egg into the pan (no extra oil). If the egg slides easily, you’ve done it right. If it sticks, repeat seasoning.
Cooking Techniques For Nonstick Stainless Steel
Seasoning isn’t the only trick. How you cook matters too.
Preheating Is Essential
Always preheat your stainless steel pan. Here’s a simple test:
- Sprinkle a few drops of water on the pan.
- If water dances and forms beads, the pan is ready.
Cold pans make food stick. Hot pans help food release.
Use Enough Oil When Cooking
Even a seasoned pan needs some oil. Add a thin layer before cooking. Too little oil can cause sticking, especially for eggs and fish.
Don’t Move Food Too Soon
Let food cook and form a crust before flipping. For example, fish fillets release when browned. If you move food early, proteins stick.
Example: Cooking Eggs
- Heat pan with oil.
- Crack eggs in.
- Let them cook until edges brown.
- Slide spatula under eggs gently.
This method works for pancakes, chicken, and vegetables.
Cleaning And Maintaining Your Nonstick Stainless Steel
Proper care keeps your pan nonstick for years.
Avoid Soap After Seasoning
After seasoning, don’t use soap each time. Soap removes the oil layer. Clean with warm water and a soft sponge. For tough bits, use coarse salt and a cloth.
Dry Immediately
Water can cause spots and damage the seasoning. Dry your pan right after washing.
Re-season When Needed
If food starts sticking again, repeat the seasoning steps. You don’t need to do this every week—just when the pan loses its slickness.
Common Mistakes To Avoid
Many people make mistakes with stainless steel. Here are the top ones:
- Using cold pans: Always preheat before cooking.
- Too little oil: Don’t skimp on oil, especially for sticky foods.
- Moving food too early: Let food cook before flipping.
- Overheating: Don’t let pans smoke for too long—oil will burn.
- Using soap after seasoning: Avoid soap unless you plan to re-season.

Credit: thatothercookingblog.com
Comparing Stainless Steel Nonstick Methods
There are different ways to make stainless steel nonstick. Let’s compare:
| Method | Difficulty | Effectiveness | Lasts How Long? |
|---|---|---|---|
| Seasoning with oil | Medium | High | Weeks (with care) |
| Using cooking spray | Easy | Medium | Each use |
| Adding butter before cooking | Easy | Medium | Each use |
| Buying nonstick stainless steel pan | Easy | High | Years (with gentle care) |
Seasoning with oil is best for lasting results. Cooking spray and butter help, but need to be used every time.
Advanced Tips For A Truly Nonstick Stainless Steel Pan
For best results, try these advanced tips.
Use The Right Utensils
Use wooden or silicone spatulas. Metal tools can scratch the seasoned layer.
Control The Heat
Medium-high heat is ideal. Too low, food sticks. Too high, oil burns.
Know Your Food
Certain foods stick more—fish, eggs, pancakes. For these, use extra oil or season the pan more often.
Layering Oil
Instead of one thick layer, apply thin layers of oil and heat each time. This builds a stronger nonstick surface.
Avoid Acidic Foods
Tomato sauce, vinegar, and citrus can strip the oil layer. Use seasoned pans for dry or fried foods.
Stainless Steel Care: What Not To Do
Some cleaning habits can ruin your nonstick pan.
- Don’t use steel wool or abrasive pads.
- Avoid dishwashers (high heat removes seasoning).
- Don’t soak pans for long periods.
If your pan gets scratched, re-season it. Scratches expose fresh metal, which sticks.
Benefits Of Making Stainless Steel Nonstick
Turning your stainless steel pan nonstick has major advantages:
- Healthier cooking: Less oil needed compared to regular stainless steel.
- Long-lasting: Seasoned pans can last decades.
- Better flavor: Browning is more even and flavors develop well.
- No chemicals: Unlike Teflon, seasoning uses natural oils.
Many chefs prefer stainless steel for these reasons. You get control over your cooking surface.
Real-life Example: Home Cook Success
Sarah, a home cook in New York, struggled with eggs sticking in her stainless steel pan. She tried seasoning with grapeseed oil, following the steps above. After three rounds, she cracked an egg and it slid off easily. She now cooks fish, pancakes, and stir-fries without problems.
Stainless Steel Vs Nonstick Coatings: Which Is Better?
Let’s look at a direct comparison.
| Factor | Stainless Steel (Seasoned) | Nonstick Coating |
|---|---|---|
| Heat Resistance | High | Medium |
| Durability | Very High | Medium |
| Chemical Safety | Safe (natural oil) | May contain chemicals |
| Maintenance | Needs re-seasoning | Needs gentle cleaning |
| Price | Moderate | Varies |
Seasoned stainless steel gives you high heat resistance and durability. Nonstick coatings are easy but wear out faster.
Why Professional Chefs Use Stainless Steel
Professional kitchens rely on stainless steel for three reasons:
- Versatility: Works for frying, sautéing, boiling, and baking.
- Reliability: Handles daily use and abuse.
- Flavor development: Browning and caramelizing are better.
Chefs know that seasoning makes stainless steel nonstick and keeps flavors strong.
How Often Should You Season Stainless Steel?
You don’t need to season every day. Once every few weeks is enough, unless you cook acidic foods or clean with soap often. If you notice food sticking, season again.
Credit: thatothercookingblog.com
Is Stainless Steel Safe For Cooking?
Yes, stainless steel is safe. It doesn’t leach chemicals. Using high-quality oil for seasoning keeps your cooking surface natural.
Practical Troubleshooting Tips
If you have problems, try these solutions:
- Eggs stick: Increase oil and preheat more.
- Fish breaks apart: Wait longer before flipping. Use a spatula with a thin edge.
- Pan turns brown: This is normal after seasoning. Don’t scrub too hard.
How To Remove Burnt Food Without Ruining Nonstick
If you burn food, don’t panic. Fill the pan with warm water and baking soda. Let it soak for 30 minutes. Use a soft sponge to clean. If the seasoning is damaged, re-season.
Choosing The Right Stainless Steel Pan
Not all pans are equal. Choose pans with:
- Thick bottom (helps heat spread evenly)
- Quality steel (18/10 or 304 grade)
- Riveted handles (strong and safe)
Avoid cheap, thin pans. They heat unevenly and stick more.
Credit: www.youtube.com
How To Store Seasoned Stainless Steel
Store pans dry. Stack with soft cloth between pans to avoid scratches. Don’t use lids that trap moisture.
Expert Tip: Use Salt To Clean
If you need to scrub, use coarse salt and a soft cloth. Salt removes bits without scratching the pan.
Environmental Benefits
Seasoned stainless steel is eco-friendly. No need for chemical coatings. Pans last for decades, reducing waste.
What If Seasoning Doesn’t Work?
If seasoning fails, check these points:
- Pan wasn’t clean before seasoning.
- Oil wasn’t heated enough.
- Used low smoke point oil.
- Used too much oil.
Try again with proper steps. Most issues are solved by cleaning and heating well.
Stainless Steel Myths Debunked
Some myths:
- “Stainless steel can’t be nonstick.” False. Seasoning works.
- “Only cast iron can be seasoned.” False. Stainless steel can be seasoned.
- “Food always sticks.” False. With technique, food releases easily.
When To Replace Your Pan
If your pan is warped, deeply scratched, or has loose handles, replace it. Otherwise, seasoned pans last for years.
The Future Of Stainless Steel Cookware
Many companies now offer pre-seasoned stainless steel. Technology improves, but seasoning at home remains popular. It’s cheap, effective, and natural.
How To Make Stainless Steel Nonstick For Baking
You can use seasoned stainless steel for baking. Preheat, add oil, and bake as usual. Cakes and breads release easily.
Health Considerations
Seasoned stainless steel lets you use less oil. This helps reduce calories and fat. You avoid artificial coatings, making cooking healthier.
Resources For More Learning
For more details on cookware materials and seasoning, visit Wikipedia’s Stainless Steel page. It gives deep information on types, uses, and care.
Frequently Asked Questions
How Long Does A Seasoned Stainless Steel Pan Stay Nonstick?
A well-seasoned pan can stay nonstick for weeks, even months, if you avoid soap and abrasive cleaning. You may need to re-season after cooking acidic foods or deep cleaning.
Can You Use Stainless Steel Pans For All Foods?
Yes, but avoid cooking very acidic foods often, as they strip the seasoning layer. For sticky foods like eggs or fish, season the pan well and use extra oil.
Is Seasoning Stainless Steel Safe?
Seasoning with natural oils is safe. It avoids chemicals found in nonstick coatings. Make sure to use oils with a high smoke point and keep the pan clean.
What’s The Best Oil For Seasoning Stainless Steel?
Grapeseed, canola, and avocado oils are best. They have high smoke points and create a strong layer. Avoid butter or olive oil for seasoning.
How Do You Fix A Pan That Lost Its Nonstick Ability?
Clean the pan thoroughly. Dry it, and follow the seasoning steps again. Build up several thin layers of oil for a strong nonstick surface.
Making stainless steel nonstick is easy once you know the steps. You get durable, safe, and healthy cookware that lasts for years. With practice, you’ll enjoy cooking without worrying about food sticking.