Keeping your kitchen looking fresh and hygienic can be a real challenge, especially when it comes to painted kitchen cabinets. Over time, grease from cooking, oily hands, and everyday splatters build up on cabinet surfaces. If left untreated, this sticky film not only looks unsightly but can also damage the paint, dull the finish, and even lead to unpleasant odors. Many people worry about damaging their cabinets while cleaning, but with the right approach, you can remove stubborn grease safely and bring back that clean, bright look.
This guide is your go-to resource for cleaning grease from painted kitchen cabinets. Whether you have glossy, matte, or semi-gloss paint, you’ll find step-by-step instructions, practical tips, and solutions for common problems. You’ll also learn about the best cleaning products, how often to clean, and how to prevent grease from building up in the future.
By the end, you’ll know exactly how to keep your cabinets spotless—without the risk of peeling paint or unwanted streaks.
Why Grease Builds Up On Painted Kitchen Cabinets
Grease is a natural part of cooking. Even if you rarely fry foods, oils and fats become airborne when heated and slowly settle on nearby surfaces. Painted cabinets, especially those close to the stove, act like magnets for these sticky particles.
Over time, dust, steam, and food residue mix with grease, creating a tough, grimy layer.
Factors that increase grease buildup:
- Cooking frequently with oil or butter
- Lack of ventilation, such as not using a range hood
- Open-concept kitchens where grease travels further
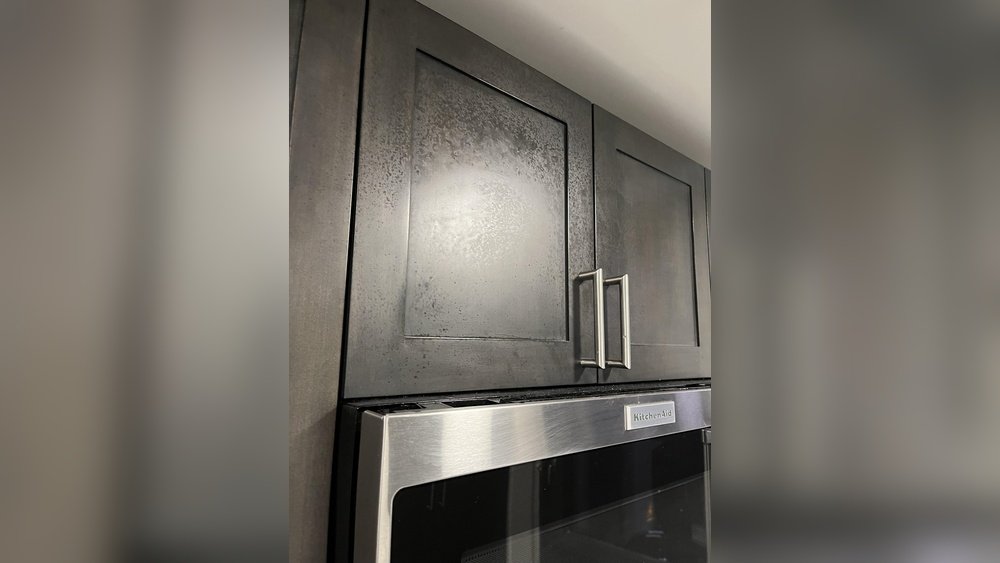
- Dark or matte finishes, which can show residue more clearly
Many people don’t realize that even boiling water releases tiny droplets of fat and moisture. Regular cleaning is the only way to keep cabinets looking their best.
Types Of Painted Cabinet Surfaces And Their Sensitivities
Not all painted cabinets are the same. Understanding your cabinet’s finish helps you choose the safest and most effective cleaning method.
| Finish Type | Durability | Grease Resistance | Cleaning Caution |
|---|---|---|---|
| Glossy | High | Better at repelling grease | Less prone to dulling |
| Semi-gloss | Medium-High | Moderate | Can scratch with abrasive tools |
| Matte/Flat | Low-Medium | Poor (grease stains easily) | Stains can set in; avoid harsh cleaners |
| Chalk Paint | Low (unless sealed) | Poor | Use only mild soap, avoid water soaking |
Non-obvious insight: Matte and chalk-painted cabinets require extra care. Grease can quickly soak in and leave shadows or stains that are hard to remove without damaging the paint.
Essential Tools And Supplies For Grease Removal
Before you start, gather the right tools and supplies. Using the wrong materials can scratch the paint or leave behind streaks.
Here’s what you’ll need:
- Microfiber cloths – Soft and absorbent, these are ideal for wiping away grease without scratching.
- Soft sponge – Use a non-abrasive sponge for gentle scrubbing.
- Mild dish soap – Effective at breaking down grease without harming paint.
- Baking soda – A gentle, natural abrasive for stubborn spots.
- White vinegar – Cuts through grease but must be diluted for painted surfaces.
- Spray bottle – For mixing and applying homemade cleaning solutions.
- Old toothbrush – Great for cleaning cabinet corners and hardware.
- Bucket of warm water – For rinsing.
- Dry towels – For drying cabinets after cleaning.
- Rubber gloves – Protect your hands from grease and cleaning agents.
Pro tip: Always test your cleaning solution on a hidden area first to check for paint reaction.
Step-by-step: How To Clean Grease From Painted Kitchen Cabinets
Cleaning painted cabinets isn’t complicated, but technique matters. Follow these steps for best results.
1. Remove Surface Dust And Loose Debris
Start by wiping cabinets with a dry microfiber cloth. This removes dust and crumbs that can scratch the paint during cleaning.
2. Mix A Gentle Cleaning Solution
For most painted cabinets, a simple solution works:
- Mix a few drops of mild dish soap into a bowl of warm water.
- For extra greasy areas, add a tablespoon of white vinegar (optional).
Avoid using strong chemicals or ammonia-based cleaners, as they can dull the paint or cause peeling.
3. Wipe Down Cabinet Exteriors
Dip your soft sponge into the soapy water, wring out excess liquid, and gently wipe the cabinet surfaces. Work from top to bottom to prevent dirty water from dripping onto cleaned areas.
Pay special attention to:
- Areas above the stove
- Around handles and pulls
- Lower cabinets near the floor
4. Scrub Stubborn Grease Spots
If some grease remains, sprinkle a small amount of baking soda on a damp cloth or sponge. Gently rub the spot in a circular motion. Baking soda’s fine texture helps lift grease without scratching the paint.
Non-obvious insight: Don’t over-wet the cabinets. Excess water can seep into seams and cause the paint to bubble or wood to swell underneath.
5. Clean Cabinet Hardware And Edges
Grease often collects around handles and in corners. Use an old toothbrush dipped in the soapy solution to scrub these areas. Rinse the brush often to avoid spreading grease.
6. Rinse And Dry Thoroughly
After cleaning, wipe cabinets with a clean, damp cloth to remove any soap or residue. Follow up with a dry towel to prevent water spots and streaks.
7. Repeat For Heavily Soiled Cabinets
In kitchens with years of buildup, one pass may not be enough. Repeat the cleaning process as needed, but allow cabinets to dry fully between sessions.
Homemade Cleaning Solutions: What Works Best?
Many people prefer homemade cleaners for their low cost and safety. But some DIY recipes can harm painted cabinets if used incorrectly.
| Solution | Effectiveness | Safe for Painted Cabinets? | Notes |
|---|---|---|---|
| Dish soap + water | High | Yes | Best all-around choice |
| Vinegar + water (1:4 ratio) | Medium-High | Yes, but rinse well | Can dull some finishes if not diluted |
| Baking soda paste | Medium | Yes, for spot cleaning | Use gently, rinse thoroughly |
| Lemon juice + water | Medium | Yes, with caution | Acidic, test on hidden spot first |
| Commercial degreaser | Very High | Depends on product | Check label for paint safety |
Caution: Undiluted vinegar or lemon juice is too harsh for painted surfaces and can strip the finish.
Best Store-bought Degreasers For Painted Cabinets
Sometimes, you need more cleaning power—especially for older, sticky grease. Not all degreasers are safe for painted wood, though.
Look for these features when buying a commercial degreaser:
- Non-abrasive formula
- PH-neutral or mild alkaline
- No bleach or ammonia
- Specifically labeled as safe for painted surfaces
Popular options include:
- Krud Kutter Kitchen Degreaser – Biodegradable and safe for most painted surfaces.
- Murphy Oil Soap – Gentle, plant-based cleaner that cuts grease without damaging paint.
- Method All-Purpose Cleaner – Plant-based, safe for painted wood, and leaves a fresh scent.
- Simple Green All-Purpose Cleaner – Non-toxic, but always dilute for painted cabinets.
Always read the label and test on a small area before using on all cabinets.
Credit: www.paintedbykaylapayne.com
How Often Should You Clean Painted Kitchen Cabinets?
Frequency depends on how much you cook and your kitchen’s layout. Here’s a general guideline:
- Light cooking (1-2 times/week): Deep clean every 2-3 months, wipe handles weekly.
- Moderate cooking (3-5 times/week): Clean every 4-6 weeks.
- Heavy cooking (daily, frying): Wipe down every week, deep clean monthly.
Tip: Quick weekly wipe-downs prevent grease from hardening and make deep cleaning much easier.
How To Clean Inside Painted Cabinets
Don’t forget the cabinet interiors. They collect crumbs, dust, and sometimes splashes from food storage.
- Remove all items and shelf liners.
- Vacuum or wipe out loose debris.
- Use the same mild soap solution as for exteriors.
- Wipe shelves and walls with a damp cloth, then dry.
- Let interiors air out for 15-30 minutes before replacing items.
Extra advice: Avoid placing oily or unsealed containers directly on painted shelves. Use shelf liners for protection.
Spot Cleaning: Handling Stubborn Or Old Grease Stains
Sometimes, grease has been left for months (or years). These stains need a little extra effort but can still be removed safely.
- Apply a small amount of baking soda paste (mix baking soda with water) to the stain.
- Let it sit for 5-10 minutes, but don’t let it dry completely.
- Gently rub with a microfiber cloth or soft sponge.
- Rinse with a damp cloth and dry.
For extremely tough spots, a drop of dish soap directly on the stain may help. Avoid metal scrubbers or abrasive pads—these can scratch or remove paint.
Common Mistakes To Avoid
Cleaning painted cabinets is simple, but certain mistakes can cause permanent damage.
- Using too much water: Excess moisture seeps into seams, causing swelling or bubbling.
- Abrasive scrubbers: Steel wool or rough sponges scratch and remove paint.
- Harsh chemicals: Ammonia, bleach, and oven cleaners can strip color and finish.
- Skipping drying: Leaving cabinets wet can cause water spots or swelling.
- Ignoring hardware: Grease around handles attracts more dirt.
Pro insight: Always move in the direction of the wood grain when scrubbing, even on painted surfaces, to minimize visible wear.
How To Prevent Grease Buildup On Painted Cabinets
Prevention saves time and keeps your kitchen looking great. These strategies help keep grease at bay:
- Use a range hood or fan every time you cook, even when boiling water.
- Wipe cabinets weekly with a damp microfiber cloth.
- Install cabinet hardware (handles or knobs) if you don’t have them—this keeps hands off the paint.
- Apply a thin coat of furniture wax (check paint compatibility) every 6-12 months for extra protection.
- Keep lids on pans to reduce splatter.
Unexpected tip: Lining the tops of cabinets with wax paper or removable liners catches airborne grease. Replace every few months for easy cleaning.
What To Do If Paint Peels Or Discolors After Cleaning
If you notice peeling or color change after cleaning, stop using all cleaners immediately. This is often a sign of:
- Using too much water or harsh chemicals
- Aggressive scrubbing
- Poor initial paint job or old paint
For minor damage:
- Gently sand the affected area with fine sandpaper.
- Repaint with matching cabinet paint.
- Allow to dry completely before cleaning again.
For widespread peeling, consult a professional painter. Sometimes, repainting is the best option for long-term durability.
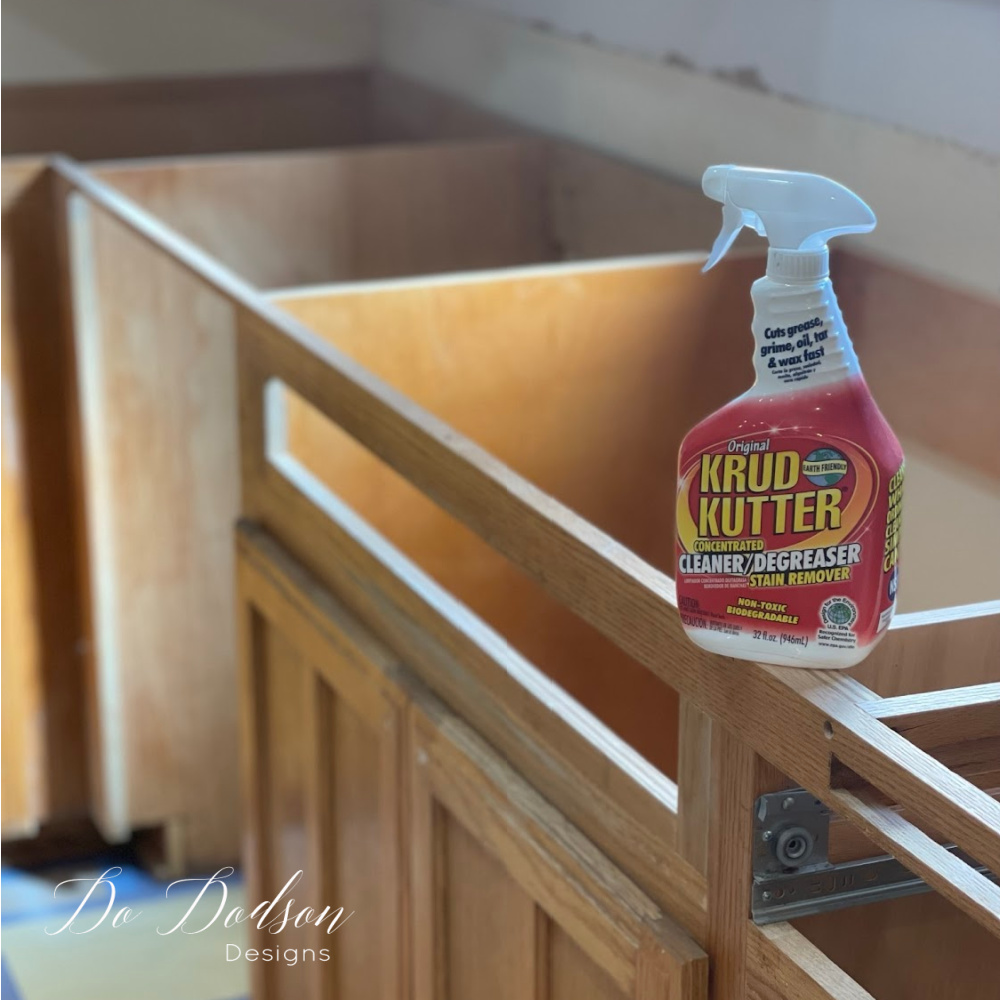
Credit: www.dododsondesigns.com
Painted Cabinets Vs. Other Surfaces: Cleaning Differences
Painted cabinets are not the same as laminate, wood, or thermofoil. Here’s how they compare for grease cleaning:
| Surface Type | Best Cleaning Method | Risk of Damage | Notes |
|---|---|---|---|
| Painted Wood | Mild soap, gentle wiping | Medium | Prone to scratches, water damage |
| Laminate | Stronger degreasers OK | Low | Resists stains, easy to clean |
| Thermofoil | Soap and water only | Medium | Heat can warp the surface |
| Stained Wood | Oil soap, minimal water | High | Finish can be stripped by strong cleaners |
Painted cabinets need a balance between effective grease removal and gentle care. When in doubt, always start with the mildest method.
Eco-friendly And Allergy-safe Cleaning Tips
Many people are sensitive to strong chemical smells or want greener options. Good news: painted cabinets can be cleaned well with simple, safe ingredients.
- Use baking soda and vinegar (diluted) for most jobs.
- Try plant-based dish soaps with no artificial scents.
- Avoid aerosol sprays—mists can linger and irritate sensitive noses.
- Open windows when cleaning to improve air quality.
- Rinse all surfaces well to remove any cleaner residue.
Extra tip: For allergy sufferers, wear gloves and rinse cloths frequently to avoid skin irritation.
When To Call A Professional
Most homeowners can handle cleaning painted kitchen cabinets themselves. However, there are times when professional help is wise:
- Severe or widespread paint damage
- Cabinets with heavy, sticky buildup that won’t come off
- Historic or custom-painted finishes that need special care
Professionals have access to safe, industrial-strength degreasers and refinishing tools. This can save your cabinets from permanent damage.
Step-by-step Maintenance Plan For Lasting Cleanliness
To keep your painted cabinets looking good year-round, try this simple maintenance routine:
- Daily: Wipe handles and visible splatters with a dry cloth.
- Weekly: Damp-wipe all cabinet surfaces with water or mild soap.
- Monthly: Deep clean around the stove and high-touch areas.
- Quarterly: Clean inside cabinets and check for new stains.
- Annually: Inspect for paint chips or wear and touch up as needed.
Consistency is key—waiting too long between cleanings makes grease much harder to remove.
:max_bytes(150000):strip_icc()/2545501_kitch69141_1-2000-033ab86a08ae40518a69315aee69369e.jpg)
Credit: www.southernliving.com
Additional Tips For Unique Situations
Some kitchens face special challenges, like open shelving, glass-front cabinets, or pets. Here are quick tips for these cases:
- Glass-front cabinets: Use vinegar and water (diluted) for the glass, but avoid letting it drip onto painted frames.
- Open shelving: Clean more often, as grease and dust settle quickly.
- Pet-friendly homes: Wipe paw prints and hair from lower cabinets with a damp microfiber cloth.
- High-humidity kitchens: Increase ventilation to prevent sticky residue from forming.
Unexpected advice: Place a small bowl of baking soda or activated charcoal inside cabinets to absorb odors from grease and food.
Frequently Asked Questions
How Do I Remove Thick, Sticky Grease That Won’t Come Off With Soap And Water?
For heavy buildup, make a paste from baking soda and water. Apply to the sticky area, let it sit for 5-10 minutes, then gently rub with a microfiber cloth. Rinse and dry. Avoid harsh scrubbing or undiluted chemicals—these can damage paint.
Is It Safe To Use Magic Eraser Or Melamine Sponges On Painted Cabinets?
Use Magic Eraser only with caution. While they’re great at removing stains, they can act like very fine sandpaper and may dull or remove paint, especially on matte or chalk finishes. Always test on a small, hidden spot first.
What’s The Best Way To Clean Painted Cabinet Hardware?
Remove hardware if possible and soak in warm, soapy water. Scrub with a soft brush, rinse, and dry before reattaching. For fixed hardware, clean around it with a toothbrush and mild soap, making sure not to let water seep behind the paint.
Can I Use Vinegar To Clean All Painted Cabinets?
Vinegar is safe if diluted (about one part vinegar to four parts water) and rinsed off promptly. Avoid using it on chalk or milk paint finishes, as the acid can damage delicate surfaces. Always do a spot test first.
Where Can I Find More Information About Safe Cleaning Products For My Cabinets?
For more details on safe cleaning solutions for painted surfaces, visit the Good Housekeeping guide to woodwork and paint cleaning.
Keeping painted kitchen cabinets free from grease doesn’t have to be stressful. With the right products, gentle techniques, and regular care, you can enjoy a beautiful kitchen for years—without worrying about stains or paint damage. Your cabinets will thank you every time you walk in and see them shine.