If you own a Whirlpool dishwasher, you probably want every dish to come out sparkling clean and dry. Sometimes, though, you find water spots, streaks, or cloudy glasses after a cycle. This is not just frustrating—it can make you question your dishwasher’s performance. The solution to this common problem is often very simple: using a rinse aid. Many people overlook this small but important part of dishwasher care. In fact, adding rinse aid correctly can dramatically improve cleaning results, especially if you have hard water or use eco-friendly cycles.
But how exactly do you add rinse aid to a Whirlpool dishwasher? Is it safe to use any brand? How much should you add, and what happens if you overfill the dispenser? This guide will walk you through every detail you need to know, from understanding why rinse aid matters to step-by-step instructions for your Whirlpool model.
You’ll also get practical tips, answers to common problems, and real user insights that most manuals don’t mention.
By the end, you’ll know exactly how to add rinse aid the right way, avoid mistakes, and keep your Whirlpool dishwasher working at its best for years to come.
Why Rinse Aid Is Essential For Whirlpool Dishwashers
Many users skip rinse aid, thinking it’s just an extra cost or only for fancy dishwashers. However, rinse aid is key for both cleaning and drying performance. Here’s why it matters:
How Rinse Aid Works
When your dishwasher runs, it sprays hot water and detergent onto dishes. During the final rinse, water often clings to surfaces, leaving spots and streaks as it dries. Rinse aid is a surfactant, meaning it reduces water’s surface tension. This allows water to slide off dishes smoothly.
Key benefits:
- Prevents water spots and streaks
- Speeds up drying
- Reduces cloudy residue on glassware
- Improves overall shine
Whirlpool Dishwashers And Rinse Aid
Most Whirlpool dishwashers have a dedicated rinse aid dispenser. Some newer models even use sensors to tell you when to refill. Using rinse aid is especially important if:
- You have hard water (high mineral content)
- You use energy-saving or eco cycles (which use less water and heat)
- You often wash glassware or clear plastics
Non-obvious insight: Even if your detergent claims to include a rinse aid effect, using a separate, dedicated rinse aid in the dispenser gives better results.
Types Of Rinse Aid: Which One Should You Use?
There are many rinse aid brands and types. Choosing the right one for your Whirlpool dishwasher is important.
Liquid Vs. Solid Rinse Aid
Most Whirlpool dishwashers use liquid rinse aid. Solid or tablet forms are rare, and not recommended unless your manual specifically says so.
Why liquid is better:
- Flows smoothly through the dispenser
- Allows easy refill and adjustment
- Compatible with all modern Whirlpool models
What To Look For In A Rinse Aid
When choosing a rinse aid, consider these factors:
- Compatibility: Make sure it’s labeled “for automatic dishwashers.”
- No harsh chemicals: Avoid products with strong fragrances or dyes, which can leave residue.
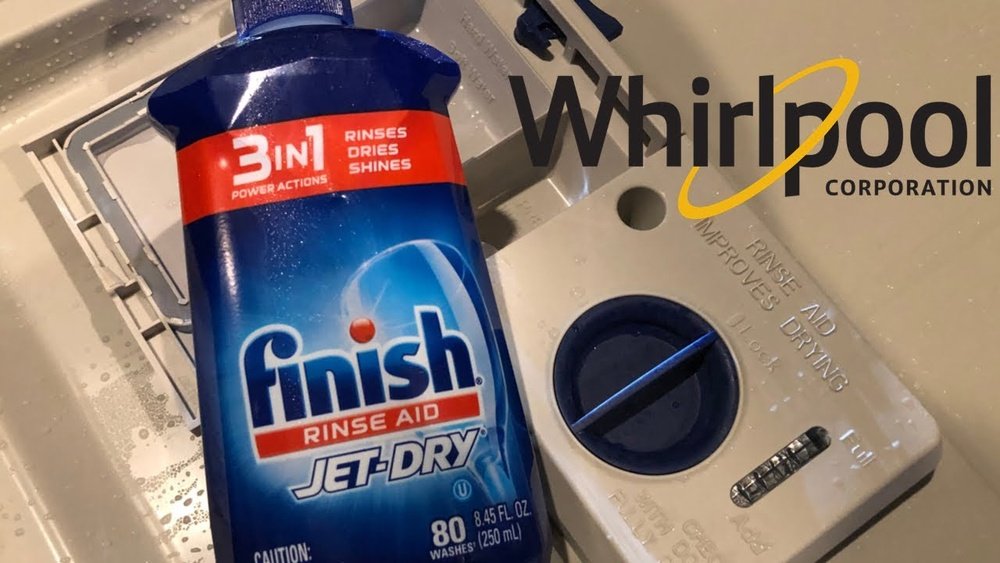
- Brand reputation: Popular brands like Finish Jet-Dry or Cascade Rinse Aid are tested widely and work well with Whirlpool.
Some eco-friendly alternatives are available, but always check for compatibility. Whirlpool recommends using only products designed for dishwashers.
Table: Popular Rinse Aid Brands And Features
Here’s a quick comparison of leading rinse aid options for Whirlpool dishwashers:
| Brand | Type | Key Features | Average Price (USD) |
|---|---|---|---|
| Finish Jet-Dry | Liquid | Fast-drying, fights spots, fragrance-free version available | $5–$7 (8.45 oz) |
| Cascade Power Dry | Liquid | Prevents streaks, helps plastics dry, no dyes | $6–$8 (16 oz) |
| Seventh Generation | Liquid | Plant-based, biodegradable, no synthetic fragrance | $7–$10 (8 oz) |
| Whirlpool/EveryDrop | Liquid | Tested for Whirlpool models, helps with hard water | $8–$12 (16 oz) |
Common mistake: Some people try to use vinegar as a DIY rinse aid. While it may work for a few cycles, vinegar can damage rubber seals and the rinse aid dispenser over time.
Where To Find The Rinse Aid Dispenser In Your Whirlpool Dishwasher
Before you can add rinse aid, you need to find the dispenser. Most Whirlpool dishwashers have a very similar design, but there are small differences by model.
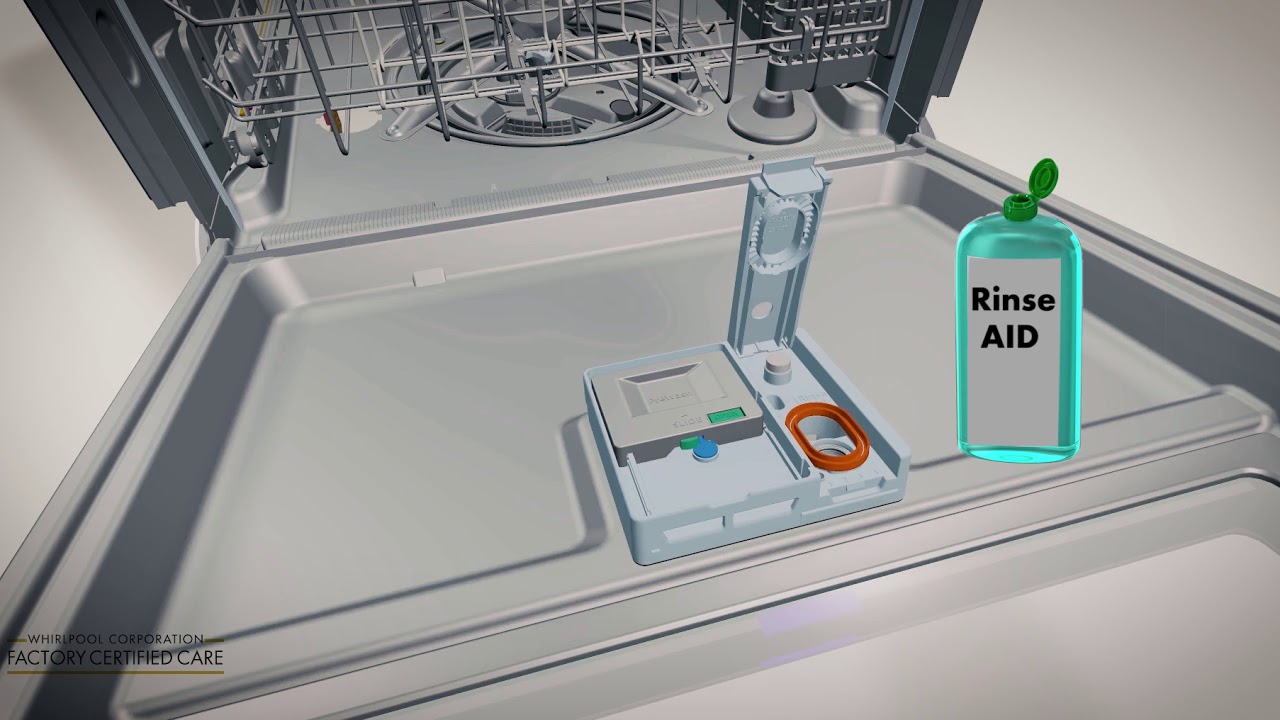
Typical Location
- Inside the door: Open your dishwasher door fully. Look at the inside panel.
- Next to detergent dispenser: You’ll see a round or oval cap, usually labeled “Rinse Aid” or showing a water droplet icon.
Identifying The Cap
The rinse aid cap often has a small notch or grip, allowing you to turn it with your fingers. Some older Whirlpool models may have a clear window to check the level. Newer models might have an indicator light on the control panel.
Non-obvious insight: If your dispenser cap is stuck, try gently tapping around it with a wooden spoon handle. Hard residue can make it difficult to turn, especially if you’ve never added rinse aid before.
Step-by-step: How To Add Rinse Aid To Your Whirlpool Dishwasher
Adding rinse aid is a quick process, but it’s important to do it the right way to avoid spills or overfilling.
Step 1: Open The Dishwasher Door
Make sure the dishwasher is off and cool. Open the door all the way so you can see the inside panel clearly.
Step 2: Locate The Rinse Aid Dispenser Cap
Find the round or oval cap next to the detergent compartment. It may be labeled or have a water droplet icon.
Step 3: Open The Rinse Aid Cap
- Turn the cap counterclockwise (left) to open.
- Lift the cap out carefully.
If you notice old, dried residue, wipe it gently with a damp cloth before refilling.
Step 4: Pour In The Rinse Aid
- Use the bottle’s nozzle or a small funnel to pour liquid rinse aid into the dispenser.
- Fill until the indicator (if present) reaches “Full” or until the liquid is just below the cap opening.
- Do not overfill—extra rinse aid can leak into the wash cycle, causing suds or film.
Example: Most Whirlpool dispensers hold about 4 to 5 ounces (120–150 mL) of rinse aid.
Step 5: Close The Cap Securely
- Replace the cap and turn it clockwise (right) until it clicks or feels snug.
- Make sure it’s sealed tightly to prevent leaks.
Step 6: Wipe Away Any Spills
If you spill rinse aid on the door or gasket, wipe it up right away with a damp cloth. Rinse aid can cause excess suds if it enters the wash chamber directly.
Step 7: Check The Indicator (if Your Model Has One)
Some Whirlpool dishwashers have a small window on the dispenser or an indicator light on the control panel. If you fill properly, the window should show “Full” or the light will turn off.
Pro tip: Set a reminder to check the rinse aid level every month, or more often if you run frequent loads.
How Much Rinse Aid Should You Add?
Adding the right amount is important. Here’s what you need to know:
Dispenser Capacity
Most Whirlpool dishwashers hold 4–5 ounces of rinse aid, which lasts about 30 to 40 washes depending on the setting.
Adjustable Setting
Some models have a dial under the cap with numbers (1–6). This adjusts how much rinse aid is released per cycle.
- Hard water: Use a higher setting (4–6)
- Soft water: Use a lower setting (1–3)
- Cloudy glasses: Increase the setting
- Rainbow film/plastic taste: Lower the setting
Adjust only one level at a time and check results after a few cycles.
Table: Rinse Aid Settings And Effects
Here’s a quick reference for Whirlpool’s numbered settings:
| Setting Number | Amount Released | Best For |
|---|---|---|
| 1–2 | Smallest dose | Soft water, no spots, short cycles |
| 3–4 | Moderate dose | Normal water, average spotting |
| 5–6 | Largest dose | Hard water, heavy spots, eco cycles |
Common mistake: Turning the setting too high “just in case” can leave a sticky film or blue residue, especially on plastics.
How Often Do You Need To Refill Rinse Aid?
Frequency depends on how often you run the dishwasher and your dispenser setting.
- Average use: Refill about once a month
- Heavy use (daily): Check every 2 weeks
- Light use (2–3 times a week): Refill every 2–3 months
If you notice spots returning, check the dispenser—even if you think it’s not empty.
Non-obvious insight: Some rinse aid bottles are designed to last exactly one dispenser fill. If you buy a larger bottle, save the small one for easier pouring.
Credit: producthelp.whirlpool.com
Troubleshooting: Common Rinse Aid Problems And Fixes
Even when you follow the instructions, issues can still occur. Here are some common problems and how to solve them.
Rinse Aid Not Dispensing
- Cap not closed: Make sure the cap is on tight.
- Clogged dispenser: Remove the cap and clean with a soft brush and warm water.
- Dispenser damaged: If the spring or mechanism is broken, contact Whirlpool service.
Overfilling Or Leaks
- Too much rinse aid: Wipe away spills; run a rinse cycle to clear excess.
- Leaking door: Check if rinse aid is dripping from the door—cap may be loose or seal damaged.
Cloudy Dishes Or Film
- Too high setting: Lower the dispenser setting.
- Wrong product: Only use dishwasher-safe rinse aids.
Rinse Aid Indicator Always On
- Sensor dirty: Wipe the window with a damp cloth.
- Faulty sensor: If cleaning doesn’t help, refer to your Whirlpool user manual or contact support.
Can You Use A Dishwasher Without Rinse Aid?
Yes, but it’s not recommended for best results. Without rinse aid, you may see:
- More water spots
- Longer drying time
- Cloudy glassware
If you must run without rinse aid for a short time, use the hottest, longest cycle and open the door after the cycle ends to help air-dry.

Credit: www.reddit.com
Is Vinegar A Safe Alternative To Rinse Aid?
Vinegar is sometimes suggested as a substitute, but it’s not ideal for Whirlpool dishwashers. Here’s why:
- Acidic nature: Vinegar can erode rubber seals and the plastic dispenser.
- Warranty risk: Using non-recommended products can void your warranty.
- Short-term solution: If you must, pour vinegar in a cup on the top rack (not in the rinse aid dispenser) for occasional cycles only.
Better option: Use a certified dishwasher rinse aid for safety and performance.
Maintenance Tips For Your Whirlpool Rinse Aid Dispenser
Keeping your dispenser clean ensures consistent results.
- Wipe the cap and area around the dispenser every month.
- If residue builds up, soak the cap in warm water and scrub gently.
- Avoid poking sharp objects into the dispenser, as this can damage the mechanism.
- Check the dispenser window for film or cloudiness—wipe with a soft, damp cloth.
Pro tip: If you notice blue or colored streaks inside the door, use less rinse aid or lower the dispenser setting.

Credit: www.reddit.com
How Adding Rinse Aid Improves Your Dishwasher’s Performance
Many Whirlpool users notice big improvements after regularly adding rinse aid:
- Cleaner, shinier glassware (no more milky spots)
- Faster drying (especially on plastics)
- Fewer repeat washes (saving water and energy)
- Better results on eco cycles (which use less heat)
Example: In a test by a leading consumer organization, adding rinse aid reduced water spots by over 70% compared to running without it.
Advanced tip: If you still have drying issues after using rinse aid, make sure your hot water heater is set to at least 120°F (49°C) for best dishwasher performance.
Table: Whirlpool Dishwasher Models And Rinse Aid Features
If you’re not sure what your model supports, here’s a quick overview:
| Model Series | Rinse Aid Dispenser | Indicator Light | Adjustable Setting |
|---|---|---|---|
| WDF5xxx | Yes | Yes (some models) | Yes |
| WDT7xxx | Yes | Yes | Yes |
| WDTA5xxx | Yes | Yes (LED panel) | Yes |
| Older Models (pre-2010) | Yes | No | Usually |
If you’re unsure, check your user manual or search your model number on the official Whirlpool site.
Best Practices For Rinse Aid Use In Whirlpool Dishwashers
To get the most out of your dishwasher and rinse aid:
- Always refill before the dispenser is empty. Running dry can lead to stubborn spots.
- Adjust the dispenser setting to your water hardness. Test a few settings to find what works best for you.
- Avoid mixing brands if possible. Stick to one type to prevent chemical buildup.
- Clean the dispenser monthly. This prevents clogs and maintains performance.
- Never use hand dish soap as a substitute—it will cause excessive suds and leaks.
Real-world Tips And User Experiences
People often learn the best tricks from real-world use, not just manuals. Here are some insights:
- If you live in an area with very hard water, pair rinse aid with a dishwasher cleaner every few months to remove mineral buildup.
- If you have a family with lots of plastic containers, increase the rinse aid setting one level—plastics dry slower than glass or ceramic.
- If your dishwasher smells musty, cleaning the rinse aid cap and dispenser can sometimes solve the problem, as old residue may trap odors.
- When switching to a new rinse aid brand, run a short cycle first to clear out the old product.
Environmental Concerns And Rinse Aid
Some users worry about the chemicals in rinse aid. Here’s what you should know:
- Most commercial rinse aids are biodegradable and safe for home septic systems.
- Eco-friendly options (like Seventh Generation) use plant-based surfactants.
- Always dispose of empty bottles responsibly—rinse them and recycle when possible.
If you prefer not to use rinse aid, you can try the air-dry cycle, but expect less shiny results.
Where To Buy Rinse Aid And How To Store It
You can find rinse aid at supermarkets, home improvement stores, online retailers, and even some big-box stores. Always check the label for dishwasher compatibility.
Storage tips:
- Keep rinse aid in a cool, dry place, away from direct sunlight.
- Make sure the cap is tightly closed after each use.
- Don’t store near food or drinks—rinse aid is not edible.
For official info and product details, visit the Whirlpool official website.
Frequently Asked Questions
How Do I Know When My Whirlpool Dishwasher Needs More Rinse Aid?
Most Whirlpool dishwashers have an indicator light or a small window on the rinse aid dispenser. When the window shows “low” or the light comes on, it’s time to refill. You may also notice more spots or poor drying when the dispenser is empty.
Can I Use Any Brand Of Rinse Aid In My Whirlpool Dishwasher?
Yes, as long as it’s labeled for automatic dishwashers. Avoid products with harsh fragrances or colors. Whirlpool recommends using popular brands like Finish, Cascade, or their own EveryDrop rinse aid.
What Happens If I Overfill The Rinse Aid Dispenser?
If you put in too much, excess rinse aid can leak into the wash chamber, causing suds or blue streaks on dishes. Always fill only to the “Full” line or just below the cap opening, and wipe up any spills.
Why Are My Dishes Still Wet Even After Using Rinse Aid?
Wet dishes can happen if your water heater is set too low, the rinse aid setting is too low, or you use short/cold cycles. Make sure your hot water is at least 120°F (49°C), and try increasing the rinse aid setting.
Is It Safe To Run My Whirlpool Dishwasher Without Rinse Aid?
Yes, it’s safe, but you’ll likely have more spots, slower drying, and less shine—especially with hard water. For best results, always use a recommended rinse aid.
Adding rinse aid is a small step that brings big improvements to your dishwasher’s performance. With the right product and a few simple habits, you’ll enjoy spotless, shiny dishes every time.