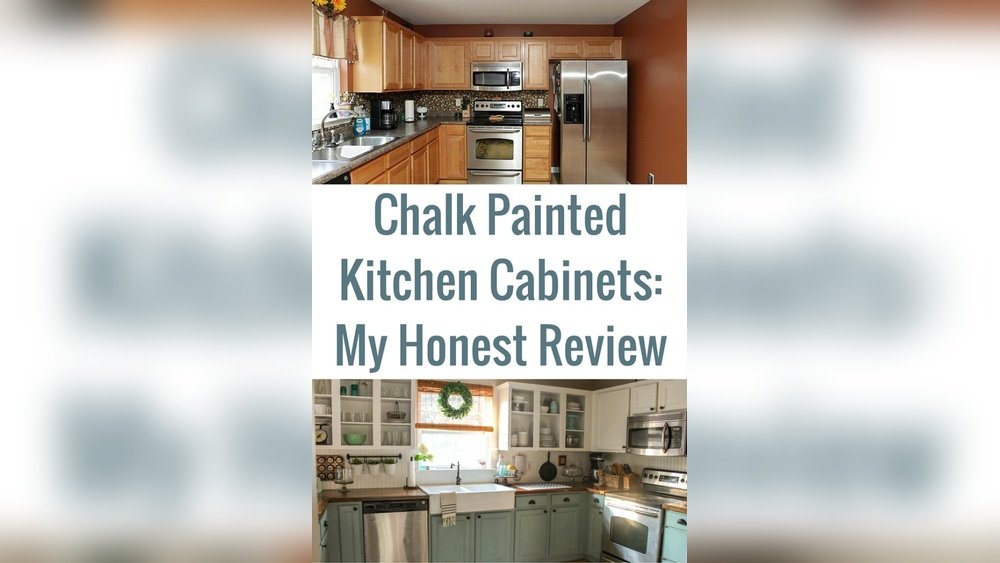
Painting your kitchen cabinets can completely change the look of your space. Many homeowners are choosing chalk paint as a way to refresh their kitchen without the mess and cost of a full remodel. If you want a softer, matte finish and a simple painting process, chalk paint is a great choice. But to get long-lasting, smooth results, you need more than just a brush and a can of paint. This guide will walk you through every step, from preparation to sealing, with real-life tips and solutions to common problems.
Whether you are a first-time DIYer or have some painting experience, you can achieve beautiful cabinets. You will learn what materials to buy, how to prepare your cabinets, painting techniques, and how to protect your hard work. By the end, you’ll understand not just the “how,” but also the “why” behind each step—so you can avoid mistakes and get a professional look.
Why Choose Chalk Paint For Kitchen Cabinets?
Chalk paint is popular for kitchen cabinets because it is easy to use and creates a unique, vintage look. Unlike traditional paints, chalk paint sticks to most surfaces with little prep work. It dries fast and gives a soft, matte finish that hides imperfections. Here’s why many people love it:
- No sanding or priming needed (in most cases)
- Low VOC (fewer fumes, safer indoors)
- Easy to distress for a rustic style
- Covers dark colors and wood grain well
However, chalk paint is not as tough as regular cabinet paints. It needs a protective topcoat to handle the kitchen’s moisture and cleaning. Skipping this step is a common mistake and can lead to chips and stains.
Tools And Materials Needed
Before starting, gather all your supplies. Having everything ready helps the project go smoothly and saves time.
Basic materials:
- Chalk paint (usually 2-3 quarts for a small kitchen, 3-4 for a large)
- Chalk paint wax or polycrylic sealer
- Degreaser or mild soap
- Sandpaper (medium and fine grit)
- Painter’s tape
- Drop cloths or plastic sheets
- Quality brushes (synthetic for smooth, natural bristle for texture)
- Small foam roller (optional, for flat areas)
- Screwdriver (to remove hardware)
- Clean rags or lint-free cloths
- Gloves (optional, to protect hands)
Pro Tip: Some brands of chalk paint are thicker than others. If you want a super-smooth finish, you can thin the paint with a little water. Always test on a scrap piece first.
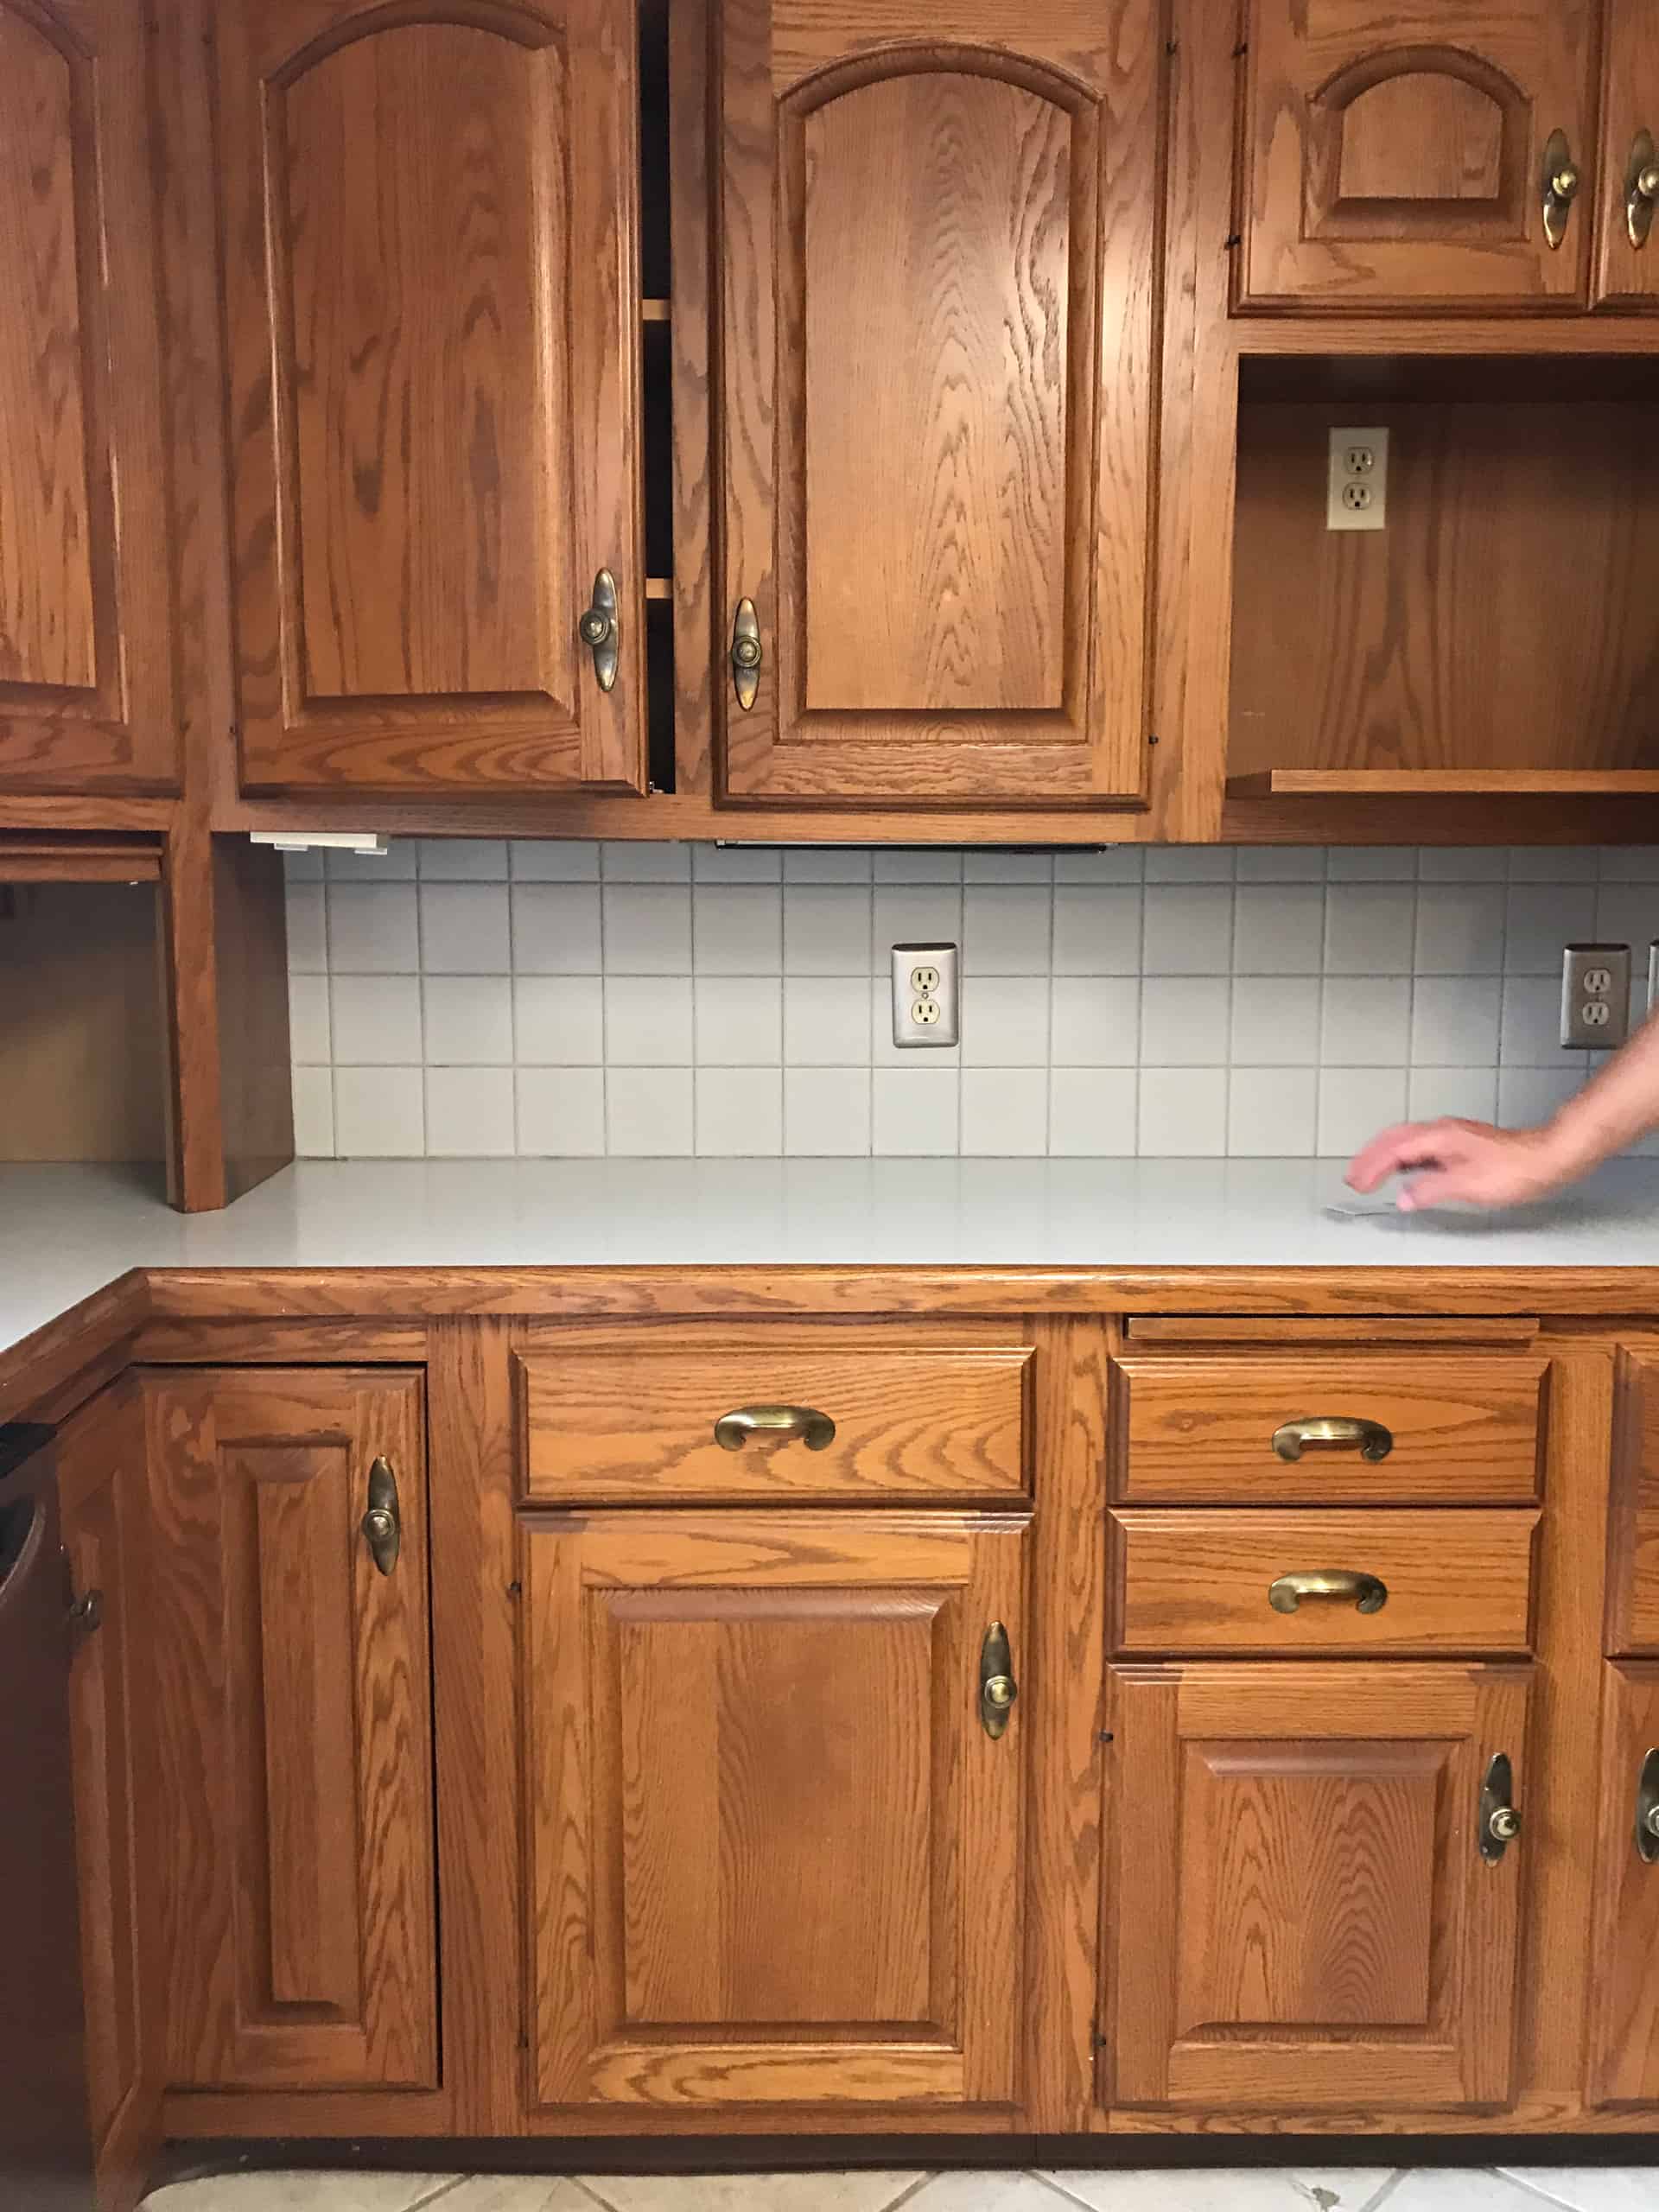
Preparing Your Kitchen Cabinets
Preparation is the step most people rush, but it is crucial for a lasting finish. Even though chalk paint is forgiving, dirty or greasy cabinets can cause paint to peel.
Step 1: Empty And Clean
Start by removing all dishes, food, and items from your cabinets. Take off the cabinet doors and drawers if possible. Use a screwdriver to remove handles, knobs, and hinges. Label each door and its hardware so you can put everything back easily.
Clean the surfaces with a strong degreaser or a mixture of warm water and mild soap. Pay special attention to areas near the stove, as kitchen cabinets often have invisible grease and fingerprints. Rinse with clean water and let dry completely.
Step 2: Light Sanding
Chalk paint usually does not need heavy sanding, but light sanding helps it stick better—especially on glossy or laminate surfaces. Use medium-grit sandpaper (120-150) for a quick scuff. Sand in the direction of the wood grain. Wipe away dust with a damp, lint-free cloth.
Beginner insight: Many skip sanding because chalk paint can “stick to anything.” This is only half true. Sanding gives you smoother results and reduces the risk of peeling, especially in high-use kitchens.
Step 3: Protect Surroundings
Lay down drop cloths to protect your floors and counters. Use painter’s tape to cover walls, backsplashes, and any areas you don’t want painted. Remove or cover appliances nearby.
Choosing The Right Chalk Paint
Not all chalk paints are the same. Some are designed for furniture, others for walls, and a few are made especially for cabinets. Here are three popular brands and how they compare for kitchen cabinets:
| Brand | Finish | Dry Time | Durability | Colors Available |
|---|---|---|---|---|
| Annie Sloan Chalk Paint | Matte, velvety | 1 hour/touch | High (with wax) | 40+ |
| Rust-Oleum Chalked | Matte | 30 min/touch | Moderate (needs strong sealer) | 15+ |
| Behr Chalk Decorative | Matte/eggshell | 1 hour/touch | High (with sealer) | 20+ |
Tip: If your cabinets are in a high-traffic kitchen or you have kids, choose a paint brand that is known for strong adhesion and durability.
How Much Chalk Paint Do You Need?
It’s easy to buy too much or too little paint. A quart of chalk paint covers about 140 square feet. Most kitchens need 2-4 quarts, depending on cabinet size and the number of coats.
Estimate your paint needs by measuring the width and height of each cabinet door and drawer, then multiplying to get the total square footage. Add a little extra for touch-ups.
| Kitchen Size | Number of Cabinets | Chalk Paint Needed |
|---|---|---|
| Small | 8-12 | 2 quarts |
| Medium | 13-20 | 3 quarts |
| Large | 21+ | 4+ quarts |
Non-obvious tip: If you are painting a dark cabinet a much lighter color, you may need an extra coat (or a gray-tinted base coat) for full coverage.
Step-by-step: Painting Kitchen Cabinets With Chalk Paint
Now you’re ready to paint. Don’t rush—patience leads to a smoother, longer-lasting finish.
Step 1: Prime (if Needed)
Chalk paint usually doesn’t need a separate primer. However, if your cabinets are dark, stained, or made from laminate, a shellac-based primer can help block stains and give the best adhesion. Let the primer dry fully before moving on.
Step 2: First Coat Of Chalk Paint
Stir your paint well. Start with the back of a door or a hidden spot to test the color and adhesion. Use a good-quality brush for corners, edges, and details. For flat areas, a small foam roller gives a smooth finish.
Apply a thin coat of paint. Don’t overload your brush or roller—thick coats can lead to drips and uneven texture. Brush in long, even strokes, always in the same direction as the wood grain.
Let the first coat dry for 1-2 hours, or as recommended on the label.
Step 3: Second Coat
After the first coat is dry, check for coverage. Most cabinets need two coats for even color. Apply the second coat in the same way, making sure to catch drips or missed spots.
For very dark cabinets or light paint colors, a third coat may be needed. Let each coat dry fully before adding the next.
Beginner’s insight: Chalk paint dries to the touch quickly but can still be soft underneath. Avoid touching or closing doors until fully cured between coats.
Step 4: Light Sanding Between Coats (optional)
For the smoothest, most professional look, lightly sand with fine-grit sandpaper (220 grit) between coats. This removes small brush marks and dust. Wipe away the sanding dust with a damp cloth before the next coat.
Step 5: Finishing Touches
Check all surfaces for even coverage. Use a small artist brush for tiny touch-ups in corners or around hardware holes. Let everything dry for at least 24 hours before sealing.
Credit: hollandavenuehome.com
Creating A Distressed Or Smooth Finish
One benefit of chalk paint is you can choose your look. If you want a modern, smooth cabinet, use a foam roller and sand lightly between coats. For a rustic or farmhouse style, distress the edges gently with sandpaper after the last coat.
How to distress: Wait until the paint is dry, then rub fine sandpaper along corners and edges where natural wear would happen. Wipe away dust before sealing.
Non-obvious insight: Distressing too soon (before the paint fully dries) can cause large chips instead of a gentle worn look. Wait at least 24 hours after painting.
Sealing Chalk Painted Cabinets
Chalk paint is not waterproof or stain-proof on its own. Kitchens have steam, grease, and constant cleaning—so you must seal your cabinets for durability.
There are two main options: wax or polycrylic.
Wax
Wax is the traditional sealer for chalk paint. It gives a soft, velvety feel and enhances the color. Apply with a lint-free cloth or brush, working it into the surface in small sections. Buff gently after 10-15 minutes for a low sheen.
- Pros: Beautiful finish, easy to repair, natural look
- Cons: Needs re-applying every 6-12 months, sensitive to heat and water
Polycrylic
Polycrylic is a water-based clear topcoat. It dries hard and is very durable—great for kitchen cabinets. Use a synthetic brush or foam roller for application. Let each coat dry, then lightly sand between coats.
- Pros: Very durable, washable, resists water
- Cons: Can look shinier than wax, may yellow slightly over white paint
Beginner mistake: Many people use only wax, then are disappointed when cabinets stain or chip. For kitchens, polycrylic is usually the better long-term choice.
Reattaching Hardware And Doors
Wait at least 48 hours after sealing before handling or reattaching doors and hardware. Chalk paint can feel dry to the touch in hours, but it takes several days to cure completely.
Reinstall the hinges, knobs, and handles. Use your labels to put each door and drawer back in the correct place. Avoid slamming or heavy use for a week to let the finish harden fully.
Cleaning And Caring For Chalk Painted Cabinets
Chalk painted cabinets are easy to maintain if you use the right cleaner. Avoid harsh chemicals or scrubbing pads that can remove wax or scratch the surface.
- Use a damp, soft cloth for regular cleaning.
- For sticky spots, a mild soap and water mix is safe.
- If you used wax, reapply every 6-12 months for best protection.
- If you see dull areas or scratches, buff or touch up as needed.
Pro Tip: Never use bleach or ammonia cleaners on chalk painted surfaces. They can break down the finish and cause discoloration.
Common Problems And Solutions
Even careful DIYers can run into issues. Here are some frequent problems and how to fix them:
- Peeling or Chipping Paint: This usually means the surface was oily, dirty, or too glossy. Sand the area, clean well, and repaint. Seal with polycrylic for extra strength.
- Visible Brush Marks: Use a quality brush and don’t overload with paint. Sand lightly between coats for a smooth finish.
- Stains Bleeding Through: Some woods (like mahogany or cherry) can bleed tannins into paint. Use a shellac-based primer first to block stains.
- Sticky Finish: If wax stays sticky, too much was applied. Buff with a clean cloth or remove excess wax with a bit of mineral spirits.
- Uneven Color: Apply thin, even coats. Stir paint often to keep color consistent.
Non-obvious insight: Chalk paint can be sensitive to temperature and humidity. Paint in a room that is 60–75°F (16–24°C) and avoid damp weather for best results.
When To Call A Professional
Chalk paint is great for a DIY project, but it is not always the best choice for every kitchen. If your cabinets are in poor condition, made of laminate, or you want a factory-smooth finish, a professional may be worth the investment.
They have spray equipment and can handle tricky repairs.
However, most homeowners can achieve beautiful results with careful prep and patience.
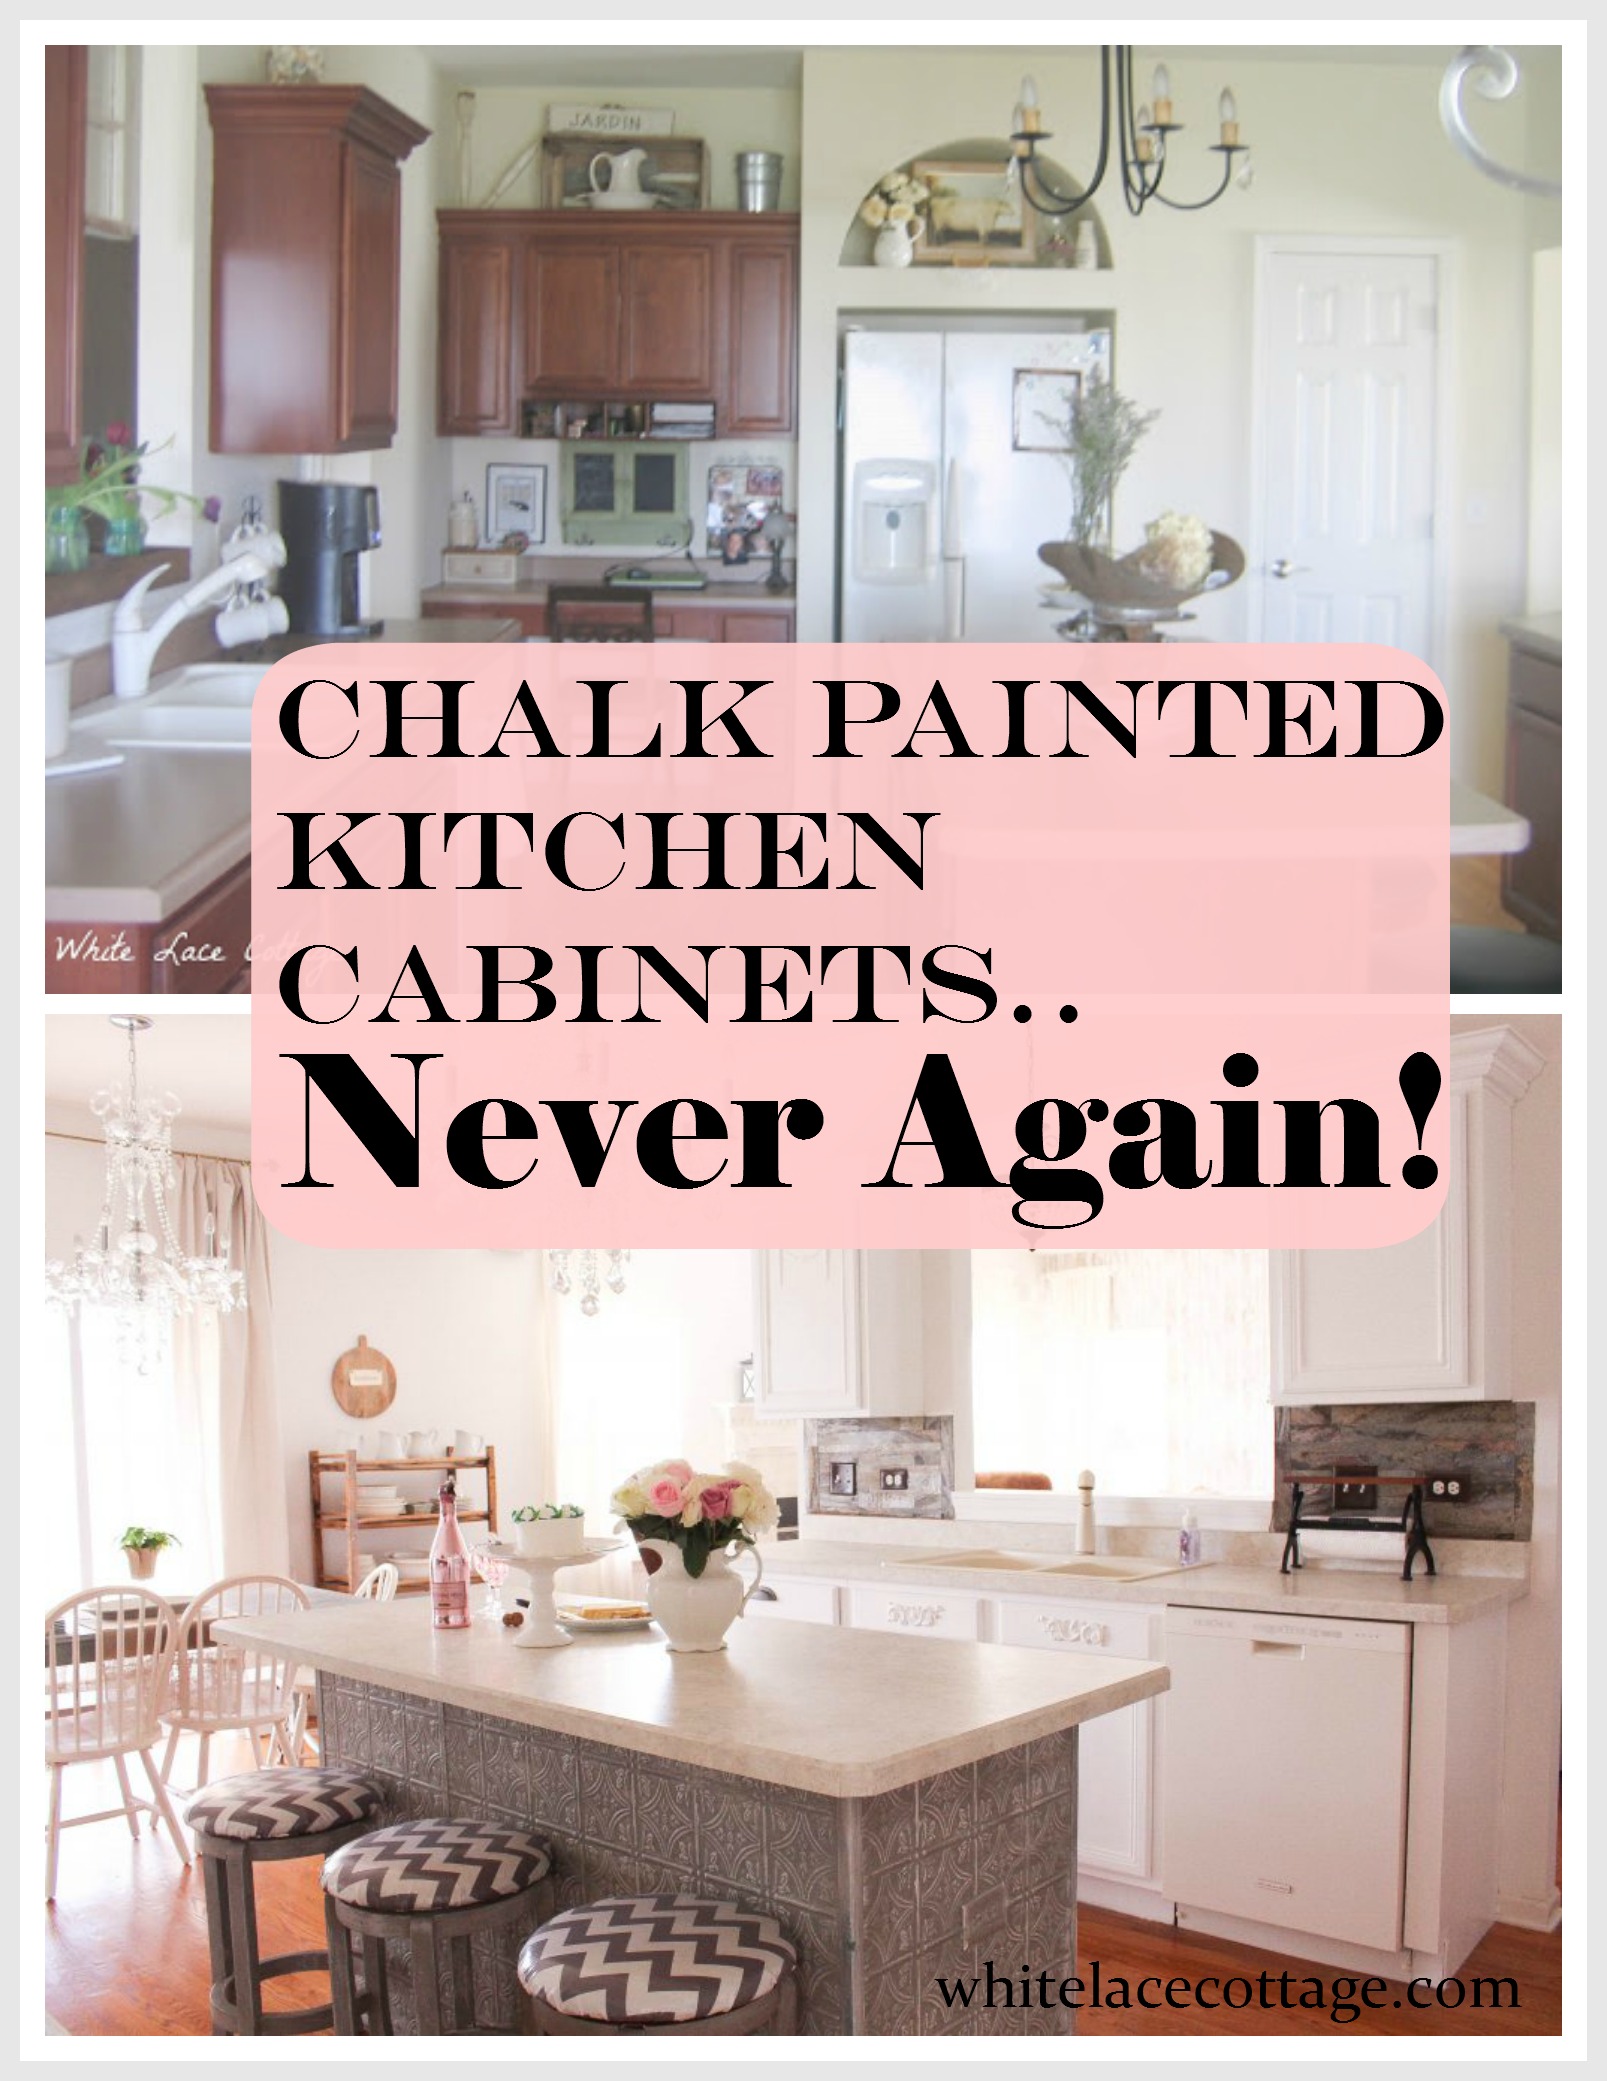
Credit: www.whitelacecottage.com
Cost And Time Estimates
Painting your cabinets with chalk paint is much cheaper than replacing them. Here’s an estimate for an average DIY project:
- Chalk paint (3 quarts): $60–$120
- Sealer (polycrylic or wax): $20–$40
- Brushes, rollers, sandpaper: $25–$50
- Other supplies (tape, drop cloths, cleaner): $20–$40
Total: $125–$250 (compared to $3,000+ for new cabinets)
Time needed: Most kitchens can be painted over a weekend, but allow 5–7 days for full curing before heavy use.
Mistakes Beginners Make (and How To Avoid Them)
Many first-timers make these mistakes:
- Not cleaning cabinets well enough
- Skipping light sanding, especially on glossy or laminate surfaces
- Using too much paint per coat (thick coats chip more easily)
- Not allowing enough dry time between coats
- Skipping the sealing step or using only wax in a busy kitchen
- Not labeling doors and hardware, leading to confusion during reassembly
Advice: Take your time and follow each step. A little extra effort in prep and patience means your new cabinets will last for years.
Credit: abeautifulmess.com
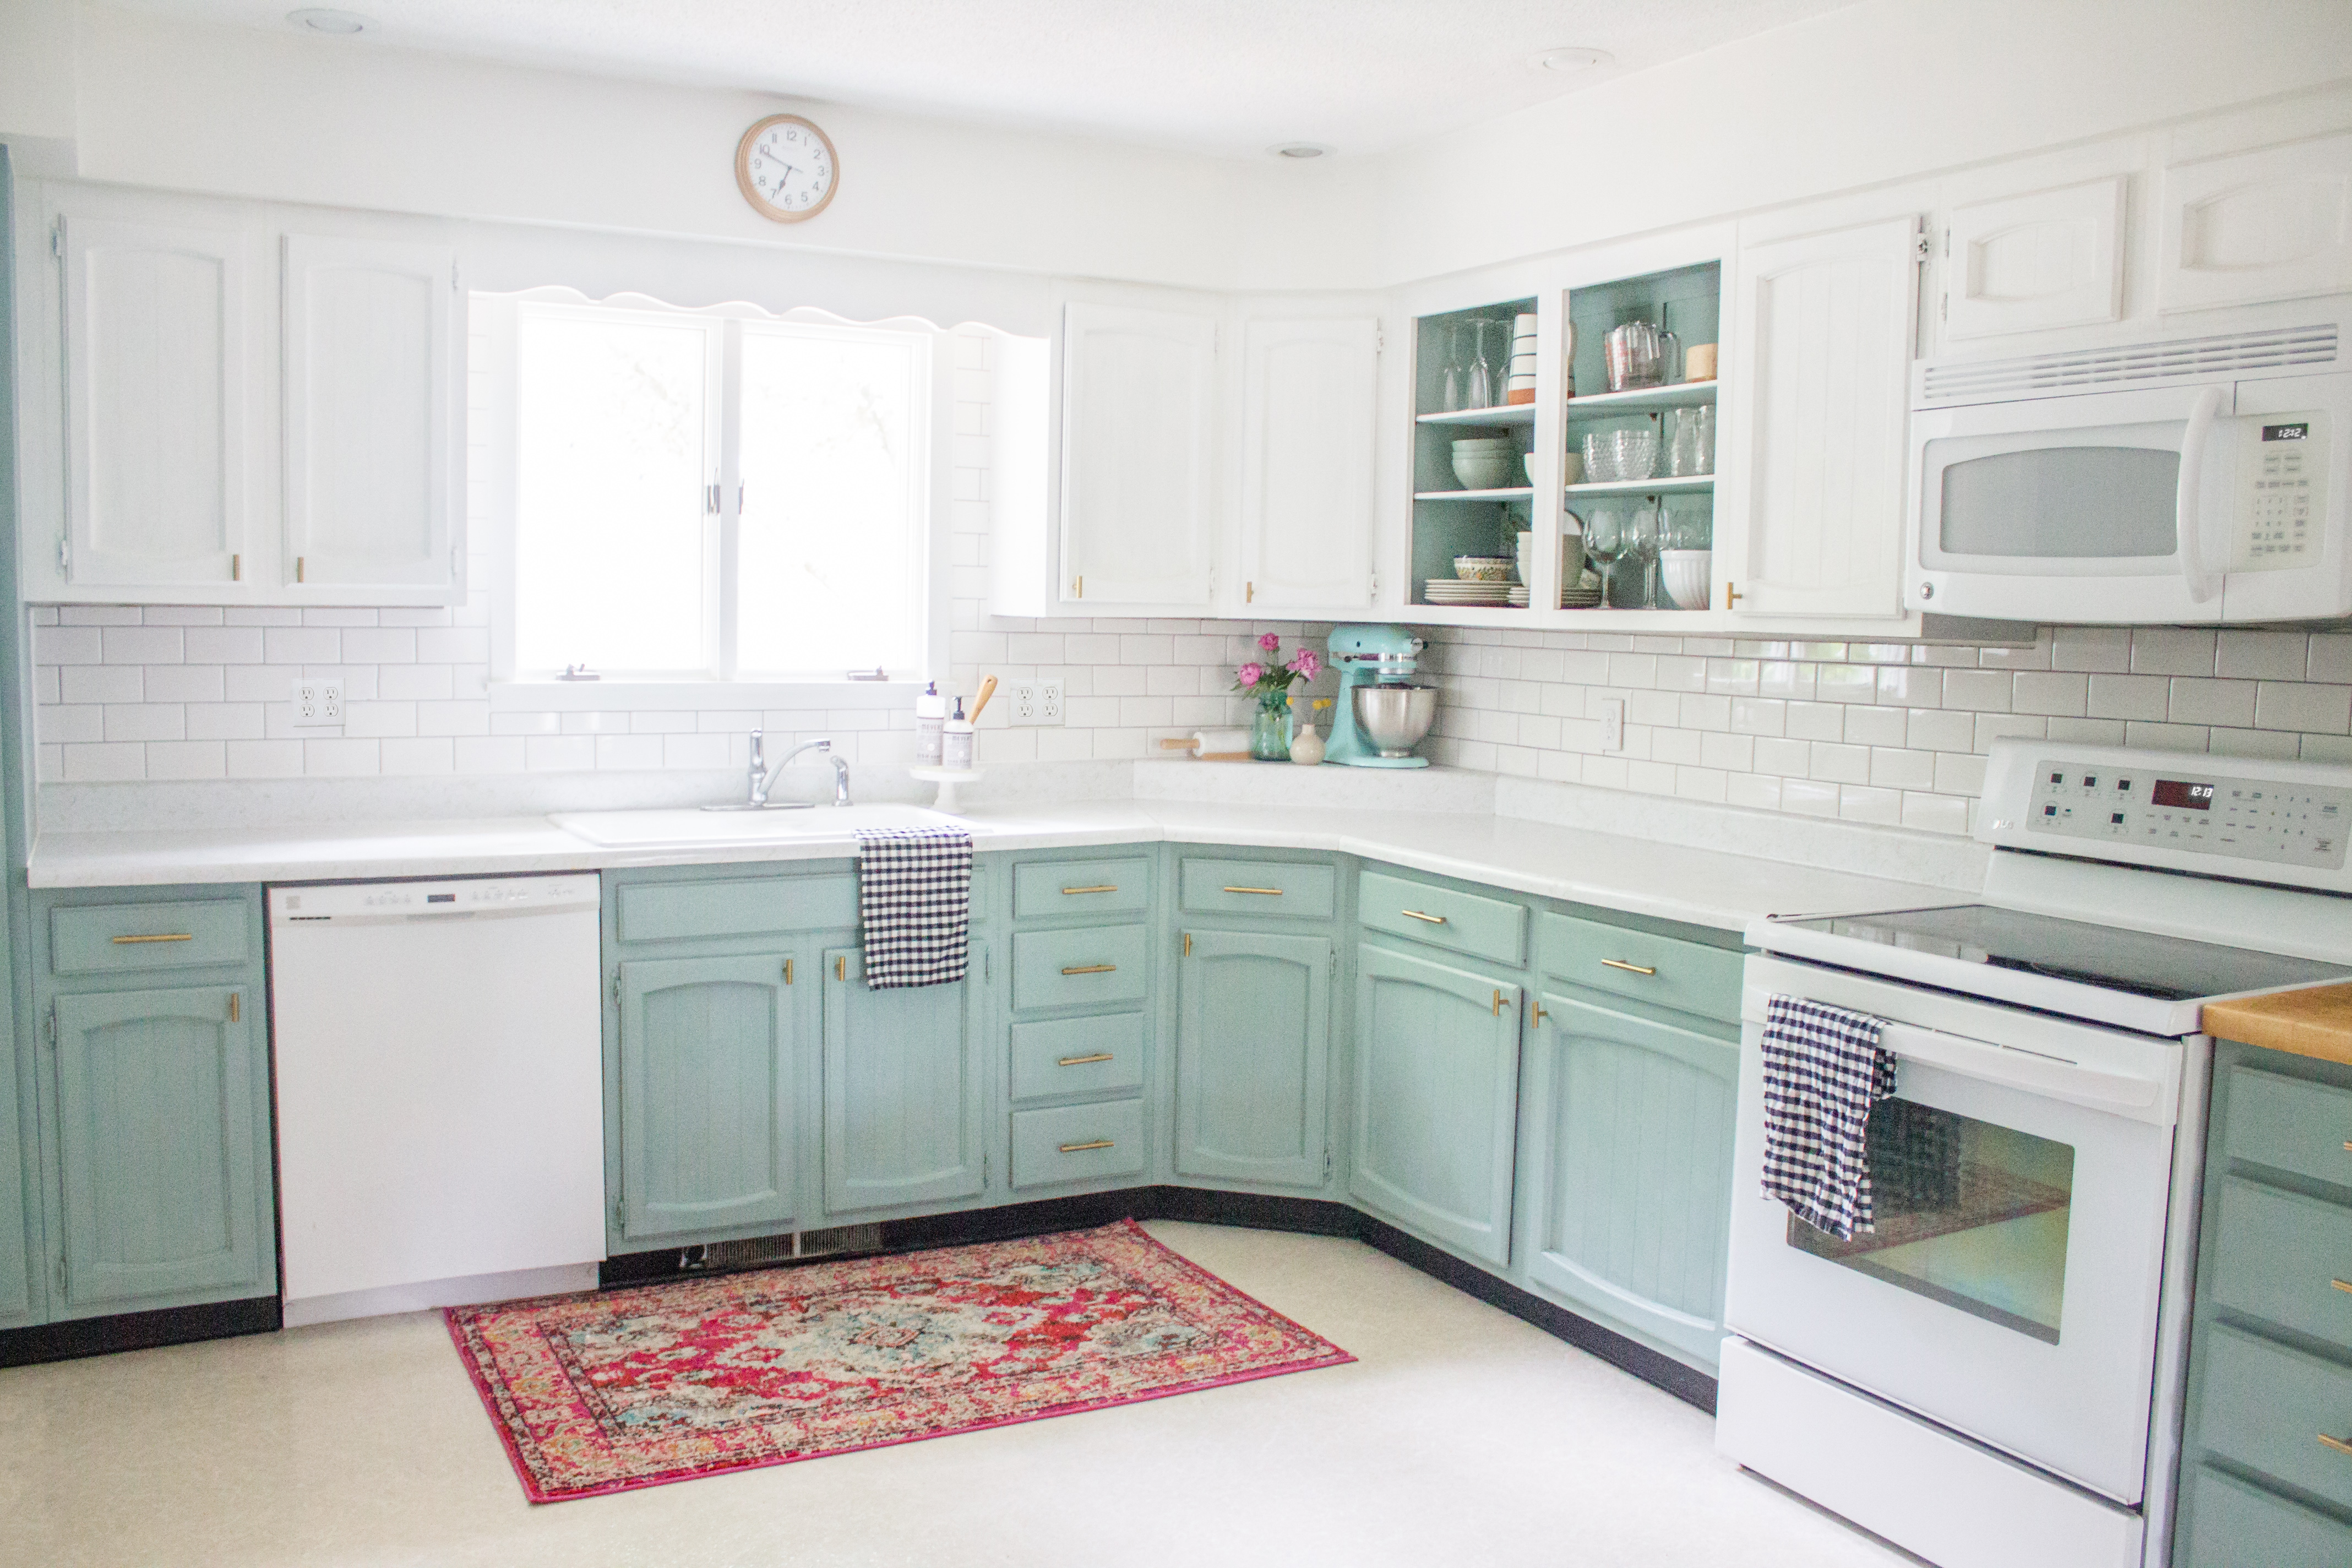
Examples And Inspiration
Chalk paint can work with many kitchen styles, from farmhouse to modern. Here are a few ideas:
- White chalk paint for a classic, bright kitchen
- Navy blue or dark gray for a bold, contemporary look
- Two-tone cabinets (light uppers, dark lowers) for visual interest
- Distressed edges for a cozy, rustic style
If you need color ideas, check out the color charts on the official Annie Sloan or Behr websites. For more inspiration and real-life examples, you can visit Houzz.
Pros And Cons Of Painting With Chalk Paint
Here’s a quick overview of the main advantages and disadvantages:
| Pros | Cons |
|---|---|
| – Easy for beginners – Minimal prep – Fast drying – Distresses easily – Low odor |
– Needs sealing – Not as durable as factory paint – Can show brush marks – Needs maintenance – Limited color range (compared to regular paint) |
Frequently Asked Questions
How Long Does Chalk Paint Last On Kitchen Cabinets?
With proper prep and sealing, chalk painted cabinets can last 5 years or more before needing touch-ups. Using a strong sealer like polycrylic improves durability in busy kitchens.
Can I Use Chalk Paint On Laminate Or Melamine Cabinets?
Yes, but extra prep is needed. Clean and lightly sand the surface. For best results, use a shellac-based primer before painting to ensure good adhesion.
Is Chalk Paint Safe To Use In The Kitchen?
Most chalk paints are low-VOC and safe for indoor use. Always check the label. Keep the area well-ventilated, especially when applying sealers.
Can I Change The Color Later If I Get Tired Of It?
Yes, you can repaint over chalk paint. Lightly sand, clean, and apply a new color. If you used wax, remove it with mineral spirits before repainting.
What Is The Best Way To Clean Chalk Painted Cabinets?
Use a damp, soft cloth and mild soap. Avoid harsh chemicals or scrubbing pads, as they can damage the finish or remove wax.
Painting your kitchen cabinets with chalk paint is a rewarding project that can transform your kitchen in just a few days. With careful preparation, quality materials, and the right sealing method, you can enjoy stylish, custom cabinets for years—at a fraction of the cost of replacement.
If you’re ready for a fresh look, grab a brush and get started!