Using The Rice Setting On Instant Pot: Your Complete Guide
Cooking rice can seem simple, but getting it just right—fluffy, tender, and not sticky—is often harder than people expect. That’s where the Instant Pot comes in. It’s one of the most popular kitchen appliances in the world, with millions of users relying on its smart settings to prepare meals quickly and consistently. Among these smart programs, the Rice Setting stands out as one of the most used and, sometimes, one of the most misunderstood.
Many first-time users wonder: Does the rice button work for every type of rice? How much water should you add? What about rinsing? And what do you do if your rice comes out mushy or undercooked? This guide covers every detail you need to know about the Rice Setting on your Instant Pot, from basic instructions to advanced tips. By the end, you’ll be able to cook perfect rice every time—whether you’re making a small bowl for lunch or preparing for a big family dinner.
What Is The Rice Setting On The Instant Pot?
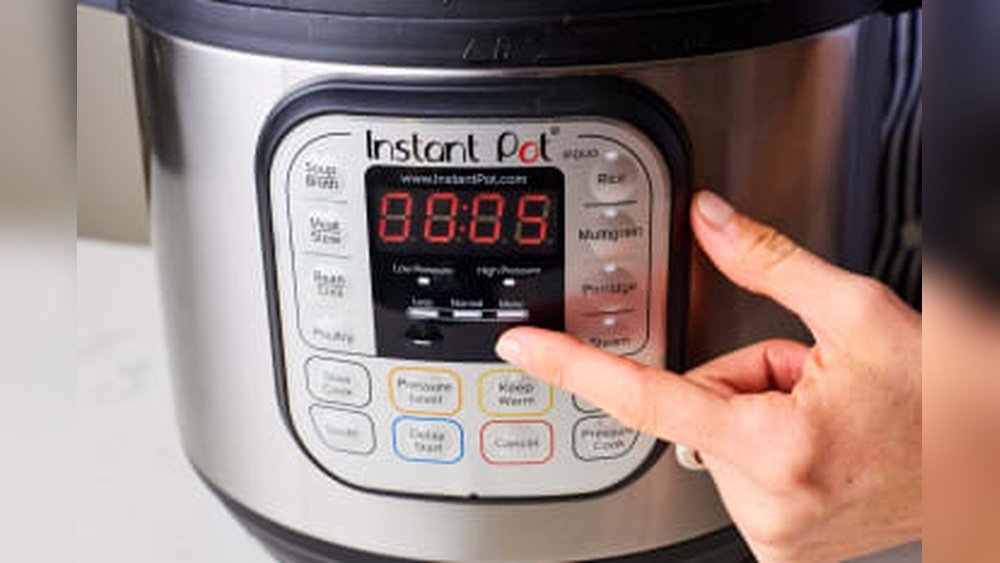
The Rice Setting is a built-in smart program found on most Instant Pot models. This button is designed to cook white rice automatically, adjusting pressure, temperature, and time without extra input from you. It takes the guesswork out of making rice, but understanding its limits and features can help you get even better results.
When you press the Rice button, the Instant Pot uses low pressure to gently cook the rice, similar to a rice cooker. This setting is great for long-grain white rice, short-grain white rice, and jasmine rice. However, it’s not always ideal for brown rice, wild rice, or specialty varieties—those often need manual adjustments.
Non-obvious insight: The Rice Setting uses a “fuzzy logic” program. This means the Instant Pot senses the weight and temperature inside, and it automatically adjusts cook time to match the amount of rice and water you’ve added. So, it’s important to follow the recommended ratios for best results.
Instant Pot Models And Rice Setting Differences
Not all Instant Pot models are exactly the same. Some have a Rice button, others don’t. Even among those with the Rice program, the way it works can vary depending on your device’s generation and size.
Here’s a quick comparison:
| Model | Rice Button? | Pressure Level | Best For |
|---|---|---|---|
| Instant Pot Duo | Yes | Low | White rice, Jasmine, Basmati |
| Instant Pot Lux | Yes | Low | White rice |
| Instant Pot Ultra | Yes | Low (adjustable) | White rice, Sushi rice |
| Instant Pot Max | No | Custom | Manual rice cooking |
| Instant Pot Mini (3 qt) | Yes | Low | Small batches |
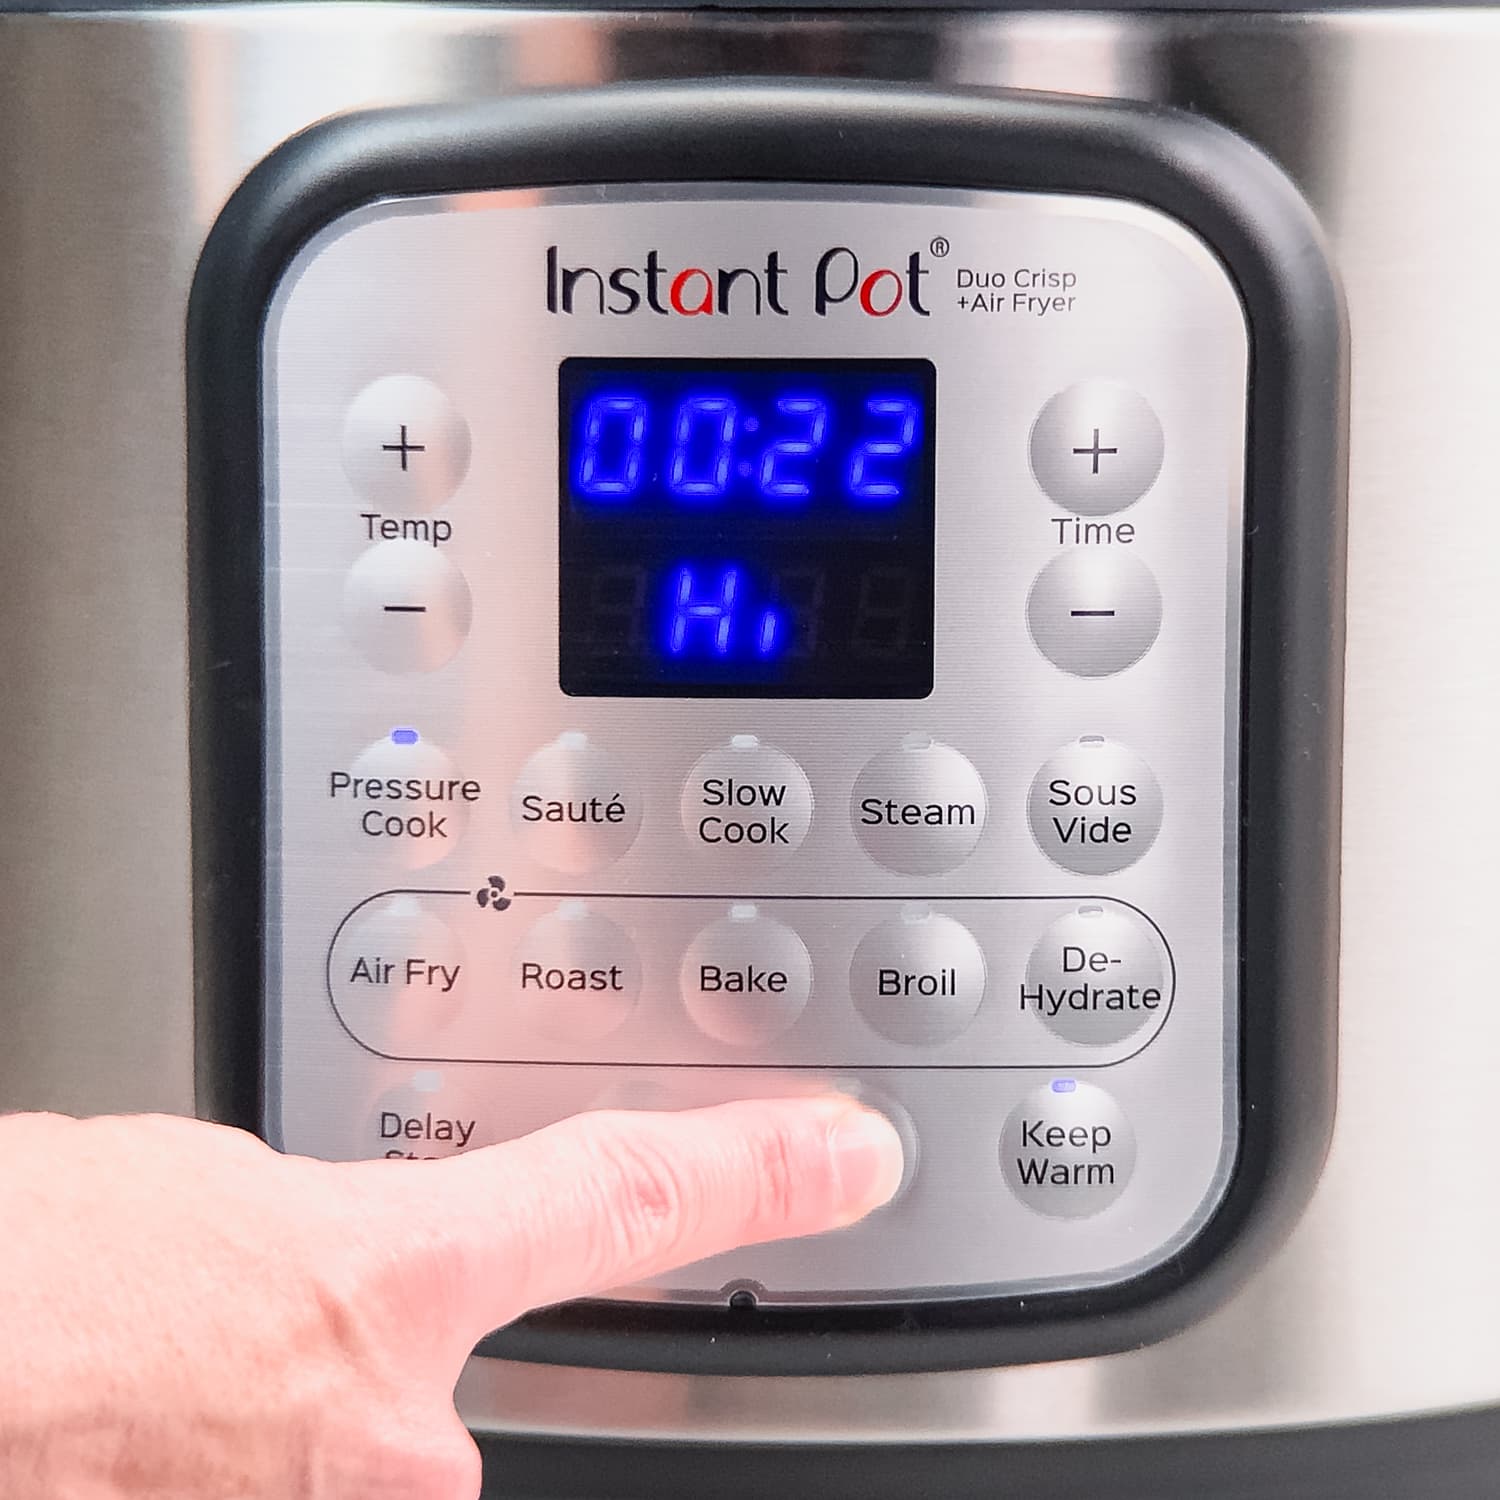
If your model does not have a Rice button, don’t worry. You can still cook rice using the Manual or Pressure Cook setting, but you’ll need to set the time and pressure yourself. Some newer models have customizable programs, which let you save your favorite settings.
How The Rice Setting Works: Step-by-step
Let’s walk through exactly what happens when you use the Rice button, so you know what to expect:
- Add rice and water to the Instant Pot’s inner pot.
- Close the lid and set the steam release handle to “Sealing.”
- Press the Rice button. The display will show “Auto” or a countdown.
- The Instant Pot will preheat, bringing the water to a boil.
- The appliance switches to low pressure and maintains it for the necessary cooking time.
- After cooking, the Instant Pot automatically switches to Keep Warm and begins a natural pressure release (NPR).
- Once the float valve drops, it’s safe to open the lid and fluff your rice.
Non-obvious insight: The Rice button always uses natural pressure release (not quick release). This helps prevent rice from sticking, burning, or turning mushy.
Rice-to-water Ratios For The Rice Setting
The right ratio of rice to water is key for perfect results. The Rice Setting is calibrated for a standard 1:1 ratio (1 cup of rice to 1 cup of water), but small adjustments can make a big difference based on rice type, altitude, and personal taste.
Here’s a summary of common ratios for the Rice Setting:
| Rice Type | Rice (cups) | Water (cups) | Notes |
|---|---|---|---|
| White long-grain | 1 | 1 | Fluffy, separate grains |
| White short-grain | 1 | 1 | Stickier texture |
| Jasmine | 1 | 1 | Fragrant, soft |
| Basmati | 1 | 1 to 1.1 | Less water for firmer rice |
| Brown rice | 1 | 1.25 to 1.5 | Manual setting preferred |
Pro tip: If your rice is coming out too sticky, try reducing the water by 2–3 tablespoons per cup of rice. If it’s dry or hard, add a bit more water next time.
Credit: ayalamaldives.com
Preparing Rice For The Instant Pot
Perfect rice starts before you press any button. Preparation makes a big difference.
Rinsing Your Rice
Always rinse your rice under cold water until the water runs clear. This removes extra starch, which can make rice sticky or gummy. Use a fine-mesh sieve or wash it in a bowl, swishing the rice with your hand and draining several times.
Soaking (optional)
For most white rice, soaking isn’t necessary. But for extra-long grains (like basmati) or for softer texture, soak for 10–20 minutes and drain well before cooking. For brown rice or wild rice (if you use the manual setting), soaking can reduce cooking time and improve texture.
Measuring Accurately
Use the same measuring cup for both rice and water. The Instant Pot’s “cup” line refers to the included plastic cup (about 180 ml), but you can use a standard US cup as long as you keep the ratio.
Adding Flavor
Try adding a pinch of salt, a teaspoon of butter or oil, or even a bay leaf or cardamom pod for extra aroma. These simple additions can make a big difference.
How To Use The Rice Setting: Step-by-step Instructions
Here is a clear, practical process for cooking white rice using the Rice Setting:
- Rinse 1–3 cups of white rice under cold water until the water runs clear.
- Place the rinsed rice in the Instant Pot’s inner pot.
- Add an equal amount of water (e.g., 2 cups of rice + 2 cups of water).
- Season if desired: Add a pinch of salt or a teaspoon of oil/butter.
- Close the lid and check that the sealing ring is in place.
- Set the steam release handle to “Sealing.”
- Press the Rice button.
- The Instant Pot will start automatically. There is no need to set time or pressure.
- When cooking ends, let the pressure release naturally (about 10 minutes).
- Open the lid, fluff with a fork, and serve.
For larger batches, you can cook up to 6 cups of dry rice (about 12 cups cooked) in a standard 6-quart Instant Pot. Always stay below the “1/2” line marked inside the pot, as rice expands and can foam.

Credit: ghurairproperties.com
When To Avoid The Rice Setting
Although the Rice Setting is convenient, it’s not perfect for every situation:
- Brown rice: Needs more water and a longer cooking time than the Rice Setting provides. Use the Manual or Pressure Cook setting: 1 cup rice to 1.25–1.5 cups water, 22–24 minutes on high pressure.
- Wild rice or red rice: Also require manual settings for best results.
- Mixed rice dishes: If you add vegetables, beans, or meats, use Manual or Pressure Cook. The added ingredients can change water absorption and timing.
- Very small batches: Cooking less than 1 cup of rice can lead to burning or uneven cooking. Add extra water if making tiny amounts.
If you want to cook these types, adjust manually for better control.
Common Problems And How To Fix Them
Even with the Rice Setting, things can go wrong. Here’s how to solve the most frequent issues:
Rice Is Too Mushy Or Wet
- Used too much water—reduce water next time.
- Did not rinse rice—extra starch holds water.
- Left in Keep Warm too long—steam condenses and makes rice soggy.
Rice Is Undercooked Or Crunchy
- Not enough water—add 2–3 tablespoons more per cup next time.
- Opened lid too soon—always wait for natural release.
- Used old rice—older rice can need more water.
Rice Sticks To The Pot
- Did not rinse rice—starch causes sticking.
- Did not add oil or butter—fat helps prevent sticking.
- Used Quick Release—steam can force rice to the bottom.
Burn Message Appears
- Pot is too hot before starting—let it cool after sautéing other foods.
- Not enough water—always use at least 1: 1 ratio.
- Pot was not properly deglazed—remove any stuck bits before cooking rice.
Non-obvious insight: If you see the burn warning, turn off the Instant Pot, open the lid, add 2–3 tablespoons of water, scrape the bottom gently, and restart.
Making Different Types Of Rice With The Rice Setting
While the Rice Setting is best for white rice, you can experiment with other varieties by adjusting water slightly. Here’s a guide for common types:
Jasmine Rice
Use a 1:1 ratio. Rinse well for fluffy results. The natural aroma comes out well with the Rice Setting.
Basmati Rice
1:1 for firm rice, 1:1.1 for softer rice. Soak for 10–15 minutes before cooking to keep grains separate.
Sushi Rice
Rinse until water runs clear. Use the Rice Setting with a 1:1 ratio, then season with rice vinegar and sugar after cooking.
Brown Rice
Don’t use the Rice Setting. Instead, set Manual/Pressure Cook to 22–24 minutes on high pressure. Use 1. 25–1. 5 cups water per cup of rice.
Wild Rice
Use Manual/Pressure Cook: 28–30 minutes on high pressure, 1:2.5 water ratio.
Mixed Rice (white + Brown)
Cook as brown rice (longer time, more water).
Cooking Rice For Special Diets
The Instant Pot makes it easy to cook rice for various diets:
- Low-sodium: Skip salt or use a salt substitute.
- Gluten-free: Plain rice is naturally gluten-free—just avoid adding soy sauce unless it’s labeled gluten-free.
- Vegan/vegetarian: Use water or vegetable broth instead of chicken stock for extra flavor.
If you have food allergies, always check the rice packaging and any added ingredients.
Batch Cooking And Storing Rice
Cooking rice in larger batches is efficient for meal prep. Here’s how to do it right:
- Cool rice quickly: Spread cooked rice on a baking sheet to cool before storing.
- Store in airtight containers: Keeps rice fresh for up to 5 days in the refrigerator.
- Freeze for later: Portion into freezer bags or containers. Defrost and reheat with a splash of water to restore moisture.
Pro tip: Reheat rice in the Instant Pot using the Steam function with 1–2 tablespoons of water for best texture.
Cleaning And Maintenance After Cooking Rice
Rice can leave residue on the inner pot and sealing ring. Here’s how to keep your Instant Pot clean:
- Wash the inner pot with warm soapy water after every use.
- Check the sealing ring for stuck grains and wash as needed.
- Dry the lid and ring thoroughly to prevent odors.
- Leave the lid off for a few hours after washing to air out any smells.
If the sealing ring smells like rice or spices, soak it in vinegar and water for 10–15 minutes.

Credit: ghurairproperties.com
Advanced Tips For Perfect Rice Every Time
- Rest the rice for 5 minutes after cooking and before fluffing—this helps moisture redistribute for even texture.
- Use broth instead of water for more flavor, but watch the sodium level.
- Add aromatics (e.g., garlic, ginger, bay leaf) directly to the pot before cooking.
- For sticky rice, increase water slightly and do not fluff after cooking.
- If making fried rice later, use less water so the grains are firmer and don’t stick together.
Rice Setting Vs. Manual Pressure Cooking
Is there a real difference between using the Rice Setting and the Manual/Pressure Cook button? Yes, and it matters depending on your needs.
| Feature | Rice Setting | Manual/Pressure Cook |
|---|---|---|
| Pressure Level | Low | High or Low (user-set) |
| Best For | White rice, Jasmine, Basmati | Brown, Wild, Red, Mixed rice |
| Time Control | Automatic | User-set |
| Flexibility | Low | High |
| Common Problems | Wet or sticky rice | Burn warning if not enough water |
If you want absolute control, use the Manual button. For everyday white rice, the Rice Setting is easy and reliable.
Frequently Asked Questions
Why Does My Instant Pot Not Have A Rice Button?
Not all models include the Rice Setting. The newer or advanced models (like the Max or Duo Evo Plus) may rely on user-set programs instead. You can use the Manual or Pressure Cook function—just set the time and pressure yourself.
Can I Cook Other Grains, Like Quinoa Or Barley, With The Rice Setting?
The Rice Setting is designed for white rice, but you can experiment with similar grains. For quinoa, use a 1:1 ratio and the Rice Setting, but check texture after your first batch and adjust water as needed. For barley, use Manual/Pressure Cook for better results.
Is It Safe To Leave The Instant Pot On Keep Warm After Rice Is Cooked?
Yes, but don’t leave rice on Keep Warm for more than 1–2 hours. After that, rice can dry out or become mushy. For best texture, serve or store rice soon after cooking.
How Do I Double Or Triple The Recipe Using The Rice Setting?
You can safely double or triple rice and water amounts as long as you do not exceed the “1/2” fill line in the inner pot. The Rice Setting will automatically adjust cooking time. Always use natural pressure release for large batches.
Where Can I Find More Official Guidelines And Recipes?
Check the official Instant Pot Recipe page for tested recipes, tips, and troubleshooting help.
Cooking rice should be easy, not frustrating. With the Instant Pot’s Rice Setting, you have a reliable tool at your fingertips. Remember to rinse your rice, measure carefully, and trust the process. With a little practice and these tips, you’ll enjoy perfect rice with every meal—saving time and energy for what matters most.