Shelves can change the look and function of any room. But not everyone likes the sight of metal brackets sticking out under their shelves. Some people want a floating look, while others want a modern, clean wall. If you want to learn how to put shelves up without brackets, you are not alone. Many homeowners and renters are searching for ways to install storage that is both strong and stylish—with no visible supports.
Putting up shelves without brackets is not a new idea, but it has become much more popular in recent years. This is because homes and apartments are getting smaller, and people want to make use of every inch of space.
Floating shelves or bracketless shelves are perfect for displaying photos, books, plants, or kitchen supplies, without making your walls look busy.
But are bracketless shelves really strong enough? How do you make sure they stay up, especially if you want to put something heavy on them? This guide will answer all your questions. You will learn about different methods, step-by-step instructions, materials, safety tips, and mistakes to avoid.
Whether you are a DIY beginner or have some experience, you will find everything you need to know about putting up shelves without brackets.
Why Choose Shelves Without Brackets?
There are several good reasons people choose bracketless shelves over standard ones.
- Aesthetics: Floating shelves give a modern, clean look. No metal brackets means no distractions from the wall.
- Space-saving: With no brackets taking up space, you can use more of the shelf and the area below.
- Flexibility: These shelves work in almost any room—kitchen, living room, bathroom, bedroom, or hallway.
- Easier cleaning: No brackets means fewer places for dust to collect.
- Increased design options: You can paint, stain, or style your shelves in many ways.
But with these benefits come some challenges. You need to make sure your installation is strong and safe. Not every wall or shelf type is suitable. Let’s look at what you need to know before you start.
Main Methods For Installing Shelves Without Brackets
There are several ways to put up shelves without visible supports. Each method has different strengths, tools, and best uses. Here are the most common and reliable:
- Floating Shelf with Hidden Support Rods
- Floating Shelf with Mounting Plate
- French Cleat System
- Built-in Recessed Shelves
- Shelf Pegs and Invisible Pins
- Wall Channels or Tracks
- Tension or Compression Fitting (between two walls)
- Hidden Bracket Kits (Heavy-Duty Systems)
- Adhesive and No-Drill Floating Shelves
- Custom Cabinetry or Box Shelves
Let’s go through each method, explain how it works, and help you choose the right one for your needs.
1. Floating Shelf With Hidden Support Rods
This is the classic floating shelf system. The support rods are hidden inside the shelf itself, so nothing shows under or beside it.
How It Works
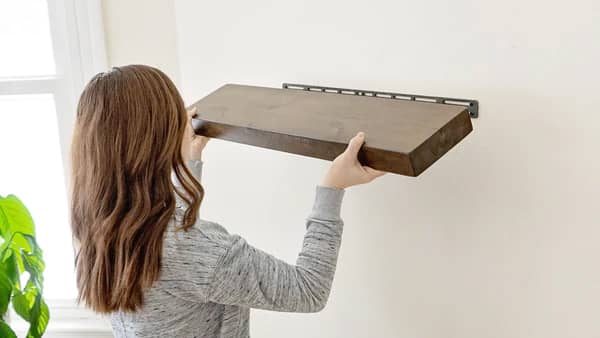
A metal bracket with rods is screwed into the wall studs. The shelf has holes or channels drilled in the back, which slide over the rods and cover the bracket.
Materials And Tools Needed
- Floating shelf with pre-drilled holes (or make your own)
- Hidden rod bracket (usually steel)
- Power drill
- Level
- Tape measure
- Wall anchors (if not hitting studs)
- Screws
Step-by-step Instructions
- Find the wall studs using a stud finder.
- Mark the shelf position with a pencil and use a level to draw a straight line.
- Attach the hidden rod bracket to the wall, screwing into the studs.
- Slide the shelf onto the rods, making sure it is secure and level.
- If needed, secure the shelf to the rods with screws from underneath.
Pros And Cons
Pros:
- Very strong if installed into studs.
- Clean, modern look.
- Supports heavy items.
Cons:
- Drilling into the shelf is required.
- Needs accurate measuring.
- Not suitable for hollow or weak walls.
Example
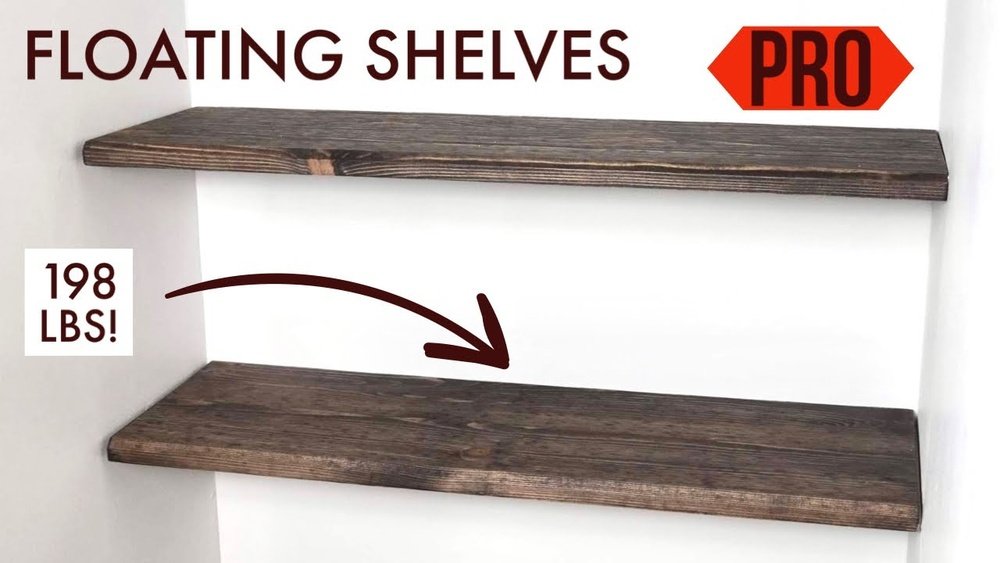
This method is popular in kitchens for heavy shelves holding dishes. With good installation, each shelf can hold 30–50 lbs or more.
2. Floating Shelf With Mounting Plate
Instead of rods, this method uses a flat steel plate that attaches to the wall. The shelf has a routed groove in the back to fit the plate.
How It Works
The mounting plate is screwed to the wall. The shelf, with its matching groove, slides onto the plate and hides it completely.
Materials And Tools Needed
- Floating shelf with back groove
- Steel mounting plate
- Screws
- Drill
- Level
Step-by-step Instructions
- Mark and level the shelf position.
- Attach the mounting plate to the wall, using wall anchors or studs.
- Slide the shelf onto the plate.
- Secure with small screws from below if needed.
Pros And Cons
Pros:
- Easier to install than rods.
- Also supports moderate weight.
- Works with thinner shelves.
Cons:
- Shelf needs to be thick enough for a groove.
- Less weight capacity than rods.
Non-obvious Tip
Choose a shelf at least 1.5 inches thick for this system, or the groove may weaken it.
3. French Cleat System
A French cleat is a simple but strong wall-mounting system using two matching angled strips.
How It Works
One cleat is attached to the wall, slanted edge up. The other is attached to the shelf, slanted edge down. The shelf cleat fits perfectly onto the wall cleat.
Materials And Tools Needed
- Two wooden or metal cleats (cut at 45° angle)
- Screws
- Drill
- Level
Step-by-step Instructions
- Attach one cleat to the wall (angled edge up).
- Attach the matching cleat to the shelf (angled edge down).
- Hang the shelf by lowering its cleat onto the wall cleat.
Pros And Cons
Pros:
- Very strong and stable.
- Easy to remove and adjust shelves.
- Good for long or heavy shelves.
Cons:
- Cleat takes up some shelf depth.
- Not always “invisible” if shelf is thin.
Example
French cleats are often used in workshops for tool racks, but also in living rooms for art shelves.
4. Built-in Recessed Shelves
For a seamless look, you can build shelves inside the wall cavity between studs.
How It Works
A section of drywall is cut out, and shelves are installed between the wall studs, flush with the wall surface.
Materials And Tools Needed
- Stud finder
- Drywall saw
- Shelving boards
- Trim or molding
- Screws or finish nails
Step-by-step Instructions
- Choose a wall area between studs.
- Cut out the drywall to the size of your shelves.
- Install shelf supports (cleats) between the studs.
- Slide in the shelves and secure.
- Add trim for a finished look.
Pros And Cons
Pros:
- No visible supports at all.
- Great for small or tight spaces.
- Adds value to the room.
Cons:
- Needs cutting into walls.
- Not suitable for renters.
- Requires patching if removed.
Non-obvious Insight
Always check for wires or pipes inside the wall before cutting. Use a stud finder with a wire sensor.
5. Shelf Pegs And Invisible Pins
For lightweight shelves, you can use hidden shelf pins inside small holes in the wall.
How It Works
Special pins or pegs are installed into the wall and match holes in the shelf. The shelf slides onto the pegs, which are not visible.
Materials And Tools Needed
- Invisible shelf pin kit
- Power drill
- Level
Step-by-step Instructions
- Mark pin positions on the wall, using a level for accuracy.
- Drill holes and insert the pins or pegs.
- Drill matching holes in the shelf.
- Slide shelf onto pins.
Pros And Cons
Pros:
- Nearly invisible.
- Simple for small or thin shelves.
- Good for display shelves.
Cons:
- Limited weight capacity (usually <20 lbs).
- Shelf can slide off if bumped hard.
Example
This method is common inside bookcases or cabinets for adjustable shelves.
6. Wall Channels Or Tracks
Some modern floating shelf systems use wall tracks or slim channels instead of brackets.
How It Works
A slim channel is attached to the wall. The shelf has a matching groove, so it slides and locks into the channel.
Materials And Tools Needed
- Wall track or channel system
- Shelves with matching grooves
- Drill
- Screws
Step-by-step Instructions
- Attach the channel to the wall, using a level.
- Cut shelf to size if needed.
- Slide the shelf into the channel.
Pros And Cons
Pros:
- Can adjust shelf height easily.
- Sleek, modern look.
- Good for offices and kitchens.
Cons:
- System can be expensive.
- Needs precise measuring.
Non-obvious Tip
For longer shelves, use two channels for better support and avoid bowing.
7. Tension Or Compression Fitting (between Two Walls)
If you have two side walls (for example, in a closet or alcove), you can fit a shelf using tension.
How It Works
The shelf is cut to fit snugly between the walls. Sometimes a small ledge or cleat is used on each wall, or the shelf is wedged in tightly.
Materials And Tools Needed
- Wood shelf, cut to width
- Optional: Small support cleats
- Level
- Hammer (if wedging)
Step-by-step Instructions
- Measure the space between walls.
- Cut shelf to fit tightly.
- Install small ledges or cleats on each wall, if needed.
- Slide or tap shelf into place.
Pros And Cons
Pros:
- No visible supports.
- Great for closets, pantries, alcoves.
- Quick and easy.
Cons:
- Not movable once installed.
- May not work with uneven walls.
Example
This is a good option for built-in bookshelves in a small nook.
8. Hidden Bracket Kits (heavy-duty Systems)
Some companies sell hidden shelf bracket kits designed for heavy loads.
How It Works
These kits come with strong metal arms or plates that are completely hidden inside the shelf.
Materials And Tools Needed
- Heavy-duty hidden bracket kit
- Floating shelf (thicker is better)
- Drill
- Screws
Step-by-step Instructions
- Attach the hidden bracket to wall studs.
- Drill matching holes or channels into the shelf.
- Slide shelf onto brackets.
Pros And Cons
Pros:
- Supports very heavy items (often 50–100 lbs).
- Professional look.
- Designed for easy DIY.
Cons:
- Kits can be pricey.
- Needs thick, solid shelves.
Non-obvious Insight
Check the weight rating for the specific kit, and never overload. Ratings can vary a lot.
9. Adhesive And No-drill Floating Shelves
Some light shelves use strong adhesives or suction to stick to the wall—no holes needed.
How It Works
Heavy-duty adhesive strips or pads attach the shelf to the wall. Some versions use a vacuum or suction system.
Materials And Tools Needed
- Adhesive shelf kit
- Clean, smooth wall surface
Step-by-step Instructions
- Clean the wall with alcohol or soap.
- Apply adhesive or suction pads as directed.
- Press shelf firmly onto the wall.
- Wait the recommended time before placing items.
Pros And Cons
Pros:
- No tools or drilling required.
- Perfect for renters.
- Removes cleanly (usually).
Cons:
- Low weight limit (often 5–10 lbs).
- May not work on textured or painted walls.
Example
These shelves are good for bathrooms or kids’ rooms for light items.
10. Custom Cabinetry Or Box Shelves
A box shelf is a hollow rectangular box that sits flush on the wall, hiding its support.
How It Works
The box is open at the back and fits over a small wooden cleat or frame attached to the wall.
Materials And Tools Needed
- Box shelf (can buy or DIY)
- Wall cleat or frame
- Screws
- Drill
Step-by-step Instructions
- Attach the cleat or frame to the wall, screwing into studs.
- Slide the box shelf over the cleat.
- Secure with screws from inside the box.
Pros And Cons
Pros:
- Very strong if made well.
- Lots of design options.
- Works for deep shelves.
Cons:
- Takes up more shelf depth.
- Needs more material.
Non-obvious Tip
Use this method for media centers or large display shelves needing extra depth.
Comparing Bracketless Shelf Methods
To help you choose, here is a comparison of the main methods by weight capacity, cost, and skill level:
| Method | Max Weight (per shelf) | Cost | Skill Level |
|---|---|---|---|
| Hidden Rods | 30–50 lbs | Medium | Intermediate |
| Mounting Plate | 20–35 lbs | Medium | Beginner |
| French Cleat | 40–80 lbs | Low | Intermediate |
| Recessed Shelves | 20–40 lbs | High | Advanced |
| Shelf Pegs | 10–20 lbs | Low | Beginner |
| Wall Channels | 20–40 lbs | Medium–High | Intermediate |
| Tension Fitting | 30–50 lbs | Low | Beginner |
| Hidden Bracket Kits | 50–100 lbs | High | Intermediate |
| Adhesive Shelves | 5–10 lbs | Low | Beginner |
| Box Shelves | 40–100 lbs | Medium | Intermediate |
Choosing The Right Method For Your Space
The best method depends on your wall type, what you want to put on your shelf, and your DIY skills.
- For heavy items (books, speakers): Use hidden rods, French cleat, or heavy-duty bracket kits.
- For renters or temporary shelves: Try adhesive shelves or tension fitting.
- For small spaces: Recessed shelves or box shelves can add storage without taking up floor space.
- For a fast project: Mounting plates or shelf pegs are simple and quick.
Always check your wall material. Most methods work best on solid stud walls. For drywall, always use anchors or screw into studs.
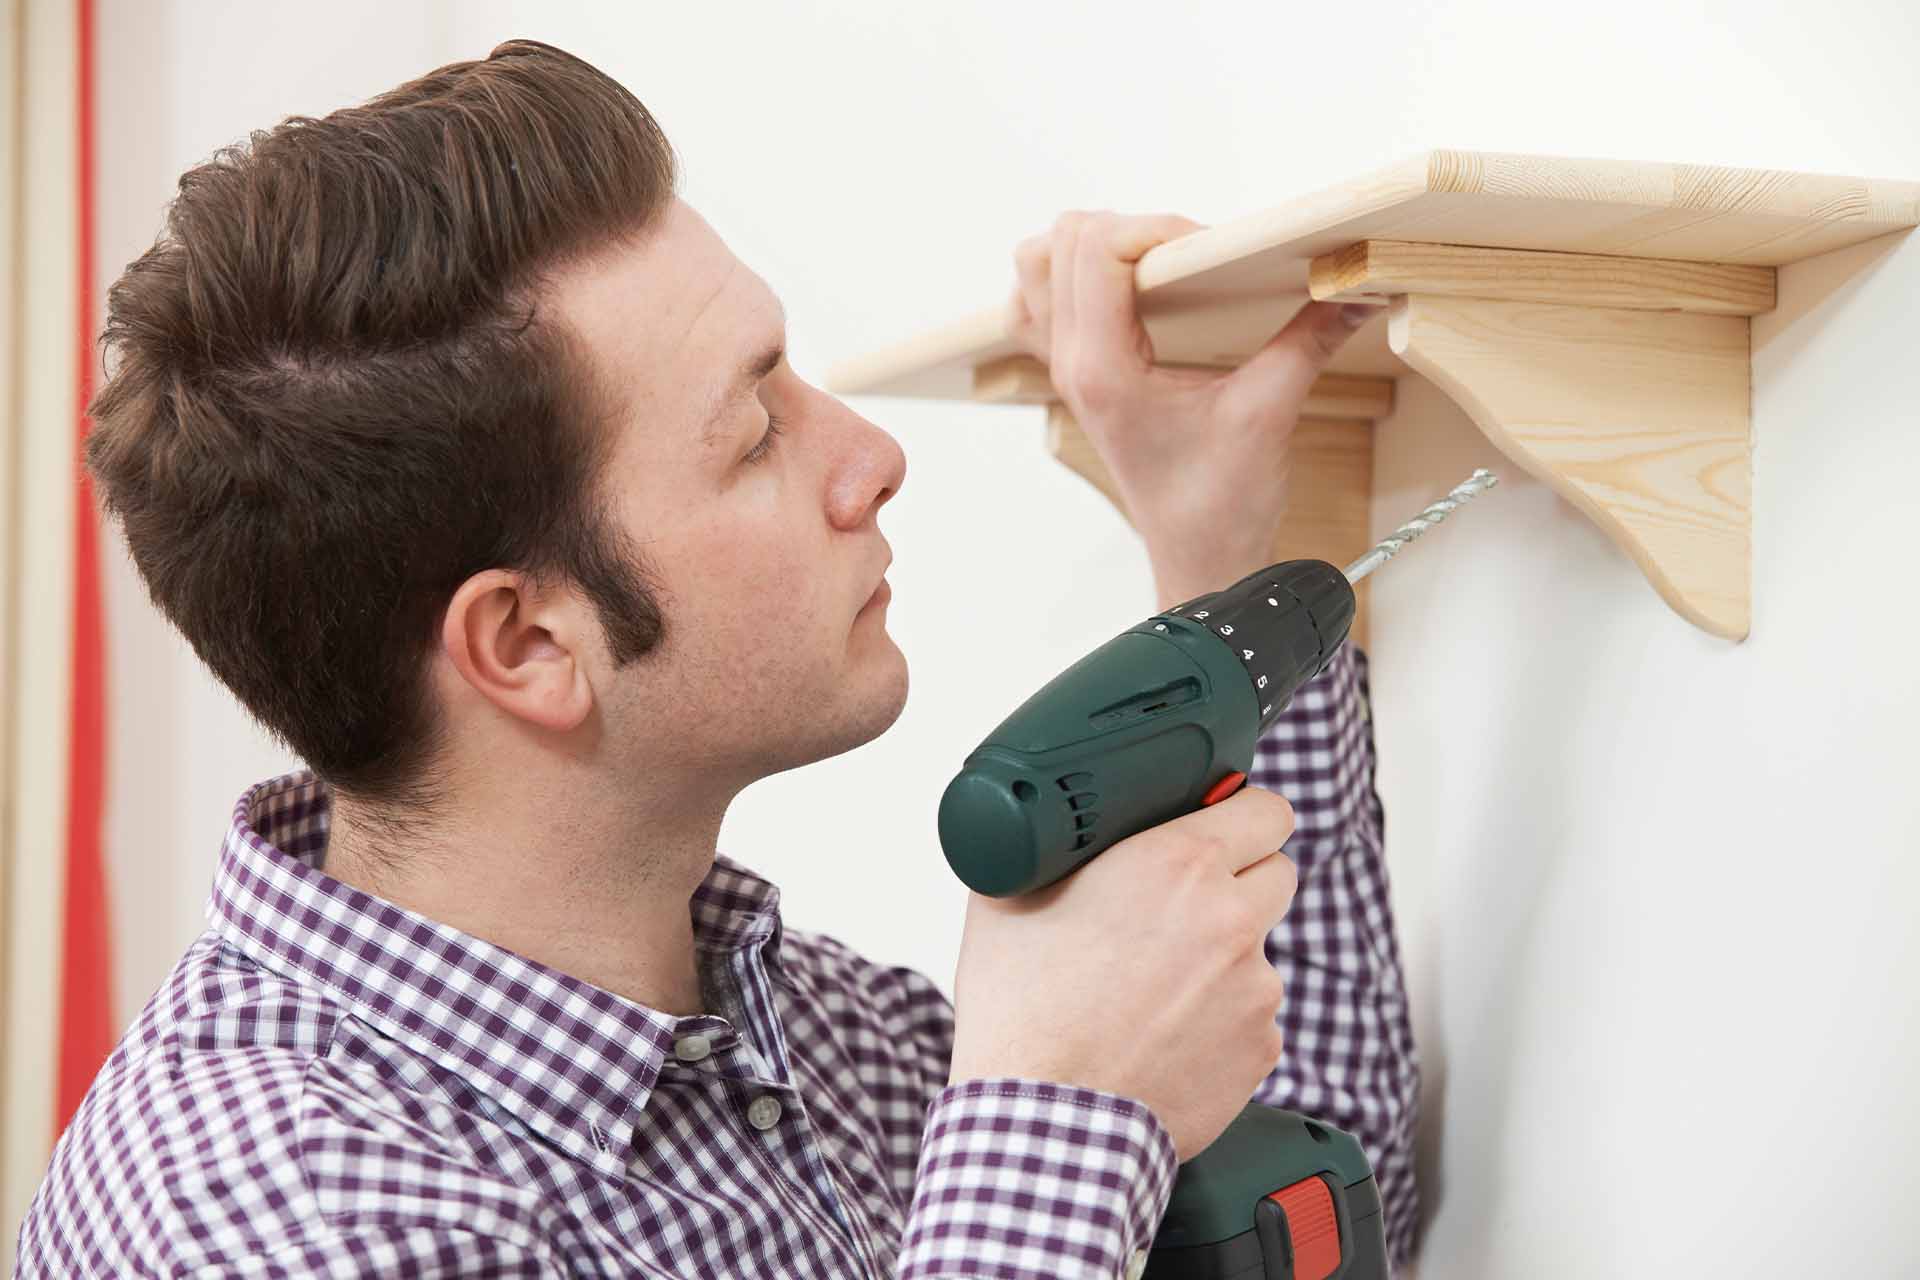
Credit: www.checkatrade.com
Materials: What Makes A Good Floating Shelf?
Not all shelves are equal. The material and thickness matter for safety and looks.
Best Materials
- Solid wood: Strong, durable, classic look. Best for heavy loads.
- Plywood: Lightweight but strong if thick enough.
- MDF (medium-density fiberboard): Smooth, good for painting, but weaker than solid wood.
- Metal: For a modern look and high strength.
Minimum Thickness
For most floating shelf systems, use a shelf at least 1.5 inches thick. Thinner shelves may bend or break, especially with hidden rods or mounting plates.
Surface Finish
- Paint or stain before installing the shelf.
- Seal all sides if using in kitchens or bathrooms to prevent warping.
Tools You Will Need
Even for simple methods, you need some basic tools.
- Level: For straight shelves.
- Drill and bits: For making holes and driving screws.
- Screwdriver: Manual or powered.
- Stud finder: To locate solid wall studs.
- Tape measure: For accurate length.
- Pencil: For marking.
Some methods need a saw, especially for custom shelves.
Step-by-step Example: Installing A Hidden Rod Floating Shelf
Let’s walk through a common method—hidden rod floating shelf—from start to finish.
- Choose the shelf: Buy a solid wood floating shelf with pre-drilled holes, or make your own.
- Find the studs: Use a stud finder and mark the stud centers on the wall.
- Mark the shelf position: Hold the shelf against the wall, use a level, and mark the top line.
- Install the bracket: Screw the metal rod bracket into the studs, using heavy-duty screws.
- Test fit the shelf: Slide the shelf onto the rods. Check for a snug fit.
- Secure the shelf: If the shelf has locking screws, tighten them to prevent movement.
- Check level: Make sure the shelf is flat. Adjust if needed.
- Load items: Start with lighter items and slowly add heavier ones.
Safety Tips And Common Mistakes
Many DIYers make small mistakes that can cause shelves to fail. Avoid these errors:
- Not finding the studs: Shelves screwed only to drywall can fall easily.
- Overloading: Always check the max weight for your method and shelf.
- Uneven installation: A shelf that isn’t level looks bad and is unsafe.
- Wrong anchors: Use heavy-duty anchors for drywall, or screw directly into studs.
- Skipping pre-drilling: Always pre-drill holes to avoid splitting wood.
Non-obvious Safety Tip
For old walls, check for electrical wires before drilling. Use a multi-purpose stud finder with wire detection.
Maintenance And Longevity
- Check shelves every 6 months for signs of loosening.
- Tighten screws if the shelf feels wobbly.
- Clean gently—no harsh chemicals or soaking.
Floating shelves are durable, but over time, even good installations may need adjustment.
Design Ideas And Inspiration
Bracketless shelves are not just practical—they can be beautiful. Some creative uses include:
- Kitchen spice racks: Several floating shelves for spices, oils, and utensils.
- Minimalist book displays: Staggered floating shelves for books and art.
- Bathroom storage: Box shelves above the toilet for towels.
- Living room feature wall: French cleat shelves for plants and photos.
For more creative ideas, check out Architectural Digest.
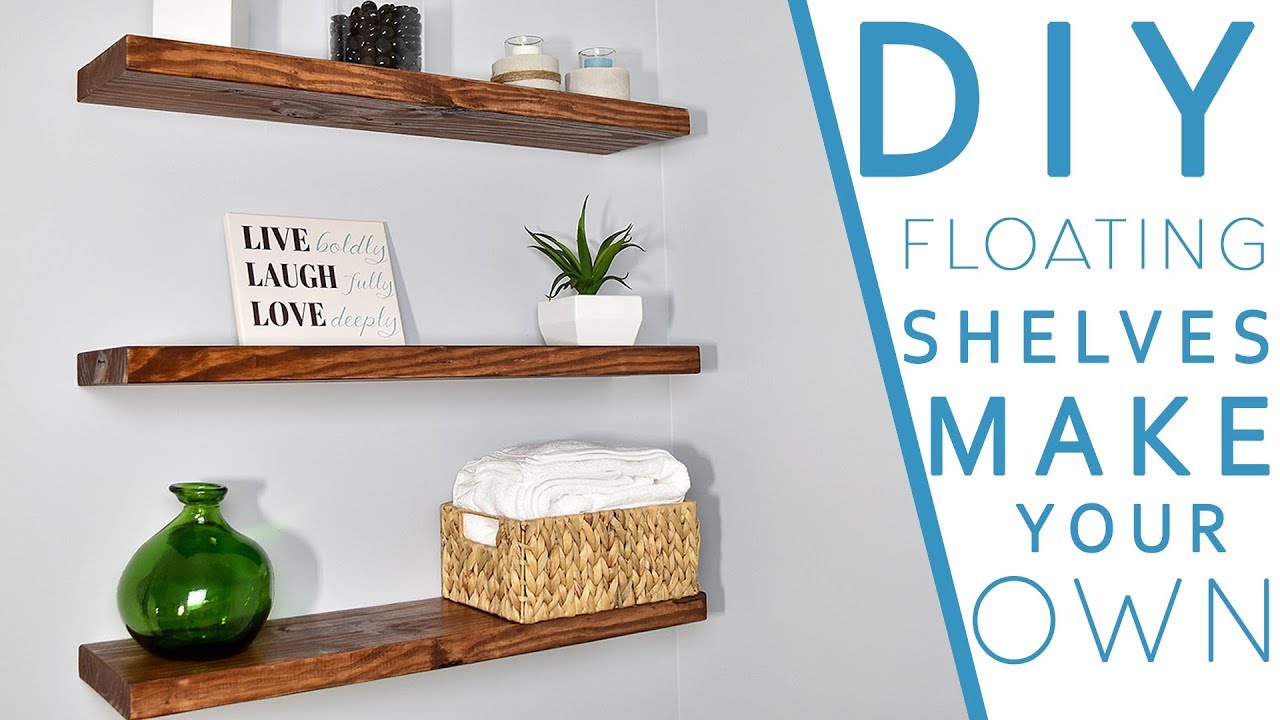
Credit: www.youtube.com
Real-world Example: Weight Test
A home DIYer installed a 36-inch floating shelf with hidden steel rods into wall studs. The shelf held 40 lbs of books for over a year, with no bending or sagging. However, when overloaded with 70 lbs, the shelf began to tilt. This shows the importance of checking weight limits and using strong materials.
Troubleshooting Guide
If your shelf feels loose, here’s what to check:
| Problem | Possible Cause | Solution |
|---|---|---|
| Shelf tilting down | Loose bracket or rods | Tighten screws, check wall anchors |
| Shelf pulling away from wall | Not screwed into studs | Reinstall into studs or use stronger anchors |
| Shelf sagging in the middle | Too much weight | Remove items, add a hidden support |
| Shelf not level | Poor measuring or installation | Remove and reinstall with a level |
| Wall damage | Wrong anchors or over-tightening | Patch wall, use correct anchors next time |
Credit: kitchencabinetkings.com
Frequently Asked Questions
How Much Weight Can A Floating Shelf Hold Without Brackets?
The weight limit depends on the method, wall type, and shelf material. Hidden rod shelves in studs can hold 30–50 lbs. Adhesive shelves may only hold 5–10 lbs. Always check the instructions and never exceed the safe limit.
Can I Put Up Floating Shelves On Drywall Without Studs?
Yes, but use high-quality wall anchors rated for your shelf’s weight. For heavy loads, it’s much safer to screw into studs. Drywall alone is not strong enough for most shelves.
What Is The Best Material For A Bracketless Shelf?
Solid wood is best for strength and durability. Thick plywood also works. Avoid thin or weak boards, as they may bend or break.
Are No-drill Adhesive Shelves Safe For Bathrooms?
Many adhesive shelves are designed for bathrooms, but only for light items (small bottles, soap). Make sure the wall is smooth and dry before installing, and follow the product instructions.
How Do I Make My Floating Shelf Look Perfectly Straight?
Use a bubble level when marking and installing the shelf. Always double-check before drilling. If the shelf is still crooked, adjust or shim the mounting hardware.
Putting up shelves without brackets is a great way to get a modern, clean look in any room. With the right method and careful installation, your new shelves can be both beautiful and strong. If you want more technical details or design inspiration, visit Wikipedia: Shelf (storage). Take your time, measure carefully, and enjoy your new clutter-free space!