Putting up shelves is a classic way to add both style and storage to your home. But what if you want a clean, modern look—no visible brackets, no chunky supports? It’s possible, but it takes a bit more planning and the right tools.
Whether you’re a DIY beginner or have some experience, learning how to put shelves up without brackets opens up new design options. This guide will walk you through every detail, from the methods available to step-by-step installation, common mistakes, and expert tips.
By the end, you’ll feel confident to create a floating shelf system that not only looks great but is also strong and reliable.
Why Choose Shelves Without Brackets?
Shelves without visible brackets, often called floating shelves, are popular for a reason. They create a minimalist, uncluttered look. With no bulky supports underneath, your wall appears more open and the shelf seems to “float.” This makes them perfect for small spaces, modern interiors, or anywhere you want the shelf itself to stand out.
Another reason is flexibility. Bracketless shelves can fit almost anywhere—from a kitchen for spices, to a living room for books, or even a bathroom for towels. Plus, they make cleaning easier because there are fewer nooks for dust to collect.
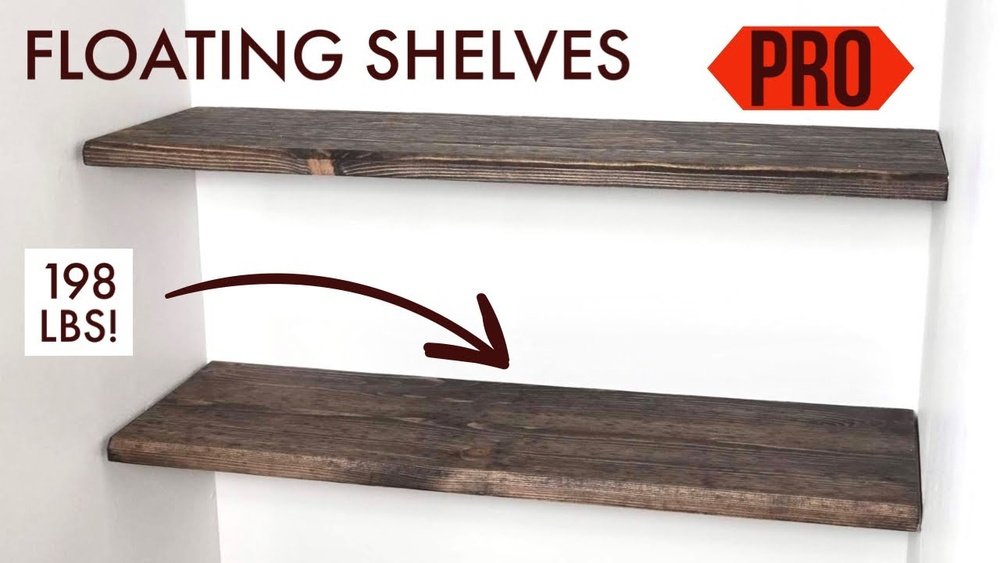
But there’s more to it than just looks. Floating shelves, when installed correctly, can be very strong. Some systems can hold over 50 pounds per shelf. The key is choosing the right method for your wall type and needs.
Different Methods For Bracketless Shelving
There’s more than one way to hang shelves without visible brackets. Each method has pros and cons, and some work better for certain wall types or shelf sizes. Let’s look at the main options.
1. Hidden Internal Bracket Systems
This is the most common approach for floating shelves. A metal bracket or rod is installed into the wall, and the shelf slides over it, hiding the support inside.
Pros:
- Strong support
- Invisible from most angles
- Works with wood and engineered shelves
Cons:
- Requires precise drilling
- Not always suitable for plaster or thin drywall
2. Dowel And Mortise Technique
Wooden or metal dowels are inserted into holes drilled in the wall and matching holes in the shelf. The shelf then slides onto the dowels.
Pros:
- Completely hidden
- Can be DIY with basic tools
- Good for small, lightweight shelves
Cons:
- Less strong for heavy loads
- Alignment must be perfect
3. French Cleat System
A French cleat is a two-part system: one piece is attached to the wall, and the other to the shelf. The shelf then “locks” onto the wall piece.
Pros:
- Strong for large or long shelves
- Easy to remove and adjust
Cons:
- May need a deeper shelf to hide the cleat
- Some small gaps may be visible at the wall
4. Wall Anchors And Screws Only
For very light shelves, especially in niches or corners, some people use only wall anchors and long screws, with the shelf hiding the screw heads.
Pros:
- Simple and cheap
- No special brackets needed
Cons:
- Limited weight capacity
- Not suitable for open shelving
5. Magnetic Shelving (rare)
Some modern designs use strong magnets hidden in the wall and shelf.
Pros:
- Ultra-minimal look
- No visible attachments at all
Cons:
- Low weight limit
- Expensive and less available
How To Choose The Best Method For Your Project
To decide which method is right for you, think about these factors:
- Shelf weight and size: Heavier or longer shelves need stronger supports.
- Wall type: Drywall, plaster, brick, and concrete all need different fixings.
- Tools and skill: Some methods need precise drilling or woodworking.
- Budget: Some systems are more expensive or require special materials.
Here’s a comparison of the main methods:
| Method | Weight Capacity | Difficulty | Best For |
|---|---|---|---|
| Hidden Internal Bracket | High (up to 75 lbs) | Medium | Living rooms, kitchens |
| Dowel and Mortise | Low to Medium (up to 20 lbs) | Medium | Display shelves, small spaces |
| French Cleat | High (up to 100 lbs) | Hard | Wide or heavy-duty shelves |
| Anchors & Screws Only | Low (up to 10 lbs) | Easy | Light shelves, renters |
| Magnetic | Very Low (up to 5 lbs) | Hard | Decorative use |
Tools And Materials You’ll Need
Before starting, gather your tools. Here’s what you’ll likely need for most bracketless shelf methods:
- Drill and drill bits (masonry bits for concrete/brick, standard bits for wood or drywall)
- Level (essential for a straight shelf)
- Tape measure
- Screwdriver (manual or electric)
- Stud finder (for drywall)
- Pencil (for marking)
- Wall anchors (toggle bolts, molly bolts, or plastic inserts)
- Hidden brackets, dowels, or cleat system (as needed)
- Wood glue (for dowel systems)
- Shelf material (solid wood, plywood, or engineered wood)
- Protective gear (gloves, safety glasses)
Depending on your wall, you may also need a hammer, pliers, or a saw to cut shelves to size.
Step-by-step Guide: Installing Floating Shelves Without Brackets
Let’s walk through the most popular and reliable method: the hidden internal bracket system. This works for most homes and gives a truly “floating” effect.
Step 1: Plan And Measure
Measure the space carefully. Decide how many shelves you want, the length, depth, and thickness. For most books or decor, a depth of 8-10 inches is common. Mark the shelf position lightly with a pencil.
Pro Tip: If you’re installing multiple shelves, leave at least 12 inches between them for books or decor.
Step 2: Find Wall Studs
Use a stud finder to locate the wooden studs behind your drywall. Shelves are strongest when anchored into studs. Mark stud locations with a pencil at the height you want the shelf.
If you have brick or concrete walls, you’ll use masonry anchors instead.
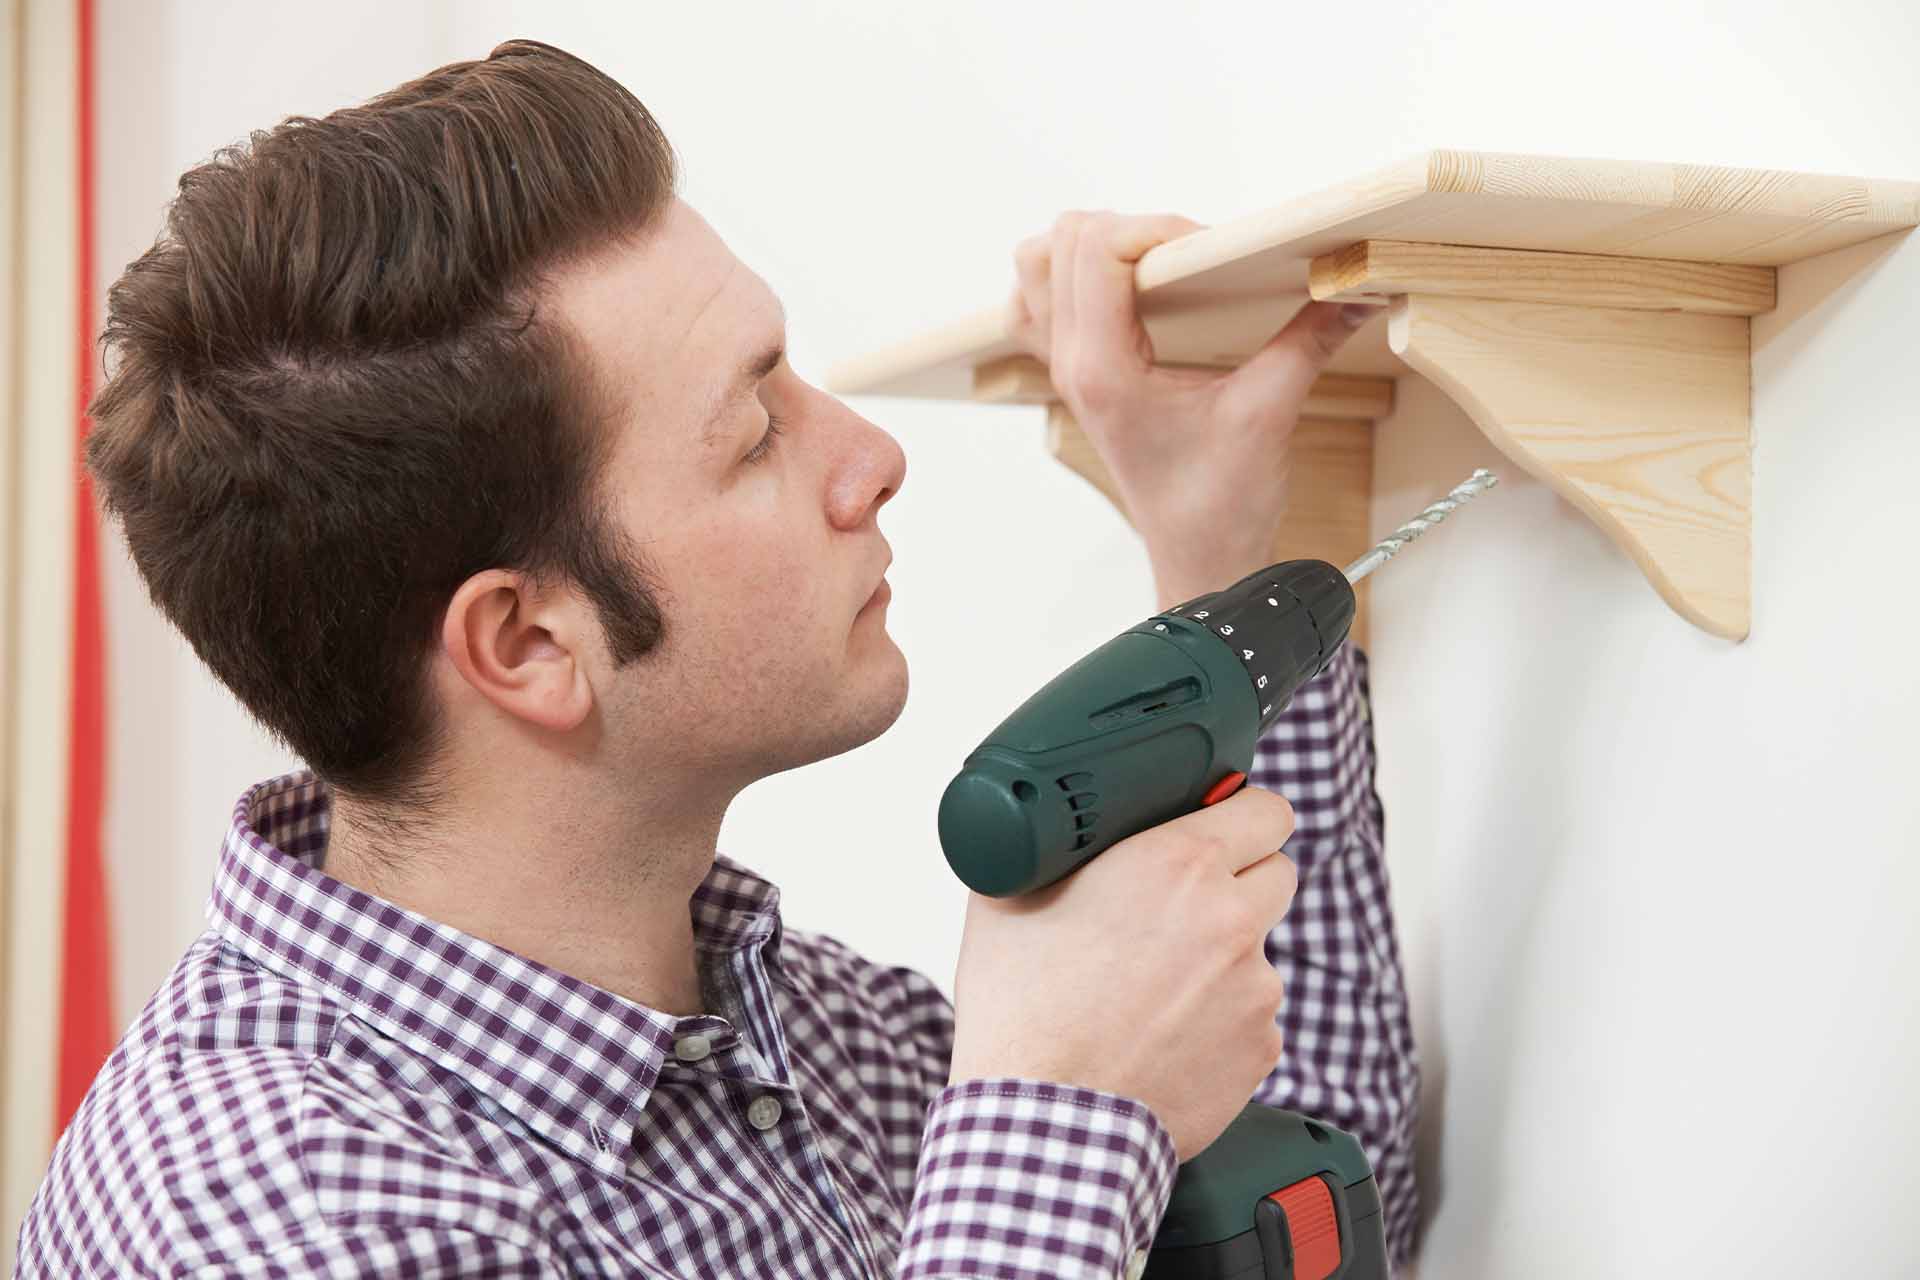
Step 3: Drill Holes For Brackets
Hold the shelf bracket against the wall, lining up with the studs. Mark where the holes go. Use a level to ensure the bracket is perfectly straight. Drill holes for the bracket’s mounting screws.
If using dowels or a French cleat, mark and drill according to the system’s instructions.
Step 4: Install The Bracket
Screw the hidden bracket into the wall. For extra-heavy shelves, use lag bolts (thicker, stronger screws) into the studs. For brick or concrete, tap in anchor sleeves first, then screw.
Step 5: Prepare The Shelf
Drill matching holes in the back of your shelf to fit over the bracket rods. Go slowly and check alignment. The holes should be snug but not too tight.
If making your own shelf, use a drill press for perfectly straight holes. If buying a pre-made floating shelf kit, the holes may already be there.
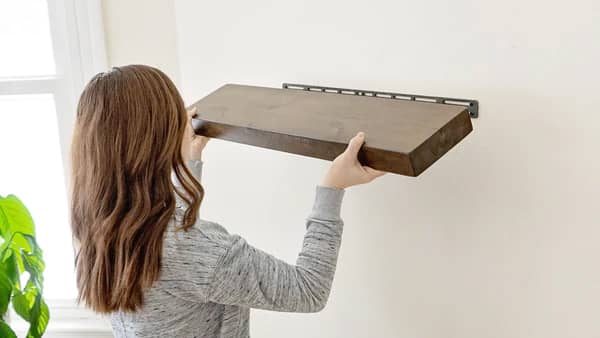
Step 6: Mount The Shelf
Slide the shelf onto the bracket rods. Check for level. If it’s not flat, remove and adjust as needed. Some brackets have screws to tighten and hold the shelf in place.
Expert Insight: For long shelves (over 4 feet), use at least three support rods or brackets to prevent sagging.
Step 7: Check Stability
Push down and gently wiggle the shelf to test strength. If it feels loose, remove and check that all screws are tight and the holes are clean.
Beginner Tip: Don’t load the shelf fully for 24 hours if you used glue or fresh paint.
Installing Shelves In Special Wall Types
Not all walls are the same. Here’s how to adapt for different materials:
Drywall Over Studs
Best: Bracket rods or French cleat directly into studs.
If studs are far apart, use heavy-duty wall anchors rated for at least 50 pounds.
Plaster Walls
Use a metal detector to avoid hitting old wiring. Drill slowly; plaster can crack. Use toggle bolts for extra security.
Concrete Or Brick
Use a hammer drill and masonry bits. Insert plastic or metal anchors, then screw in the bracket.
Pro Insight: Dust can make anchors slip; vacuum out the holes before inserting anchors.
Tile Walls
Drill through grout lines when possible to avoid cracking tiles. Use a glass/tile bit.
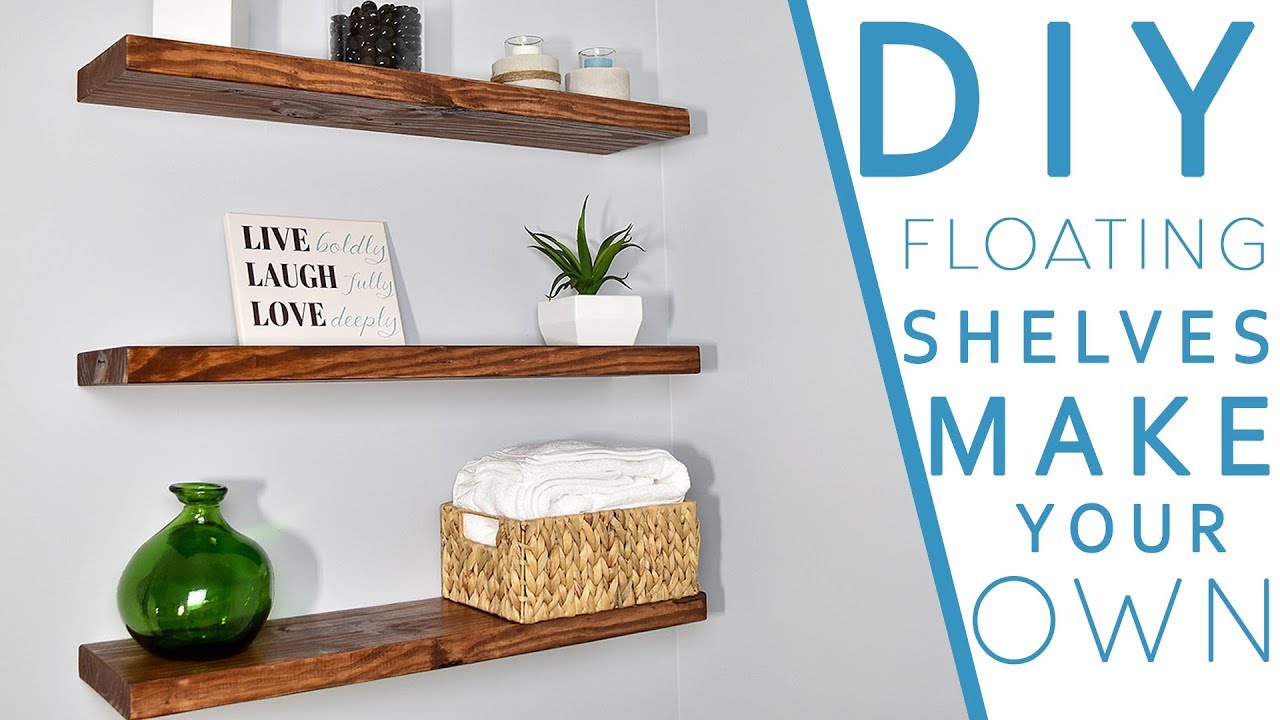
Design Ideas For Shelves Without Brackets
Floating shelves aren’t just for books. Here are creative ways to use them:
- Kitchen spice racks: Clean, open storage for jars.
- Bathroom towel shelves: Won’t rust or take up floor space.
- Entryway key holders: Add hooks underneath for keys or bags.
- Gallery wall shelves: Display art, photos, or collectibles.
- Above-the-bed shelving: For books, plants, or reading lights.
- Kids’ rooms: Store toys or books out of reach.
- Home office: Hold files, printers, or decor.
- Living room media shelves: Support speakers, remotes, or game systems.
- Laundry room: Organize detergents and cleaning supplies.
Floating shelves work best when styled simply. Too many items can look crowded and stress the supports.
How Strong Are Floating Shelves?
When properly installed, floating shelves are surprisingly strong. Here’s an overview:
| Shelf Length | Bracket Type | Max Load (in lbs) |
|---|---|---|
| 24 inches | Double rod | 40-50 |
| 36 inches | Triple rod | 60-75 |
| 48 inches | French cleat | 80-100 |
Non-obvious insight: The thickness and material of the shelf matter as much as the bracket. A thicker shelf (1.5 inches or more) resists sagging, especially with heavy books.
Credit: www.checkatrade.com
Common Mistakes And How To Avoid Them
Many beginners make the same errors. Here’s what to watch out for:
- Missing the studs: If you screw into just drywall, shelves will fail under weight. Always anchor into studs or use high-rated wall anchors.
- Poor alignment: Crooked shelves are obvious. Use a long level and measure twice before drilling.
- Overloading: Check the weight limit for your hardware and shelf material. Spreading out heavy items helps.
- Wrong tools: Using a hand screwdriver instead of a drill can leave screws loose. For masonry, always use a proper hammer drill.
- Skipping wall prep: Dust, weak plaster, or old paint can reduce holding power. Clean and, if needed, patch walls before installing.
Safety Tips For Bracketless Shelves
- Always wear safety goggles when drilling.
- Test the shelf with light weight first.
- Avoid placing shelves above beds or cribs unless you are sure they are very secure.
- For children’s rooms, use corner protectors to prevent injuries.
- If you rent, check your lease before making holes in walls.
How To Remove Or Adjust Floating Shelves
If you need to take down or move your shelves, go slowly:
- Remove all items from the shelf.
- Gently lift or slide the shelf off the supports.
- Unscrew the brackets or dowels from the wall.
- Fill any holes with wall filler and repaint as needed.
Tip: If you plan to reinstall in the same place, keep the hardware and mark the wall for next time.
When To Call A Professional
Most floating shelves are DIY friendly, but some situations call for expert help:
- Very heavy loads: For large bookshelves or AV equipment, a pro can ensure safety.
- Unusual walls: Stone, tile, or old plaster may need special tools.
- Custom designs: Built-in shelves or complex shapes are best left to carpenters.
A professional can also help design a shelf that matches your room style and maximizes strength.
Credit: kitchencabinetkings.com
Maintenance And Care
Floating shelves are low maintenance, but a few habits will keep them looking great:
- Dust regularly with a soft cloth.
- Check screws and supports every few months.
- Avoid water or heavy cleaners on wood shelves.
- For painted shelves, touch up chips right away.
Non-obvious insight: Over time, wood shelves can sag slightly in the middle. Flip the shelf over every year to even out the wear.
Eco-friendly And Sustainable Shelf Choices
If you want to be eco-friendly, consider these tips:
- Choose reclaimed wood for a rustic look and less waste.
- Use non-toxic finishes and paints.
- Buy from companies that use FSC-certified wood.
- For brackets, choose steel or aluminum—they last longer and are recyclable.
Some floating shelf kits now come with recycled materials or low-VOC finishes. This is better for your indoor air and the planet.
Troubleshooting: What If Your Shelf Feels Loose?
A wobbly shelf is a sign of trouble. Here’s what to do:
- Check if the shelf is fully seated on the bracket or dowels.
- Tighten any set screws or bolts.
- If the wall anchors are pulling out, you may need bigger or stronger anchors.
- For shelves installed in drywall, try moving to a stud or using toggle bolts.
If you’re unsure, take the shelf down and check the wall for cracks or damage. Sometimes, starting over with better hardware is the safest solution.
Alternatives To Bracketless Shelves
If your walls can’t support floating shelves or you want something different, consider:
- Cable shelves: Suspended from the ceiling with wires.
- Ladder shelves: Leaning against the wall, no drilling needed.
- Modular shelving units: Sit on the floor, easily moved.
- Visible decorative brackets: Some are so stylish they become part of the design.
Remember, the best shelf is one that fits your space, style, and needs.
Cost Breakdown: Diy Vs Pre-made Floating Shelves
Floating shelves can range from budget-friendly to expensive, depending on materials and method.
| Option | Average Cost (per shelf) | What’s Included |
|---|---|---|
| DIY (wood + bracket) | $20 – $50 | Wood, bracket, screws, finish |
| Pre-made kit | $40 – $100 | Shelf, bracket, hardware |
| Custom built | $100 – $300+ | Design, installation, premium materials |
| Professional install | $200 – $500+ | All materials, labor, warranty |
DIY is cheaper, but pre-made kits save time and reduce mistakes. For heavy-duty or high-visibility shelves, custom or professional is worth considering.
Real-world Example: Floating Shelf In A Small Apartment
Let’s say you live in a small city apartment with drywall walls. You want a 36-inch floating shelf for cookbooks above your kitchen counter.
- You choose a 2-inch thick, 36-inch long wood shelf.
- Using a stud finder, you find two studs spaced 16 inches apart.
- You buy a double-rod hidden bracket kit rated for 60 lbs.
- You drill into the studs, mount the bracket, and slide on the shelf.
- Total cost: $40 for the shelf, $18 for the bracket kit.
- Installation time: 1 hour.
Result: The shelf holds up to 25 cookbooks, looks modern, and takes up no counter space.
Additional Resources
For more on floating shelves, visit the Wikipedia page on shelving for history, types, and safety standards.
Frequently Asked Questions
How Much Weight Can A Floating Shelf Hold Without Brackets?
This depends on the installation method, wall type, and shelf material. With strong hidden brackets into studs, a shelf can often hold 40–75 lbs. Using only wall anchors or dowels, the limit might be as low as 10–20 lbs. Always check the hardware rating.
Can I Put Up Floating Shelves On Drywall Without Studs?
Yes, but you need heavy-duty wall anchors like toggle bolts or molly bolts. However, shelves anchored only in drywall are less strong. For heavy loads, always find and use studs.
What Is The Best Material For Floating Shelves?
Solid wood (like oak or maple) is strong and attractive. Plywood is also a good choice. Avoid particleboard for heavy loads, as it can sag or break. Engineered woods are fine for light decor.
How Do I Hide Wires Or Led Lights On Floating Shelves?
Some floating shelf designs have channels or grooves in the back for wires. You can also drill small holes for cables. For LED lighting, use low-profile strip lights and hide the power supply behind the shelf or inside the wall if possible.
Can I Install Floating Shelves In A Bathroom?
Yes, but use water-resistant materials like sealed wood, metal, or special coatings. Mount brackets into studs for strength, and avoid placing directly above sinks or tubs where moisture is highest.
Putting up shelves without brackets is a practical, stylish way to add storage and personality to your space. With the right method and tools, you’ll achieve a clean look that lasts for years. Take your time, follow each step, and enjoy the results of your handiwork.
Credit: www.youtube.com