
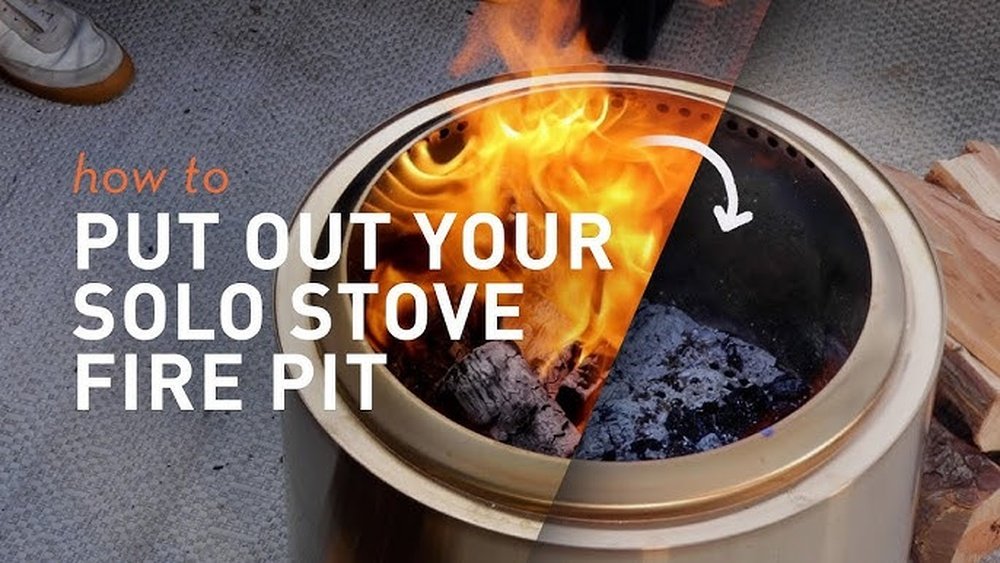
A glowing Solo Stove is a beautiful centerpiece for any outdoor gathering. Its efficient design means less smoke, a hotter flame, and a modern look that fits almost any backyard or patio. But when the night ends and it’s time to head inside, knowing how to put out your Solo Stove safely is crucial.
Many new users feel unsure, especially since Solo Stoves don’t have the typical features of old-fashioned fire pits. If you want to avoid damage, mess, or even accidents, it’s important to master the right method. This guide will walk you through every detail—step by step—so you can enjoy your fire and keep your Solo Stove in top shape for years.
Why Safe Extinguishing Matters
A Solo Stove might seem simple, but its design creates a hotter, longer-lasting fire than many expect. Some people think they can put out the fire by pouring water on it, like with other fire pits. However, this can actually harm your stove or even cause injury.
The stainless steel body, double-wall airflow, and unique burn system are all reasons why Solo Stoves need a careful approach.
Improperly extinguishing your Solo Stove can:
- Warp or crack the metal from sudden temperature changes
- Cause dangerous steam or smoke bursts
- Leave embers that can reignite
- Shorten the life of your stove
Taking a few extra minutes at the end of your evening protects your investment and keeps everyone safe. Another key reason for careful extinguishing is local fire safety regulations. In many areas, authorities require you to fully put out all embers before leaving a fire unattended.
If embers remain, wind can blow them out of the stove, starting a fire in your yard or on your deck. Even a few small coals hidden under ash can be enough to reignite if left unchecked. That’s why patience and attention to detail are so important.
How A Solo Stove Works
Understanding the Solo Stove’s design helps you put out the fire safely. Unlike a regular fire pit, a Solo Stove is built for secondary combustion. This means it burns off smoke before it escapes, making the fire more efficient and less smoky.
Key features:
- Double-wall construction: Air flows between the walls, feeding oxygen to the fire from below and above.
- Stainless steel body: Holds heat well but can be sensitive to sudden cooling.
- No bottom tray: Ash falls to the base, not onto a removable tray.
Because of these features, fires in a Solo Stove stay hotter longer. The metal can reach over 1,000°F (538°C) at peak burn. That’s why patience is key when you’re ready to put it out. It’s also worth noting that the efficient airflow means wood burns down to very fine ash, but that same airflow keeps embers alive longer than expected.
Beginners are often surprised to find heat still trapped inside even after the flames appear gone.
Another detail is that Solo Stoves do not have built-in dampers or covers to block airflow like some traditional fire pits. This means you can’t “choke” the fire by closing a vent; you need to use special tools or wait for the natural process.
Knowing these differences helps you avoid frustration and keeps your stove working at its best.

Credit: www.youtube.com
The Right Way To Put Out A Solo Stove
There’s a best practice for extinguishing a Solo Stove, and it’s different from many other fire pits. Let’s break it down into clear steps.
1. Stop Adding Fuel
As your evening winds down, stop adding wood about 30–45 minutes before you want the fire out. This gives the flames time to shrink and the coals to start cooling. If you’re planning ahead, you can use smaller pieces of wood for your last logs, which burn down faster and leave less residue. Thicker logs take longer to burn out, so avoid adding them near the end of your gathering.
2. Let The Fire Burn Down
Allow the fire to burn itself out naturally. The Solo Stove’s airflow system will help the wood burn down to ash faster than a traditional pit. You’ll notice the flames get smaller, then disappear, leaving just glowing coals. This process is not only safer for the stove but also makes cleaning up easier.
If you want to speed things up slightly, you can gently stir the coals to expose more of them to the air, which helps them burn out faster. Just be careful not to stir too much, as this can release hot ash into the air.
3. Spread The Coals
Using a fire poker or long stick, gently spread the hot coals around the base of the stove. This exposes more surface area and helps them cool faster. Never use your hands or short tools—Solo Stoves stay hot for hours. If you notice larger unburned chunks, you can break them up gently. This helps everything burn down evenly. Be patient—rushing this step can scatter ash and make a mess. A little patience now saves cleanup later.
4. Allow Complete Cooling
Wait until the coals and ash are completely cool to the touch. This can take 2–4 hours, sometimes longer if you used a lot of wood. Some owners leave the ashes overnight to be sure. If you’re unsure, hold your hand above the ash (without touching). If you feel any warmth, wait longer. This step is especially important if children or pets are around, as the stove can look “off” but still be dangerously hot inside. Larger Solo Stove models or fires with denser wood will need more time, so always err on the side of caution.
5. Safe Ash Disposal
Once everything is cold, scoop out the ashes with a metal scoop or small shovel. Dispose of them in a metal container. Never put ashes in a plastic bag or trash can, even if they seem cool. Hidden embers can stay hot for up to 24 hours. If you want to use the ash for your garden, wood ash can be a good source of potassium for some plants, but only in small amounts and never if you used treated or painted wood.
What Not To Do
- Don’t pour water into your Solo Stove. This can cause instant warping, crack the welds, and send hot steam and ash into the air.
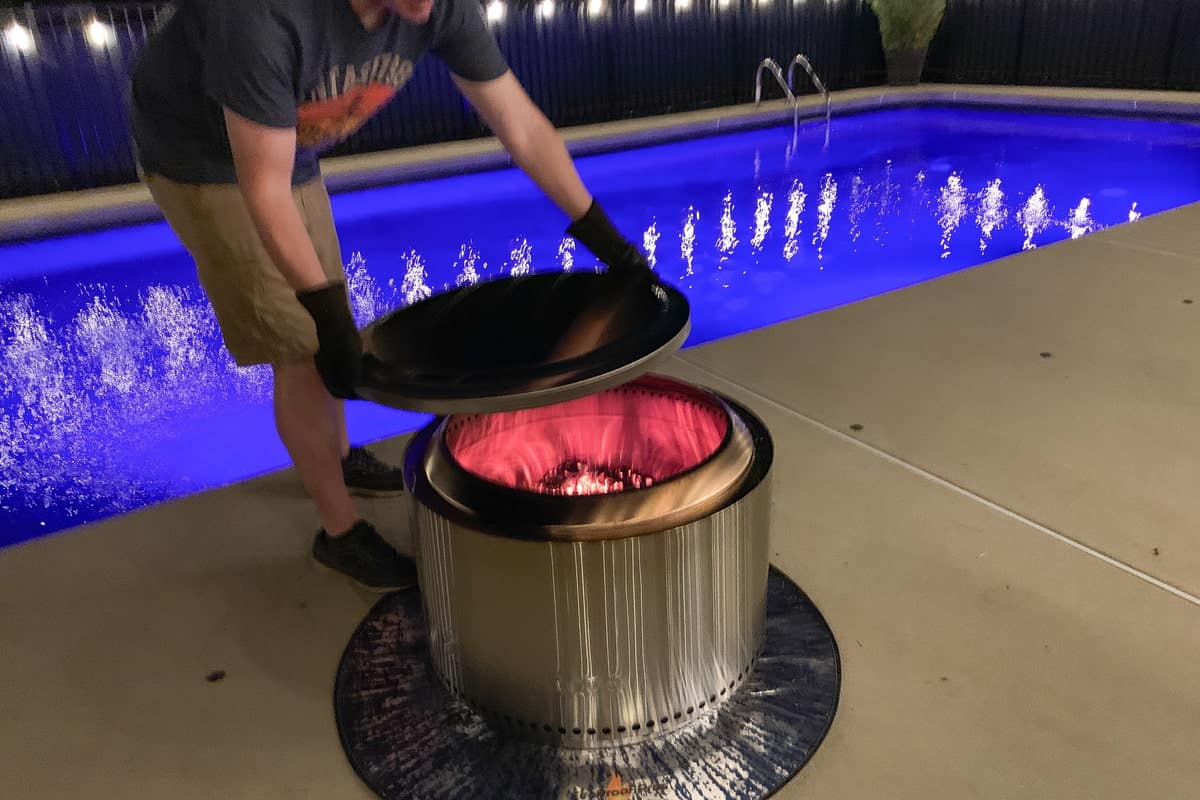
- Don’t cover a hot stove with a lid. This can trap heat and cause smoke to back up or even melt some covers.
- Don’t move the stove until it’s fully cooled. Even the outside can cause burns hours after the fire goes out.
It’s also a mistake to leave the stove outside uncovered after use. Rainwater mixing with leftover ash creates a corrosive paste that can damage the steel over time.
Alternative Methods For Faster Extinguishing
Sometimes you want to go inside earlier, or a sudden rainstorm is coming. While the best way is always to let the fire burn out, here are some safe options to speed things up.
Using Sand
Pouring A Thin Layer Of Dry Sa
Credit: www.madbackyard.com