
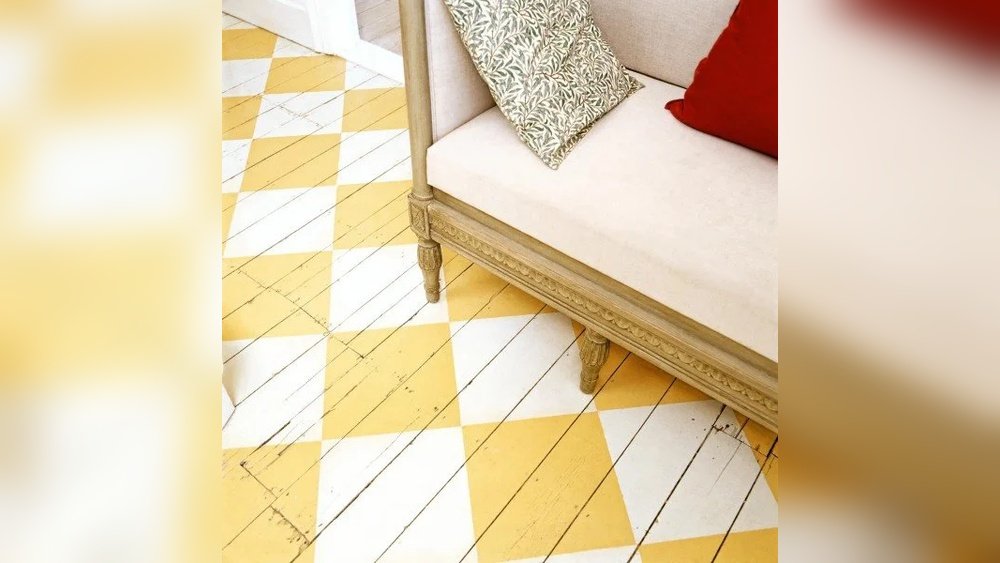
Painting a checkerboard pattern in your kitchen can completely change the look and feel of the space. Whether you want a classic black-and-white floor, a playful backsplash, or a subtle accent on a kitchen island, this timeless design creates instant interest and personality.
Many people think this project is hard, but with the right steps, tools, and tips, almost anyone can achieve sharp, professional-looking results. As an experience-based guide, I’ll walk you through everything you need to know—from planning your pattern to sealing your finished work.
You’ll discover not only the basic process but also real-world tricks that most beginners miss. Let’s unlock the secrets of creating a bold checkerboard kitchen that you’ll love for years.
Why Checkerboard Patterns Work In Kitchens
Checkerboard designs have been used for centuries in homes, castles, and public spaces. In kitchens, they bring a sense of order and rhythm. The pattern’s geometric balance works with nearly any style, from modern minimalism to vintage charm. The alternating colors help hide dirt and scuffs, making them practical for high-traffic areas. Also, you can customize the look—choose bold contrasts for drama or softer tones for a gentle effect. A checkerboard pattern doesn’t just look good; it’s also a budget-friendly way to update your kitchen without a full renovation.
Tools And Materials: What You’ll Need
Having the right supplies makes a big difference in your results. Here’s what you should gather before starting:
- Painter’s tape – Wide, high-quality tape for crisp lines.
- Pencil and measuring tape – For accurate layout.
- Chalk line – Helps snap perfectly straight lines over large areas.
- Level – Ensures your pattern isn’t crooked.
- Paint roller and brushes – For smooth, even coats.
- Kneeling pad – Reduces fatigue if working on floors.
- Paint tray – For easy application.
- Fine-grit sandpaper – Prepares surfaces for paint.
- Primer – Essential for proper paint adhesion.
- Paint – Two contrasting colors, ideally designed for kitchen surfaces (floor or wall).
- Drop cloths – Protects cabinets and appliances.
- Cleaner/degreaser – Removes kitchen grime before you paint.
- Sealant (optional but recommended) – Adds durability and shine.
Two things many people forget: use low-tack tape (to avoid peeling your base paint) and choose high-quality floor or cabinet paint for the best results.
Choosing The Right Colors And Pattern Size
The colors and size of your squares will define the look. Classic checkerboards use black and white, but you can select any two colors that suit your kitchen. Consider the following:
- Contrast: High-contrast colors (like black and white) make the most dramatic statement. Softer contrasts (light gray and cream) feel subtler and more modern.
- Square Size: Large squares (over 12 inches) make a space feel bigger and less busy. Small squares (6-8 inches) create a lively, energetic effect but can look cluttered in small kitchens.
- Finish: Glossy paint reflects more light and is easier to clean, but shows imperfections. Satin or eggshell finishes are forgiving and still easy to wipe.
Here’s a simple comparison of square sizes and their visual effect:
| Square Size | Visual Impact | Best For |
|---|---|---|
| 6-8 inches | Busy, vibrant | Small kitchens, vintage look |
| 10-12 inches | Balanced, classic | Most kitchens |
| 16+ inches | Spacious, modern | Large kitchens, open layouts |
Don’t be afraid to test your colors. Paint small samples on poster board and view them in your kitchen’s lighting at different times of day.
Preparing The Kitchen Surface
Preparation is the most important step for a long-lasting checkerboard pattern. Skipping it leads to peeling, uneven color, and wasted effort.
Cleaning
Kitchen surfaces are often greasy. Use a strong degreaser to clean floors or walls. Rinse with water and let dry completely. Even small amounts of oil can prevent paint from sticking.
Repairing
Fill cracks, dents, or gaps with spackle or wood filler. Sand smooth after drying. If you’re painting over old tiles, fill grout lines with filler for an even surface.
Sanding
Use fine-grit sandpaper to lightly scuff the area. This gives the primer something to grip. Vacuum or wipe away dust.
Priming
Apply a suitable primer for your surface (wood, laminate, tile, or wallboard). This step is essential for good coverage and adhesion. Let the primer dry as directed.
Here’s a quick reference for primer types:
| Surface | Recommended Primer |
|---|---|
| Wood | Bonding primer |
| Tile | Epoxy or specialty tile primer |
| Laminate | Adhesion-promoting primer |
| Drywall | Standard latex primer |
Many beginners skip priming, but it’s critical for a durable, professional finish.
Laying Out The Checkerboard Pattern
Getting a straight, symmetrical pattern is often the hardest part. Planning your layout before taping or painting ensures your checkerboard looks balanced and intentional—not awkward or off-center.
Find The Center
- Measure the length and width of your surface.
- Mark the center point with a pencil.
- Snap chalk lines from edge to edge through this center.
Dry Layout
Use painter’s tape or cut-out squares to lay out your pattern without paint. This helps you see how the squares will fall near walls, cabinets, or corners. Adjust the center lines so that you don’t end up with tiny slivers of color at the edges.
Pro tip: If possible, design your pattern so the same color lands at all four corners of the room. This makes the space look more harmonious.
Marking The Squares
Measure out your square size from the center lines. Mark each intersection with a pencil dot. Use a level and straightedge to draw the grid.
Non-obvious insight: On uneven floors or textured walls, use a laser level to project lines. This helps avoid crooked or distorted squares, especially in older homes.
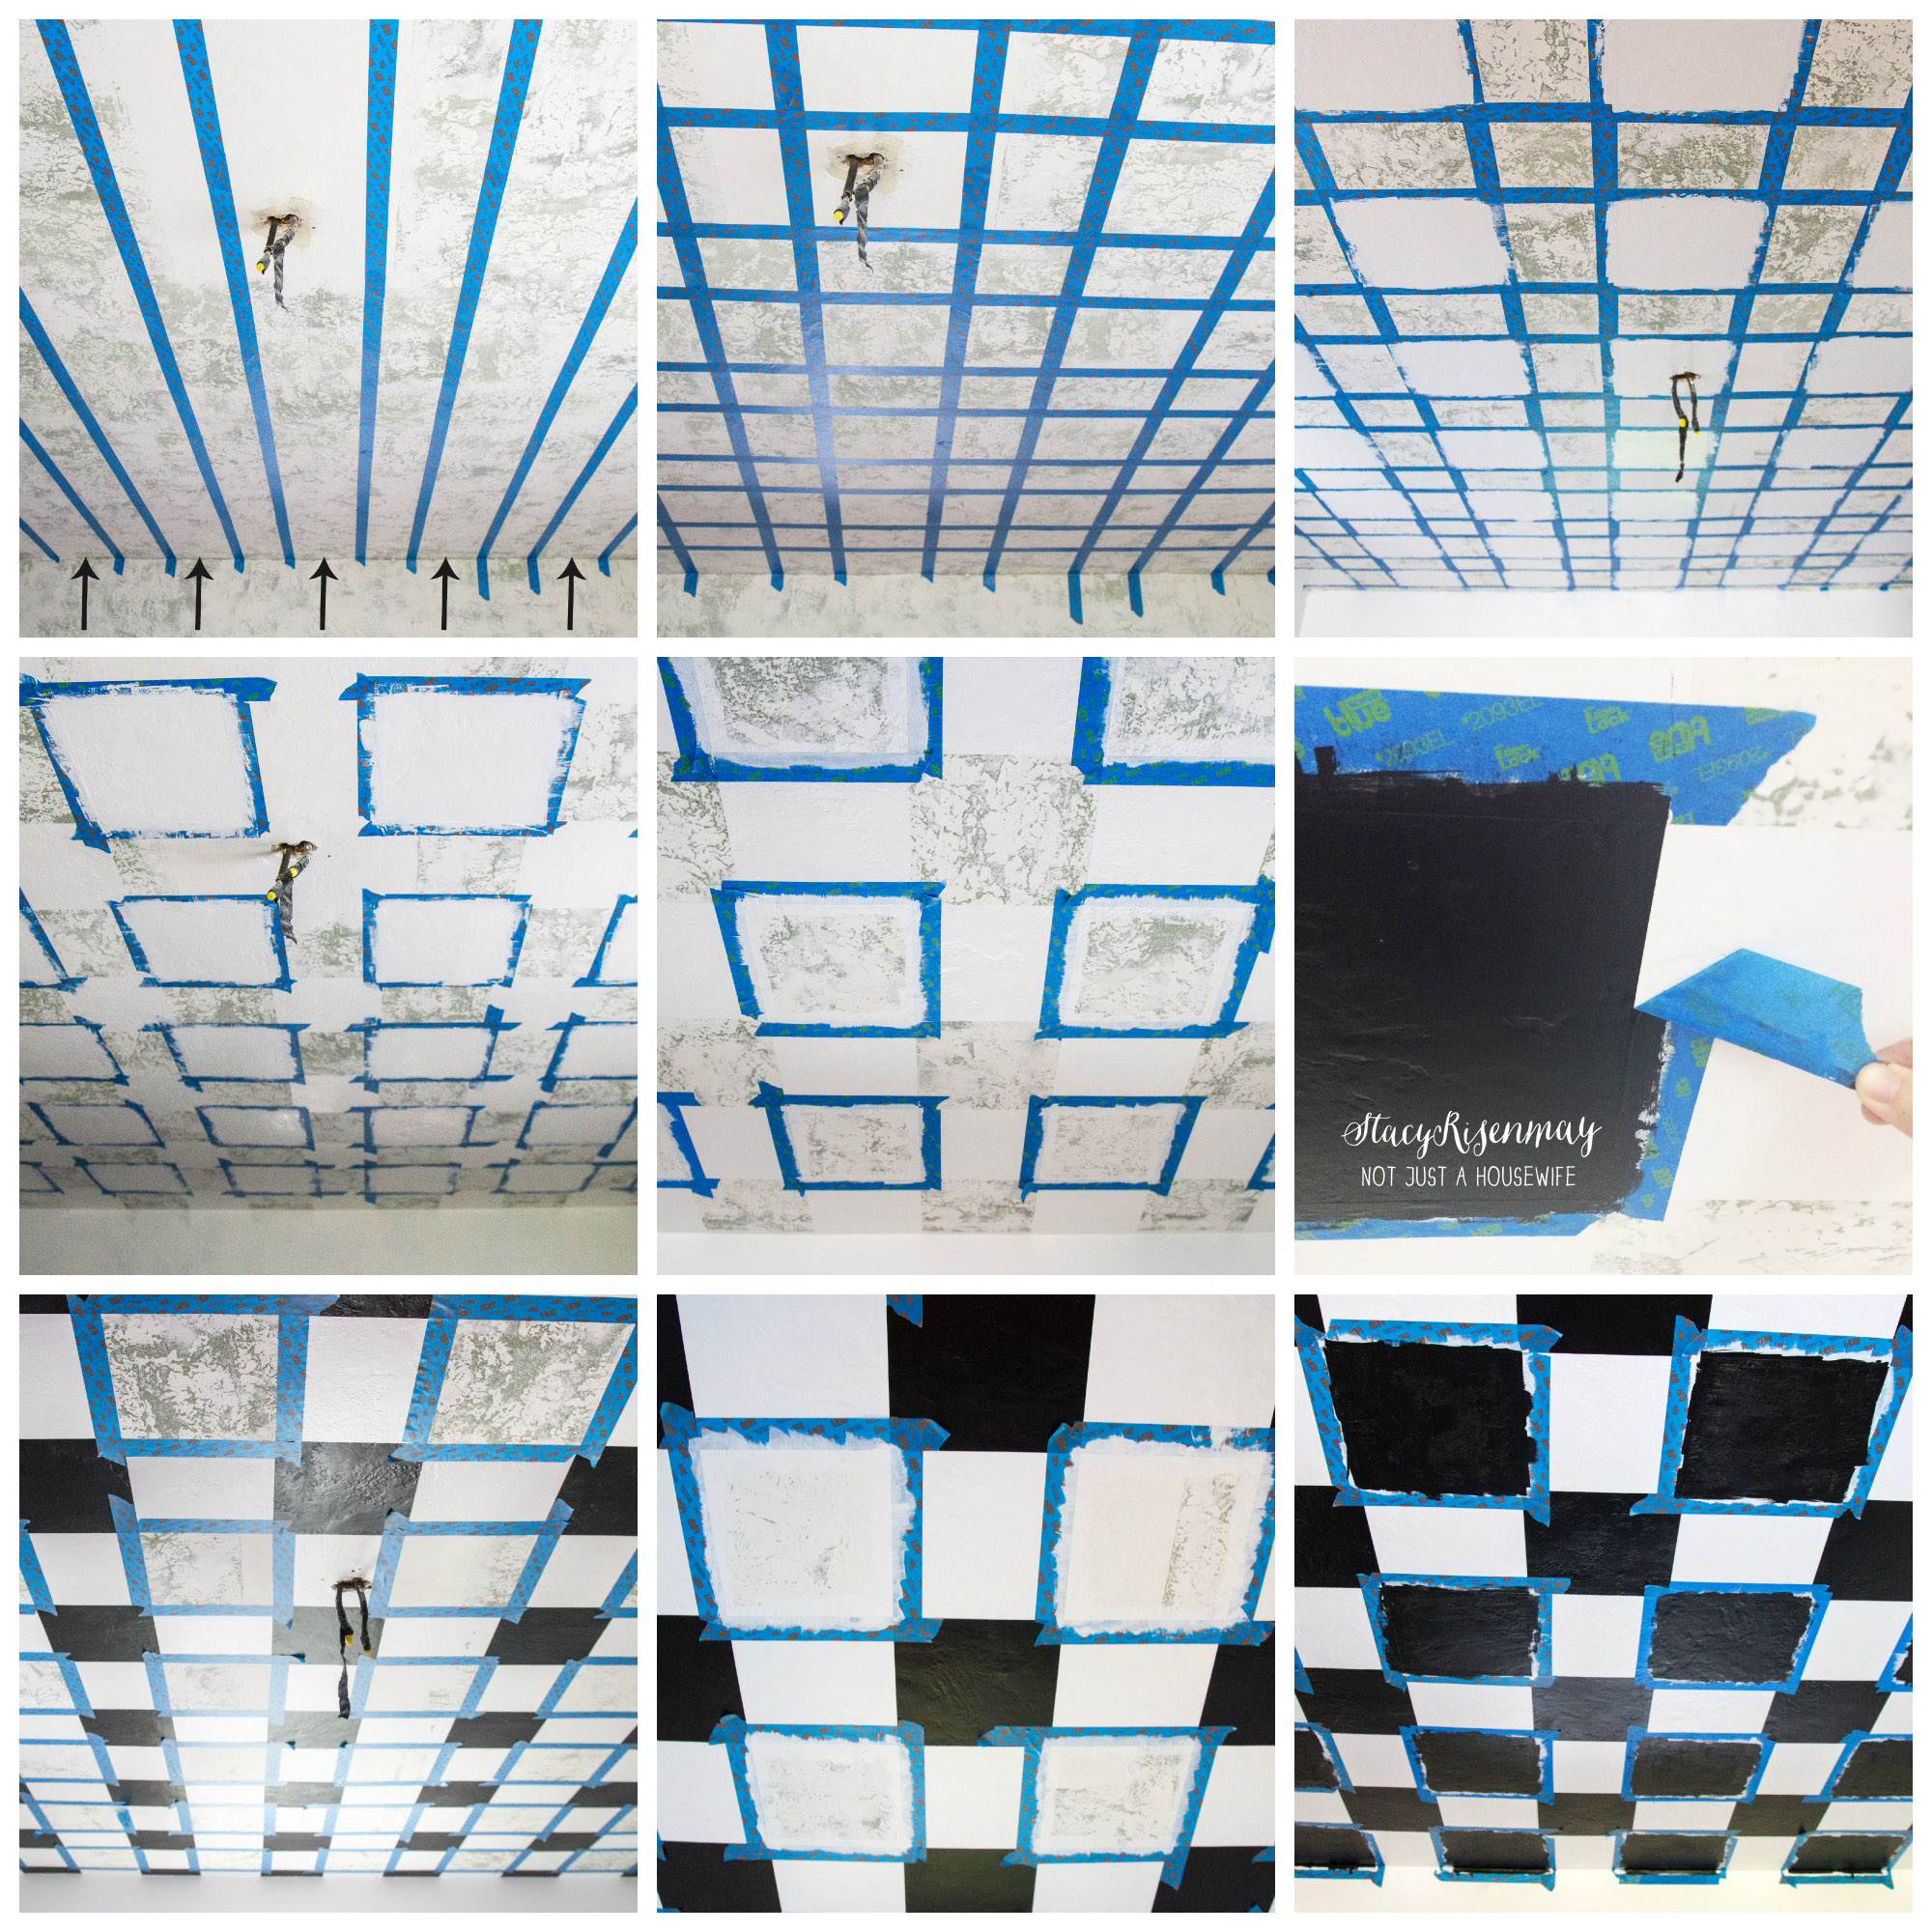
Masking And Taping For Clean Lines
Sharp, crisp lines are the hallmark of a great checkerboard. Here’s how to get them:
- Use wide, high-quality painter’s tape designed for delicate surfaces.
- Tape only the squares you’ll paint first (usually one color).
- Press the tape edges down firmly with a putty knife or credit card to prevent bleeding.
- For floors, tape the perimeter of the work area to protect baseboards and cabinets.
Advanced tip: After taping, paint a thin layer of the base color along the tape edges and let it dry. This “seals” the tape, so if there’s any bleed, it matches the underlying color—not your accent shade.
Painting The First Color
Now you’re ready to apply the first color. Work methodically for the best results.
- Stir your paint thoroughly for even color.
- Use a brush to cut in along tape edges, then fill in with a roller.
- Apply thin, even coats—two are better than one thick coat.
- Let dry completely before moving to the next step (follow the paint can’s instructions).
Common mistake: Rushing between coats or removing tape too soon. Patience here prevents smudges and rough edges.
Removing Tape And Preparing For The Second Color
Once the first color is fully dry, carefully remove the tape. Pull at a 45-degree angle to avoid lifting the paint. Let the paint cure for a few hours (or overnight for floors) before reapplying tape.
Now tape off the alternate squares for your second color. Take your time lining up edges exactly.
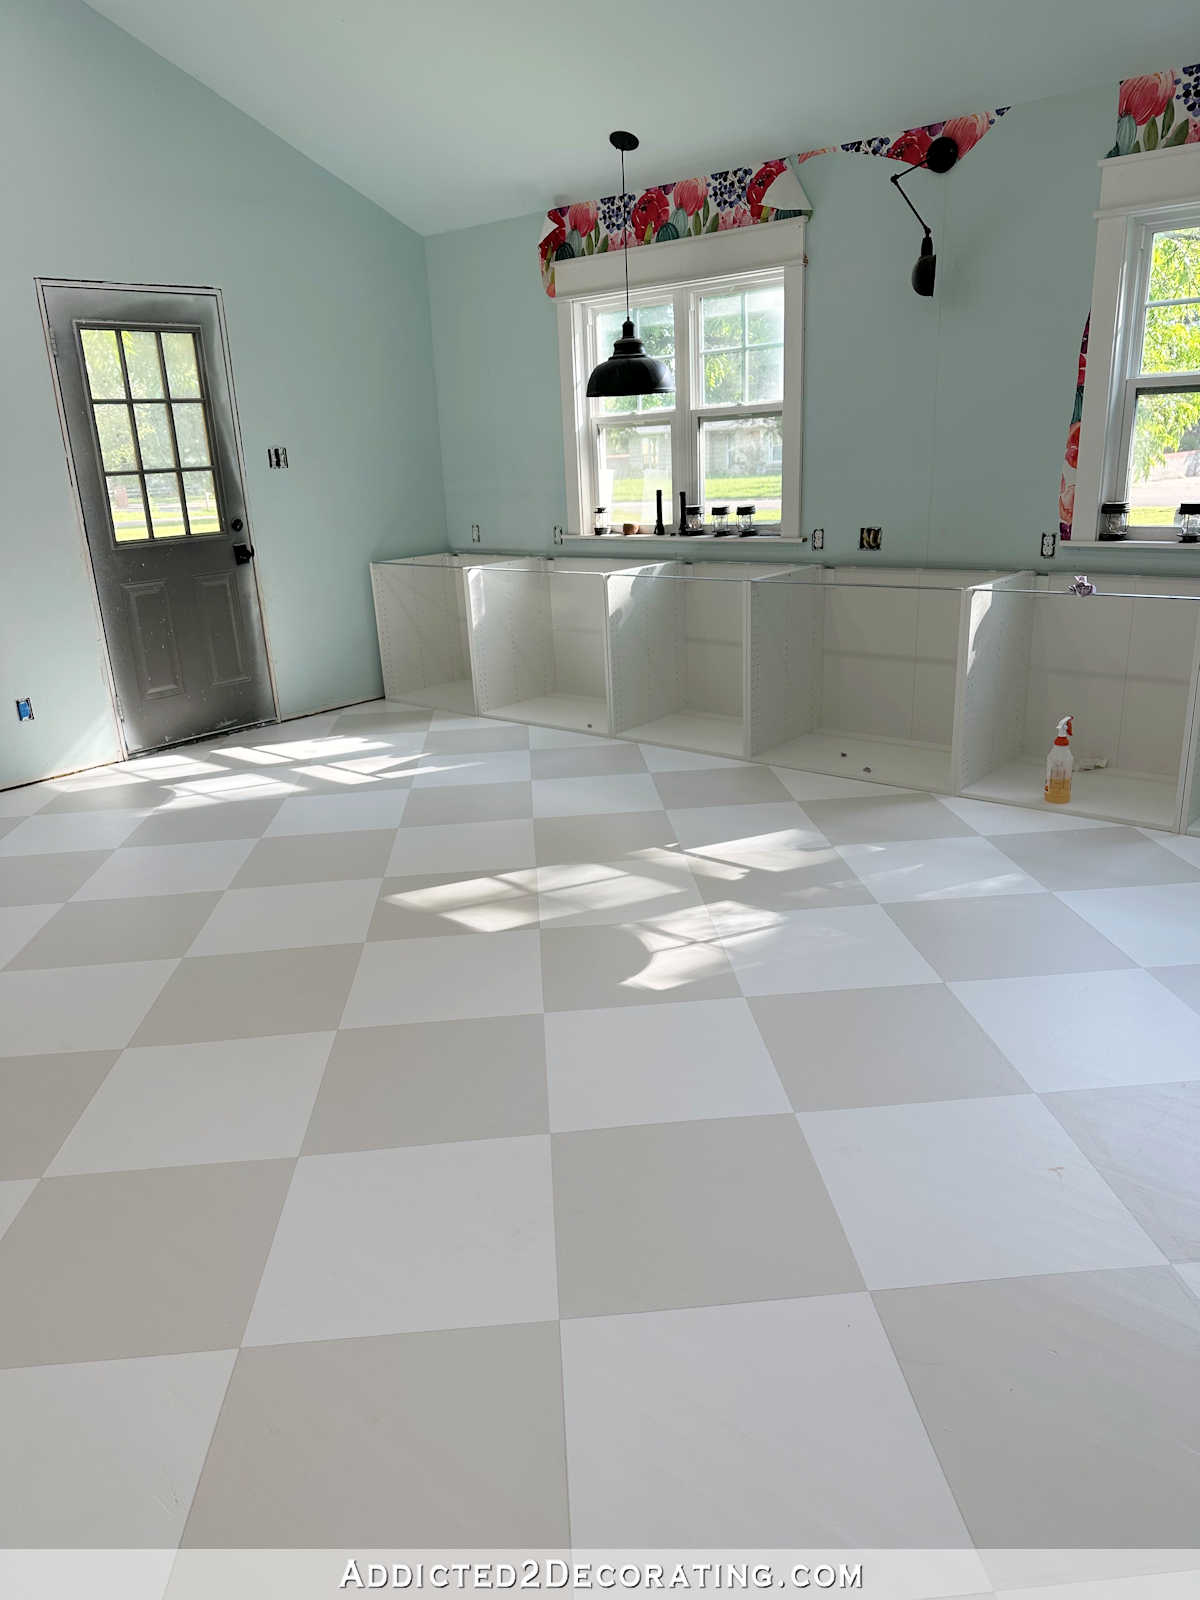
Credit: www.addicted2decorating.com
Painting The Second Color
Repeat the process:
- Cut in with a brush, then roll the paint on.
- Apply at least two thin coats for solid coverage.
- Remove tape while the paint is still slightly tacky for the sharpest lines.
- Touch up any small imperfections with a small artist’s brush.
Expert insight: If using dark colors, you may need a third coat. Allow extra drying time between coats to avoid sticking or peeling.
Sealing And Protecting Your Pattern
Kitchens are busy spaces, so it’s wise to protect your work with a clear sealant. This is especially important for floors and backsplashes.
- For floors, use a water-based polyurethane or a specialty floor sealer. Apply two or three thin coats.
- For walls, a clear acrylic topcoat works well and makes cleaning easier.
Let the sealant cure fully before moving furniture or appliances back. This can take up to a week, depending on humidity and product.
Non-obvious insight: Avoid oil-based sealers in kitchens, as they can yellow over time, especially over light paint colors.
Caring For Your Checkerboard Kitchen
A painted checkerboard is durable but not indestructible. Here’s how to keep it looking new:
- Sweep or vacuum regularly to prevent grit from scratching the paint.
- Wipe spills promptly with a damp cloth.
- Use mild cleaners; avoid harsh chemicals that can strip the finish.
- Place mats at doorways to trap dirt.
If you notice chips or scratches, touch them up with leftover paint. Keep a small jar of each color for fast fixes.
Creative Ideas And Variations
Checkerboard doesn’t have to mean black and white. Here are some ways to make the pattern your own:
- Soft neutrals: Try pale gray and ivory for a subtle, modern look.
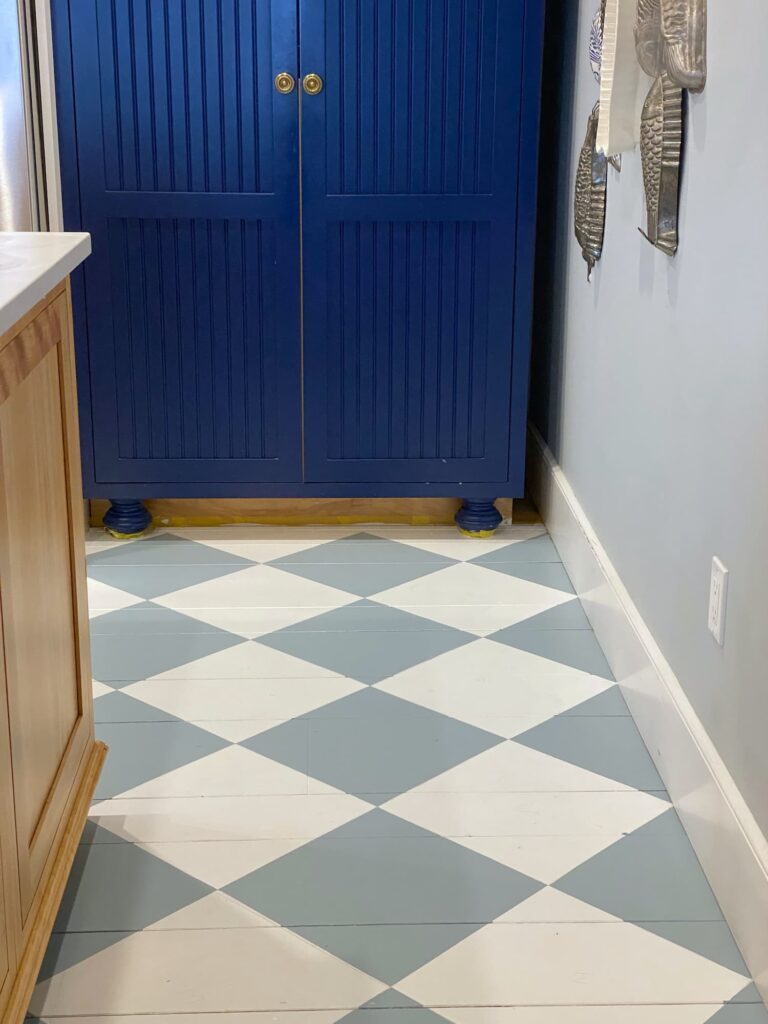
- Bold colors: Navy and blush, forest green and cream, or terracotta and sand can add personality.
- Diagonal layout: Rotate the pattern 45 degrees for a “diamond” effect.
- Faded edges: Soften the borders of each square for a vintage vibe.
- Two-tone wood stain: On wood floors, use light and dark stain instead of paint.
If you’re feeling adventurous, combine checkerboard with other patterns—such as stripes on an island or polka dots on cabinet sides. Just keep the color palette limited for balance.
Common Problems And How To Fix Them
No project is perfect the first time. Here’s how to handle some frequent issues:
Paint Bleed Under Tape
- Let the paint dry fully, then touch up with a small brush.
- Next time, seal the tape edge with the base color before applying the second color.
Crooked Pattern
- If you catch this early, gently lift and reposition the tape.
- For major errors, sand lightly and repaint the affected area.
Peeling Paint
- This usually means the surface wasn’t clean or primed well. Sand, clean, re-prime, and repaint as needed.
Uneven Color
- Add another thin coat. Dark colors often need three coats to look solid.
Chips Or Scuffs
- Use leftover paint for quick touch-ups. For large areas, lightly sand and repaint.
How Long Does It Take?
The total time depends on the surface area and drying times. Here’s a general guide:
| Step | Time Estimate |
|---|---|
| Cleaning and prep | 2-4 hours |
| Priming | 2 hours (plus overnight dry) |
| Measuring and taping | 2-3 hours |
| Painting first color | 2-3 hours (plus drying) |
| Painting second color | 2-3 hours (plus drying) |
| Sealing | 1-2 hours (plus curing) |
For a small kitchen floor, expect at least two full days, not counting curing time for sealant.
Budget: What Does It Cost?
Painting a checkerboard is much cheaper than installing new tile or flooring. Costs can vary, but here’s a rough breakdown for a 100-square-foot kitchen floor:
- Paint (2 quarts each color): $30–$50
- Primer: $15–$25
- Painter’s tape: $10–$15
- Sealer: $20–$40
- Miscellaneous (brushes, rollers, sandpaper, cleaner): $30–$50
Total estimate: $100–$180, depending on brands and your existing supplies.
Pro tip: Don’t skimp on paint quality. Cheap paint requires more coats and wears out faster, costing more in the long run.
Mistakes To Avoid
Even careful DIYers make errors. Here are some common pitfalls:
- Skipping primer: This leads to peeling and poor adhesion.
- Using the wrong tape: Low-quality tape causes paint bleed and rough lines.
- Not measuring carefully: Inaccurate layout can ruin the look of the whole room.
- Painting too thick: Thick coats dry unevenly and chip faster.
- Removing tape too late: Wait too long and the paint can peel with the tape.
Non-obvious insight: If painting over old linoleum or vinyl, always test a small area first. Some surfaces repel paint, even with primer.
Credit: www.notjustahousewife.net
When To Hire A Professional
Most people can handle a checkerboard project with patience and care. However, consider hiring a pro if:
- The floor or wall is very uneven or damaged.
- You want a complex pattern or inlay.
- The area is very large or requires moving heavy appliances.
- You have little time or experience.
A professional painter brings specialized tools (like sprayers and laser levels) for the sharpest results.
Inspiration: Real-world Examples
Many famous kitchens use checkerboard floors. For example, the Biltmore Estate in North Carolina features a grand black-and-white marble checkerboard. In modern homes, designers often use pale gray and white for a soft, Scandinavian look. Even a small checkerboard accent—like a painted backsplash behind the stove—can provide vintage charm without overwhelming the space.
If you want more inspiration, check out historical and modern kitchen designs on Wikipedia.
Credit: mollyinmaine.com
Frequently Asked Questions
What Kind Of Paint Should I Use For A Checkerboard Kitchen Floor?
Use floor paint or porch and patio paint for the best durability. These paints are designed to resist scuffs, stains, and moisture. Avoid regular wall paint on floors—it will wear out quickly.
How Do I Keep My Lines Straight When Painting?
Use a measuring tape, level, and chalk line to lay out your grid before taping. Always start from the center of the room and work outward. Dry-fit your pattern with tape or paper squares before painting.
Can I Paint A Checkerboard Pattern Over Tiles?
Yes, but you must clean, sand, and use a tile primer first. Fill grout lines for a smooth surface. Use floor paint or epoxy paint for best results, and always seal the finished pattern.
How Long Should I Wait Before Walking On My Painted Floor?
Wait at least 24–48 hours after the final coat of paint, and up to a week after applying sealant. Check the instructions on your paint and sealant for specific drying times.
Is Checkerboard Pattern Only For Floors?
No! Checkerboard works on backsplashes, kitchen islands, walls, and even ceilings. Just adjust the paint type and square size to fit your surface.
Painting a checkerboard pattern in your kitchen is a project that rewards careful planning and patience. With the right steps, you’ll create a space that feels custom, stylish, and welcoming. Enjoy your new kitchen centerpiece!