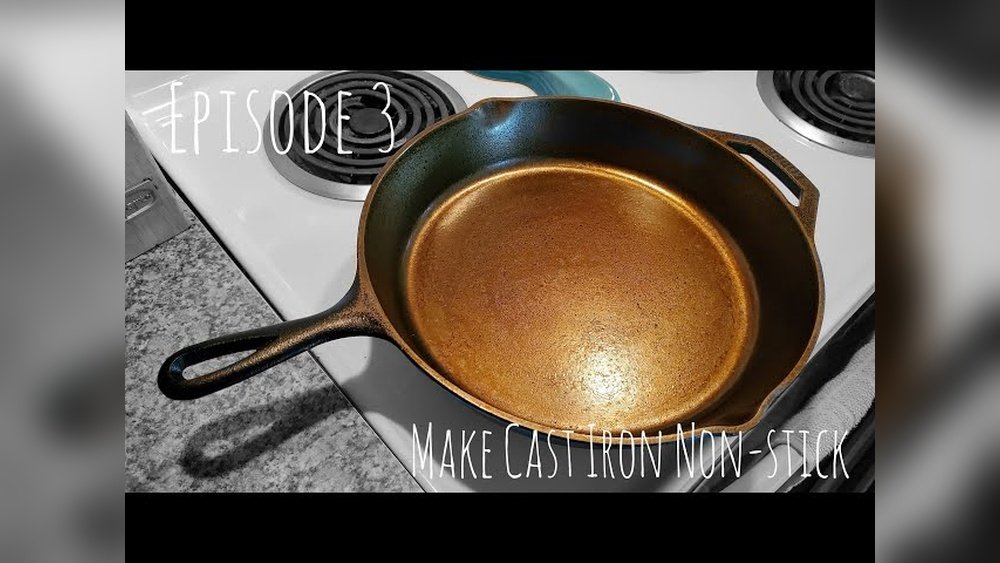
How To Make Cast Iron Nonstick
Cast iron skillets are loved in kitchens around the world. They are famous for their durability, heat retention, and unique cooking results. But for many people, the real secret to loving cast iron is making it nonstick. A well-seasoned cast iron pan can cook eggs, pancakes, and even fish without sticking. Yet, many new users struggle—food clings, pans rust, and frustration grows. So, how do you make cast iron truly nonstick? And how do you keep it that way for years?
This guide is your complete answer. You’ll learn why cast iron can be nonstick, how to season it correctly, and what to do daily for perfect results. You’ll also see common mistakes, troubleshooting, and a comparison with other cookware. By the end, you’ll cook with confidence and know how to treat your cast iron like a pro.
Why Cast Iron Becomes Nonstick
The idea of a nonstick surface on a heavy, black iron pan seems strange. But it’s all about chemistry and technique.
When you heat oil on cast iron, it goes through a process called polymerization. This means the oil changes from a liquid into a hard, slick coating. Over time, many thin layers of this coating build up on the pan’s surface. This is called seasoning. The more layers, the smoother and more nonstick your skillet becomes.
A well-seasoned pan looks shiny, not sticky or oily. When you cook, food releases easily, and cleaning is simple. This nonstick layer also protects the iron from rust and damage.
It’s important to remember that cast iron is not nonstick out of the box. In fact, most new pans need several rounds of seasoning and careful use before they reach their best. But with patience and proper care, cast iron can rival or even beat modern nonstick pans.
Choosing The Right Cast Iron
Not all cast iron pans are the same. Choosing the right one makes seasoning easier and more effective.
- Pre-seasoned vs. Unseasoned: Some brands sell pans with a layer of seasoning already applied. These can be used immediately, but extra seasoning at home helps. Unseasoned pans need full seasoning before use.
- Smooth vs. Rough Surface: Older pans (like vintage Griswold or Wagner) are often smoother, which helps food slide off. Newer pans may feel rougher due to sand casting. Both can become nonstick, but smooth pans need less work.
- Weight and Size: Heavier pans retain heat better and cook more evenly. Choose a size that matches your cooking needs (8-12 inches is common for home use).
A good pan is an investment. Vintage pans are prized for their cooking qualities and smoother finish, but new pans can be seasoned to perform well. Avoid pans with deep rust, cracks, or warping.

Credit: www.youtube.com
The Science Of Seasoning
Seasoning is the heart of making cast iron nonstick. But what actually happens during seasoning?
When you apply a thin layer of oil and heat the pan, the oil bonds to the iron. The high heat causes polymerization—the oil forms a hard, plastic-like surface. This surface is not just a coating; it becomes part of the pan. Each time you cook with oil, you add another micro-thin layer.
But not all oils are equal. The smoke point (the temperature where oil starts to smoke) matters. Oils with higher unsaturated fat content polymerize better. Common choices are flaxseed oil, grapeseed oil, or canola oil. Animal fats like lard or bacon grease can also work, but may go rancid if not used often.
A well-seasoned pan is black, smooth, and glossy. If your pan is sticky or patchy, something went wrong in seasoning—usually too much oil or not enough heat.
Step-by-step: How To Season Cast Iron
Seasoning your cast iron skillet is simple but requires attention to detail. Here’s how to do it right.
1. Clean The Pan Thoroughly
Start with a clean pan. If it’s new or rusty, scrub with hot water and a little mild soap (this is the only time you should use soap). Use a stiff brush or steel wool to remove factory wax, rust, or food.
Rinse and dry completely.
2. Preheat Your Oven
Heat your oven to 450°F (232°C). The high temperature helps the oil bond to the iron.
3. Apply A Thin Layer Of Oil
Pour a small amount of oil (about a teaspoon) onto the pan. Use a paper towel to rub the oil all over—inside, outside, and handle. Wipe away any excess until it looks dry. Too much oil leads to sticky residue.
4. Bake Upside Down
Place a sheet of foil on the lower oven rack to catch drips. Put your pan upside down on the middle rack. Bake for 1 hour. This lets the oil polymerize into a hard, nonstick surface.
5. Cool In The Oven
Turn off the oven and let the pan cool inside. This helps the layer set. When cool, remove the pan and inspect. It should look shiny and dry, not sticky.
6. Repeat
For best results, repeat the oiling and baking process 2-3 times. Each round builds a stronger, smoother nonstick layer.
Seasoning Tips For Success
- Always use very thin layers of oil.
- Don’t rush. Good seasoning takes time.
- If the surface is sticky, you used too much oil. Wash with hot water and start again.
- A new pan may need extra rounds of seasoning before it’s truly nonstick.
Credit: www.reddit.com
Daily Use: Keeping Cast Iron Nonstick
Once your pan is seasoned, daily care is key. Here’s what you should do every time you use your skillet.
1. Preheat The Pan
Before cooking, heat your pan for a few minutes. This helps food release and creates better browning.
2. Add Fat
Use a little oil, butter, or fat before adding food. Even a seasoned pan needs some fat to stay slick.
3. Avoid Cooking Acidic Foods Early On
Tomatoes, vinegar, and citrus can strip new seasoning. Wait until your pan is well-seasoned before making chili or tomato sauce.
4. Don’t Shock With Cold Water
Never add cold water to a hot pan. This can warp or crack the iron.
5. Clean While Warm
After cooking, let the pan cool slightly, then clean. Use hot water and a brush or scraper. Avoid soap unless you need to remove sticky residue.
6. Dry Completely
Water causes rust. Dry your pan with a towel, then heat for a minute on the stove to remove all moisture.
7. Rub With Oil
After cleaning and drying, wipe a thin layer of oil onto the surface. This maintains the seasoning and prevents rust.
Pro Tips Most People Miss
- If food sticks, the pan may need more seasoning, or you didn’t preheat enough. Try cooking bacon or frying chicken to build up the layer.
- Don’t stack cast iron pans without padding. Iron on iron can damage seasoning.
Troubleshooting Common Problems
Even with care, you may run into issues. Here’s how to solve the most common problems with cast iron.
Food Sticks To The Pan
- Possible Causes: Not enough seasoning, pan not hot enough, not enough fat, or cooking very sticky food (like eggs) too soon.
- Solution: Season the pan again, preheat before cooking, and use more oil. Start with less sticky foods (bacon, sausage) to build seasoning.
Sticky Or Gummy Surface
- Possible Causes: Too much oil in seasoning, not enough heat, or not wiping the oil fully.
- Solution: Wash with hot water and a little soap. Scrub off sticky areas. Dry and re-season with thin oil layers.
Rust
- Possible Causes: Pan got wet and wasn’t dried, or was stored in a humid place.
- Solution: Scrub rust with steel wool. Wash, dry, and re-season. Store in a dry place.
Flaking Or Peeling
- Possible Causes: Old seasoning layer is coming off, or too many thick layers were added.
- Solution: Strip the pan to bare iron (use oven cleaning cycle or lye bath for serious cases), then re-season from scratch.
Uneven Seasoning
- Possible Causes: Oil was not spread evenly, or pan was not heated uniformly.
- Solution: Even out with additional thin layers of seasoning.

Credit: www.reddit.com
Deep Cleaning And Restoring Old Cast Iron
Sometimes you find an old, rusty cast iron pan at a garage sale or in storage. Don’t throw it away—cast iron can almost always be saved.
Removing Heavy Rust
- Scrub with steel wool or a wire brush to remove as much rust as possible.
- For serious cases, soak in a 50/50 vinegar and water solution for 1-2 hours (not longer—it can eat the iron).
- Rinse, dry, and scrub again.
Stripping Old Seasoning
- Use the self-cleaning oven cycle to burn off old seasoning. This turns the pan gray and ashy.
- Alternatively, use a lye bath (wear gloves and follow all safety rules).
- Once stripped, wash and dry the pan, then season as if new.
Restoring A Pan
- After cleaning, immediately season the pan to prevent rust.
- It may take several rounds of seasoning to restore a perfect nonstick layer.
Comparing Cast Iron To Other Nonstick Cookware
Cast iron is not the only nonstick option. How does it compare to Teflon, ceramic, or stainless steel?
Here’s a quick comparison:
| Feature | Cast Iron | Teflon (PTFE) | Ceramic | Stainless Steel |
|---|---|---|---|---|
| Nonstick Ability | Excellent (with seasoning) | Excellent (initially) | Good | Low |
| Durability | Lifetime | 2-5 years | 2-3 years | Lifetime |
| Heat Tolerance | Very High | Low | Medium | Very High |
| Safe for Oven | Yes | No | Sometimes | Yes |
| Requires Seasoning | Yes | No | Sometimes | No |
| Metal Utensil Safe | Yes | No | No | Yes |
Key Insights:
- Cast iron gets better with age; Teflon and ceramic degrade over time.
- Only cast iron and stainless steel are truly oven-safe and can use metal utensils without damage.
- Cast iron can be fully restored, even after rust or damage.
Oils For Seasoning: What Works Best?
Choosing the right oil for seasoning is crucial. Some oils create harder, longer-lasting coatings.
| Oil Type | Smoke Point (°F) | Polymerization Quality | Flavor Impact | Availability |
|---|---|---|---|---|
| Flaxseed | 225 | Excellent | Neutral | Specialty |
| Grapeseed | 420 | Very Good | Neutral | Easy |
| Canola | 400 | Good | Neutral | Easy |
| Vegetable | 400 | Good | Neutral | Easy |
| Lard/Bacon Fat | 370 | Good | Meaty | Easy (if you cook pork) |
| Coconut Oil | 350 | Fair | Coconut | Easy |
| Olive Oil | 375 | Poor (for seasoning) | Olive | Easy |
Flaxseed oil is popular for its hard finish, but it can be expensive and sometimes flakes if applied too thick. Grapeseed and canola oils are affordable and work well for most people. Animal fats give a classic flavor, but may go rancid if not used often.
Practical Tips For Beginners
1. Cook Fatty Foods First
In a new pan, cook bacon, sausage, or fried chicken. These foods help build up seasoning quickly.
2. Avoid Acidic Foods
Until your pan is well-seasoned, avoid tomatoes, wine, or vinegar. These can strip away the nonstick layer.
3. Don’t Soak In Water
Water and iron don’t mix. Never let your pan soak—clean and dry it right away.
4. Use High Heat Carefully
Cast iron holds heat well. Use medium-high for searing, but lower heat for eggs or pancakes.
5. Embrace Patina
Over time, your pan will darken and get smoother. This natural “patina” is the sign of a well-loved skillet.
6. Store With Paper Towel
Place a paper towel inside the pan when storing to absorb moisture and prevent rust.
Myths And Facts About Cast Iron
Many myths surround cast iron. Let’s set the record straight.
- Myth: “Never use soap on cast iron.”
Fact: A small amount of mild soap is fine for deep cleaning, especially after sticky foods. Just rinse and dry well.
- Myth: “Cast iron heats evenly.”
Fact: It retains heat well, but takes time to heat up and can have hot spots if not preheated.
- Myth: “Metal utensils ruin seasoning.”
Fact: Metal spatulas can actually help smooth the surface and improve seasoning.
- Myth: “Seasoning is permanent.”
Fact: Seasoning can be damaged by acid, high heat, or scrubbing. But it’s always fixable.
For more science on cast iron, check out Wikipedia.
Seasoning In Everyday Cooking
You don’t have to re-season your pan in the oven every week. Daily cooking builds up layers, especially if you use oil or cook fatty foods.
- Frying, sautéing, and searing all add to seasoning.
- If you bake cornbread or roast vegetables, oil them well before putting in the pan.
- If you notice dull spots, rub with oil and bake for an hour.
This “maintenance seasoning” keeps your pan slick and strong.
Cast Iron Vs. Nonstick In Real Kitchens
How does cast iron perform in real kitchens compared to nonstick pans? Let’s look at two real-world cases.
Case 1: Scrambled Eggs
Nonstick pans are famous for eggs that slide right out. But a well-seasoned cast iron can do the same.
- Cast iron: Preheat, add butter, pour in eggs. Let them set before stirring. Eggs release easily if the pan is hot and seasoned.
- Nonstick: Works well at lower heat, but the coating may wear out over time.
Case 2: Searing Steak
Cast iron is king for steak. It holds high heat, gives a great crust, and goes from stove to oven.
- Nonstick pans can’t handle high heat, and the coating may break down.
Insight: Cast iron shines in high-heat cooking, while nonstick is better for gentle dishes. But with practice, cast iron can do almost everything.
How To Store Cast Iron
Proper storage protects your seasoning and pan.
- Keep dry: Water is the enemy of cast iron. Make sure your pan is fully dry before storing.
- Store open: Let air circulate. Avoid plastic bags or closed boxes.
- Paper towel layer: Place a paper towel inside to absorb moisture and protect the surface.
- No stacking without protection: If you stack pans, use a cloth or paper between them.
If you live in a humid area, add a small bag of silica gel nearby to absorb moisture.
Cast Iron Seasoning Vs. Enameled Cast Iron
Enameled cast iron (like Le Creuset) is coated with a glass-like layer. It doesn’t need seasoning and won’t rust, but it isn’t as nonstick as well-seasoned regular cast iron.
| Feature | Regular Cast Iron | Enameled Cast Iron |
|---|---|---|
| Nonstick Potential | High (with seasoning) | Medium |
| Rust Risk | Yes | No |
| Acidic Food Safe | No (in new pans) | Yes |
| Metal Utensil Safe | Yes | No |
| Seasoning Needed | Yes | No |
| Price | Lower | Higher |
Summary: Enameled pans are low-maintenance but less nonstick. Seasoned cast iron offers better performance for those willing to do a little work.
Frequently Asked Questions
How Often Should I Season My Cast Iron Pan?
You should do a full seasoning (oven method) when you first get your pan or after deep cleaning. After that, just wipe with oil after each use. If food starts to stick or the pan looks dull, another oven seasoning can help.
Can I Use Soap To Clean My Cast Iron Skillet?
Yes, a small amount of mild soap is safe for cleaning stubborn residue. Rinse well and dry immediately. Avoid soaking or using harsh detergents often.
Why Does My Cast Iron Pan Look Rusty?
Rust forms when water sits on the iron. Scrub the rust off with steel wool, dry completely, and re-season. Always keep your pan dry and lightly oiled.
What Foods Should I Avoid In A New Cast Iron Pan?
Avoid cooking acidic foods like tomatoes, vinegar, or citrus in a new pan. These can strip away seasoning. Wait until your pan is well-seasoned for best results.
Is Cast Iron Safe For All Stovetops And Ovens?
Yes, cast iron works on gas, electric, induction, campfires, and in the oven. Just be careful with glass cooktops—move the pan gently to avoid scratching.
Caring for cast iron takes a little patience, but the rewards are huge. With the right seasoning and daily habits, your pan will become naturally nonstick and last for generations. Whether you’re making pancakes, frying chicken, or searing steak, a well-loved cast iron skillet is a kitchen treasure.