Installing a pot filler water line is a project that can make cooking easier and add luxury to your kitchen. Imagine filling large pots with water right at the stove—no more carrying heavy containers across the kitchen. But if you are not a plumber, the idea of running a new water line might seem confusing.
The truth is, with the right plan, tools, and patience, this upgrade is within reach for most homeowners. This guide will walk you through every detail, from understanding what a pot filler is to the final leak check. You’ll also learn the hidden challenges and how to avoid mistakes beginners often make.
What Is A Pot Filler And Why Install One?
A pot filler is a special faucet installed near the stove. Its purpose is simple: provide water where you cook, making it easy to fill pots and pans. Most pot fillers have a long, folding arm that swings out over the burners. They connect to the cold water supply, and many have a shutoff valve for safety.
Why add one? Here are a few reasons:
- Convenience: Fill pots without carrying them.
- Safety: No need to lift heavy water-filled pans.
- Luxury: Adds a professional look to your kitchen.
- Resale Value: Kitchens with upgrades often appeal more to buyers.
But installing a pot filler is more involved than adding a regular faucet. It requires a dedicated water line, careful placement, and good planning to avoid leaks or code violations.
Planning Your Pot Filler Installation
Before picking up a tool, spend time planning. Good preparation avoids extra work and costly mistakes.
Choosing The Right Location
The ideal spot for a pot filler is above the stove, usually on the wall behind the cooktop. The height should allow the faucet to reach all burners, but not be too high to splash. A common height is 12 to 18 inches above the cooking surface, but check your pot sizes and stove type.
Some people install pot fillers beside the stove, but this is less common. Measure your space and check that the faucet arm can fold away without hitting cabinets or hoods.
Understanding Local Building Codes
Every city has plumbing codes. Some require a shutoff valve near the pot filler, others restrict where you can run water lines. Contact your local building department or check their website for rules. Skipping this step can cause problems if you sell your house or have an inspection.
Water Line Source
A pot filler needs a cold water supply. Most kitchens have one under the sink, but you’ll want the line to run behind the wall to the stove. If you are remodeling or building new, ask your contractor to add this line early.
If your kitchen is finished, plan how you will access the wall. You may need to:
- Cut drywall behind the stove.
- Run a line from the basement or crawlspace.
- Use an adjacent cabinet to hide pipes.
Tools And Materials Checklist
You’ll need more than a wrench. Here’s a list:
- Copper or PEX pipe (size usually ½ inch)
- Fittings (elbows, tees, couplings)
- Pipe cutter
- Pipe insulation
- Drill and bits
- Pipe wrenches
- Pipe tape (Teflon tape)
- Pot filler faucet
- Shutoff valve (required by code in many areas)
- Wall plate or escutcheon
- Stud finder
- Level
- Pencil
- Safety gear (gloves, goggles)
- Soldering kit (for copper) or PEX crimp tools
- Drywall patch kit (if needed)
- Measuring tape
Buying quality parts reduces leaks and future maintenance.
Estimating Time And Cost
Most DIYers spend 4–8 hours on this project, depending on access and experience. A professional plumber may charge between $300 and $700 for labor, not including parts or repairs.
Here’s a rough cost breakdown:
| Item | Average Cost (USD) |
|---|---|
| Pot Filler Faucet | $150–$600 |
| Pipe and Fittings | $30–$80 |
| Shutoff Valve | $10–$25 |
| Drywall Patch Materials | $15–$40 |
| Tools (if not owned) | $50–$150 |
If you already have tools, the main costs are the faucet and pipe.
Step-by-step Guide: Installing A Pot Filler Water Line
Let’s break the installation into clear steps. Each phase has tips to help you avoid mistakes.
1. Turn Off The Main Water Supply
Never work on plumbing with the water on. Find the main shutoff—usually in the basement or where water enters your home. Turn it off, then open a faucet to release pressure. This prevents spills when cutting pipes.
2. Mark The Pot Filler Location
Use a stud finder to locate studs behind your stove. Mark the center between two studs where you want the faucet. Make sure there’s enough room for the faucet to swing out and fold back.
Use a level to draw a straight line at your chosen height. Mark the center point for the water outlet.
3. Access The Wall
If you’re installing in a finished kitchen, remove the stove and make a small hole in the drywall at your mark. This opening should be large enough to work inside—usually 12 by 12 inches.
If you have access from behind (like a basement or unfinished wall), you may only need a smaller hole.
4. Plan The Water Line Route
Trace the path from your cold water source (usually under the sink or in the basement) to your pot filler location. Avoid sharp bends, which can cause leaks or reduce water flow.
If using PEX pipe, runs are flexible and easier to route. For copper, you’ll need to solder or use push-fit fittings.
Non-obvious tip: Always slope the pipe slightly downward toward the faucet. This helps drain water and prevents freezing if you live in a cold area.
5. Cut And Prepare The Pipe
Measure twice, cut once. Use a pipe cutter for clean edges. For copper, clean the ends with emery cloth before soldering. For PEX, make sure cuts are square and use the correct crimp or clamp rings.
6. Add A Shutoff Valve
Install a shutoff valve near the water line’s entry point behind the wall. This lets you turn off water to the pot filler without shutting off the whole kitchen. Many codes require this safety feature.
7. Run The Water Line
Feed the pipe through the wall to your marked location. Use pipe clamps to secure it to studs. This prevents movement that can cause leaks.
8. Install A Wall Plate Or Mounting Bracket
Most pot fillers include a wall plate or bracket. Secure this to a stud or solid backing, not just drywall. A filled pot is heavy—mounting to wood gives stability.
9. Connect The Pot Filler Faucet
Wrap pipe threads with Teflon tape for a watertight seal. Attach the faucet to the pipe, following the manufacturer’s directions. Use two wrenches: one to hold the fitting, one to turn the faucet. This avoids twisting the pipe inside the wall.
Pro tip: Use a drop ear elbow fitting for a strong, leak-free connection at the wall.
10. Test For Leaks
Turn the main water supply back on. Open the new shutoff valve slowly. Check all joints for drips. Use a dry paper towel around each fitting—any moisture shows a leak.
If you find a leak, turn off the water and tighten the connection. If using copper, you may need to re-solder. For PEX, check the crimp.
11. Patch The Wall
Once you’re sure there are no leaks, patch the drywall. Use a drywall patch kit for small holes. Sand, prime, and paint to match your kitchen.
12. Final Checks And Cleanup
Replace the stove and make sure the pot filler swings out and folds back without hitting anything. Open and close the faucet several times. Clean up tools and extra parts.
Uncommon insight: Take a photo of the finished plumbing before closing the wall. This helps future repairs or renovations.
Common Installation Mistakes (and How To Avoid Them)
Many first-timers run into the same problems. Here’s how to avoid the most common ones.
- Wrong Height Placement: Too high and water splashes everywhere. Too low and the faucet blocks pots. Always measure using your tallest pot before finalizing the spot.
- Skipping the Shutoff Valve: If you don’t add a valve, repairs mean shutting water to the whole house.
- Weak Mounting: Anchoring to drywall alone is not safe. Use a stud or add a wood block between studs.
- Leaks at Fittings: Take time to prep pipe ends and use enough Teflon tape. For copper, don’t rush soldering—heat the joint evenly.
- Ignoring Water Hammer: Sudden closing of the faucet can cause pipes to bang. Add a small water hammer arrestor if you hear banging after installation.
- Not Checking Local Codes: Some places require an air gap or backflow preventer. Skipping this can mean expensive fixes later.
- Not Flushing the Line: After installation, run the water for a minute to clear debris that could clog the faucet.
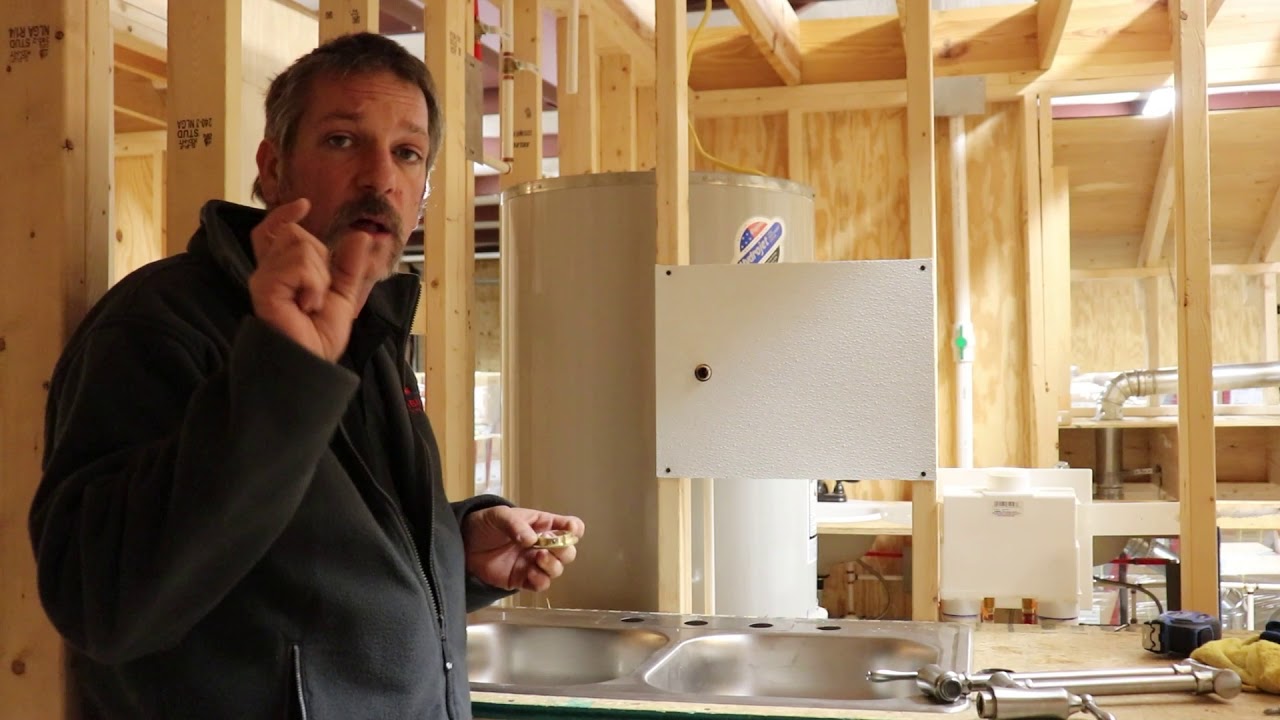
Credit: www.youtube.com
Comparing Pipe Materials: Copper Vs. Pex
Choosing between copper and PEX pipe is an important decision. Here’s a side-by-side comparison:
| Feature | Copper Pipe | PEX Pipe |
|---|---|---|
| Durability | 50+ years, very strong | 30–50 years, flexible |
| Installation | Needs soldering | Easy with crimp rings |
| Cost | Higher material & labor | Lower overall cost |
| Freeze Resistance | Can burst if frozen | More resistant to freezing |
| Corrosion | May corrode over decades | Does not corrode |
For most DIYers, PEX is easier and faster. Copper is better for high-heat or if matching existing pipes.
Pot Filler Features To Consider
Not all pot fillers are the same. Look for these features before buying:
- Double Jointed Arm: Extends reach to more burners.
- 360° Swivel: Lets the faucet move in any direction.
- Ceramic Disc Valve: Prevents drips and leaks.
- High Flow Rate: Fills pots quickly.
- Finish: Match your kitchen style (chrome, matte black, brass).
- ADA Compliant: Easier to operate for all users.
Advanced tip: Some pot fillers have built-in filters. This can improve water taste but may reduce flow.

Credit: bo-ha.com
Safety And Maintenance Tips
Once installed, your pot filler is easy to use, but a few habits keep it working well.
- Check for Leaks twice a year, especially after winter.
- Clean the aerator (the tip of the faucet) every few months to prevent clogs.
- Turn off the shutoff valve if leaving home for a long trip.
- Teach family members how to use the pot filler and shutoff valve.
If you notice loose fittings or the faucet feels unstable, check the mounting. Tighten screws or call a plumber if unsure.
When To Hire A Professional
Some homeowners can do this project alone, but call a licensed plumber if:
- You’re not comfortable cutting pipes.
- You have old or fragile plumbing.
- Building codes in your area are strict.
- You find mold, leaks, or electrical wires in the wall.
A professional can also advise on backflow prevention, which keeps dirty water from mixing with your drinking supply.
Is A Pot Filler Worth It?
This depends on your cooking habits. If you boil pasta, fill stockpots, or make soups often, a pot filler saves time and effort. It’s also a conversation starter and can raise your kitchen’s value.
But remember, a pot filler does not replace a main faucet. You still need to drain pots at the sink. For small kitchens or occasional cooks, the benefit may be less.
Pot Filler Vs. Standard Kitchen Faucet
Here’s a direct comparison:
| Feature | Pot Filler | Kitchen Faucet |
|---|---|---|
| Location | Above stove | Sink area |
| Main Use | Filling pots | All kitchen tasks |
| Water Supply | Usually cold only | Hot and cold |
| Draining/Disposal | Not possible | Drains to sewer |
| Complexity | Higher installation | Standard installation |
A pot filler is an add-on, not a replacement.

Credit: www.youtube.com
Hidden Challenges And Advanced Tips
There are a few issues that even experienced DIYers sometimes miss:
- Thermal Expansion: If your home has a recirculating hot water system, thermal expansion can cause pressure spikes. Use an expansion tank if needed.
- Future Renovations: If you remodel your kitchen, know where the water line runs. Avoid nailing into hidden pipes.
- Insurance: Some home insurance policies require licensed installation for water lines. Check your policy to avoid claim issues later.
Resources For More Information
If you want extra detail or need help with plumbing codes, visit the National Fuel Gas Code or your local city building website.
Frequently Asked Questions
What Is The Best Height For A Pot Filler?
The best height is 12 to 18 inches above the cooking surface. This allows the arm to reach all burners and fill tall pots, but is low enough to avoid splashing or hitting the vent hood. Always measure your biggest pot before finalizing.
Can I Use Pex For My Pot Filler Water Line?
Yes, PEX is a good choice for pot filler lines. It’s flexible, easy to run through walls, and resists freezing. Make sure to use proper fittings and install a shutoff valve. Check local codes, as some areas require copper.
Do Pot Fillers Need Hot And Cold Water?
No, most pot fillers use cold water only. This is safer (less chance of burns) and easier to install. Some custom setups can use both, but this is rare in home kitchens.
Is A Permit Required To Install A Pot Filler?
Often, yes—a permit is required for running new water lines. Check with your city’s building department. Not getting a permit can cause problems with insurance or when selling your home.
How Do I Prevent My Pot Filler From Leaking?
Use Teflon tape on threaded joints, tighten connections carefully, and always add a shutoff valve. Check for leaks after installation and once a year. Regularly clean the faucet’s aerator to prevent clogs that can cause drips.
Bringing a pot filler into your kitchen is a project that pays off every time you cook a big meal. With the right planning and careful work, you’ll enjoy convenience, safety, and a touch of luxury for years. If you ever feel uncertain, don’t hesitate to get expert help—good plumbing is always worth doing right.