Bread is a wonderful food—simple, satisfying, and found in nearly every culture. But sometimes, your bread loses its crunch. Maybe you bought a loaf and left it out, or you baked something that turned soft by morning. You bite in, and instead of a crisp, golden crust, you get a soft, chewy disappointment. Don’t worry. You can bring back the crisp bread texture you love, right in your oven.
Crisping bread is not just for baguettes or fancy sourdough. You can crisp sandwich bread, rolls, bagels, pita, and even leftover flatbreads. The oven is your best friend here. With the right methods, you can make bread taste almost as fresh as when it first came out of the bakery or your oven.
Many people think you just toss bread in the oven and wait. But there are smart ways to get the best results. Moisture, temperature, timing, and even oven settings matter more than most people realize. This guide will show you everything: what tools you need, which techniques work best for different breads, common mistakes to avoid, and even how to store bread to keep it crunchy longer. You’ll learn tips most home cooks miss, and by the end, you’ll crisp bread with confidence.
Why Crisp Bread In The Oven?
Crisping bread is about more than just taste. When bread sits, its crust absorbs moisture from the air or the inside of the loaf. This makes it soft and less appealing. Crisp bread feels fresh, smells toasty, and adds a pleasant crunch to your meal. Sometimes, you need crisp bread for recipes—think bruschetta, crostini, or paninis. Or maybe you just want a slice of toast that’s crunchy, not soggy.
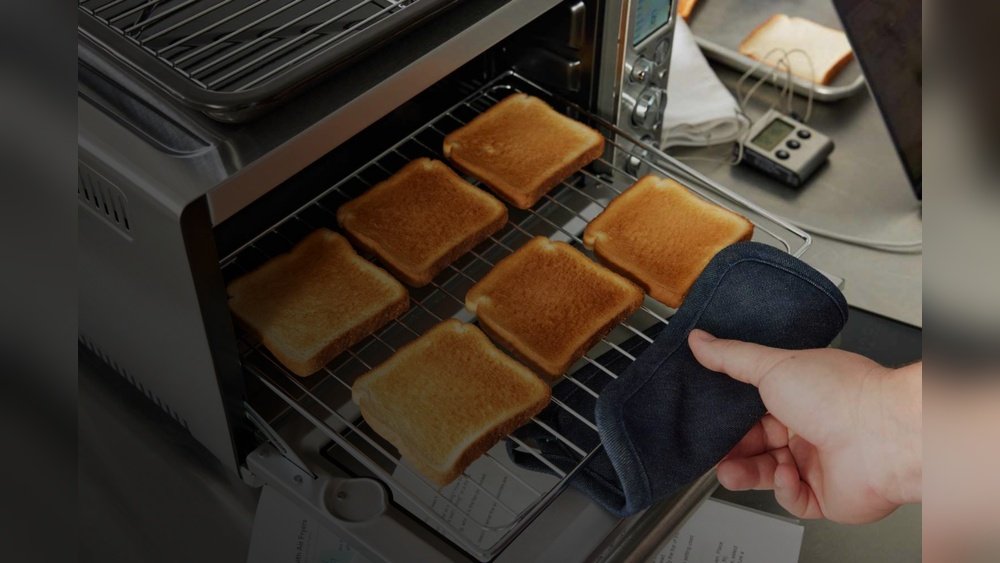
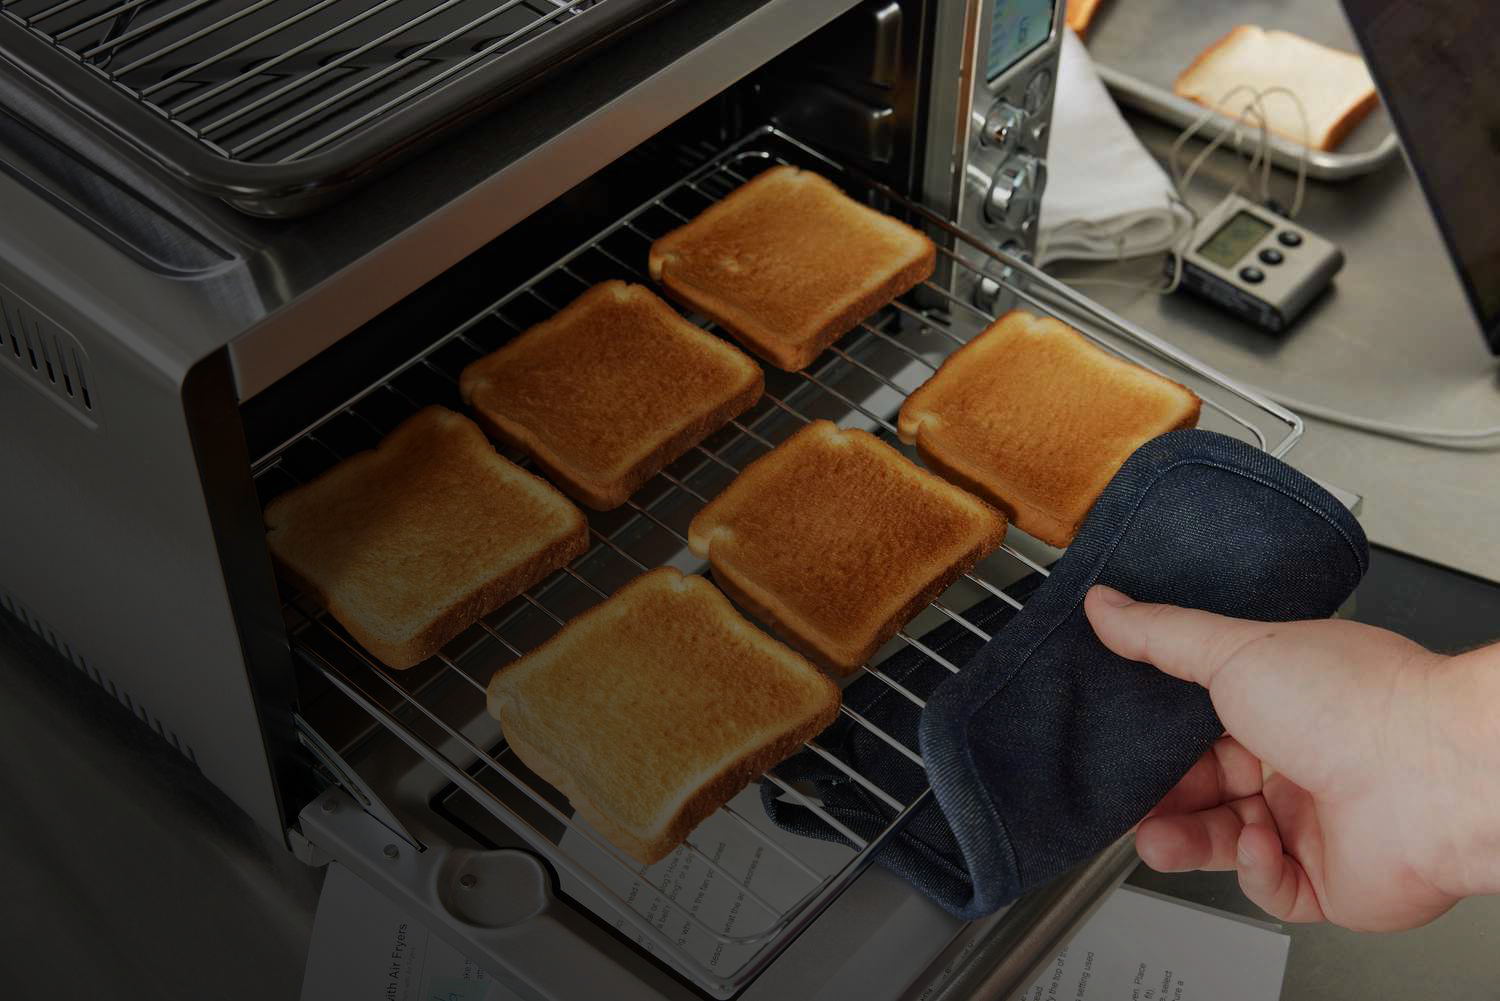
Many people try to crisp bread in a toaster or microwave. But the oven gives you even heat and more control. You can crisp small slices or entire loaves. The oven also allows you to manage temperature and timing, so you don’t burn or dry out your bread.
Tools And Ingredients For Crisping Bread
Before you start, gather what you need. You don’t need fancy gear, but a few items make the process easier and more effective.
Basic Tools
- Oven: Any home oven works—gas or electric.
- Baking sheet or tray: For even heat and easy transfer.
- Cooling rack: Optional, but helps bread cool and stay crisp.
- Sharp knife: For cutting even slices.
- Pastry brush: Useful if adding water or oil.
- Aluminum foil: For some methods.
Helpful Extras
- Spray bottle: To mist water on bread for extra crunch.
- Parchment paper: Prevents sticking and makes cleanup easy.
- Oven thermometer: Ovens can be inaccurate; a thermometer helps precision.
Ingredients
- Bread: Any kind—baguette, sourdough, sandwich bread, rolls, pita, or even gluten-free.
- Water: For moisture control.
- Olive oil or butter: Optional, for added flavor and crispiness.
- Salt, garlic, herbs: For extra flavor, if desired.
How The Oven Crisps Bread: The Science
Understanding what happens in the oven helps you get better results. Bread becomes crisp when its crust loses moisture. Heat from the oven drives out water, especially at the surface. If the oven is hot enough, the outside dries and forms a golden, crunchy shell.
But there’s a balance. Too much heat, and you’ll burn the crust before the inside dries. Too little, and the bread just gets warm, not crisp. Also, adding a bit of moisture at the start (like spraying with water) creates steam, which helps form a shiny, crunchy surface—just like professional bakeries do.
A common mistake is using the wrong temperature or not prepping the bread properly. For example, stale bread benefits from a brief water spray before crisping, while fresh bread may not need extra moisture.
Step-by-step: How To Crisp Bread In The Oven
Let’s break down the main methods, so you get the best result every time.
1. Crisping Slices Or Small Pieces
Best For: Sandwich Bread, Baguette Slices, Crostini, Pita Chips
- Preheat the oven to 375°F (190°C). Hotter ovens work faster but can burn thinner bread.
- Slice the bread evenly. Thicker slices take longer to crisp.
- Optional: Brush or spray lightly with water or oil. For extra crunch, use a bit of water. For flavor, try olive oil.
- Spread slices on a baking sheet in a single layer. Don’t overlap.
- Bake for 8–12 minutes. Flip halfway through for even crisping.
- Check for color and texture. Bread should be golden and hard to the touch.
- Cool on a rack if possible. This keeps the underside crisp.
2. Crisping Whole Loaves Or Large Pieces
Best For: Baguette Halves, Ciabatta, Rustic Loaves
- Preheat oven to 400°F (205°C). A hotter oven helps penetrate thick crusts.
- Optional: Run loaf quickly under tap water. Yes, wet the crust! Don’t soak, just a light pass under water.
- Place directly on the oven rack or a baking sheet. Direct rack gives crispier bottoms.
- Bake 6–10 minutes. For very thick loaves, up to 12 minutes.
- Check the crust. It should sound hollow and feel hard.
- Let cool a few minutes. This helps the crust “set.”
3. Reviving Day-old Or Stale Bread
Best For: Bread That Feels Tough Or Rubbery
- Preheat oven to 350°F (175°C).
- Dampen the crust. Lightly sprinkle or brush water on the outside.
- Wrap bread in foil (optional). This helps soften the inside if it’s very stale.
- Bake for 10–12 minutes.
- Remove foil for last 2 minutes to crisp the outer layer.
- Cool before slicing.
4. Crisping Flatbreads, Pita, Or Tortillas
Best For: Pita, Naan, Tortillas, Lavash
- Preheat oven to 400°F (205°C).
- Lay flatbreads in a single layer on a baking sheet.
- Optional: Brush with oil or sprinkle water.
- Bake for 5–8 minutes. They should puff and crisp.
- Cool on a rack.
5. Making Garlic Bread Or Crostini
- Preheat oven to 375°F (190°C).
- Slice bread and brush with butter/oil.
- Add garlic, herbs, or cheese as desired.
- Bake for 8–10 minutes. Watch for golden color.
- Serve hot for maximum crunch.
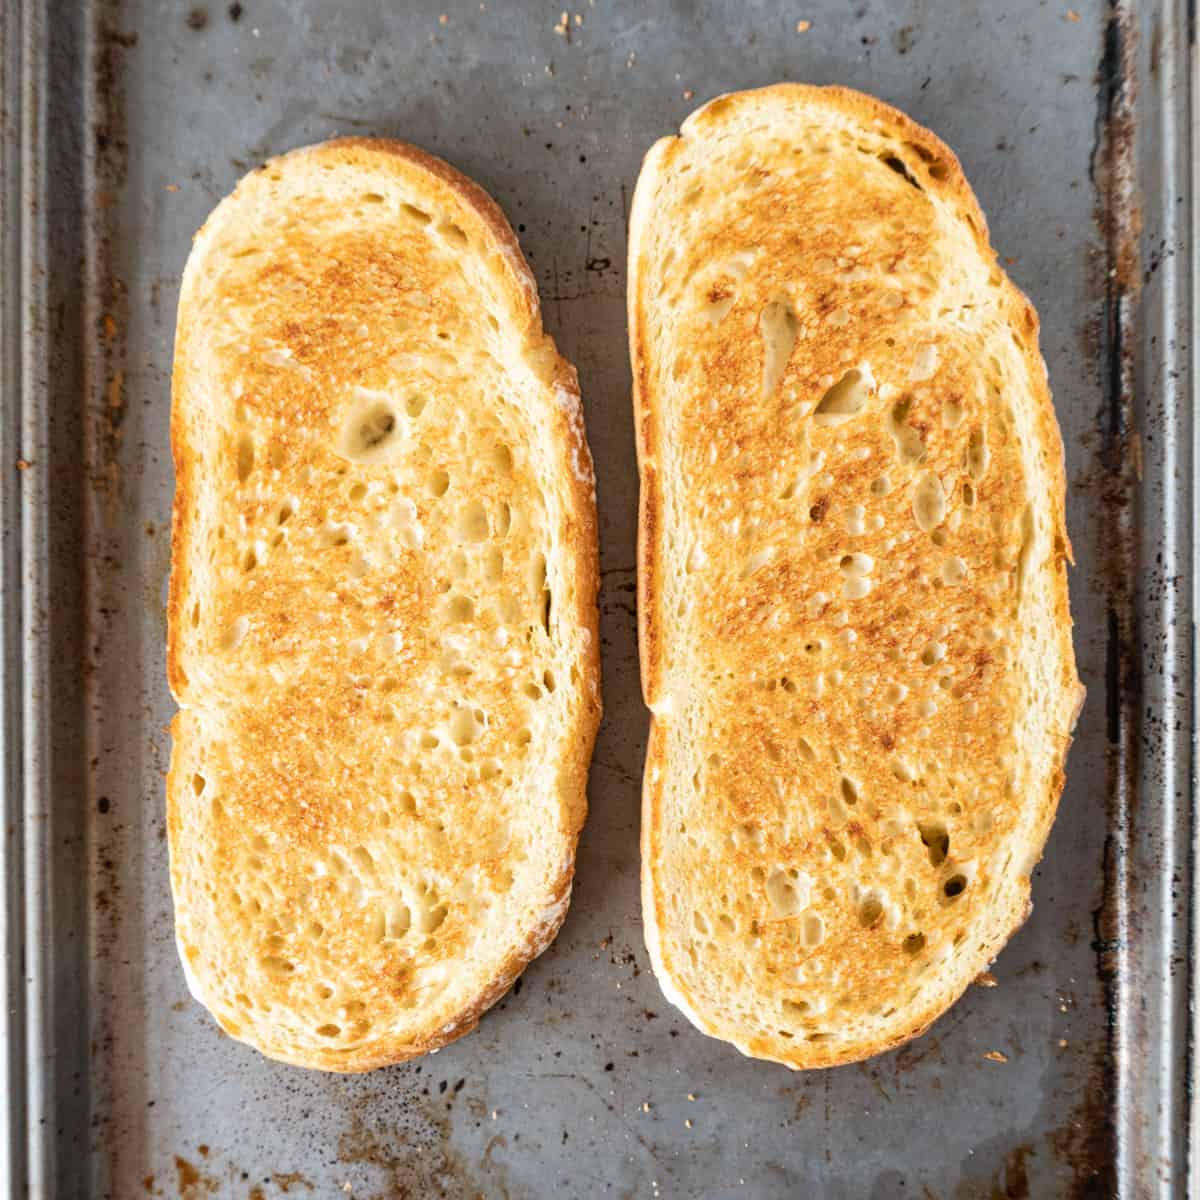
Credit: www.atablefullofjoy.com
Comparison: Oven Vs. Toaster Vs. Air Fryer
Not all methods give the same result. Here’s a quick comparison:
| Method | Best For | Pros | Cons |
|---|---|---|---|
| Oven | All types | Even crisp, large batches, control over moisture | Slower preheat, uses more energy |
| Toaster | Thin slices | Fast, easy, good for toast | Can dry out bread, burns easily, not for large pieces |
| Air Fryer | Small pieces, chips | Very fast, crunchy results | Small capacity, uneven for thick bread |
Oven is the most versatile and reliable for crisp bread.
How Long Does It Take To Crisp Bread?
Timing depends on the bread’s size, thickness, and starting moisture. Here’s a handy guide:
| Bread Type | Temperature (°F) | Time (min) | Prep Needed |
|---|---|---|---|
| Slices (baguette, sandwich) | 375 | 8–12 | Optional water/oil |
| Whole loaf | 400 | 6–12 | Water rinse |
| Flatbreads | 400 | 5–8 | Single layer |
| Stale bread | 350 | 10–12 | Water + foil |
Always check before the lowest time—every oven is different.
The Role Of Water And Steam
Many home bakers skip this step, but adding water is the secret to the perfect crust. When you mist or brush water on bread before baking, the oven heat turns it to steam. This softens the crust just enough for heat to dry it out evenly, making it extra crisp.
- For stale bread, a quick spray or even running under a tap works wonders.
- For fresh bread, use less water to avoid sogginess.
- Flatbreads and rolls also benefit from a light mist.
Some professionals put a pan of water in the oven to create steam. For home crisping, a simple spray is enough.
Common Mistakes When Crisping Bread
- Skipping preheat: If the oven isn’t hot, bread dries out instead of crisping.
- Over-baking: Bread can burn quickly—watch closely, especially thin pieces.
- No water: Dry bread stays tough. Always add a little moisture for stale bread.
- Crowding the pan: Overlapping slices steam each other instead of crisping.
- Not cooling on a rack: Hot bread left on a pan gets soggy underneath.
- Wrong oven setting: Avoid “broil” unless you watch every second—it’s easy to burn.
A non-obvious tip: Always check your oven’s real temperature. Home ovens are often off by 10–20°F, which can change results. Use an oven thermometer for accuracy.
Advanced Tips For Extra Crispy Bread
If you want bakery-level crunch, try these methods:
- Stone or steel baking surface: Bake bread directly on a preheated pizza stone or steel. This gives super crisp bottoms.
- Convection setting: If your oven has this, use it. The fan circulates air, making crusts drier and crunchier.
- Double-bake: For extra crunch, bake, cool, then reheat for 2–3 minutes.
- Seasoned oils: Mix olive oil with herbs or garlic before brushing for flavor and crispness.
- Store bread properly: After crisping, let bread cool fully before storing. Use paper bags, not plastic, to keep the crust dry.
Special Cases: Gluten-free, Sweet Breads, And More
Gluten-free Breads
These often lack the chewy structure of wheat bread. Crisping in the oven works, but lower temperatures (325°F/165°C) and shorter times are safer. Use a light mist of oil for best results.
Sweet Breads And Brioche
Sugar burns easily. Use a slightly lower temperature (350°F/175°C) and watch closely. Sweet breads can go from golden to burnt quickly.
Rolls And Buns
Split in half before crisping if possible. This exposes more surface for crunch.
Storing Crisp Bread
If you don’t eat it all right away, store crisped bread in a paper bag at room temperature. Avoid airtight plastic bags—they trap moisture and make the crust soft again. For longer storage, freeze after cooling. Re-crisp in the oven for 2–3 minutes when ready to eat.
When To Crisp Bread
You might want to crisp bread for:
- Bruschetta and crostini: For appetizers, crisp slices to hold toppings.
- Croutons: Cube bread, toss with oil, and bake until crunchy.
- Sandwiches: Toast thick slices for panini or melts.
- Dips: Pita or baguette slices are better crisped for thick dips.
- Soup sides: Crunchy bread is perfect for dipping in soup or stew.
Each use can require a slightly different method, so adjust time and temperature as needed.
Oven Settings: Regular Bake Vs. Convection
Most home ovens offer two main baking modes: regular bake (bottom heat) and convection (fan-assisted).
| Oven Setting | How It Works | Best Uses |
|---|---|---|
| Regular Bake | Heats from the bottom, natural air flow | Whole loaves, sweet breads, thick slices |
| Convection | Circulates hot air with a fan | Slices, crostini, chips, flatbreads |
Convection gives more even, drier heat, which is great for crisping. Lower the temperature by 20°F if using convection.
Troubleshooting: Bread Not Getting Crisp
Sometimes, even after following steps, bread stays soft. Here’s what to try:
- Increase oven temperature by 10–15°F for a few minutes.
- Add a bit more water before baking if bread is very dry.
- Bake on a wire rack placed on a baking sheet for better airflow.
- Don’t rush cooling—crust hardens as it cools.
- Try thinner slices—thick bread stays soft inside.
If bread is still chewy, it may have been stored too long or in a humid environment. Very old bread can be better used for breadcrumbs or croutons.
Creative Uses For Crisp Bread
Once you’ve mastered crisping, use your bread for more than just toast:
- Homemade chips: Slice pita or tortillas, crisp, and serve with salsa or hummus.
- Salads: Add crispy bread cubes to Caesar or panzanella salads.
- Toppings: Crush crisped bread for a crunchy topping on casseroles.
- Desserts: Use sweet crisped bread for bread puddings or trifles.
- Soup thickener: Add toasted bread cubes to thicken pureed soups.
Crisp Bread For Entertaining
Crisped bread is perfect for parties. Make crostini or garlic bread ahead of time. Store at room temperature in a paper bag, then reheat for 2–3 minutes before serving. Your guests will love the crunch.
For dips, slice baguette thin, crisp in oven, and cool. Serve with cheese, spreads, or tapenade. For soup, offer thick, crispy slices to soak up broth.
Nutrition: Does Crisping Change Bread?
Crisping bread in the oven does not add or remove calories, but it does make the bread dryer. This can make it feel lighter and easier to digest. If you add oil or butter before baking, that adds fat and calories. For healthier options, use a very light mist of oil, or just water.
Whole grain and seed breads crisp as well as white breads, so feel free to choose your favorite type.
Safety Tips
- Don’t leave bread unattended in the oven—thin slices burn fast.
- Use oven mitts when handling hot trays.
- Let bread cool before slicing to avoid burns or crushing the crust.
- Keep children away from the oven during crisping.
Bread Types: What Crisps Best?
Some breads get crispier than others. Here’s a quick overview:
- Baguette: Excellent, classic crunch.
- Sourdough: Thick, chewy crust becomes super crunchy.
- Ciabatta: Large holes, light texture—crisps well.
- Pita and flatbreads: Puff up and crackle.
- Sandwich bread: Crisps well, but watch for burning.
- Rye and whole grain: Denser, but get crunchy with enough heat.
- Gluten-free: Needs more care, but will crisp.
Sweet breads and brioche need more attention—lower heat and shorter time.
How To Keep Bread Crisp After Baking
This is a challenge, especially in humid climates.
- Cool bread fully before storing.
- Use a paper bag or bread box for storage—never plastic.
- If crust softens, re-crisp in oven for 2–3 minutes.
- Slice only what you need—whole loaves stay crisp longer than sliced bread.
For parties, crisp bread just before guests arrive for the best texture.
When Not To Crisp Bread
Some breads are better left soft—like dinner rolls, milk breads, or steamed buns. If a bread is meant to be chewy or pillowy, crisping may ruin its texture. Always consider the bread’s original purpose before crisping.
Credit: aeno.com
Real-world Example
Imagine you bought a fresh baguette for dinner, but forgot to eat it. The next day, it’s soft and dull. Run it quickly under the tap, bake at 400°F for 8 minutes, cool for 5 minutes, and slice. You’ll get back a crunchy, aromatic crust—almost as good as new.
This trick works with supermarket sandwich bread, too. Slightly stale slices become better than toaster toast, with a deeper crunch and flavor.
For More Bread Science
If you want to explore the science of bread baking and crisping further, check out the detailed guides at the King Arthur Baking Company. Their resources explain why bread behaves the way it does in the oven.

Credit: us.fotileglobal.com
Frequently Asked Questions
Why Does My Bread Get Soggy After Crisping?
This happens if you store bread in plastic or don’t let it cool fully before storing. Always use a paper bag or leave bread uncovered until completely cool.
Can I Crisp Frozen Bread?
Yes. Bake directly from frozen at 400°F (205°C) for 8–12 minutes. Add 2–3 minutes to timing. Mist with water for better results.
Is It Better To Use Oil Or Water For Crisping Bread?
Water is best for reviving stale bread and getting a crunchy crust. Oil adds flavor and helps browning. For crostini or garlic bread, use oil; for regular bread, water is enough.
What’s The Best Way To Make Croutons?
Cut bread into cubes, toss with olive oil and seasoning, bake at 375°F (190°C) for 10–15 minutes, stirring halfway. Cool for maximum crunch.
How Do I Crisp Gluten-free Bread Without Drying It Out?
Use a slightly lower oven temperature (325°F/165°C), mist lightly with oil, and bake for a shorter time. Cool on a rack and watch closely to avoid burning.
Crisping bread in the oven is a simple way to make any meal special. With these techniques, you’ll never settle for soggy bread again. Enjoy that perfect crunch—every time.