Cooking on a wood burning stove isn’t just a way to make food—it’s an experience that connects you with old traditions and a slower rhythm of life. Unlike modern electric or gas ranges, wood stoves ask for more attention, understanding, and creativity. For many, the process brings warmth, both to the room and to the soul. But if you’re new to this, it can feel confusing: how do you control the heat? Which cookware should you use? How do you keep your food from burning? This guide will walk you through everything you need to know, from lighting your first fire to making a perfect meal. Whether you live off the grid, love camping, or want to be ready for emergencies, learning how to cook on a wood burning stove is a valuable skill. Let’s explore each part, step by step.
Understanding The Wood Burning Stove
Before you start cooking, you need to understand how a wood burning stove works. These stoves burn wood to create heat, which spreads through the metal body and into your cooking pots. The main parts include the firebox (where the wood burns), the cooktop (the flat surface on top), and the air controls (which manage how much oxygen gets to the fire). Some stoves also have ovens or warming shelves.
The heat on a wood stove is not even. Right above the firebox, the surface is hottest. As you move away from the center, it gets cooler. Knowing these hot and cool spots is key to cooking different foods at the right temperatures.
Modern wood stoves are safer and more efficient than older models. They have better seals, cleaner burns, and improved air flow. Still, every stove acts a little differently. Spend time observing how yours heats up, cools down, and reacts to different types of wood.
Choosing The Right Wood
The type of wood you burn matters. Hardwoods like oak, maple, and hickory burn hotter and longer than softwoods like pine or spruce. Dry, seasoned wood is best. Wet or “green” wood makes more smoke, burns less efficiently, and can coat your stove and chimney with creosote (a fire hazard).
Here’s a quick comparison of common firewood types:
| Wood Type | Heat Output (Million BTUs per Cord) | Burn Time | Best For |
|---|---|---|---|
| Oak | 24-30 | Long | Steady, long cooks |
| Maple | 19-25 | Medium-Long | Baking, general cooking |
| Pine | 14-17 | Short | Quick heating, not for food |
| Hickory | 27-30 | Long | Smoking, high heat |
Pro tip: Never use painted, treated, or glued wood. These release toxins that can get into your food and lungs.
Essential Tools And Cookware
Cooking on a wood stove is easier with the right tools. Some cookware works better than others. Here’s what you need:
- Cast iron skillets and Dutch ovens: These hold heat well and can handle high temperatures. They’re perfect for frying, baking, and stews.
- Heavy-duty pots and pans: Stainless steel is another good choice. Avoid thin or low-quality cookware, which can warp or burn food.
- Lids: Keep heat in and help food cook evenly.
- Oven thermometer: If your stove has an oven section, use a thermometer to check the real temperature, as the dials are often inaccurate.
- Long-handled utensils: Keep your hands safe from the heat.
- Trivets or heat diffusers: These raise cookware off the hottest part, helping you control temperature and avoid burning.
- Gloves or pot holders: Wood stoves get much hotter than normal ranges.
Many people forget about trivets. These small metal stands are essential for lowering the cooking temperature without moving the pot far from the heat.
Lighting And Managing The Fire
Starting the fire right is the foundation of good cooking on a wood stove. Here’s a simple, effective method:
- Open the air vents fully to let in oxygen.
- Build a small pile of kindling (thin sticks) in the firebox. Place a firelighter or crumpled newspaper underneath.
- Add small logs on top, leaving space for air to flow.
- Light the fire and close the door, but leave it slightly open to help the fire catch.
- Once burning well, add larger logs, close the door, and adjust the air vents to control the burn.
Key Insight: Many beginners add large logs too soon, which can smother the fire. Start small and build up gradually.
Managing the fire is an ongoing process. Unlike gas stoves, you can’t turn a dial to lower or raise the heat instantly. Instead, you adjust the air vents (more air = hotter fire) and add wood as needed. It takes practice to get a steady, even heat.
Understanding Temperature Zones
A wood stove’s surface is not evenly hot. Think of it as having different temperature zones:
- Directly above the firebox: Highest heat, good for boiling or frying.
- Sides or corners: Medium heat, good for simmering or slow cooking.
- Far edge or warming shelf: Lowest heat, perfect for keeping food warm or proofing dough.
Some stoves have built-in ovens or warming compartments. These areas let you bake or gently reheat food without burning.
Here’s a simple way to check your stove’s temperature zones:
- Sprinkle a few drops of water on different areas. If they dance and sizzle quickly, that spot is very hot. If they bubble slowly or sit still, it’s cooler.
You’ll get to know your stove’s unique “map” with time. Marking zones with a piece of chalk (on the edge) can help beginners remember where the hot spots are.
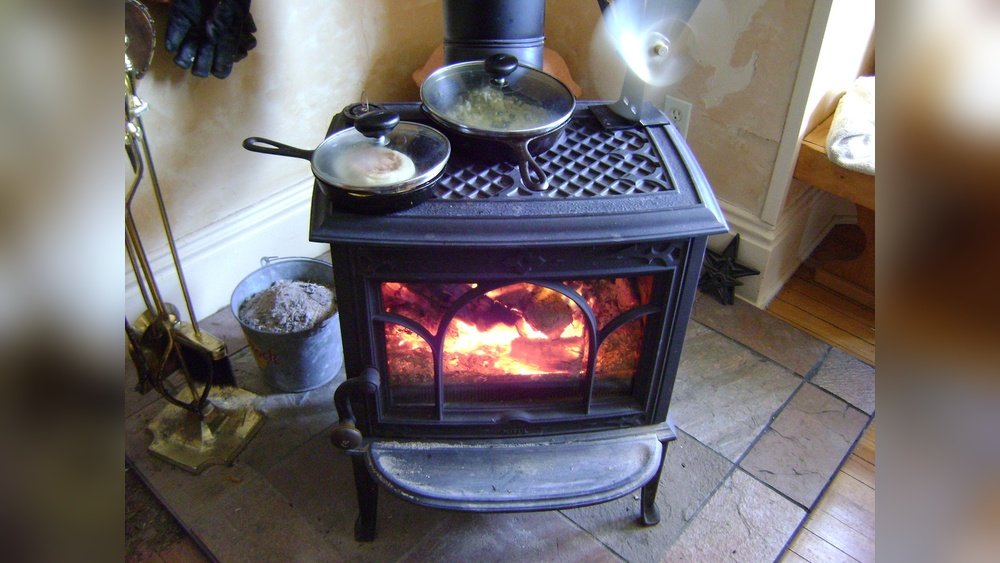
Techniques For Cooking On The Cooktop
The cooktop is the main stage for your wood stove cooking. Here’s how to use it for different methods:
Boiling
Put your pot right above the firebox. Water will boil faster here than on most gas stoves. Be careful: the high heat can cause food to stick or burn. Stir often.
Simmering
Move the pot to the edge or use a trivet. With less direct heat, you can simmer soups, stews, or beans for hours.
Frying
Cast iron skillets are perfect for frying. Preheat the pan in a medium-hot zone before adding food. If the pan gets too hot, move it slightly or use a heat diffuser.
Baking (on The Cooktop)
You can “bake” flatbreads or pancakes directly on the stovetop. Use a covered skillet or griddle. Keep the heat even and watch for hot spots.
Roasting
If your stove has an oven compartment, use it like a regular oven. Otherwise, you can roast small items in a Dutch oven, placing it on the hottest part and rotating occasionally.
Keeping Food Warm
Move finished dishes to the lowest-heat area. Cover with a lid to prevent drying out.
Non-obvious tip: You can stack pots—placing a second pot on top of a simmering one—to use even more space for gentle warming.
Using The Oven Compartment
Not all wood stoves have an oven, but if yours does, you can bake bread, cakes, or roasts. The main challenge is temperature control.
- Preheat the oven for at least 30 minutes.
- Use an oven thermometer to check the real temperature.
- Rotate dishes halfway through for even cooking.
- If the oven gets too hot, open the door briefly or move the fire toward the back.
Baking bread on a wood stove is a rewarding skill. Start with simple recipes and adjust as you learn how your oven behaves.
Cooking Methods Specific To Wood Stoves
Some unique methods work especially well with wood stoves:
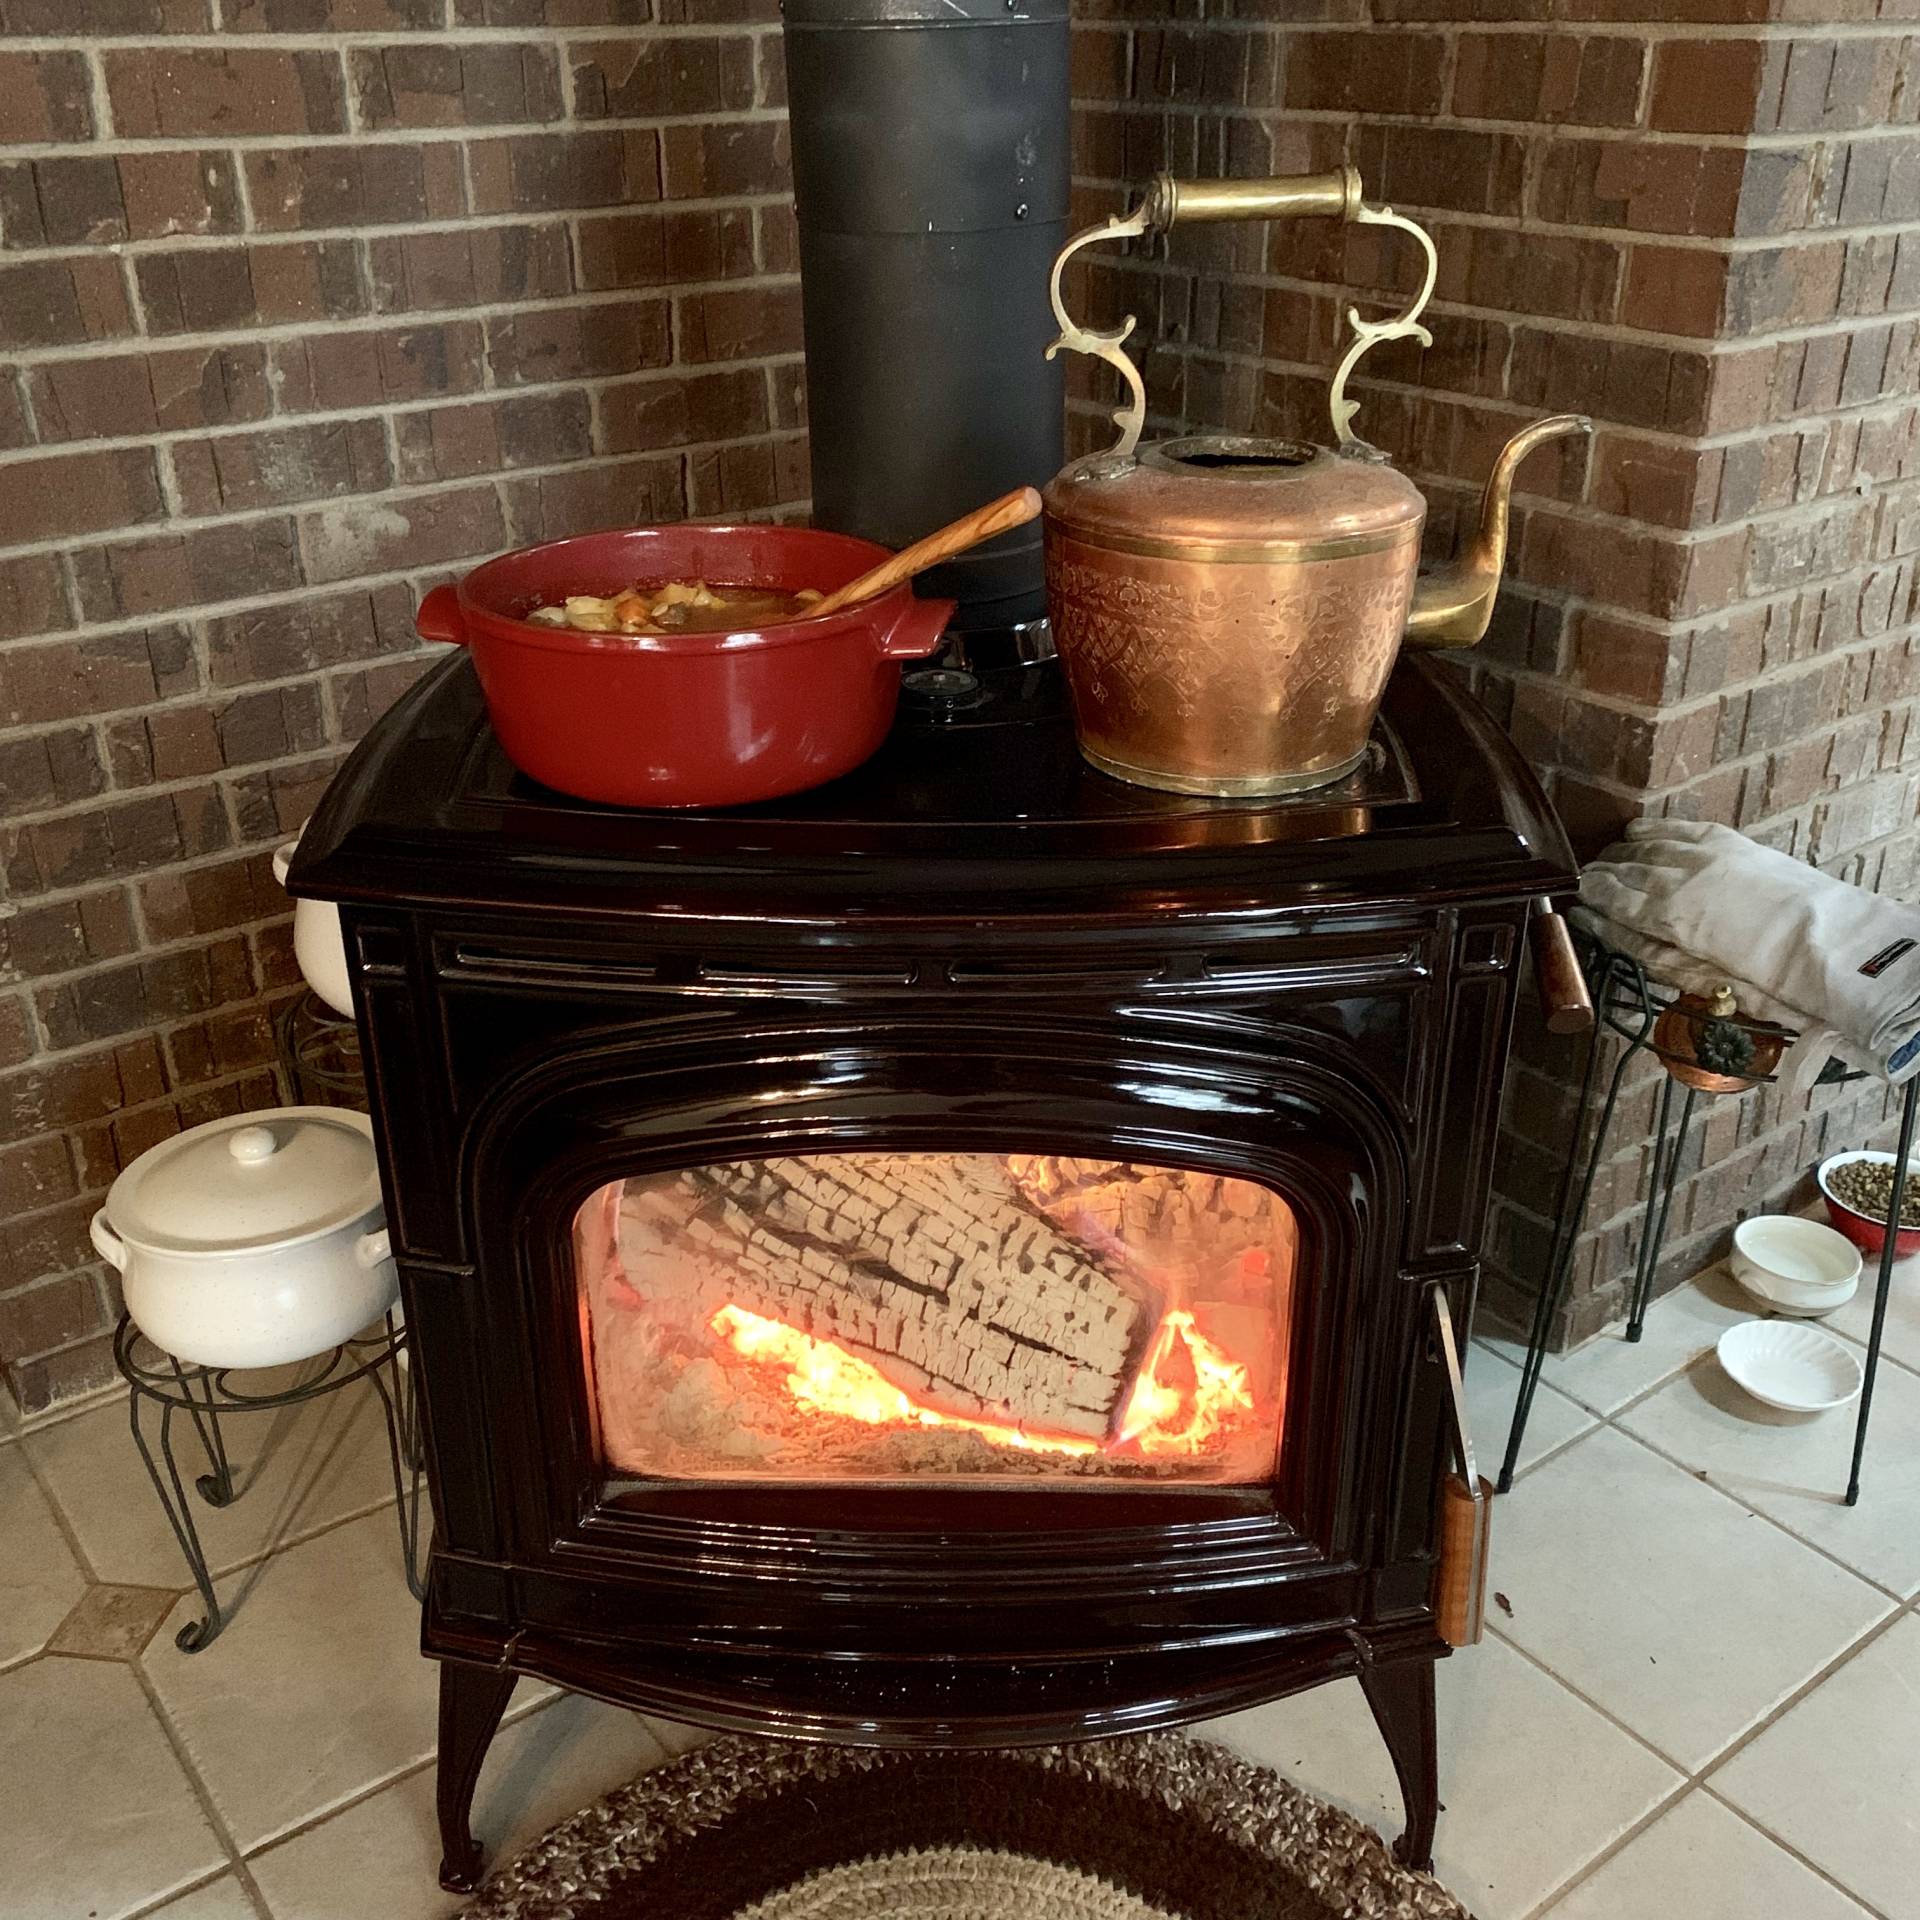
One-pot Meals
Stews, soups, and casseroles are easy to manage. Start with a quick boil, then move to a cooler zone for slow cooking.
Skillet Meals
Fry bacon, eggs, or potatoes in a cast iron skillet. The flavor you get from wood heat is special—smoky and deep.
Dutch Oven Baking
A Dutch oven with a lid is perfect for no-knead bread or cobblers. For extra crispiness, put some coals on top of the lid (if safe in your setup).
Toasting
Place bread directly on the cooktop or in a dry skillet. Watch closely, as it can burn fast.
Grilling
Some wood stoves have removable lids where you can place a grill pan over the open fire. Use hardwoods for the best flavor.
Advanced tip: You can “bank” the fire (push it to one side) to create a hotter and cooler side, just like in a barbecue.
Credit: chocolateboxcottage.tv
Adapting Recipes For Wood Stove Cooking
Most recipes assume you have precise temperature control. On a wood stove, you must adjust:
- Cooking times: Check food often. Things may cook faster or slower.
- Temperature: Move pots or use trivets to avoid burning.
- Moisture: Wood stoves are dry heat; use lids to keep food from drying out.
- Batch size: Smaller batches are easier to manage.
Here’s a quick adaptation example:
If a soup recipe says “simmer for 40 minutes on low,” bring it to a boil over the firebox, then move to the edge and use a trivet. Check every 10 minutes.
Beginner mistake: Leaving food in one spot too long. Move your pots around as needed.
Sample Meal Plan For Wood Stove Cooking
Here’s a simple meal plan to practice different techniques:
Breakfast: Skillet-fried eggs and bacon; toast made on the cooktop.
Lunch: Vegetable soup simmered in a Dutch oven; cornbread baked in the oven compartment.
Dinner: One-pot chicken and rice; roasted root vegetables; baked apples.
Each dish uses a different part of the stove and teaches you something new.
Safety Tips
Cooking on a wood burning stove involves high heat and open flames. Stay safe by following these rules:
- Always use oven mitts or gloves when handling pots and pans.
- Keep flammable items (towels, paper, plastic) away from the stove.
- Never leave the stove unattended while cooking.
- Install a smoke and carbon monoxide detector in the kitchen.
- Clean ashes regularly to prevent buildup.
- Check the chimney for blockages or creosote at least once a month.
Important insight: Many accidents happen not from fire, but from hot cookware. Even handles get extremely hot—use caution every time.
Cleaning And Maintaining Your Stove
A well-kept stove cooks better and lasts longer. Here’s how to care for it:
- Clean the cooktop with a stiff brush after each use. Avoid water on hot cast iron.
- Empty ashes when they are cool, but not so full that they block airflow.
- Check the door seals for wear. Leaky seals waste heat and can make the fire hard to control.
- Oil cast iron cookware after each use to prevent rust.
- Have your chimney inspected by a professional once a year.
| Maintenance Task | How Often | Why |
|---|---|---|
| Clean cooktop | After every use | Prevents rust, keeps flavors clean |
| Empty ashes | Every 2–3 days (in use) | Ensures good airflow |
| Inspect chimney | Yearly | Prevents chimney fires |
| Oil cookware | After use | Prevents sticking and rust |
Non-obvious tip: If you spill food on the stove, clean it right away. Baked-on spills can smoke or smell for days.
Troubleshooting Common Problems
Even experienced cooks run into challenges with wood stoves. Here’s how to handle common issues:
Food Burns Quickly
- Move the pot to a cooler spot or use a trivet.
- Stir more often.
- Reduce the size of the fire.
Food Cooks Too Slowly
- Add more wood and open the air vents.
- Move the pot closer to the firebox.
Uneven Cooking
- Rotate pots and pans during cooking.
- Use heavy cookware for better heat distribution.
Smoke In The Kitchen
- Check if the chimney is blocked or if the firewood is too wet.
- Open the air vents wider.
Dry Or Overcooked Food
- Use lids to retain moisture.
- Lower the heat by moving pots away from the hottest zone.
Beginner insight: Don’t expect perfection the first time. Practice and patience are part of the process.
Cooking In Emergencies And Off-grid
A wood burning stove is more than just a cooking tool. In emergencies—like power outages, storms, or grid failures—it can be your main source of heat and food. Here’s how to prepare:
- Store extra dry firewood in a safe, dry place.
- Keep simple recipes and ingredients on hand (rice, beans, canned goods).
- Know how to start a fire without matches (flint, magnesium striker, etc. ).
- Practice boiling water for safety and hygiene.
Pro tip: In a crisis, cook larger batches and keep leftovers warm on the stove—this saves time and fuel.
Cooking For A Crowd
Wood stoves can feed a group, but planning is key:
- Use large pots or Dutch ovens for soups, stews, or chili.
- Cook in stages: Make one dish, keep it warm, then start another.
- Let guests help with stirring or serving (it’s part of the fun).
- Serve buffet-style to let people eat as dishes finish.
If you need more space, you can use the stove’s top, oven, and even a small camp stove as a backup.
Recipes Perfect For Wood Stoves
Here are three simple recipes to get you started:
No-knead Bread (dutch Oven)
- 3 cups flour
- 1 1/2 cups warm water
- 1/2 tsp yeast
- 1 1/2 tsp salt
Mix all ingredients, let rise overnight. Preheat Dutch oven on the stove, add dough, cover, and bake in the stove’s oven compartment (or on the cooktop with coals on top) for 40–50 minutes.
Hearty Vegetable Soup
- 1 onion, diced
- 3 carrots, sliced
- 3 potatoes, cubed
- 2 stalks celery, chopped
- 1 can diced tomatoes
- 4 cups vegetable broth
- Salt, pepper, herbs to taste
Fry onion in a pot over the firebox, add other veggies, then broth. Bring to boil, then move to a cooler zone and simmer for 1–2 hours.
Skillet Cornbread
- 1 cup cornmeal
- 1 cup flour
- 2 tbsp sugar
- 1 tbsp baking powder
- 1/2 tsp salt
- 1 cup milk
- 1 egg
- 1/4 cup melted butter
Mix dry and wet ingredients separately, then combine. Pour into a greased, preheated skillet. Bake in the oven compartment or on the cooktop with a lid until golden.
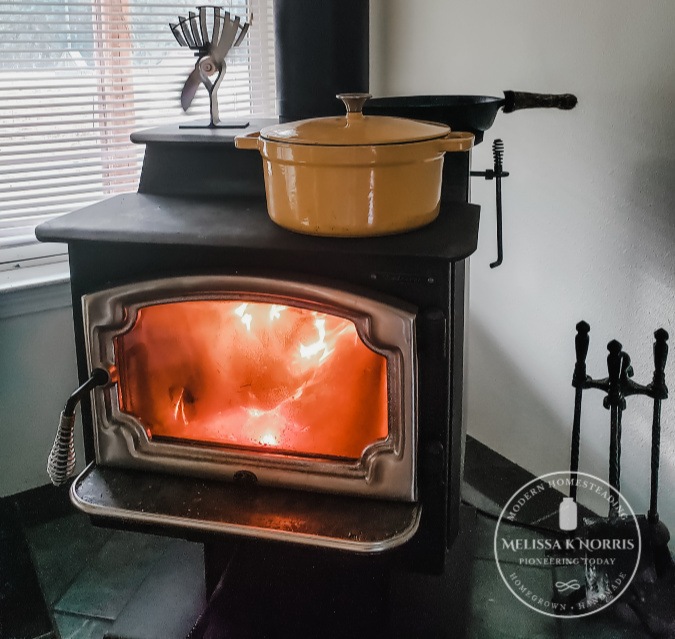
Credit: melissaknorris.com
Comparing Wood Stove Vs. Modern Cooking
How does wood stove cooking stack up against electric or gas ranges? Here’s a quick look:
| Feature | Wood Stove | Modern Range |
|---|---|---|
| Temperature Control | Manual, less precise | Instant, very precise |
| Fuel Source | Wood (renewable) | Gas/Electricity |
| Cooking Speed | Slower start, more variable | Faster, consistent |
| Flavor | Smoky, rustic | Neutral |
| Emergency Use | Yes, off-grid | No, needs power/gas |
Getting The Most From Your Stove
To get the best results:
- Practice often, not just in emergencies.
- Experiment with different woods for subtle flavor changes.
- Share the process with friends or family—it’s a social experience.
- Stay curious. Try new recipes, from flatbreads to baked beans.
Non-obvious tip: The first hour after lighting the fire is best for quick-cook foods. As the fire burns down, switch to baking or slow-cooked dishes.
Common Myths About Wood Stove Cooking
Let’s clear up some common misunderstandings:
- “You can’t bake on a wood stove.” Yes, you can—with practice and the right tools.
- “Wood smoke ruins the taste.” If your stove is working well, food tastes smoky, not sooty.
- “It takes too long.” Once you learn the system, you can cook full meals in the same time as a modern stove.
Don’t let these myths keep you from trying.
Environmental Considerations
Wood is a renewable resource, but only if harvested and burned responsibly.
- Use local, sustainably-sourced wood.
- Season wood (let it dry for 6–12 months) to reduce smoke and pollution.
- Maintain your stove and chimney for cleaner burning.
For more on responsible wood burning, see this EPA guide.

Credit: www.capecodtimes.com
Frequently Asked Questions
How Do I Know If My Wood Stove Is Hot Enough To Cook?
A drop of water should dance and sizzle quickly on the hottest part. For more precision, use an infrared thermometer or a stovetop thermometer. With practice, you’ll learn to judge by feel and sound.
Can I Use Aluminum Cookware On A Wood Burning Stove?
It’s possible, but not recommended. Aluminum heats up and cools down quickly, which can lead to burning or warping. Cast iron or heavy stainless steel is better for even cooking.
What Foods Are Easiest For Beginners To Cook On A Wood Stove?
Start with soups, stews, scrambled eggs, and skillet meals. These are forgiving and allow you to practice moving pots and controlling heat.
How Do I Prevent Food From Tasting Smoky Or Sooty?
Use only dry, seasoned wood and keep the fire burning clean. If you notice soot, check your chimney and use less resinous wood (avoid pine for cooking).
Is It Safe To Leave Food On The Stove Overnight?
It’s best not to. Food can dry out, spoil, or even burn if the fire changes overnight. If you need to keep food warm, use a cooler area and check often.
Cooking on a wood burning stove is both an art and a science. With a bit of patience and the right tools, you’ll unlock flavors and experiences that modern kitchens can’t match. Each meal becomes a celebration of warmth, resourcefulness, and tradition.
So gather your firewood, pick your favorite recipe, and let the gentle crackle of the fire guide you to delicious results.