Keeping your enamel stove top clean is not just about looks. A sparkling surface keeps your kitchen safe, helps your stove last longer, and makes cooking more enjoyable. If you’ve ever struggled with burned-on food, sticky stains, or scratched enamel, you’re not alone. Many people damage their stove tops by cleaning the wrong way or with the wrong products. This guide will walk you through everything you need to know to clean your enamel stove top—step by step. You’ll learn about the best tools, cleaning solutions, methods for different types of messes, and how to avoid common mistakes. Let’s make cleaning your enamel stove top simple, safe, and effective.
Understanding Enamel Stove Tops
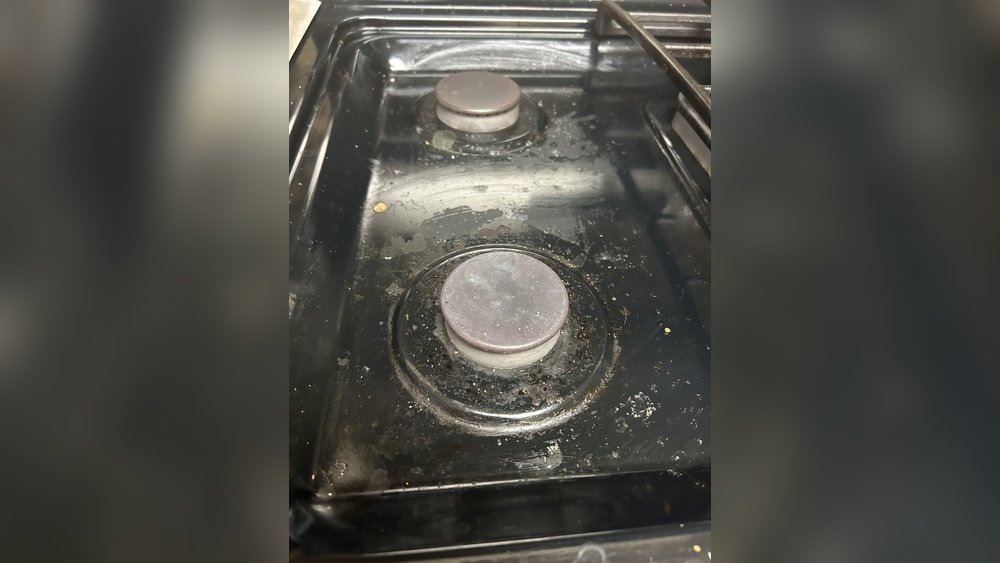
Before you start cleaning, it helps to know what enamel actually is. An enamel stove top is made of metal (often steel or cast iron) coated with a layer of smooth, glass-like enamel. This coating protects the metal and creates a shiny, easy-to-clean surface. However, enamel can chip, scratch, or stain if you use harsh cleaners or scrub too hard.
Why is this important? Because enamel is not as tough as it looks. Using the wrong cleaning method can cause permanent damage. Understanding this will help you choose the best cleaning approach and avoid costly mistakes.
Common problems with enamel stove tops:
- Stains from food, sauces, and oils
- Burned-on residue that won’t wipe off easily
- Scratches from abrasive pads or powders
- Chips from dropping heavy objects
Preparing To Clean Your Enamel Stove Top
A little preparation makes the cleaning process faster and safer. Here’s what you need to do first:
- Turn off all burners and make sure the stove is cool to the touch.
- Remove any pots, pans, or utensils from the surface.
- Take off the grates and burner caps if your stove has them. These can be cleaned separately.
- Gather your cleaning supplies (see the next section).
Pro tip: If you clean your stove top regularly, tough stains won’t have a chance to build up. A quick wipe after every meal can save hours of scrubbing later.
Essential Cleaning Tools And Supplies
Choosing the right tools and products is key to protecting your enamel surface. Here’s what you’ll need:
- Soft microfiber cloths: For wiping and polishing. Microfiber is gentle and picks up grease well.
- Non-abrasive sponges: Avoid steel wool or rough pads that can scratch enamel.
- Dish soap: A mild liquid dish soap removes most grease and food residue.
- Baking soda: Great for gentle scrubbing and stain removal.
- White vinegar: Cuts through grease and helps remove mineral spots.
- Plastic scraper: Useful for lifting stubborn, stuck-on food without scratching.
- Old toothbrush: Cleans around burner edges and tight spots.
- Spray bottle: For applying diluted vinegar or cleaning solutions.
What to avoid:
- Abrasive powders: Like scouring powder—they scratch enamel.
- Metal pads or brushes: These can cause permanent damage.
- Strong bleach or ammonia: These chemicals can discolor or weaken enamel.
Basic Daily Cleaning Routine
Regular cleaning keeps your enamel stove top looking new and prevents buildup. Here’s a simple routine to follow after most meals:
- Wipe down the surface: Dampen a microfiber cloth with warm water and a drop of dish soap. Wipe away spills, splatters, and crumbs.
- Rinse and dry: Wipe again with a cloth dampened only with clean water to remove soap residue. Dry with a clean towel to prevent water spots.
- Clean grates and burner caps: Wash removable parts in warm, soapy water. Rinse and dry well before putting them back.
Non-obvious tip: Always dry your stove top after cleaning. Water left on the surface can leave mineral spots, especially if you have hard water.
Removing Light Stains And Everyday Spills
Even with daily cleaning, you’ll sometimes get stains from sauces, oils, or sugary foods. These can usually be removed with simple methods:
- Apply soapy water: Use a soft sponge and warm, soapy water to gently scrub the stained area.
- For sticky or dried spills: Place a damp cloth on the spot for five minutes. This softens the residue and makes it easier to wipe away.
- Use baking soda paste: Mix baking soda with a little water to form a paste. Apply to the stain, let it sit for 10 minutes, then gently rub with a soft cloth.
- Rinse and dry: Always wipe away cleaning products with clean water and dry the surface.
Example: Tomato sauce or curry can leave colored stains. Baking soda paste works well but don’t scrub aggressively.
Tackling Tough, Burned-on Stains
Sometimes spills get burned onto the enamel and become hard. Here’s how to remove them without causing damage:
- Soak the area: Lay a cloth soaked in hot, soapy water over the stain for 15–20 minutes.
- Use a plastic scraper: Gently lift the softened residue. Never use a knife or metal tool.
- Apply baking soda and vinegar: Sprinkle baking soda on the stain, spray with white vinegar, and let it fizz for a few minutes. Wipe with a soft sponge.
- Repeat if needed: For very stubborn stains, repeat the process. Patience is safer than hard scrubbing.
Non-obvious insight: Some stains may seem permanent but will fade with several gentle cleanings over a week. Avoid the temptation to use rough pads or strong chemicals.
Cleaning Grease And Oil Buildup
Grease is common around burners and control knobs. If left too long, it can become sticky and attract dirt.
- Spray with vinegar solution: Mix equal parts white vinegar and water in a spray bottle. Spray the greasy areas and let sit for 5–10 minutes.
- Wipe with a microfiber cloth: This should remove most grease.
- For stubborn spots: Add a drop of dish soap to your cloth or sponge. Use an old toothbrush for grooves and edges.
- Rinse and dry: Always remove any residue to prevent streaks.
Why vinegar works: Vinegar breaks down grease without damaging enamel. It also helps kill germs.
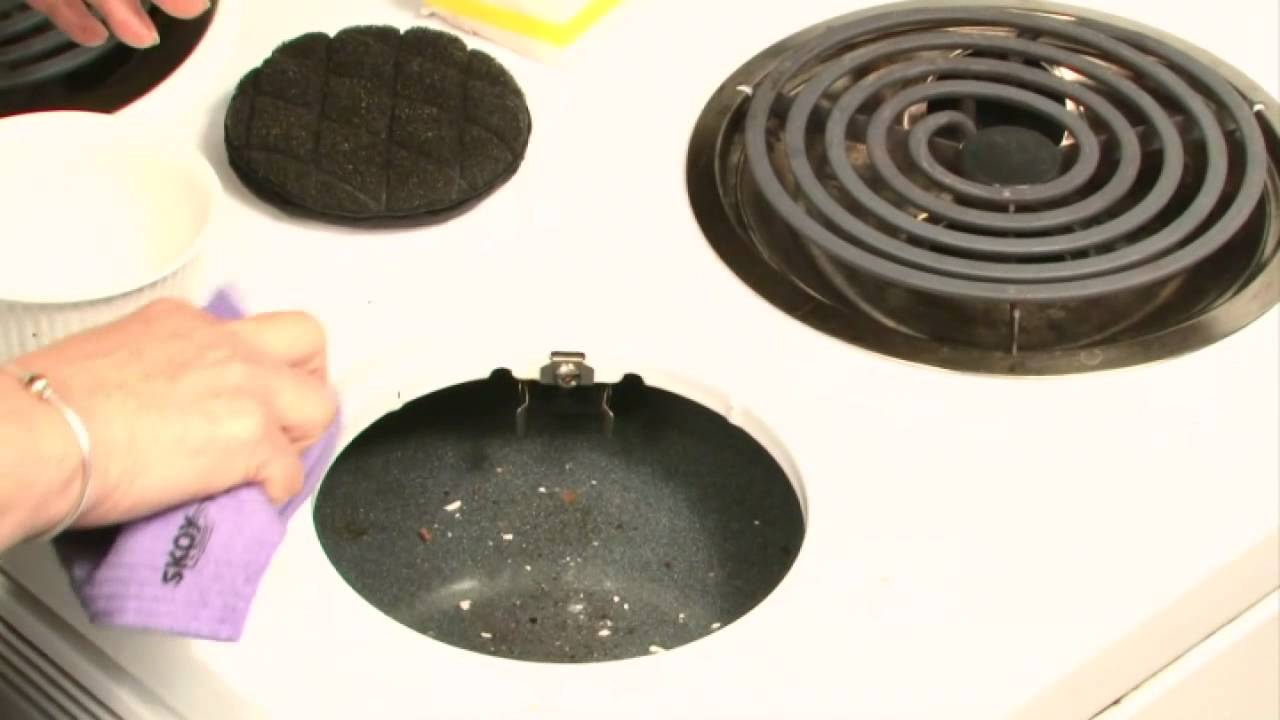
Cleaning Stove Top Grates And Burner Caps
These removable parts need regular cleaning too. Here’s how to do it safely:
- Remove grates and caps: Make sure they are cool before handling.
- Soak in hot, soapy water: Leave them for at least 20 minutes to loosen grime.
- Scrub gently: Use a non-abrasive sponge or brush. For heavy buildup, use a baking soda paste.
- Rinse and dry thoroughly: Wet grates can rust or discolor if not dried well.
Extra tip: For really tough stains, place grates in a sealed bag with a little ammonia. Let sit outside overnight, then wash as usual. (Never use ammonia directly on the enamel stove surface.)
Dealing With Discoloration And Stubborn Spots
Enamel can sometimes develop dull spots or discoloration from heat or certain foods. Here’s how to brighten the surface:
- Use baking soda and hydrogen peroxide: Make a paste and apply to the discolored area. Let it sit for 10–15 minutes, then wipe gently.
- Try vinegar and lemon juice: The acid can help remove some types of discoloration.
- Buff with a dry microfiber cloth: This restores shine.
Warning: Never use bleach on enamel. It can cause permanent color changes and weaken the coating.
Removing Mineral Deposits And Water Spots
If you notice white, chalky spots on your stove top, these are likely from hard water. They are easy to remove:
- Spray with vinegar: White vinegar dissolves mineral deposits.
- Let sit for 5 minutes: Then wipe with a clean, damp cloth.
- Dry the surface: Prevents new spots from forming.
Polishing For Extra Shine
A polished stove top looks great and is easier to keep clean. Here’s how to safely polish enamel:
- Wipe with a damp cloth: Remove all soap and residue first.
- Buff with a dry microfiber cloth: Move in small circles for the best shine.
- Optional: You can use a tiny drop of mineral oil on a cloth to polish the enamel (avoid burners and grates).
Pro insight: Never use car wax or furniture polish on your stove top. These can create a slippery, dangerous surface and may discolor the enamel.
Cleaning Under The Stove Top (if Removable)
Some enamel stove tops lift up for cleaning underneath. Check your manual to see if yours does.
- Lift carefully: Use both hands and do not force it.
- Remove crumbs and debris: Use a handheld vacuum or damp cloth.
- Wipe with soapy water: Dry thoroughly before lowering the top.
Important: Never spray water or cleaner into burner holes.
Credit: www.youtube.com
How To Handle Scratches And Chips
If your enamel stove top has scratches or chips, cleaning won’t remove them, but you can prevent further damage:
- For small scratches: There’s little you can do except avoid making them worse. Clean gently and avoid abrasive tools.
- For chips: Special enamel repair kits are available in hardware stores. Follow the instructions carefully.
- Prevention: Always lift pots and pans instead of sliding them.
Comparing Cleaning Methods For Enamel Stove Tops
Different cleaning methods have different strengths and risks. Here’s a quick comparison of popular approaches:
| Method | Effectiveness | Risk to Enamel | Best For |
|---|---|---|---|
| Soapy Water & Microfiber | Good | Very Low | Daily Cleaning |
| Baking Soda Paste | Excellent | Low | Stains & Spots |
| Vinegar Spray | Good | Low | Grease & Water Spots |
| Steel Wool/Scouring Pad | High | Very High | Never Use on Enamel |
| Commercial Oven Cleaner | Varies | High | Only for Grates (if safe) |

Credit: www.youtube.com
Common Mistakes To Avoid
Many people damage their stove tops by making these mistakes:
- Using abrasive cleaners or pads: These scratch and dull the surface.
- Letting spills sit too long: Stains and burned-on food are much harder to remove later.
- Using too much water: Excess water can get into burners and cause electrical problems.
- Cleaning while the stove is hot: This can cause cracks in enamel and burns to your skin.
- Skipping regular cleaning: Buildup becomes much harder to remove if ignored.
Non-obvious insight: Even small scratches let stains soak in more easily. Always use gentle tools.
Safe Cleaning Solutions: Homemade Vs. Store-bought
Should you use homemade or store-bought cleaners? Here’s a direct comparison:
| Type | Pros | Cons | Best Use |
|---|---|---|---|
| Homemade (Baking Soda, Vinegar) | Safe, cheap, effective, eco-friendly | May require more effort | Most daily cleaning |
| Store-Bought Enamel Cleaner | Convenient, stronger on stains | Some contain harsh chemicals | Occasional deep cleaning |
| Oven Cleaner | Very strong, fast | Often unsafe for enamel | Grates only (if labeled safe) |
How Often Should You Clean?
- Daily: Wipe spills and splatters after cooking.
- Weekly: Wash grates, knobs, and burner caps.
- Monthly: Deep clean the whole stove top, including under grates and edges.
Stat: According to a survey by the American Cleaning Institute, 54% of people clean their kitchen surfaces less often than they should. Frequent cleaning makes big messes rare.
Preventing Damage And Keeping Your Enamel Stove Top Looking New
Prevention is easier than repair. Here’s how to keep your stove top in top shape:
- Wipe up spills immediately: Especially sugary or acidic foods like tomato sauce.
- Use burner liners: These catch drips and can be removed for easy cleaning.
- Lift, don’t slide, cookware: This prevents scratches.
- Avoid sudden temperature changes: Don’t pour cold water on a hot stove top.
- Use gentle cleaners: Stick to soft cloths, mild soap, and baking soda.
- Check for chips regularly: Fix them early to prevent rust or more damage.
When To Call A Professional
Most enamel stove top cleaning can be done yourself, but you should call a professional if:
- The enamel is chipped or cracked in a large area.
- You see rust forming under the enamel.
- Burners or controls stop working after cleaning (possibly from water damage).
- You can’t remove a stain without using harsh tools.
Professional appliance repair can fix chips, replace enamel, or check for internal problems.
Real-world Example: Cleaning A Heavy Mess
Let’s say you cooked pasta sauce and it boiled over, burning onto the enamel. Here’s how you’d handle it:
- Wait for the stove top to cool.
- Remove grates and soak them.
- Place a cloth soaked in hot, soapy water over the burned area for 20 minutes.
- Gently lift residue with a plastic scraper.
- Apply baking soda paste and let sit for 10 minutes.
- Wipe clean with a soft cloth.
- Polish with a dry microfiber towel.
This gentle, layered approach protects the enamel while removing even tough, burned-on food.

Credit: www.reddit.com
Frequently Asked Questions
How Do I Clean Around The Burners Without Getting Water In Them?
Use a slightly damp cloth or an old toothbrush to clean around burners. Avoid pouring water directly on the stove. If water does get into a burner, let it dry completely before using the stove again.
Can I Use Magic Eraser On Enamel Stove Tops?
Magic Erasers are less abrasive than steel wool but can still dull shiny enamel if used too much. Use only for stubborn marks, and rub gently. Test in a small, hidden area first.
What’s The Best Way To Remove Burnt Sugar Or Caramel?
Burnt sugar is very sticky and hard. Soften it with a hot, wet cloth for 15–20 minutes. Then scrape gently with a plastic tool and finish with baking soda paste. Avoid using knives or metal scrapers.
Is It Safe To Use Commercial Stove Top Cleaners?
Some commercial cleaners are safe for enamel, but always check the label. Avoid products that say “abrasive” or “oven cleaner” unless they are marked as safe for enamel. When in doubt, stick to baking soda and vinegar.
How Can I Repair A Chipped Enamel Stove Top?
Small chips can be repaired with a stove enamel repair kit from a hardware store. Follow the instructions carefully and avoid using the burner until the repair is fully cured. For large chips or cracks, contact a professional appliance repair service.
For more in-depth information about enamel and proper cleaning methods, you can visit the Vitreous Enamel Wikipedia page.
Keeping your enamel stove top clean does not have to be stressful or complicated. With the right tools, safe cleaning methods, and regular care, your stove will stay shiny and last for years. Remember, gentle cleaning is always best—protect your enamel, and it will reward you with a beautiful, easy-to-use kitchen.