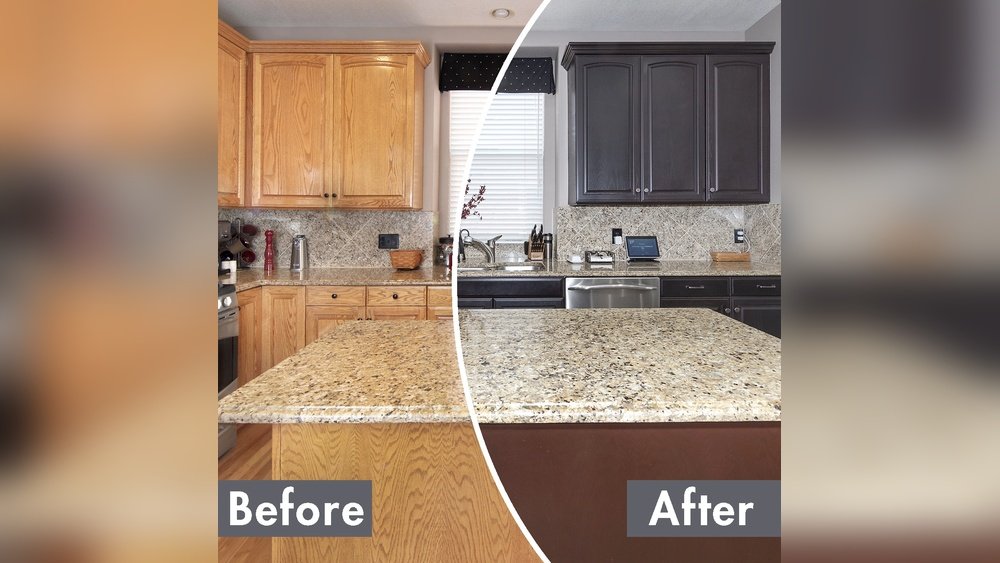
Changing the color of your kitchen cabinets is one of the most effective ways to refresh your cooking space without a full remodel. Many homeowners are surprised by how much a simple color update can change the entire mood and style of their kitchen.
Maybe your cabinets look old, faded, or just don’t match your current tastes. The good news is you don’t need to be a professional to take on this project—just some patience, the right materials, and a clear process.
Tackling this task yourself can save thousands of dollars compared to replacing cabinets. Plus, you get the satisfaction of creating a look that’s truly yours. But before you start, it’s important to understand what’s involved, choose the right paint and tools, and avoid mistakes that can ruin your hard work.
This guide will walk you through each step, from planning to finishing touches, and answer common questions that beginners often overlook.
Why Change Kitchen Cabinet Color?
Updating cabinet color is more than just a style choice. It can increase your home’s value, improve lighting, and even affect your mood while cooking. For example, lighter colors can make a small kitchen feel bigger and brighter, while deep shades can add warmth and richness.
Cabinets take up a lot of visual space, so their color has a big impact.
Sometimes, people change cabinet color to cover damage or stains that can’t be cleaned. Other times, it’s to match new appliances or countertops. If you’re planning to sell your home, a fresh cabinet color can attract buyers and set your kitchen apart.
Planning Your Cabinet Color Change
Before you pick up a brush or buy supplies, planning is key. Good preparation prevents costly mistakes and wasted effort.
Assessing Your Cabinets
Not all cabinets are good candidates for painting. Check the material:
- Solid wood is the easiest to paint.
- Wood veneer can be painted but needs extra care.
- Laminate requires special primers and may not last as long.
Look for damage like peeling, cracks, or water stains. Repair these issues first. If your cabinets are warped or the doors don’t close, painting won’t fix the underlying problem.
Choosing The Right Color
Think about your kitchen’s lighting, wall color, and overall style. Here are a few things to consider:
- Light colors (white, light gray, cream) make kitchens feel open and clean.
- Bold colors (navy, forest green, black) create a modern or dramatic look.
- Warm tones (beige, soft yellow, terracotta) add coziness.
Test color samples on your actual cabinets. Paint changes appearance depending on light, so check at different times of day.
Setting A Budget
Changing cabinet color is cheaper than replacing cabinets, but costs add up. On average, expect to spend $150–$600 for supplies for a standard kitchen. This includes:
- Paint and primer
- Brushes, rollers, and trays
- Sandpaper or sanding blocks
- Degreaser/cleaner
- Painter’s tape
- Drop cloths
- New hardware (optional)
Professional cabinet painters may charge $2,000–$6,500 depending on kitchen size and complexity.
Time Commitment
Changing cabinet color is not a one-day project. For most kitchens, plan for 3–5 days:
- Day 1: Remove doors/hardware, clean, sand
- Day 2: Prime and dry
- Day 3: First coat of paint and dry
- Day 4: Second coat and dry
- Day 5: Reassemble and touch up
Be prepared for your kitchen to be partly out of use during this time.
Tools And Materials Needed
Gathering the right tools before you begin saves frustration later. Here’s what you’ll need for best results:
- Screwdriver or drill (for removing cabinet doors and hardware)
- Label stickers or painter’s tape (to mark where each door goes)
- Drop cloths or old sheets (to protect floors and countertops)
- Degreaser or TSP substitute (for cleaning grease and grime)
- Sanding block or electric sander (for smoothing surfaces)
- Tack cloth (for wiping dust after sanding)
- High-quality primer (choose bonding or stain-blocking primer)
- Cabinet paint (satin or semi-gloss for durability)
- 2–3″ angled paintbrush (for corners and details)
- Foam roller (for smooth, even surfaces)
- Painter’s tape (for masking edges)
- Paint trays and liners
- Small containers or bags (for screws and hardware)
- New hinges/knobs (optional, if updating hardware)
Quality matters. Cheap brushes can leave streaks or bristles in your finish.
Prepping The Cabinets
Preparation is the most important part of changing cabinet color. Skipping steps here often leads to peeling, uneven paint, or a finish that doesn’t last.
Removing Doors And Hardware
Take off all cabinet doors, drawer fronts, and hardware. Label each piece with its location using stickers or tape. This makes reassembly easier. Place hinges, screws, and knobs in separate labeled bags or containers.
Cleaning Surfaces
Kitchen cabinets collect grease, dust, and food particles. Clean all surfaces with a degreaser or TSP (trisodium phosphate) substitute. Rinse with water and let dry completely. Even a small amount of oil can cause paint to peel.
Sanding
Sanding creates a rough surface for the primer and paint to stick to. Use 120–150 grit sandpaper. You don’t need to sand down to bare wood—just enough to remove shine and smooth rough spots. Wipe away all dust with a tack cloth.
For laminate cabinets, sanding is even more important, but don’t sand too hard or you’ll damage the layer.
Filling Holes And Repairs
Fill any holes, dents, or deep scratches with wood filler. Let dry, then sand smooth. If you’re changing hardware (like handles or knobs), fill old holes and drill new ones before painting.
Taping And Protection
Use painter’s tape to mask off walls, countertops, and any areas you don’t want painted. Cover floors and appliances with drop cloths. Remove everything from cabinets to avoid dust and paint splatter on dishes or food.
Priming For Best Results
Primer helps paint stick, hides stains, and creates an even color. Don’t skip this step, especially with dark or stained cabinets.
Choosing The Right Primer
- Bonding primers are best for slick or laminate surfaces.
- Stain-blocking primers prevent old stains or dark colors from bleeding through.
- Oil-based primers provide durability but have strong fumes.
- Water-based primers are easier to clean and less smelly.
Ask your paint store for advice if you’re unsure.
Applying Primer
Use an angled brush for corners and a foam roller for flat surfaces. Apply a thin, even coat. Let dry completely—usually 2–4 hours, but check the can. Lightly sand with fine grit (220) between coats for a super-smooth finish. Wipe away all dust before moving on.
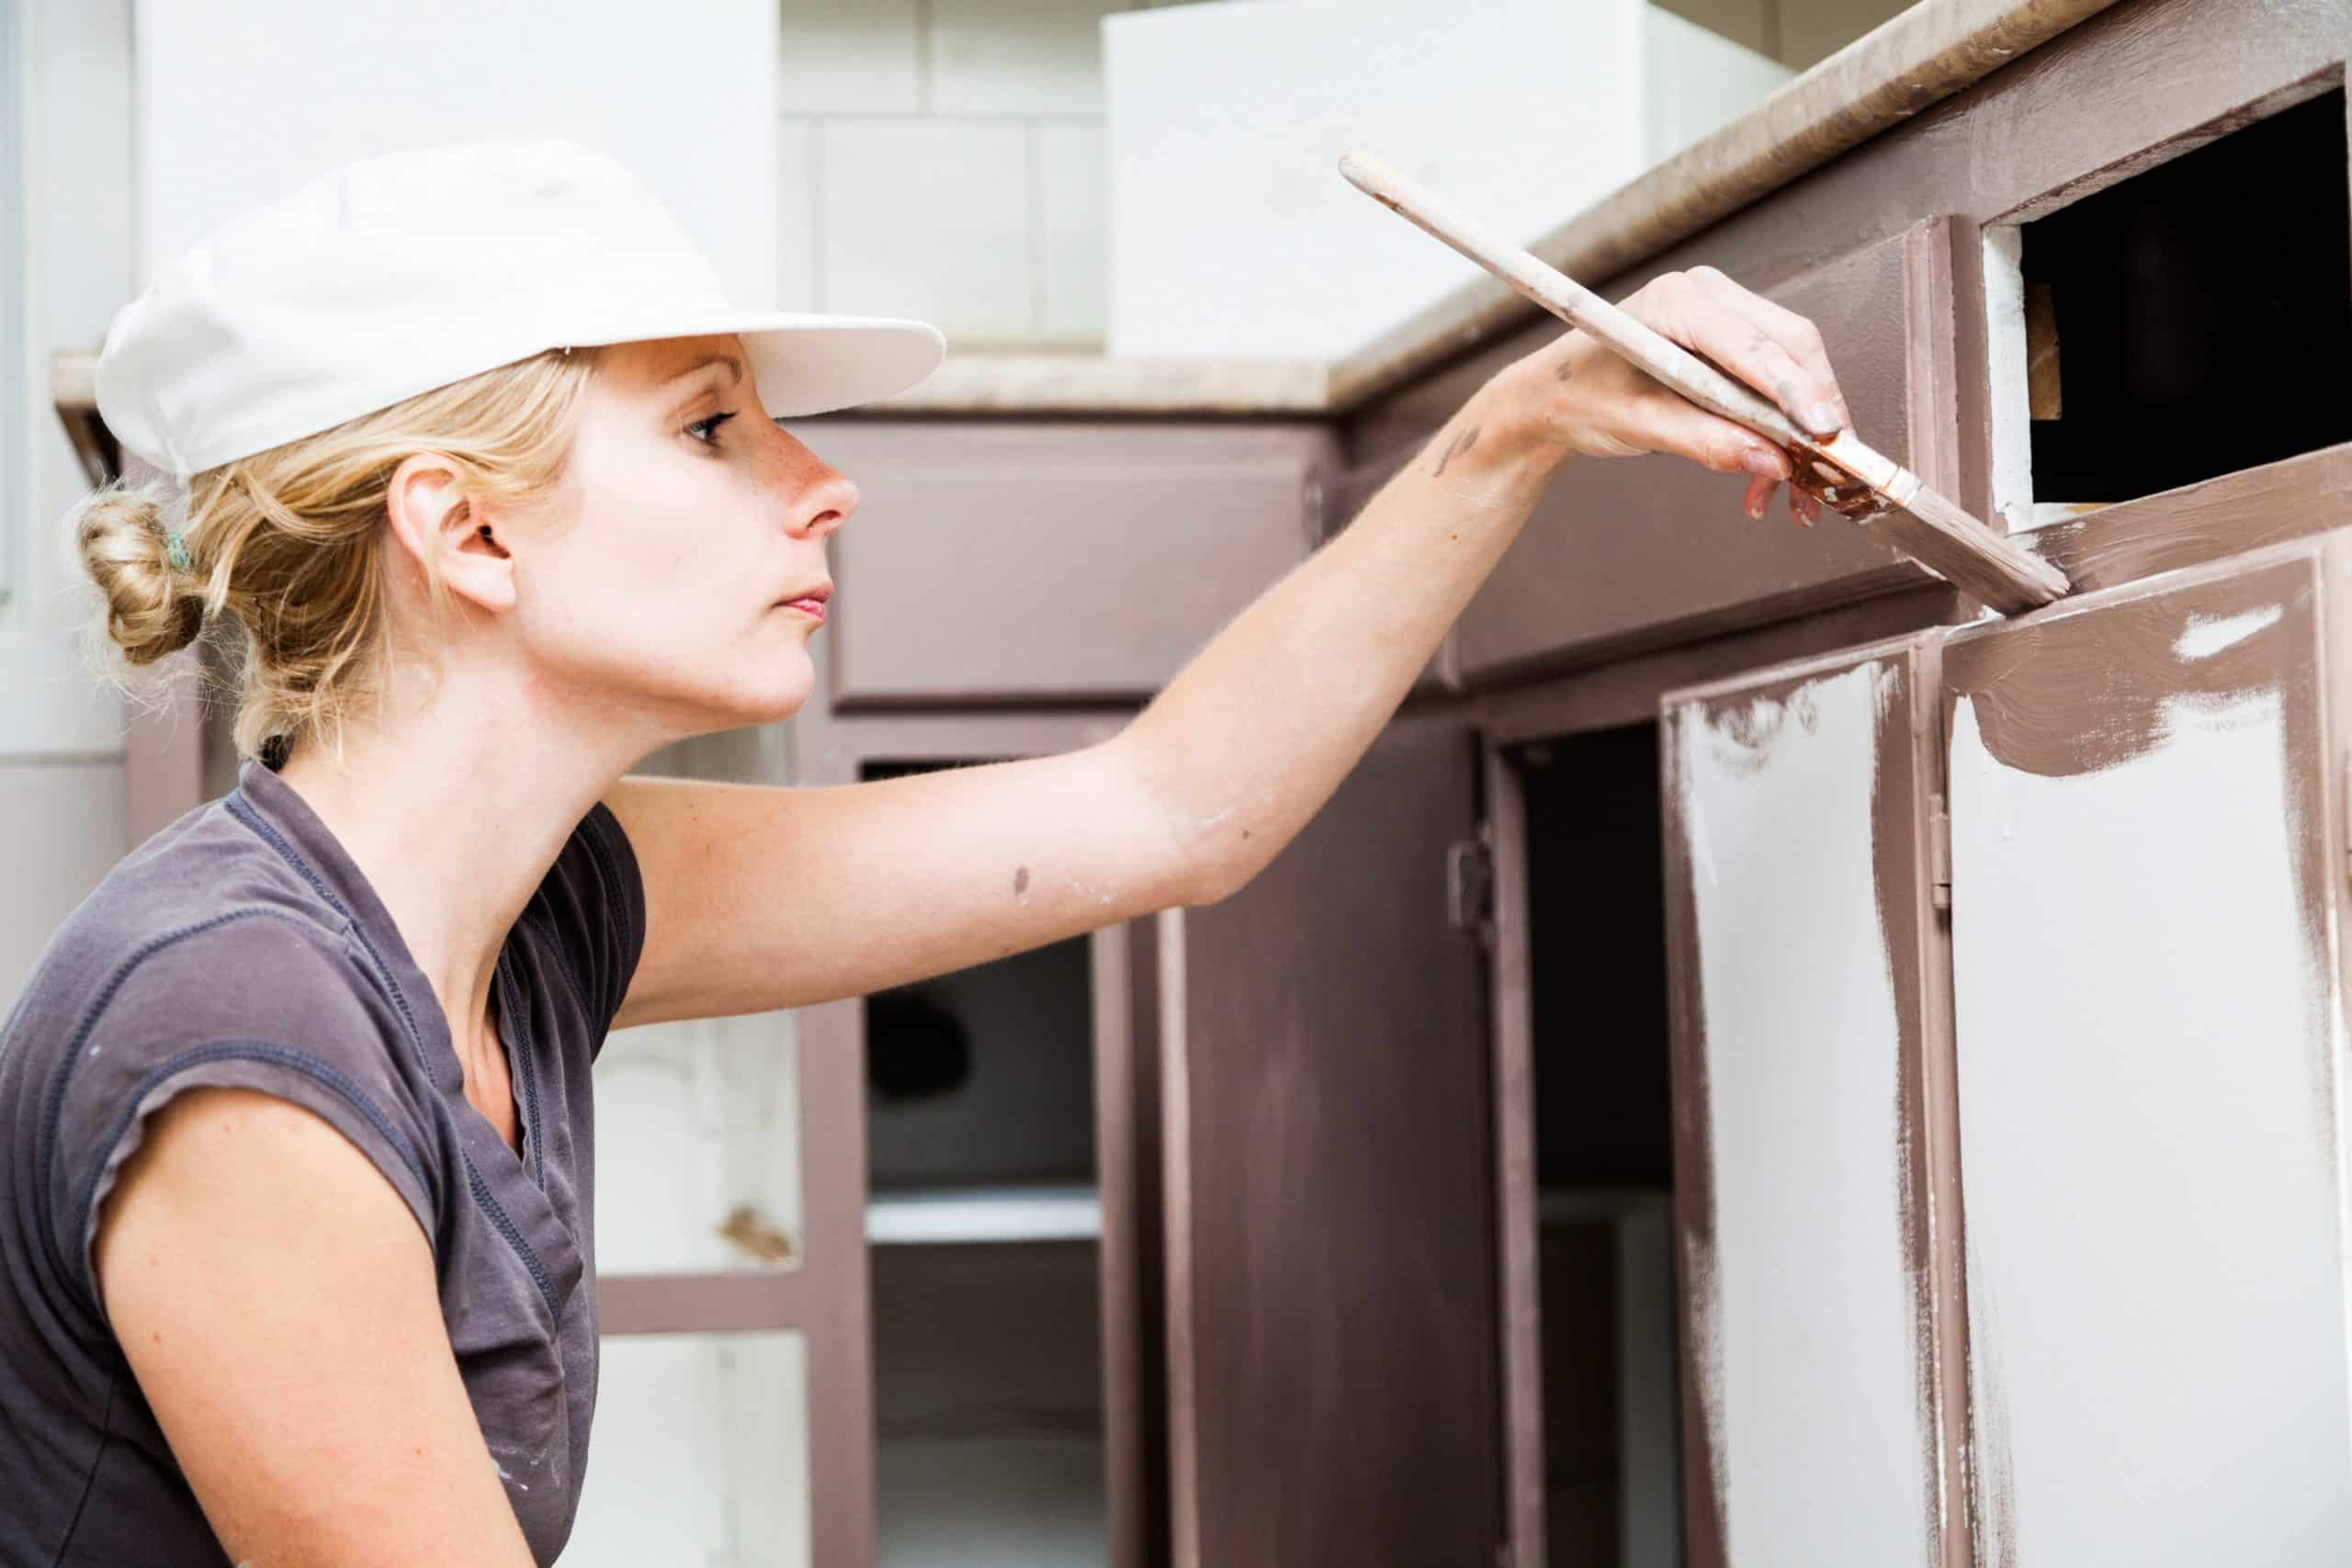
Painting Your Cabinets
This is where the transformation happens. Take your time for a flawless finish.
Picking The Right Paint
Cabinet paint needs to be tough. Look for:
- Acrylic latex paints labeled for cabinets or trim (durable, easy to clean)
- Alkyd paints (super smooth, but strong smell and longer drying time)
- Enamel paints (hard, smooth surface)
Finish matters. Satin and semi-gloss are most popular for kitchens—they resist stains and are easy to wipe clean.
Applying Paint
- Start with the back of each door. Apply a thin, even coat with a foam roller. Use an angled brush for edges and corners.
- Let dry fully as directed (usually 4–8 hours).
- Flip and paint the front.
- Apply a second coat for solid, even color. Let dry completely.
Thin coats prevent drips and brush marks. Don’t rush drying time—paint that feels dry may still be soft underneath.
If painting in high humidity or cold weather, drying times will be longer. Give extra time for paint to cure.
Painting Cabinet Boxes
Use the same process for the cabinet boxes (the parts mounted to the wall). Open doors and mask off inside edges if you want to leave the interior unpainted.
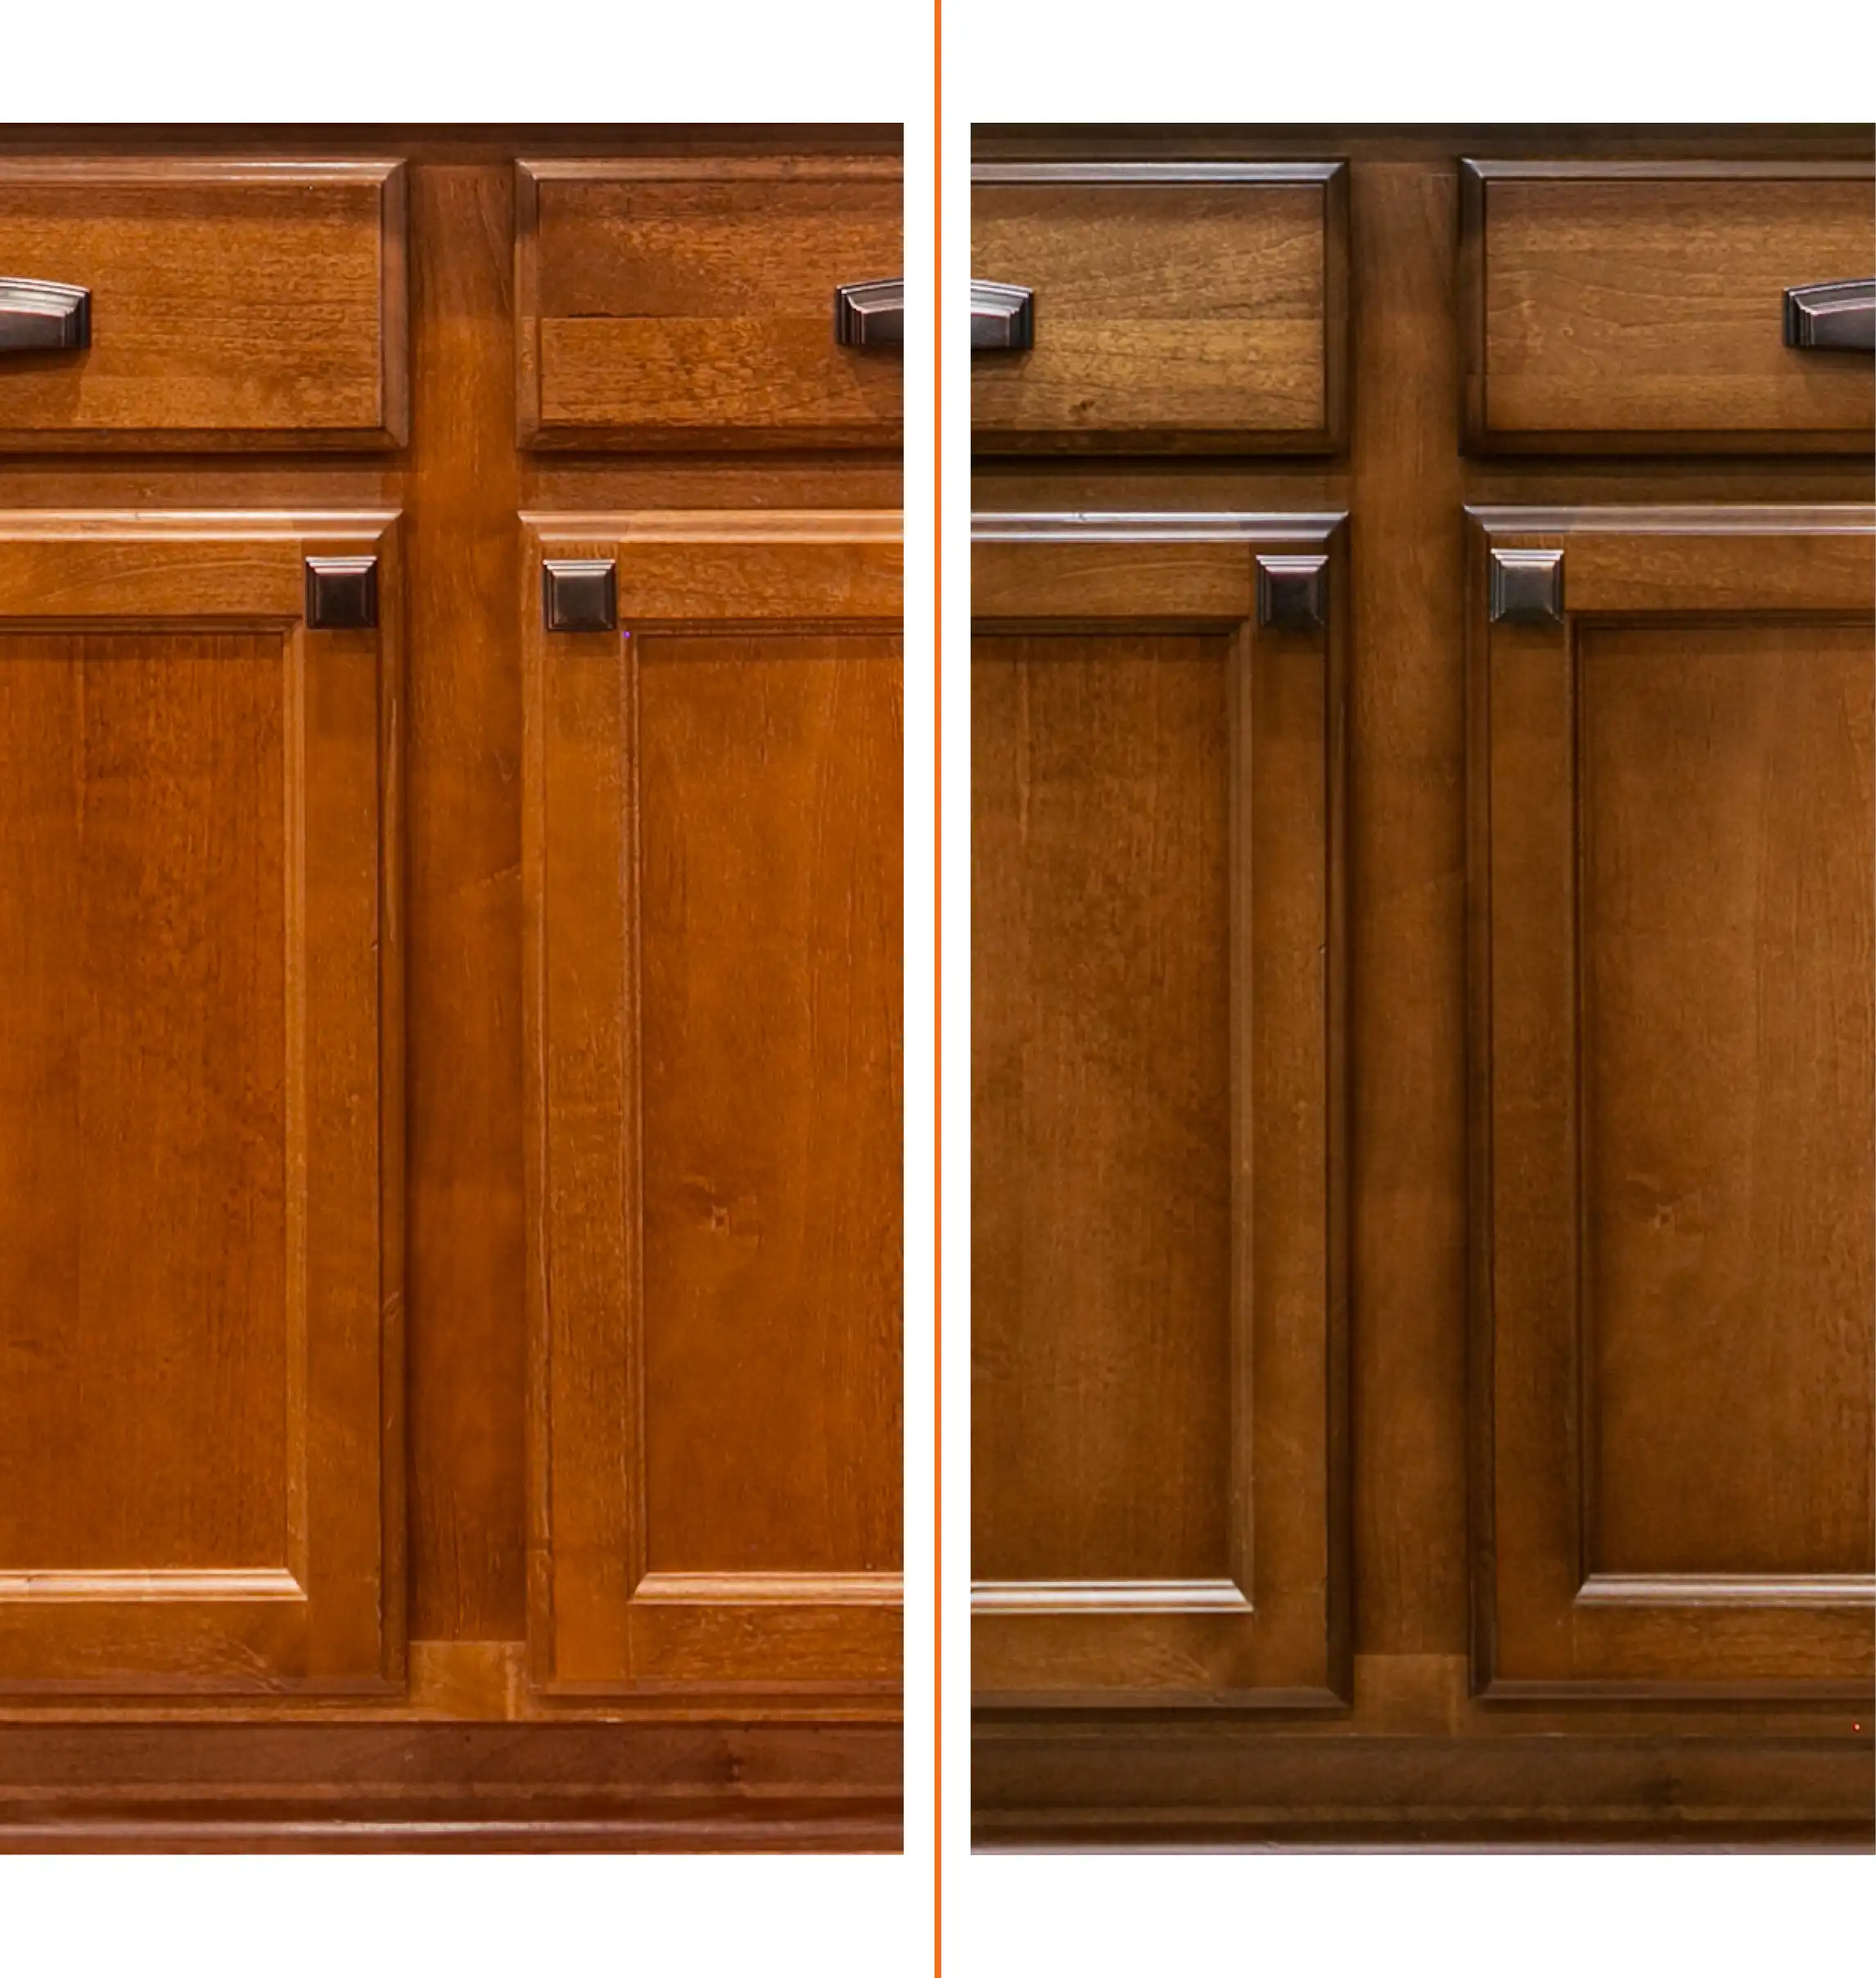
Credit: www.nhance.com
Reassembling And Final Touches
After the final coat is dry and hard (usually 24–48 hours), you can put everything back together.
Reattaching Doors And Hardware
Remove all painter’s tape and drop cloths. Reinstall doors, drawers, and hardware using your labels for correct placement. If you bought new knobs or pulls, use a template to drill holes evenly.
Adjusting Hinges
Paint buildup can make doors fit more tightly. Adjust hinges for smooth opening and closing. If doors stick, sand painted edges lightly.
Cleaning Up
Wipe down all surfaces to remove dust. Store leftover paint for touch-ups. Carefully dispose of used paint cans and materials as local rules require.
Upgrading Hardware For A Complete Look
Changing the cabinet color often highlights old or mismatched hardware. Consider replacing handles and knobs for a fresh look.
- Satin nickel, matte black, or brass are popular modern choices.
- For a budget-friendly update, spray paint your existing hardware.
If your new hardware has a different hole pattern, fill and drill before painting.
Comparing Painting Vs. Refacing Vs. Replacing
Is painting right for you, or should you consider refacing or replacing your cabinets? Here’s a quick comparison:
| Method | Cost (Average) | Time | Durability | Best For |
|---|---|---|---|---|
| Painting | $150–$600 (DIY) | 3–5 days | 5–10 years | Good existing cabinets, limited budget |
| Refacing | $4,000–$9,000 | 3–7 days | 10–20 years | Worn doors, solid boxes |
| Replacing | $6,000–$24,000 | 1–3 weeks | 20+ years | Damaged cabinets, changing layout |
Insight: Many people don’t realize that painting isn’t permanent. If you want a new look in a few years, you can repaint again if the cabinets are in good shape.
Common Mistakes To Avoid
Changing cabinet color isn’t hard, but some mistakes can ruin the final look or shorten the lifespan of your finish.
- Skipping cleaning or sanding. Paint won’t stick to grease or glossy surfaces.
- Using cheap paint or brushes. This leads to streaks, chipping, and uneven color.
- Rushing between coats. If paint isn’t fully dry, you’ll get sticky or tacky surfaces.
- Not removing doors and hardware. Painting in place makes it hard to get smooth edges.
- Ignoring the weather. High humidity or cold slows drying and can cause peeling.
- Forgetting to label parts. Mixing up doors and drawers makes reassembly frustrating.
Non-obvious tip: Always paint cabinet doors flat on a work surface, not hanging. This reduces drips and lets paint level out for a smoother finish.
Credit: www.classickitchendesigns.ca
Color Ideas And Trends
Not sure which color to choose? Here are some popular kitchen cabinet color trends:
- Classic white: Always in style, works with any decor.
- Soft gray: Modern and calming, hides dirt better than white.
- Deep blue or navy: Adds richness, pairs well with gold hardware.
- Forest green: Earthy and bold, very popular in recent years.
- Matte black: Sleek, dramatic, works best in well-lit kitchens.
- Two-tone: Darker color on lowers, lighter on uppers for contrast.
Practical insight: If you’re unsure, lighter neutrals are safest for resale value. Bold colors can be beautiful but may not suit every buyer.
Caring For Painted Cabinets
Proper care keeps your new color looking fresh for years.
- Wipe spills quickly to avoid stains.
- Clean with a damp, soft cloth—avoid harsh chemicals or scrubbing pads.
- Touch up chips with leftover paint.
- Avoid slamming doors and drawers.
- Use gentle, non-abrasive cleaners.
Non-obvious tip: Wait at least 2–3 weeks before heavy cleaning. Paint needs time to fully cure and harden.
Example Timeline: Standard Kitchen Cabinet Color Change
Here’s a realistic timeline for a typical DIY project in an average kitchen (20–25 cabinet doors):
| Day | Tasks |
|---|---|
| 1 | Remove doors/hardware, clean, sand, fill holes |
| 2 | Mask areas, apply primer, let dry, light sand |
| 3 | First coat of paint, dry overnight |
| 4 | Second coat of paint, dry overnight |
| 5 | Reassemble, install hardware, final touch-ups |
This assumes you have 4–5 hours each day to work. Larger kitchens or complicated layouts may take longer.
When To Hire A Professional
DIY isn’t for everyone. Consider hiring a pro if:
- You have very large or ornate cabinets.
- Cabinets have water or smoke damage.
- You want a sprayed, factory-smooth finish.
- Time is limited or you don’t have a good space to work.
Professionals use spray equipment for super-smooth finishes but at a higher cost. Always check references and ask to see previous work.
Environmental And Health Considerations
Paints and primers can release fumes (VOCs) that are harmful if inhaled in closed spaces. Always:
- Work in a well-ventilated area.
- Wear a mask and gloves.
- Choose low-VOC or zero-VOC paints if possible.
Dispose of old paint and materials properly—never pour down the drain.
For more information on safe paint use, you can visit the EPA Safer Choice site.
Frequently Asked Questions
What Type Of Paint Is Best For Kitchen Cabinets?
The best paint for kitchen cabinets is acrylic latex or alkyd paint designed for trim or cabinets. These paints are durable, easy to clean, and resist stains. Semi-gloss or satin finishes are most popular because they don’t show fingerprints as easily.
Can I Paint Cabinets Without Sanding?
It’s possible to paint without sanding if you use a bonding primer made for glossy surfaces. However, even light sanding gives better results and helps paint last longer. Skipping sanding can cause peeling or chipping, especially in high-use kitchens.
How Long Does It Take For Painted Cabinets To Cure?
Paint may feel dry in a few hours, but full curing can take 2–4 weeks. During this time, avoid heavy cleaning or slamming doors. Light use is fine after 24–48 hours, but gentle handling helps the paint harden fully.
Is It Cheaper To Paint Or Replace Kitchen Cabinets?
Painting is much cheaper than replacing cabinets. Most DIY projects cost $150–$600 for supplies, while new cabinets can cost $6,000–$24,000. Painting gives a fresh look if your cabinets are in good shape, while replacement is needed for damaged or poorly designed cabinets.
What Mistakes Should I Avoid When Changing Cabinet Color?
Common mistakes include not cleaning or sanding, using poor-quality paint or brushes, rushing drying times, and failing to label doors and hardware. Paint in a dust-free, well-ventilated area, and don’t skip primer for the best results.
Changing your kitchen cabinet color is a rewarding project that can transform your space on a budget. With careful planning, the right tools, and a little patience, your kitchen can look brand new in just a few days. Whether you want a classic white, a bold color, or something unique, taking the time to do it right ensures a beautiful, long-lasting finish you’ll enjoy for years.

Credit: renovateai.app