
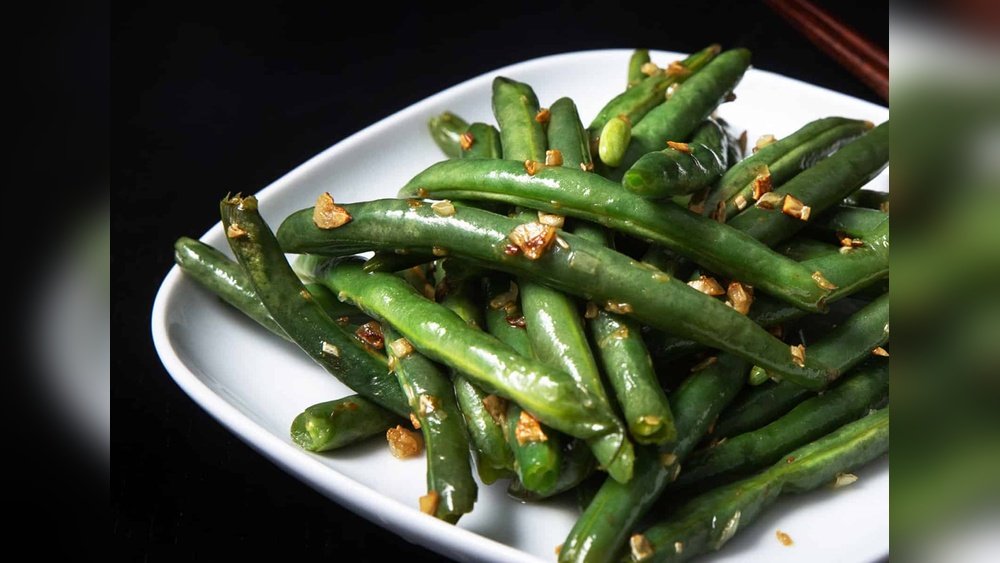
Canning green beans at home is a great way to capture their peak freshness and enjoy them all year long. Many home cooks now use the Instant Pot for canning, attracted by its convenience and speed. But the process isn’t exactly the same as using a traditional pressure canner. If you’re curious about how to safely can green beans in an Instant Pot, this guide is for you. We’ll walk through every step, share practical tips, and help you avoid common mistakes that could affect food safety or taste. Whether you’re new to canning or just want to modernize your method, you’ll find everything you need here.
Understanding Canning: Instant Pot Vs. Traditional Pressure Canning
Before you start, it’s important to understand how canning works—and what makes the Instant Pot different from a regular pressure canner.
Pressure canning uses high temperatures and pressure to destroy bacteria, including the dangerous Clostridium botulinum. This is critical for low-acid foods like green beans. Traditional pressure canners reach and maintain the USDA-recommended pressure and temperature for safe canning.
The Instant Pot is a multi-cooker, not a certified pressure canner. While it does have a pressure cooking function, most models don’t reach or hold the pressure and temperature needed for safe canning of low-acid foods. Some newer models (like the Instant Pot Max) claim to have a canning function, but the USDA has not tested or approved them for low-acid foods.
Key insight: The Instant Pot can be used for canning high-acid foods (like jams or tomatoes) with some risk, but for low-acid foods like green beans, it’s not officially recommended unless you’re using an approved pressure canner lid and following tested recipes. Still, many home cooks use the Instant Pot for “small batch” canning with extra care.
If you choose to use the Instant Pot, understand the risks and always follow up-to-date guidelines. For the safest results, a traditional pressure canner is still the gold standard.
What You Need: Tools And Ingredients
Getting organized before you start will make the process much smoother.
Tools And Equipment
- Instant Pot (preferably an Instant Pot Max or a model with a canning function)
- Canning jars (pint or quart size, regular or wide mouth)
- New canning lids and bands
- Jar lifter (to safely move hot jars)
- Canning funnel (helps fill jars without spills)
- Bubble remover or small spatula
- Clean towels and a cooling rack
- Large bowl for prepping beans
- Measuring spoons
- Non-reactive pot (for blanching, if desired)
Important tip: Only use jars and lids designed for canning. Old mayonnaise jars or saved glass bottles can crack or fail under pressure.
Ingredients
- Fresh green beans: About 2 pounds per quart jar, or 1 pound per pint jar
- Canning or pickling salt (optional): ½ teaspoon per pint, 1 teaspoon per quart
- Filtered water: For covering beans in jars
Note: The fresher the beans, the better your results. Pick young, tender beans that snap when bent.

Credit: www.tasteofhome.com
Preparing Green Beans For Canning
Getting the green beans ready is a simple but important step. How you prep your beans affects both flavor and safety.
- Wash beans thoroughly under running water to remove dirt and bacteria.
- Trim ends by snapping or cutting off both tips. Discard any beans with bruises or spots.
- Cut beans into uniform pieces—usually 1 to 2 inches long. This helps them pack better in jars and cook evenly.
Some people prefer to blanch beans (briefly boiling, then cooling in ice water) before canning. This isn’t required, but it can help keep the beans bright and improve texture. For the raw pack method, you can skip this step.
Pro tip: Don’t overfill jars. Leave the recommended headspace so jars seal properly.
How To Can Green Beans In The Instant Pot: Step-by-step
Now let’s get to the main event. These steps will guide you through the process from start to finish.
1. Sterilize Your Jars And Lids
- Wash jars, lids, and bands in hot, soapy water.
- Rinse well.
- Place jars in the Instant Pot with a few cups of water. Use the “Steam” setting for 10 minutes to sterilize.
- Remove jars carefully and set on a clean towel to dry.
Extra insight: Even though you’ll process jars under pressure, starting with sterile equipment reduces the risk of spoilage.
2. Pack The Jars
Raw Pack Method (most common for green beans):
- Fill each jar with cut green beans, packing tightly but not crushing.
- Add canning salt if desired (it’s for flavor, not safety).
- Pour boiling water into each jar, covering beans and leaving 1 inch of headspace.
- Run a bubble remover or spatula around the inside edge to release air bubbles.
- Wipe jar rims with a clean, damp towel.
- Place lids on jars and screw on bands until “fingertip tight.”
Hot Pack Method (optional):
- Blanch beans in boiling water for 5 minutes, then pack into jars.
- Add boiling water and continue as above.
3. Prepare The Instant Pot
- Place the trivet or canning rack in the bottom of the Instant Pot.
- Add about 2 cups of water to the liner (check your manual for the exact amount).
- Arrange filled jars on the rack. Jars should not touch the sides or each other.
- If stacking jars (in large Instant Pots), separate layers with another rack.
4. Process The Jars
- Lock the Instant Pot lid in place.
- Set the valve to “Sealing.”
- Choose the Pressure Cook or Canning function (if available).
- Process pint jars for 20 minutes and quart jars for 25 minutes at high pressure.
- When the time is up, allow the pressure to natural release completely. Do not quick release.
Safety note: The USDA does not recommend using the Instant Pot for low-acid foods. For best safety, use a tested pressure canner recipe and method.
5. Remove And Cool Jars
- Carefully open the lid, tilting it away from you.
- Use a jar lifter to remove hot jars.
- Place jars on a towel in a draft-free area.
- Let jars cool undisturbed for 12–24 hours.
6. Check The Seals
- After jars are cool, check lids for a proper seal. The center should be concave and not flex when pressed.
- Remove bands. Wipe jars clean and label with date.
If any jars didn’t seal, refrigerate and use within a few days.
Comparison: Instant Pot Vs. Traditional Pressure Canner
It’s easy to get confused about which method is best for canning green beans. Here’s a quick look at the differences:
| Feature | Instant Pot | Traditional Pressure Canner |
|---|---|---|
| Certified for Low-Acid Foods | No | Yes |
| Pressure Control | Limited | Precise |
| Batch Size | Small (3–4 jars) | Large (7–19 jars) |
| Speed | Faster for small batches | Slower but reliable |
| Safety | Some risk for low-acid foods | Very safe if used properly |
Common Mistakes To Avoid
Even experienced home canners make mistakes. Here’s what to watch out for:
- Using old or damaged jars. These can crack or break during processing.
- Not leaving enough headspace. Overfilled jars may not seal properly, or food may leak out.
- Skipping the air bubble step. Trapped air can cause spoilage.
- Quick releasing pressure. Always let pressure release naturally to avoid jar breakage and underprocessed food.
- Not checking seals. Unsealed jars can spoil quickly.
- Using non-canning salt. Table salt contains additives that cloud the liquid.
Extra insight: Don’t can green beans that are past their prime—old beans can turn mushy and off-flavored after canning.
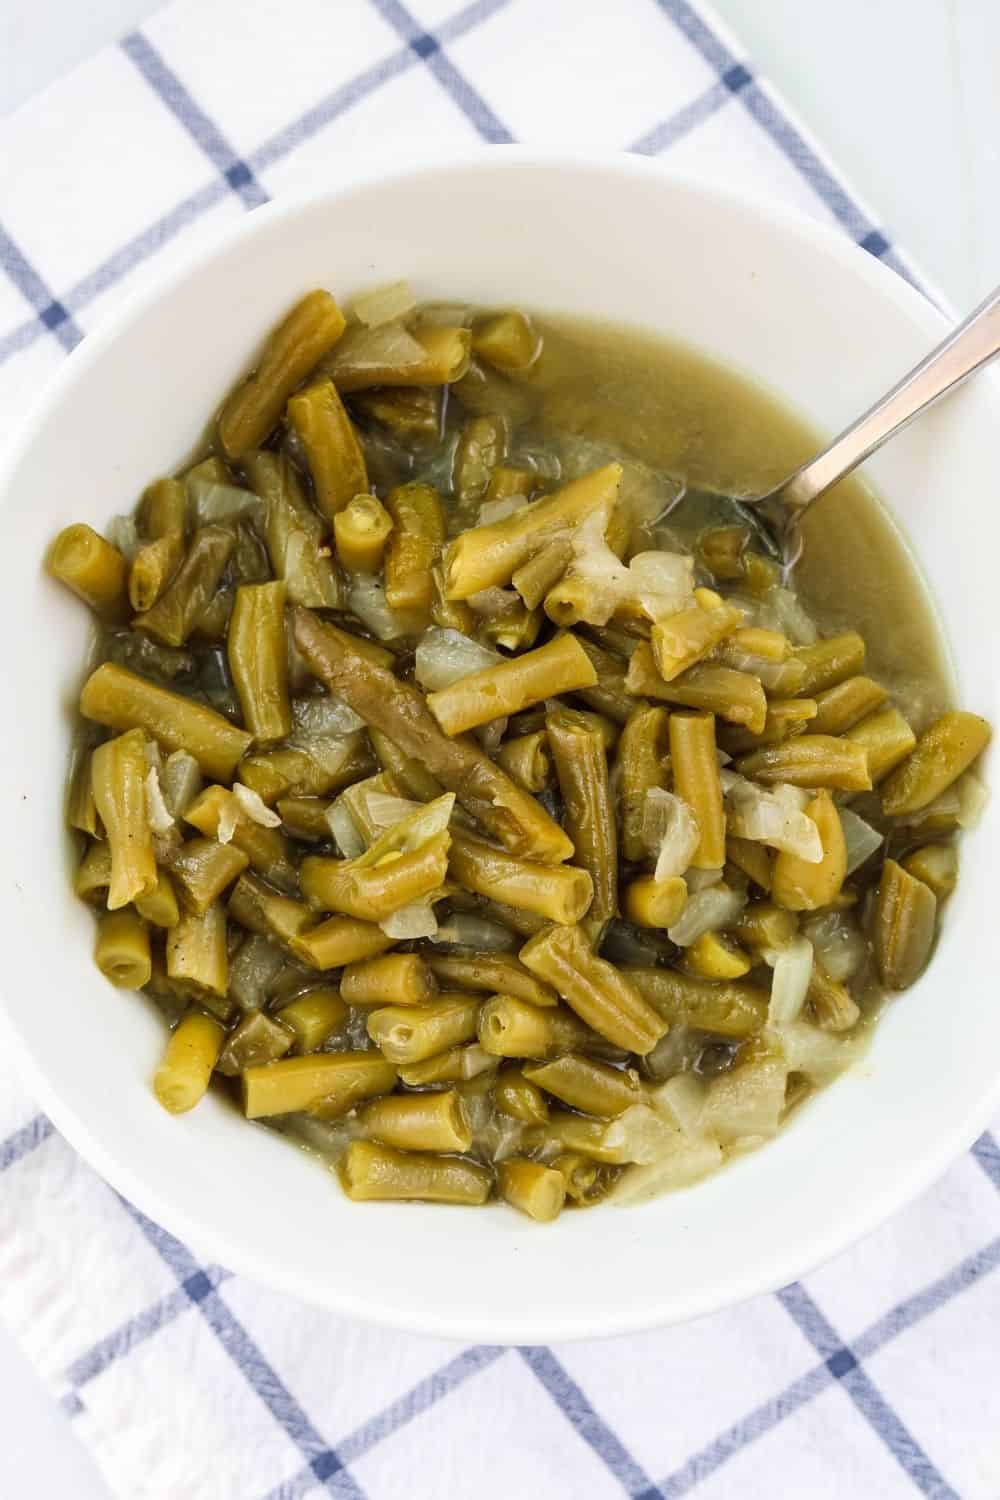
Credit: marginmakingmom.com
Tips For Best Results
- Use the freshest beans possible. Beans lose quality quickly after picking.
- Pack jars tightly but don’t crush the beans.
- Label jars with the date and batch for easy tracking.
- Store jars in a cool, dark place. Light and heat can reduce shelf life and flavor.
- Test a jar after a month to check flavor and texture, especially if it’s your first time.
Storage And Shelf Life
Properly canned green beans can last 12 to 18 months in a cool, dark pantry. After opening, refrigerate unused beans and use within 3–5 days.
Signs of spoilage include:
- Bulging lids
- Leaking jars
- Off smells or colors
If in doubt, throw it out. Never taste or eat beans from a suspect jar.
Variations: Seasoning Your Green Beans
Green beans can be delicious as-is, but adding spices or herbs can elevate the flavor.
Popular options include:
- Garlic cloves (one per jar)
- Dill sprigs
- Mustard seeds
- Crushed red pepper flakes
- Peppercorns
- Onion slices
Add these to jars before filling with beans and water. Avoid fat, dairy, or thickeners—they are not safe for home canning.
Troubleshooting: What To Do If Something Goes Wrong
Lid Didn’t Seal
- Refrigerate and use within a few days.
- Or, reprocess with a new lid within 24 hours.
Cloudy Liquid
- Usually caused by using table salt or minerals in water. Still safe if jars are sealed and there’s no spoilage.
Beans Are Mushy
- Overprocessing or using old beans.
- Next time, start with fresher beans and watch processing time closely.
Jars Broke
- Often from sudden temperature changes or using non-canning jars.
The Science Of Canning Green Beans
Green beans are a low-acid food (pH above 4.6), which means they can support the growth of botulism bacteria if not processed correctly. Only high heat (240–250°F/116–121°C) destroys these bacteria and their spores.
The Instant Pot’s pressure cook function can reach high temperatures, but not all models hold it long enough or evenly enough for safety. For this reason, the USDA and National Center for Home Food Preservation recommend using a tested pressure canner for low-acid vegetables.
For more information, the National Center for Home Food Preservation offers detailed, research-based guidelines.
Water Bath Vs. Pressure Canning: Why It Matters
It’s tempting to use a water bath for green beans, but that method is only safe for high-acid foods. Here’s a comparison:
| Method | Safe for Green Beans? | Typical Use |
|---|---|---|
| Water Bath Canning | No | Jams, jellies, pickles, tomatoes (with acid) |
| Pressure Canning | Yes | Vegetables, meats, poultry, seafood |
Never use a water bath for canning green beans unless you are making a true pickled bean recipe with enough added vinegar.
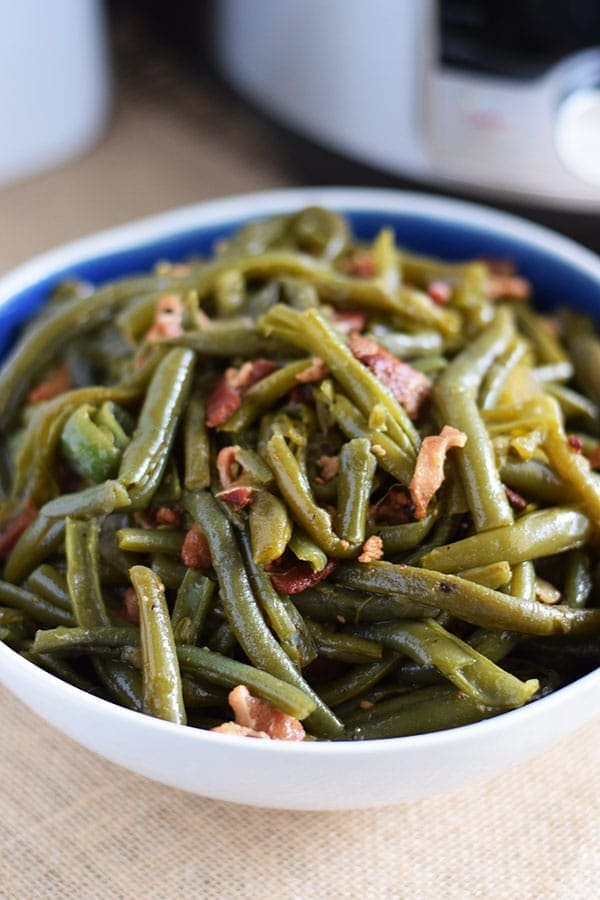
Credit: www.soulfullymade.com
How To Tell If Your Instant Pot Is Safe For Canning
Not all Instant Pots are created equal. If you want to try canning green beans, check for these features:
- Canning function listed in the manual
- Maximum pressure: Should reach at least 15 psi
- Temperature control: Must maintain 240°F (116°C) or higher
- Jar size compatibility: Some pots only fit small jars
If your model doesn’t specifically support canning, use a traditional pressure canner for safety.
Step-by-step Safety Checklist
- Inspect jars and lids for cracks or chips.
- Wash hands and all equipment thoroughly.
- Use only fresh, undamaged green beans.
- Measure headspace precisely.
- Follow tested recipes and processing times.
- Allow for natural pressure release.
- Store sealed jars in a cool, dark place.
Example: Canning 4 Pint Jars In An Instant Pot
Let’s say you have 4 pounds of fresh green beans and a 6-quart Instant Pot. Here’s how you’d proceed:
- Trim and cut beans.
- Prepare 4 pint jars, sterilizing as described.
- Pack jars with beans and add ½ teaspoon canning salt to each.
- Fill with boiling water, leaving 1 inch headspace.
- Seal jars and place on trivet.
- Add 2 cups water to the Instant Pot.
- Process on high pressure for 20 minutes.
- Natural release.
- Remove, cool, and check seals.
Result: 4 jars of home-canned green beans for your pantry.
Sample Timeline For Canning Day
| Task | Approximate Time |
|---|---|
| Washing and trimming beans | 30 minutes |
| Sterilizing jars and lids | 15 minutes |
| Packing and filling jars | 20 minutes |
| Processing (pressure cook + release) | 40 minutes |
| Cooling and sealing | 12–24 hours |
Planning your canning day helps avoid rushing and mistakes.
Canning For Beginners: What You Might Not Know
- Processing time starts after pressure is reached. The Instant Pot will take 10–15 minutes to reach pressure before the timer begins. Don’t rush this.
- Altitude affects canning time. If you live above 1,000 feet, increase processing time as per guidelines. Many beginners miss this adjustment.
Cleaning Up
Once you’ve finished, wash all equipment in hot, soapy water. Let the Instant Pot liner dry fully before storing. Check for any mineral buildup and clean with vinegar if needed.
Frequently Asked Questions
How Long Do Home-canned Green Beans Last?
Properly canned green beans last 12 to 18 months in a cool, dark place. Always check for signs of spoilage before eating.
Can I Add Vinegar Or Lemon Juice For Extra Safety?
For green beans, acidification (adding vinegar or lemon juice) is only for pickled recipes. It does not make plain beans safe for water bath canning. Stick to pressure canning for regular green beans.
Is It Safe To Stack Jars In The Instant Pot?
Yes, as long as you use a rack between layers and jars don’t touch each other or the pot sides. Make sure there is enough space for steam to circulate.
Can I Reuse Canning Lids?
No, always use new canning lids for every batch. Used lids may not seal properly, risking spoilage.
Why Did My Beans Turn Dull Or Olive-colored?
This is normal for pressure-canned green beans. The high heat changes the color, but the beans are still safe and tasty.
Canning green beans in the Instant Pot can be rewarding and efficient, but safety always comes first. If you’re ever unsure, check reliable sources like the National Center for Home Food Preservation. With care and practice, you’ll be able to enjoy your garden’s bounty all year round. Happy canning!