Replacing kitchen drawers can completely change the look and function of your kitchen. Many homeowners believe this job is only for professionals, but with the right guidance, almost anyone can do it. This process not only updates your kitchen’s style but also fixes issues like stuck drawers, worn slides, or damaged fronts.
Whether your goal is to modernize, repair, or simply refresh your space, understanding each step and what to expect will help you achieve great results.
This guide walks you through everything you need to know about replacing kitchen drawers. You’ll learn how to measure, choose new materials, safely remove old drawers, install new ones, and avoid common mistakes. Along the way, you’ll find tables comparing drawer materials, slides, and handle types to help you make confident choices.
By the end, you’ll be able to tackle this home improvement project with skill and clarity.
Why Replace Kitchen Drawers?
Many people wonder if it’s worth replacing kitchen drawers or just repairing them. Here are the most common reasons homeowners choose to replace:
- Worn-out drawers: Over time, drawers can sag, stick, or break.
- Updating style: Modern drawer fronts or handles can change the kitchen’s look.
- Improved storage: New drawers offer smarter organization and better access.
- Damaged hardware: Slides, tracks, or handles may stop working smoothly.
- Home value: Updated drawers are appealing to buyers and renters.
If your kitchen drawers are more than 10–15 years old, you may notice that they don’t glide as easily. Some old drawers also lack soft-close features, which are common in newer kitchens. In some cases, the finish on older drawers can yellow, chip, or peel, making even a clean kitchen look less tidy.
Replacing drawers allows you to not only fix what’s broken but also add features that make everyday tasks easier. For example, deeper drawers can hold pots and pans, while dividers keep utensils organized. Homebuyers often check kitchen storage first, so updated drawers can make your home stand out if you ever decide to sell.
Tools And Materials Needed
Before you begin, gather all the necessary tools and supplies. Having everything ready makes the job smoother.
Basic tools:
- Screwdriver (Phillips and flathead)
- Power drill with bits
- Hammer or rubber mallet
- Measuring tape
- Level
- Square
- Pencil
- Pry bar (for stubborn drawers)
- Safety glasses and gloves
Materials:
- New drawer boxes
- Drawer slides/runners
- Drawer fronts (if replacing)
- Handles or knobs
- Screws (usually included with slides/handles)
- Wood glue (optional, for assembly)
- Sandpaper (for adjustments)
Pro tip: Some drawer replacements require special screws or brackets. Always check the instructions for your new drawers.
If you are installing many drawers, a cordless drill with a magnetic bit holder can save time and reduce wrist strain. Some people also use a clamp to hold drawer fronts in place while attaching them, which helps with alignment.
For older kitchens, have a flashlight handy to see into deep or dark cabinets, and a small vacuum to clear out dust or debris that might affect installation.
Credit: www.cabinetdoors.com
Understanding Kitchen Drawer Types
Not all kitchen drawers are the same. Knowing what you have and what you want helps you select the right replacements. This understanding also helps you spot issues before they become bigger problems during installation.
Common Drawer Box Materials
Drawer boxes are made from different materials, each with pros and cons. Here’s a quick comparison:
| Material | Durability | Cost | Maintenance |
|---|---|---|---|
| Solid Wood | High | High | Low |
| Plywood | Medium-High | Medium | Low |
| MDF | Medium | Low | Medium |
| Particleboard | Low | Lowest | High |
Solid wood drawers last the longest and look beautiful but are expensive. Plywood is a popular choice for its strength and lower price. MDF and particleboard are budget-friendly but may swell if they get wet. MDF is smoother, making it good for painted finishes, but it’s heavier and not as strong under heavy loads. Particleboard is best for light use or rental units where cost is a bigger factor than lifespan.
Drawer Front Styles
The drawer front is the visible part. You can choose:
- Slab: Flat and modern.
- Shaker: Framed, classic look.
- Raised panel: Traditional and detailed.
- Beadboard: Cottage style.
Matching the drawer front to your cabinet doors keeps your kitchen design consistent. If you want to add character, mix slab and Shaker styles for a two-tone effect, or use beadboard for a cozy, farmhouse look. Some manufacturers offer custom colors or patterns, which lets you personalize your kitchen further.
Drawer Slide Types
Drawer slides, or runners, affect how smoothly the drawer opens and closes. Here’s a comparison:
| Slide Type | Mount Location | Capacity | Soft-Close |
|---|---|---|---|
| Side-mount | Sides of drawer | Medium-High | Optional |
| Under-mount | Bottom, hidden | High | Yes |
| Center-mount | Bottom, center | Low | No |
Under-mount slides are common in new kitchens for their smooth operation and hidden look. They also support more weight. If you store heavy pots or pans, under-mount or heavy-duty side-mount slides will last longer. Center-mount slides are simple and cheap but don’t hold as much weight and can wobble if overloaded.
Measuring For Replacement Drawers
Getting accurate measurements is crucial. The wrong size drawer will not fit, or may not open and close properly.
Steps to measure:
- Remove the old drawer from the cabinet.
- Measure the width, depth, and height of the drawer box. Measure to the nearest 1/16 inch.
- Measure the opening in the cabinet for width and height.
- Check the type and location of the slides (side, center, under-mount).
- If replacing the drawer front, measure its width and height separately.
Non-obvious tip: Always measure both the drawer and the cabinet opening. Cabinets are not always perfectly square, especially in older homes. Measure at several points and use the smallest measurement to avoid problems.
Common mistake: Ordering drawers based only on the old drawer size, not the cabinet opening. This can lead to drawers that don’t fit.
If you have a corner cabinet or an L-shaped drawer, special measuring is needed. For deep drawers, measure the inside depth of the cabinet, not just the old drawer, to ensure your new box doesn’t hit the back wall. Also, check for obstacles inside the cabinet—pipes, electrical outlets, or bracing can limit drawer depth.
Removing Old Kitchen Drawers
Taking out old drawers is usually simple, but sometimes slides or stops make the process tricky.
How to remove:
- Pull the drawer out as far as it goes.
- Look for a lever or tab on the slide. Press or lift it to release.
- If there’s no lever, gently lift the drawer up and out at the end.
- For center-mount slides, lift the back of the drawer and pull.
- Remove screws securing the slides if you are replacing them.
- If the front is attached separately, unscrew it from the drawer box.
Tip: Label each drawer and front if you’re reusing parts. This prevents mix-ups during reassembly.
Some old drawers have nails or glue. Use a pry bar or mallet for stubborn pieces, but work slowly to avoid damaging the cabinet. For painted drawers, score the paint line between the front and box with a utility knife before removal to prevent peeling.
Save any hardware or slides in a separate container in case you need them as a reference or for matching during installation.
Choosing Replacement Drawers
When you buy or build new drawers, you have several options:
- Pre-made drawer boxes: Sold at home improvement stores and online. Choose the closest size match.
- Custom-made drawers: Ordered to your exact measurements. More expensive, but fit perfectly.
- DIY drawer kits: You assemble these yourself, cutting to size if needed.
- Full replacement systems: Some brands sell complete drawer and slide systems, especially for modern kitchens.
What to consider:
- Material quality (see earlier table)
- Slide compatibility (side, under, center)
- Weight capacity (heavy pots need stronger slides)
- Finish and color
- Budget
Pro insight: In many cases, upgrading to soft-close slides adds only $20–$40 per drawer but greatly improves feel and resale value.
Another factor is lead time. Custom drawers can take several weeks to arrive, especially in busy seasons. If you’re in a hurry, check local stores for in-stock options. Don’t forget to ask about return policies, especially if you’re not sure about measurements or finish matching.
Credit: www.lxhausys.com
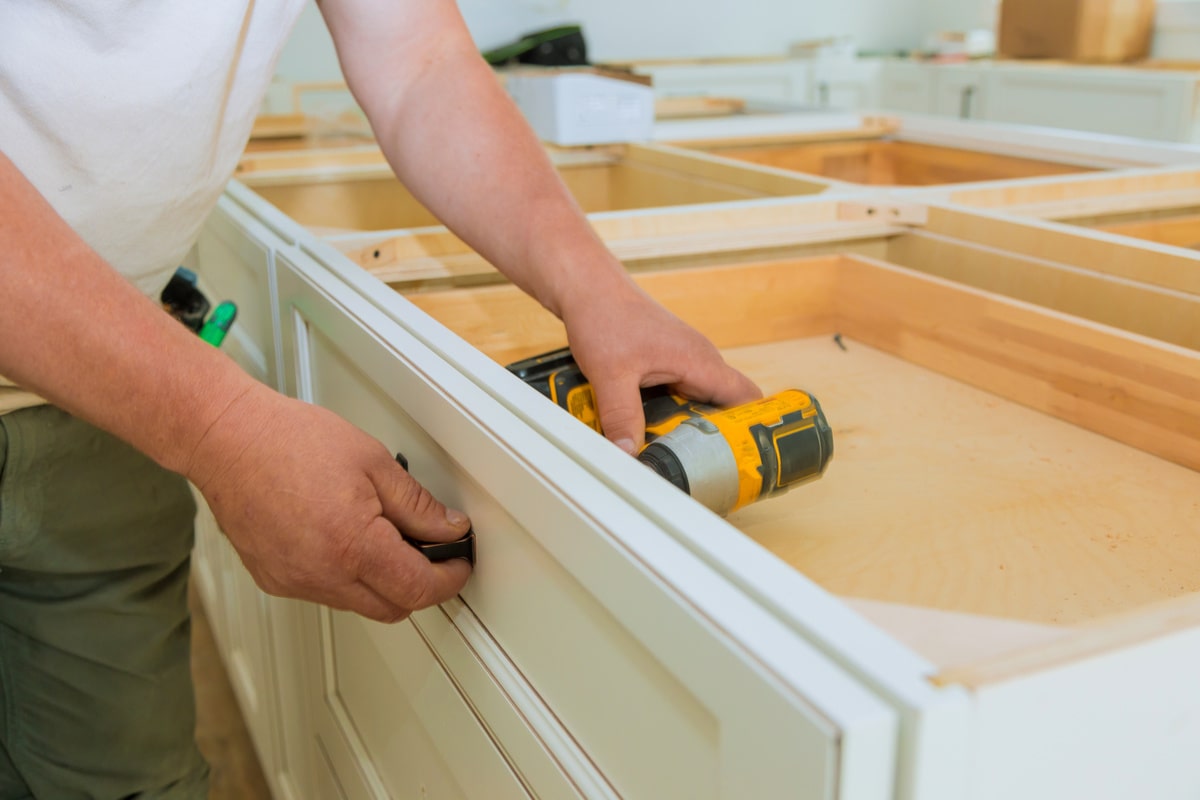
Installing New Drawer Boxes
This is the core step. Working carefully ensures your drawers glide smoothly and last for years.
Step-by-step Installation
- Prepare the cabinet: Clean out old dust or debris. Fill any old screw holes with wood filler if needed.
- Install new slides: Attach the slides inside the cabinet. Use a level and measuring tape to keep them straight and at the same height.
- Attach slides to drawer: Fix the matching part of the slide to the drawer box. Check the instructions for screw type and position.
- Test fit: Slide the drawer into the cabinet. It should move smoothly without rubbing or sticking.
- Adjust if needed: If the drawer is crooked, adjust the slides. You may need to loosen screws and shift slightly.
- Secure the drawer front: If replacing, line up the new front and attach with screws from inside the drawer box.
- Install handles or knobs: Mark holes carefully, drill, and screw in place.
Insider tip: Using a template for handles ensures all knobs are at the same height and spacing, giving your kitchen a professional look.
Some drawers require spacers between the slide and cabinet wall if your cabinet is wider than the drawer. For under-mount slides, make sure the rear brackets are secure and the slide is perfectly parallel, or the drawer may jam. Use a piece of painter’s tape as a temporary guide to help with alignment.
Common Issues And Fixes
- Drawer won’t close fully: Slides may not be aligned. Loosen, realign, and retighten.
- Drawer tilts: One side may be higher. Use a level during installation.
- Drawer is too tight/loose: Double-check measurements or consider adding washers or shims for a better fit.
A less obvious problem is slide screws working loose over time, especially in soft cabinet sides. Use longer screws or wood glue in the holes to give extra holding power if this happens.
Upgrading To Modern Features
If you’re replacing drawers, it’s a good chance to add modern upgrades.
Soft-close Slides
Soft-close slides prevent drawers from slamming. They use a small hydraulic damper to gently pull the drawer closed.
- Benefits: Quiet, safer for children, less wear and tear.
- Cost: $15–$40 per pair.
- Installation: Same steps as standard slides, but sometimes require deeper cabinets.
Soft-close slides can help reduce stress on your cabinetry, especially if your family uses the kitchen heavily. They are also a big plus for elderly users, making drawers easier to close without force.
Full-extension Slides
Standard slides only let drawers open about 75%. Full-extension slides let you pull the drawer out completely, making it easier to reach items at the back.
- Cost: $20–$50 per pair.
- Best for: Deep drawers or hard-to-reach cabinets.
Full-extension slides are especially useful for base cabinets, where items can get lost in the back. If your kitchen has deep pantry drawers, consider upgrading all of them for the best access.
Drawer Organizers
Modern drawer systems often include built-in organizers for cutlery, utensils, or spices. Consider these for improved kitchen function.
You can find adjustable organizers, or buy custom-fit versions made of wood or plastic. Some systems have modular pieces that you can move as your needs change. Even simple add-ons, like a pegboard for plates or bamboo cutlery trays, can make a big difference.
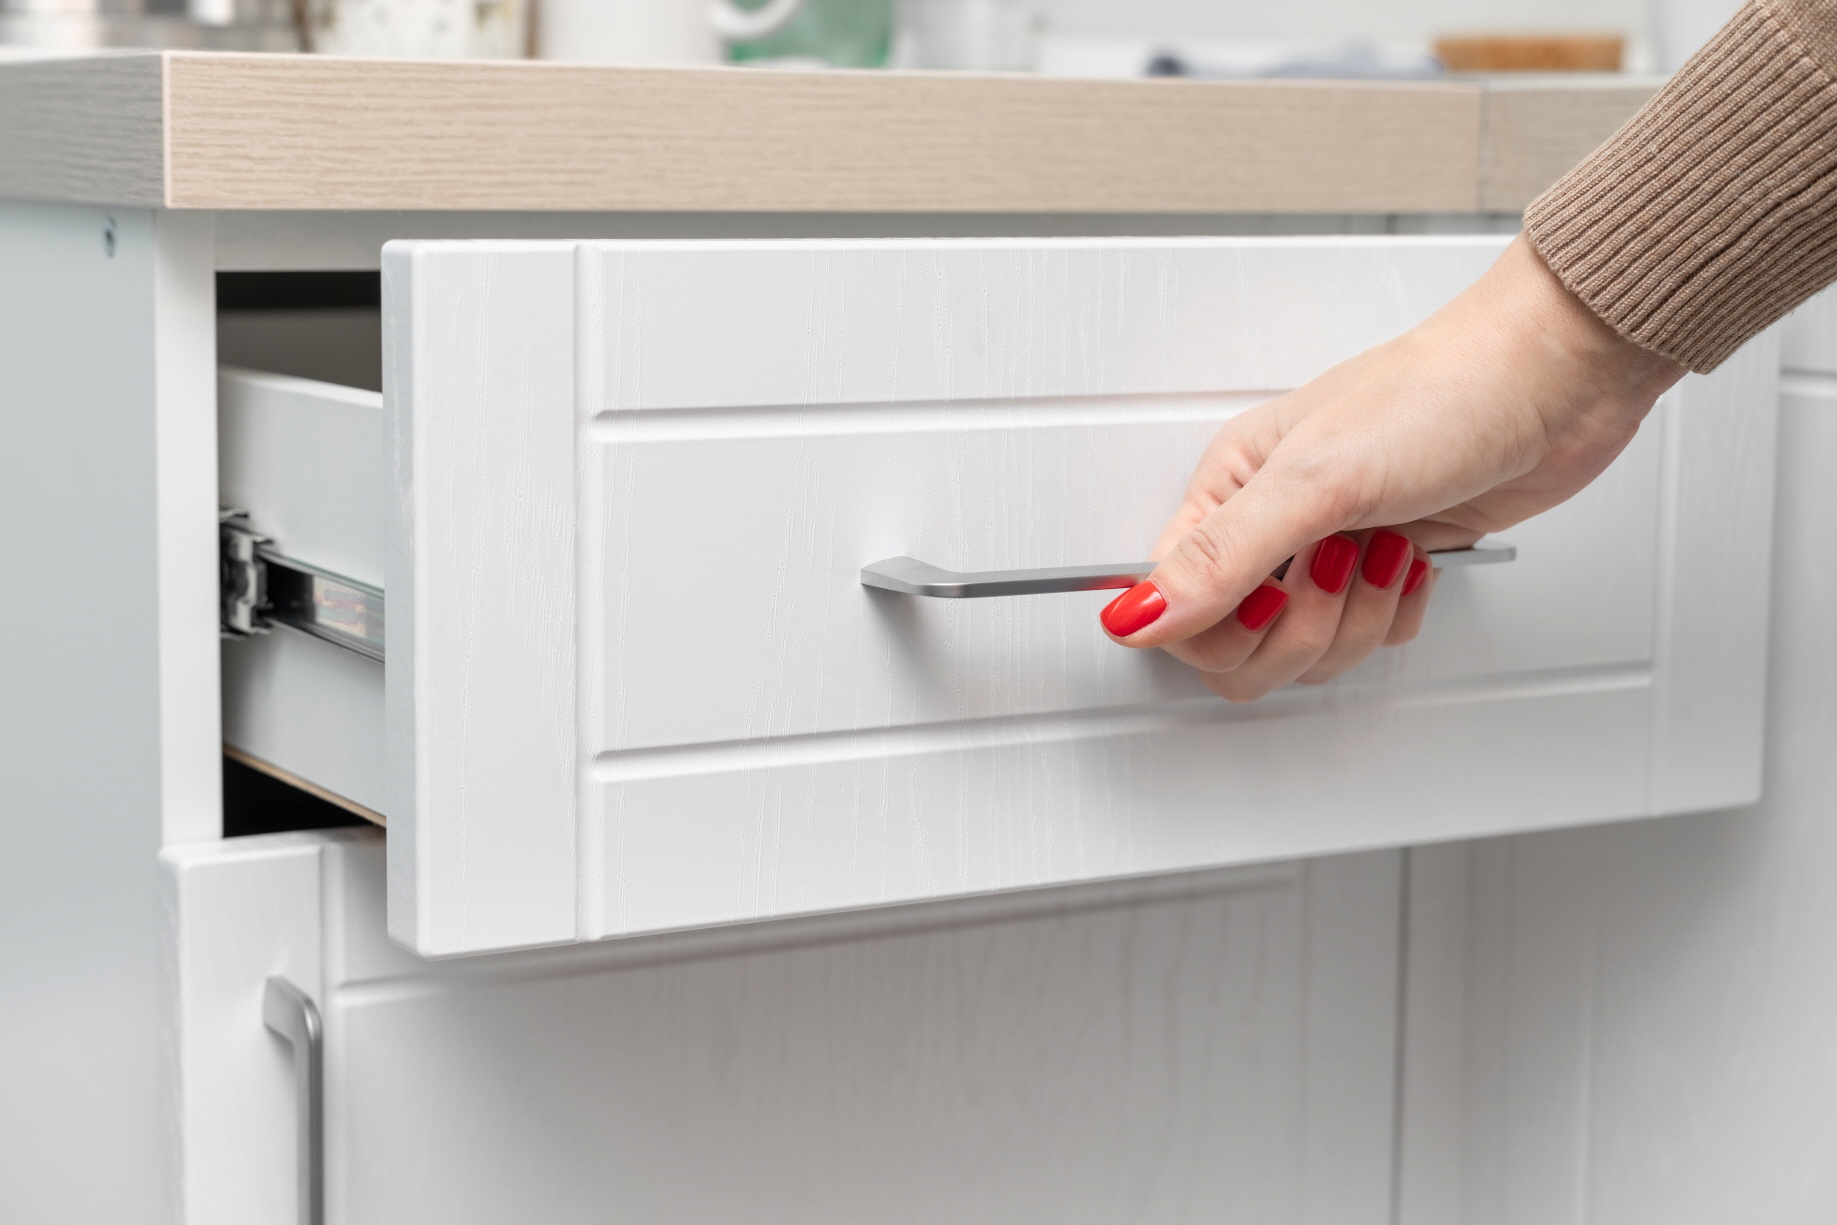
Selecting Drawer Handles And Knobs
Handles and knobs make a big difference in appearance and comfort. Here’s a comparison to help you choose:
| Type | Style | Ease of Use | Best For |
|---|---|---|---|
| Knob | Round, simple | Easy | Small drawers |
| Bar Pull | Modern, linear | Very easy | Wide drawers |
| Drop Handle | Classic, ornate | Medium | Traditional kitchens |
Quick tips:
- For wide drawers, use two knobs or one long pull.
- Match handle finish to your faucet and appliances for a coordinated look.
Handles are not just for style—they should feel comfortable in your hand. If you cook often, choose hardware that’s easy to grip with wet or greasy hands. Test a few options in-store before buying a full set.
Safety Considerations
Working in the kitchen involves sharp tools and heavy parts. Always:
- Wear safety glasses when drilling or prying.
- Use gloves to protect hands from splinters or metal edges.
- Keep children and pets away from your workspace.
- Turn off power tools when not in use.
- If using wood glue, ventilate the area.
If you are working alone, keep a phone nearby in case of emergency. For heavy drawer boxes, ask for help lifting to avoid back strain. Clean up all sawdust and sharp screws as soon as you finish to prevent accidents later.

Credit: www.youtube.com
Diy Vs Professional Help
Many homeowners can replace kitchen drawers themselves. But some situations call for a professional:
- Custom cabinets: Odd sizes or shapes may need skilled carpentry.
- Structural damage: If the cabinet frame is broken, get help.
- Limited tools/skills: If you don’t have the right tools or experience, hire a pro for the best finish.
Cost range: A typical DIY drawer replacement costs $40–$100 per drawer for materials. Professional installation may add $50–$100 per drawer.
Non-obvious insight: Some local hardware stores offer custom cutting or assembly services, which can save time and reduce mistakes.
Also, if your kitchen is part of a larger remodel, hiring a professional ensures all cabinets and drawers align perfectly with new appliances or counters. Mistakes in drawer installation can delay other work, so plan ahead if you’re on a tight schedule.
Common Mistakes To Avoid
- Measuring only once: Double-check all measurements before ordering.
- Ignoring slide compatibility: Not all slides fit all cabinets or drawers.
- Rushing installation: Take time to level and align slides.
- Skipping handle templates: Misaligned handles look unprofessional.
- Forgetting to check clearance: Make sure drawers open fully without hitting doors or appliances.
Another mistake is forgetting to test every drawer after installation. Sometimes small adjustments can make a big difference in smoothness. If you have inset cabinet doors, make sure the drawer doesn’t bump into them when opening.
Maintenance Tips For New Drawers
Once your new drawers are in place, a little care keeps them working well.
- Clean slides every few months with a damp cloth. Avoid oil, which can attract dust.
- Check screws annually for tightness.
- Don’t overload drawers. Heavy items can bend slides or bottom panels.
- Wipe spills immediately to prevent water damage.
Extra advice: If a drawer starts to stick, check for crumbs or debris in the slide before assuming it’s broken.
For painted or wood fronts, use a gentle cleaner and avoid harsh chemicals. If you have soft-close slides, don’t force the drawer shut—let the mechanism do the work to extend its life.
When To Replace, When To Repair
Not all drawer problems need replacement. Here’s a quick guide:
- Replace if: Wood is warped, cracked, or swollen; slides are broken; style is outdated.
- Repair if: Only the handle is loose; minor chips or scratches; slide screws are missing.
If you’re unsure, remove the drawer and inspect closely. Minor issues may only need a new slide or handle.
For minor chips, wood filler and touch-up paint can make an old drawer look new again. If the bottom sags, you might be able to add a reinforcing strip rather than replace the whole box.
Environmental Considerations
If you care about sustainability, look for:
- FSC-certified wood for drawer boxes.
- Low-VOC finishes on fronts.
- Recycle old metal slides and hardware.
- Repurpose old drawer boxes for garage or closet storage.
Some companies now offer eco-friendly kitchen upgrade options. For more on sustainable choices, see this Sustainable Furniture resource.
You can also donate old but usable drawer fronts or boxes to local reuse centers or charities. Upcycling old drawers as planters or organizers gives them a second life.
Real-life Example: A Simple Drawer Swap
Let’s follow a real-world example to make things clearer.
Sarah’s kitchen had four old drawers. The slides were sticking, and two drawer fronts were chipped. She measured her drawers and openings, then ordered pre-made plywood boxes and new under-mount soft-close slides. The total cost was $220.
Sarah removed the old drawers, cleaned the cabinets, and installed new slides using a level. She attached the drawer boxes, adjusted for smooth movement, and screwed on new Shaker-style fronts. Bar pulls completed the look. The job took a weekend, and now the drawers glide easily and look modern.
Key learning: Even with basic tools and patience, homeowners can achieve professional results.
Another family with custom cabinets ran into a challenge: the openings were not square, and standard drawers didn’t fit. After double-checking measurements, they ordered custom boxes and had a local carpenter help with installation. The extra cost was worth the perfect fit and smooth function.
Frequently Asked Questions
How Long Does It Take To Replace Kitchen Drawers?
For most kitchens, replacing drawers takes 1–2 hours per drawer. If you have the right tools and pre-made boxes, it’s often possible to do a small kitchen in a single weekend. Custom installations or repairs may take longer, especially if you need to fix cabinet damage or wait for special orders.
Can I Reuse My Old Drawer Fronts With New Boxes?
Yes, if the old fronts are in good shape and fit the new boxes. Measure carefully and attach the fronts with screws from inside the drawer box. Sometimes you may need to fill old holes and drill new ones for a secure fit.
If the finish doesn’t match, consider repainting or refinishing the fronts before reinstalling.
Are Soft-close Slides Worth The Extra Cost?
Soft-close slides are a popular upgrade. They reduce noise, prevent slamming, and add value. Most homeowners find the extra $20–$40 per drawer worthwhile, especially in busy kitchens or homes with children. Over time, they also help protect the cabinet from damage due to repeated slamming.
What’s The Best Material For Drawer Boxes?
Plywood is often the best balance of strength, cost, and durability. Solid wood is excellent but more expensive. Avoid particleboard in areas where water is a concern. For painted drawers, MDF gives a smooth look but is heavier.
Do I Need To Hire A Professional For This Project?
Most handy homeowners can replace drawers themselves. If your cabinets are custom or damaged, or you lack tools, hiring a professional ensures the best results. For large kitchens or tight deadlines, expert help can also speed up the process and guarantee a uniform finish.
Replacing kitchen drawers is a smart way to refresh your kitchen without a full remodel. With careful planning, the right tools, and a little patience, you can achieve a result that’s both beautiful and functional. Take your time, measure twice, and enjoy your new kitchen storage for years to come.