Sublimating a tumbler in a regular oven might sound tricky, but it’s a rewarding process that lets you add your own style to drinkware without needing expensive equipment. Many people believe you need a special convection oven or heat press for sublimation, but with care, even a home oven can work.
If you want to make personalized tumblers for gifts, small business, or just for fun, learning to sublimate with what you already have is a smart and budget-friendly choice.
However, there are important steps and safety rules you must follow. Using a regular oven for sublimation is not exactly the same as using professional tools. The heat can be less even, there are risks of fumes, and you need to protect both your project and your health. In this guide, you’ll discover everything you need to know: from the right materials to the step-by-step process, troubleshooting, safety tips, and even common mistakes beginners make. Whether you’re a craft hobbyist or thinking of starting a small business, this in-depth article will help you create beautiful custom tumblers using just a regular oven. Let’s get started!
What Is Sublimation And Why Use It For Tumblers?
Sublimation is a special printing process. A design is printed on special paper using sublimation ink. When you heat the paper and the tumbler together, the ink turns into a gas and becomes part of the tumbler’s coating. This means the design won’t peel, scratch, or fade easily. The colors stay bright and vibrant.
Tumblers are a popular choice for sublimation because they are useful, attractive, and often made with a polymer-coated surface that works perfectly with sublimation ink. You can customize tumblers for birthdays, company gifts, or your own brand.
Two key reasons people love sublimation for tumblers:
- Full-color designs: You can use photos, patterns, logos, or text in any color.
- Durability: The design is part of the tumbler, so it lasts through washing and daily use.
Can You Really Sublimate Tumblers In A Regular Oven?
It’s a common question: do you need a special convection oven for sublimation? The answer is no—you can use a regular household oven, but you must follow special steps.
Why does this work?
- Sublimation only requires the right temperature and time for the ink to transfer.
- Most regular ovens can reach the needed 350–400°F (177–204°C) range.
- The key is consistency: Your oven must keep a stable temperature and heat the tumbler evenly.
Important note: Do not use your kitchen oven for food after you use it for sublimation. Sublimation releases fumes that can linger. For safety, use a second oven dedicated to crafting.
What You Need: Materials And Tools
Before you start, gather all the materials. Missing even one thing can ruin your project or make it unsafe.
Essential Materials
- Sublimation-ready tumbler
- Must be stainless steel or glass, coated with a polymer or sublimation coating.
- Check the label: “sublimation blank” or “sublimation ready.”
- Sublimation paper
- Special paper that holds and releases sublimation ink.
- Sublimation ink
- Regular ink will not work. Use only sublimation ink with your printer.
- Sublimation printer
- Epson EcoTank, Sawgrass, or similar models that can use sublimation ink.
- Heat-resistant tape
- Holds the paper firmly on the tumbler during heating.
- Shrink wrap or silicone wraps
- Helps apply even pressure for a clear, all-over transfer.
- Gloves
- Heat-resistant gloves protect your hands when handling hot tumblers.
- Parchment paper
- Prevents ink from touching the oven or other surfaces.
- Thermometer
- An oven thermometer checks your oven’s true temperature.
Recommended Tools
- Craft knife or scissors (to trim designs)
- Lint roller (removes dust or fibers from the tumbler)
- Ruler or measuring tape (for design placement)
- Protective face mask (if you’re sensitive to fumes)
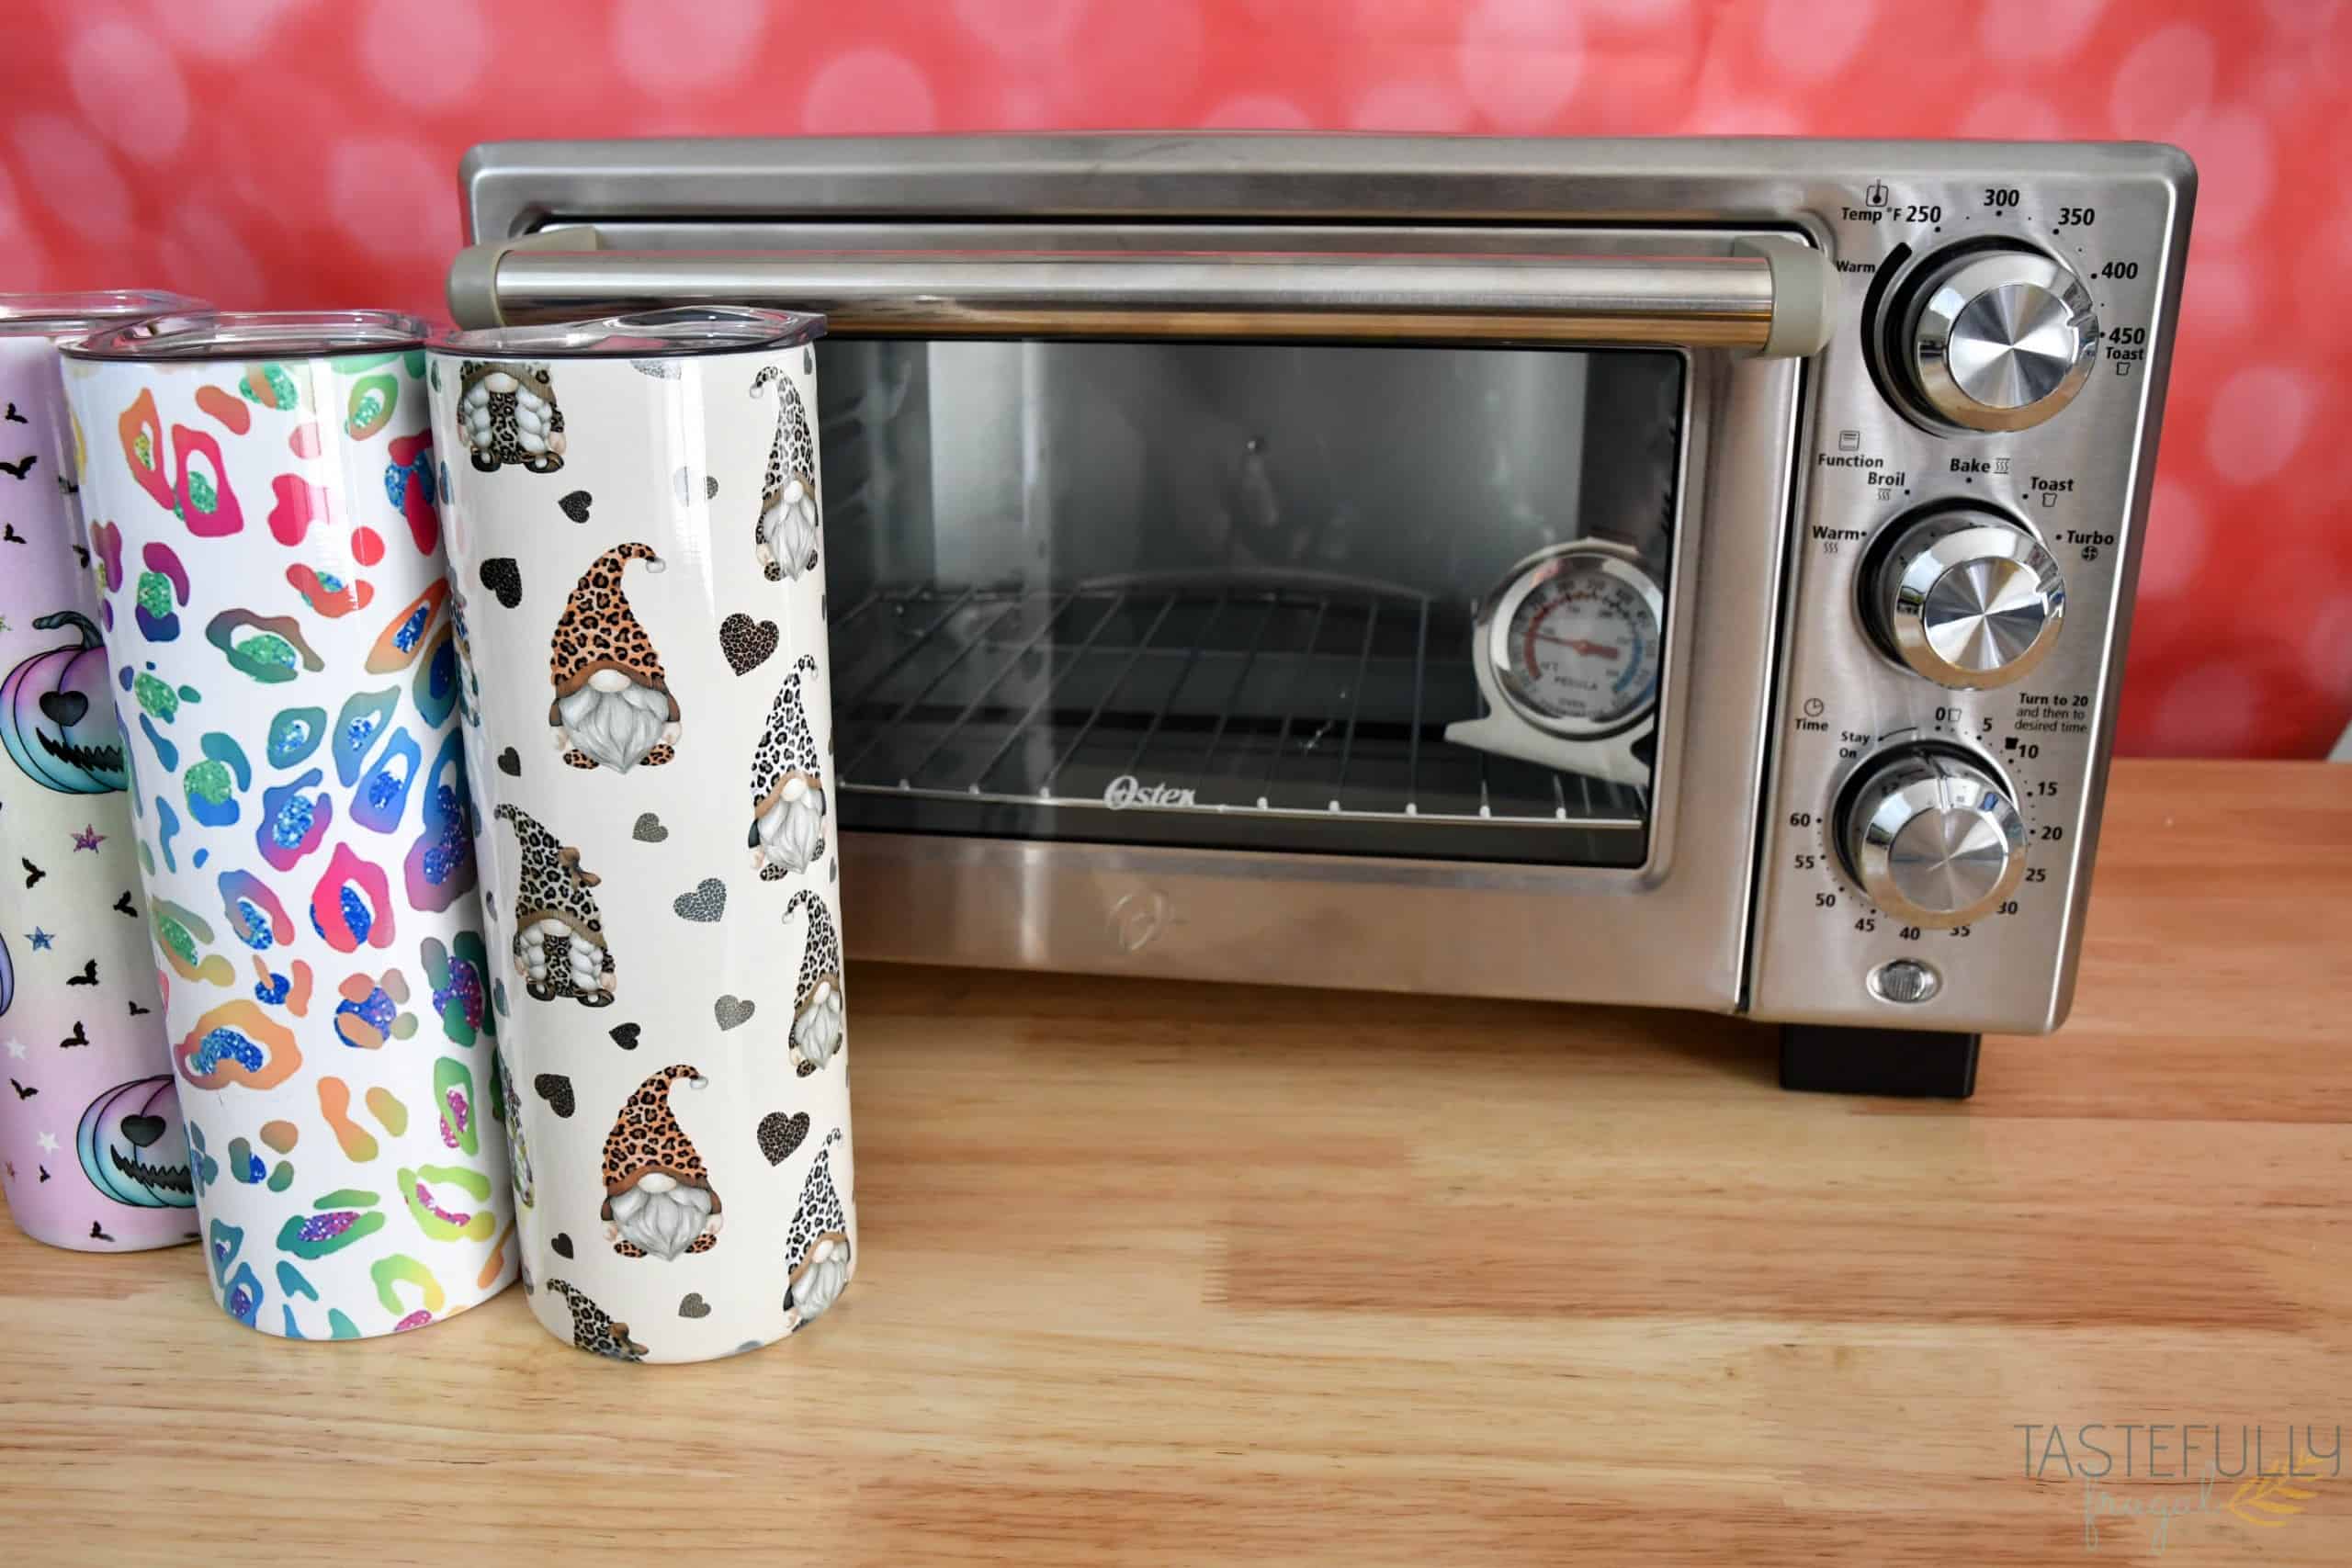
Choosing The Right Tumbler For Sublimation
Not all tumblers work for sublimation. Here’s how to select the right one:
Tumbler Material Comparison
| Material | Coating Needed | Sublimation Quality | Notes |
|---|---|---|---|
| Stainless Steel | Polymer-coated | Excellent | Most common for sublimation |
| Glass | Polymer-coated | Good | More fragile, needs careful handling |
| Plastic | Polymer-coated | Varies | Check heat resistance |
| Plain Metal | Not suitable | Poor | Ink will not bond |
Key Insight: Beginners often try to sublimate on regular stainless steel tumblers, but without a polymer coating, the design will not transfer and will likely wash off.
Shape And Size
Standard sizes are 20 oz or 30 oz skinny tumblers. Avoid tumblers with handles, curves, or odd shapes unless you have experience, as they are harder to wrap and heat evenly.
Pro tip: Always remove lids, straws, or accessories before sublimation.
Preparing Your Design
A great tumbler starts with a great design. Here’s how to get professional results:
Design Software
Use software that supports high-resolution printing, such as Adobe Photoshop, Illustrator, or free options like GIMP or Canva.
- Set your canvas size to match the tumbler’s printable area.
- Use 300 DPI for clear, sharp images.
Printing Your Design
- Print with mirror (reverse) image setting. Sublimation prints must be mirrored so the design appears correctly on the tumbler.
- Choose high quality or photo quality print settings.
- Only use sublimation ink in your printer. Mixing inks can clog the printer and ruin colors.
Trimming And Testing
- Cut the design to fit your tumbler exactly. Any overhang can cause ghosting or faded edges.
- Test the fit by wrapping the paper around the tumbler before taping or heating.
Advanced tip: Add a small test print on a scrap piece first to check colors and alignment. Sublimation colors look dull on paper but brighten after heating.
Cleaning And Prepping The Tumbler
Any dust, oil, or lint can ruin your transfer. Proper cleaning is essential.
- Wash the tumbler with soap and water. Dry completely.
- Use a lint roller to remove all dust, fibers, or hair.
- Wipe the surface with a little rubbing alcohol (optional) for extra cleaning.
- Avoid touching the surface after cleaning. Fingerprints can block the ink.
Credit: tastefullyfrugal.org
Applying The Design To The Tumbler
Getting the paper and wrap tight is crucial. Here’s how to avoid blurry or ghosted designs:
Step-by-step Wrapping
- Align the design on the tumbler. Start with the seam and check that edges meet evenly.
- Use heat-resistant tape on all sides. Press firmly but don’t stretch the tape.
- For an all-over design, cover the seam and both top and bottom edges.
- Wrap the tumbler in shrink wrap or a silicone wrap. This helps press the design against the tumbler during heating.
Beginner mistake: Not taping the edges or seam well can cause the paper to lift, leading to faded or blurry lines.
Preparing Your Oven For Sublimation
A regular oven can have hot spots and uneven heat. Here’s how to minimize problems:
- Place an oven thermometer on the middle rack to check the real temperature. Oven dials are often inaccurate.
- Preheat the oven to 375°F (190°C). Most tumblers sublimate best between 350–400°F (177–204°C).
- Remove extra racks to make space. Only sublimate one or two tumblers at a time for best results.
- Place a sheet of parchment paper on the rack under the tumbler to catch any ink or drips.
Important: Never use your kitchen oven for food after sublimation. Buy a separate oven for crafting, like a small countertop model.
How To Sublimate A Tumbler In A Regular Oven: Step-by-step
Now, let’s walk through the full process, from start to finish.
1. Preheat And Check Oven Temperature
- Preheat your oven to 375°F (190°C).
- Wait at least 10 minutes after it reaches temperature.
- Use an oven thermometer to verify the temperature is steady and accurate.
Insight: Many ovens run hotter or colder than their dial shows. If your tumbler is under-baked, the design will be dull. If it’s overheated, colors can fade or turn brown.
2. Prepare The Tumbler
- Wrap and tape your printed design tightly around the cleaned tumbler.
- Add shrink wrap or silicone wrap over the paper.
- Double-check all tape and wraps for tightness.
3. Place In The Oven
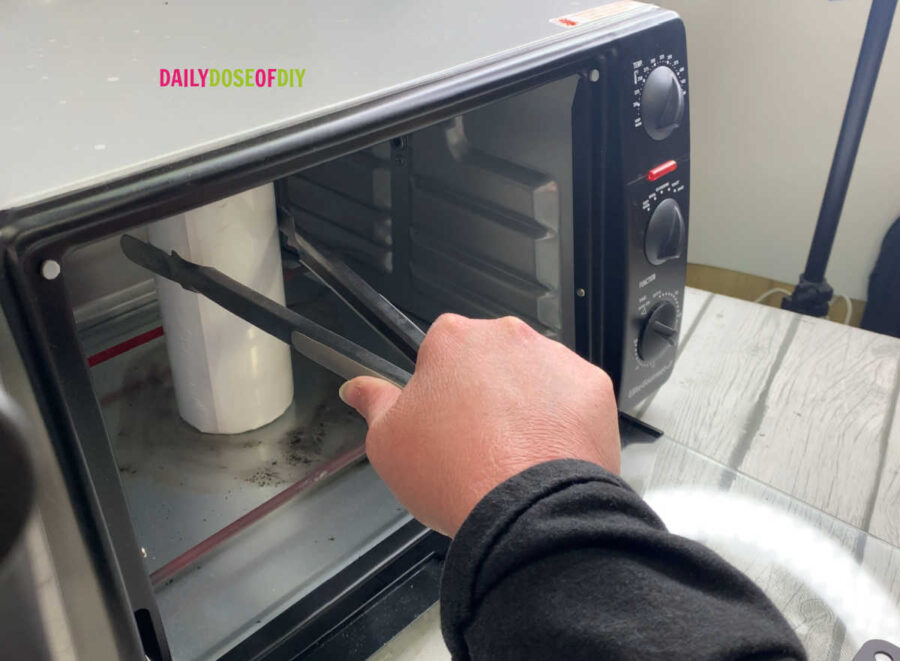
- Wearing heat-resistant gloves, place the tumbler standing up or lying on its side on the parchment-lined rack.
- Do not let the tumbler touch the oven walls or heating elements.
Pro tip: If you sublimate two tumblers at once, leave space between them for air to circulate.
4. Bake The Tumbler
- Bake for 6–8 minutes for most 20 oz stainless steel tumblers.
- Rotate the tumbler at the halfway point (around 4 minutes) for even heating, especially if your oven heats unevenly.
Advanced tip: Glass tumblers may need less time (5–6 minutes). Always check your blank manufacturer’s instructions.
5. Remove And Cool
- Wear heat-resistant gloves to remove the tumbler from the oven. It will be extremely hot.
- Place the tumbler on a heat-safe surface (not a cold or wet area, which can crack glass).
- Let it cool for about 10–15 minutes before touching or unwrapping.
6. Remove Wrap And Paper
- Once cool enough to handle, carefully remove the shrink wrap, tape, and sublimation paper.
- Reveal your finished design!
Beginner insight: Wait until the tumbler is cool. Removing the wrap too soon can smudge the ink or cause burns.
Common Problems And How To Fix Them
Even with careful work, sometimes things go wrong. Here’s what to watch out for:
Problem-solution Table
| Problem | Likely Cause | Solution |
|---|---|---|
| Dull colors | Too low temperature or not enough time | Increase temperature or bake longer |
| Brown or faded colors | Too high temperature or overbaking | Lower temperature or reduce time |
| Ghosting or blurry edges | Poor tape, loose wrap, or design shifted | Use more tape, tighten wrap, check alignment |
| White spots or lines | Lint, dust, or air bubbles | Clean tumbler, use lint roller, press paper tightly |
| Uneven color | Oven hot spots, uneven wrap | Rotate tumbler, check oven temp, use silicone wrap |
Safety Tips: Protect Yourself And Your Space
Sublimation releases fumes that can be harmful if inhaled over time. Always work safely:
- Use a dedicated oven for crafting, not cooking.
- Work in a well-ventilated area or use a small fan to move fumes away.
- Wear a face mask if you’re sensitive to smells or fumes.
- Keep kids and pets away from the work area.
- Never touch the hot tumbler without gloves.
Non-obvious insight: Even after cooling, some tumblers may have a slight odor. Wash them with soap and water before use.
Cleaning Up After Sublimation
When you finish, take a few extra steps to keep your space and tools safe:
- Let the oven cool with the door open to air out fumes.
- Wipe down surfaces with a damp cloth.
- Store all sublimation supplies (inks, paper, wraps) in a dry, cool place.
- Dispose of used paper, tape, and wraps safely.

Credit: michellespartyplanit.com
Advanced Tips For Pro Results
Want your tumblers to look even better? Try these advanced tricks:
- Double-wrap method: For extra clear edges, wrap your tumbler with two layers of sublimation paper (identical designs) and more tape.
- Color testing: Sublimation colors on paper look pale. Print a color chart and bake a test strip to see true colors before starting big projects.
- Use a convection oven: If you upgrade from a regular oven, a convection oven (with a fan) gives more even heating and fewer hot spots.
- Personalize with names: Add custom names or messages for gifts or events—just check alignment before printing.
- Create matching sets: Use the same design or color scheme on mugs, coasters, or other sublimation blanks for a professional gift set.
How Sublimation In A Regular Oven Compares To A Convection Oven
Many crafters wonder if it’s worth buying a convection oven. Here’s a side-by-side look:
| Feature | Regular Oven | Convection Oven |
|---|---|---|
| Heat Distribution | Less even, may need rotation | Even, due to built-in fan |
| Number of Tumblers | 1–2 at a time | 2–4 at a time |
| Learning Curve | Higher, more trial and error | Lower, more forgiving |
| Cost | Low (can use existing oven) | Medium (dedicated equipment) |
| Best For | Beginners, small batches | Small business, frequent projects |
Key takeaway: You can get great results from a regular oven with care and practice. For higher volume or perfect consistency, consider a convection oven later.
Credit: dailydoseofdiy.com
Real-world Examples And Success Stories
Many small businesses and crafters started with just a regular oven. For example, a home crafter in Texas created over 50 custom tumblers for a family reunion using only a $60 countertop oven. By carefully testing temperature and time, each tumbler came out colorful and strong.
Another example: a teacher used sublimation tumblers as end-of-year gifts for her class. She set up her garage as a crafting area, followed all safety tips, and made each student a personalized water bottle. The students loved the gifts, and the teacher saved money by not buying a heat press.
These stories show that with patience and careful work, you can get professional-looking results—even without expensive tools.
Environmental Considerations
Sublimation is generally safe, but there are some environmental points to keep in mind:
- Always ventilate when using sublimation ink, as the fumes can be strong.
- Dispose of used paper, tape, and wraps according to local waste rules.
- Consider reusing or recycling parchment paper if possible.
If you ever decide to stop using your oven for crafting, do not return it to kitchen use. Residual ink or fumes could contaminate food.
For more details about sublimation and safety, you can check resources like the Wikipedia article on sublimation printing.
Frequently Asked Questions
How Hot Does My Regular Oven Need To Be For Sublimation?
Most sublimation tumblers require a temperature between 350–400°F (177–204°C). The most common setting is 375°F (190°C). Always use an oven thermometer to check accuracy—oven dials can be off by 10–20 degrees.
Can I Use My Kitchen Oven For Both Food And Sublimation?
No. Once you use an oven for sublimation, do not use it for food. Sublimation ink releases fumes that can linger and may not be safe for food preparation.
Do I Need A Special Printer For Sublimation?
Yes, you need a sublimation printer with sublimation ink. Regular inkjet printers and inks will not work. Popular options are the Epson EcoTank (converted for sublimation) or Sawgrass printers.
How Do I Avoid Ghosting Or Blurry Designs?
Ghosting usually happens if the paper shifts during heating or the wrap isn’t tight enough. Use plenty of heat-resistant tape, press the wrap firmly, and avoid moving the tumbler while it’s still hot.
Can I Sublimate On Any Tumbler?
No. Only tumblers marked as sublimation blanks or polymer-coated will work. Regular stainless steel or plastic will not hold the design, and the ink will wash off.
Final Thoughts
Sublimating a tumbler in a regular oven is not only possible—it’s a practical way to start personalizing drinkware without a big investment. Success depends on careful preparation, the right materials, and paying attention to temperature and timing. The most common beginner mistakes—using the wrong tumbler, poor wrapping, or skipping cleaning—are easy to avoid with this guide.
With practice, you’ll discover your own best techniques and may even decide to upgrade your equipment as your skills grow. For now, your home oven is all you need to unlock the world of custom tumblers—perfect for gifts, events, or starting a small business.
Happy crafting!