If you open your pantry and feel a little stressed, you’re not alone. Many people struggle with keeping pull out pantry drawers organized. These handy drawers are great for maximizing kitchen space, but they can quickly become chaotic. Spices mix with snacks, cans get lost in the back, and you waste time searching for simple items. An organized pantry drawer system doesn’t just look good—it makes cooking faster, shopping easier, and helps reduce waste.
Organizing pull out pantry drawers is not just about stacking items or using fancy containers. It’s about finding the best system that fits your lifestyle and kitchen habits. Whether you cook daily or just stock up on essentials, a well-organized pantry can change how you use your kitchen.
In this article, you’ll learn practical strategies, clever tips, and the most effective ways to transform your messy drawers into a space that works for you. Let’s get started and bring order to your kitchen, step by step.
Understanding Pull Out Pantry Drawers
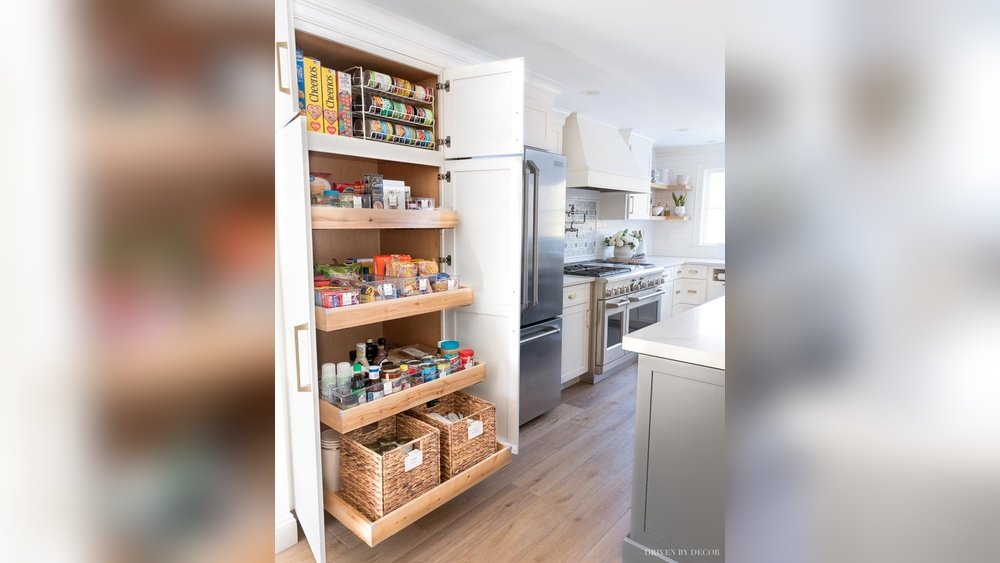
Pull out pantry drawers, sometimes called sliding pantry shelves, have become popular in modern kitchens. They slide out smoothly, so you can reach items in the back without bending or stretching. These drawers are usually installed in tall cabinets or lower cupboards, and they come in various widths and depths.
The main advantage is visibility. When you pull out the drawer, you can see everything at once. This reduces the chance of forgetting about food, which means less waste. However, the open design also means clutter can build up fast if you don’t have a system.
Some common materials for pull out drawers include wood, wire, and plastic. Each has its pros and cons:
| Material | Pros | Cons |
|---|---|---|
| Wood | Sturdy, looks premium | Heavier, can be costly |
| Wire | Lightweight, allows airflow | Small items can fall through |
| Plastic | Easy to clean, less expensive | Less durable, can stain |
No matter the type, the way you organize makes all the difference.
Assessing Your Pantry Needs
Before you start moving things around, it’s important to look at what you have and how you use it. Many people jump into buying organizers or labeling bins, but they don’t think about their real needs.
- Inventory Everything: Take everything out of your pantry drawers. Group items by type (cans, snacks, baking goods, spices, etc.). This helps you see what you actually have.
- Check Expiry Dates: As you sort, check for expired items or duplicates. Toss anything old or stale. Most people find at least five items they forgot about!
- Consider Your Cooking Habits: If you bake often, you’ll want easy access to flour, sugar, and baking soda. If you cook quick meals, keep pasta and sauces upfront. Your pantry should fit your routine, not the other way around.
- Measure Your Drawers: Not all organizers fit every drawer. Use a tape measure to get the length, width, and height. Write these down before buying any bins or dividers.
- Take Note of Family Habits: If kids grab snacks often, store those on lower drawers. If you have pets, keep their food separate.
Non-obvious insight: Don’t forget about vertical space! Many people only use the bottom of each drawer. Stackable organizers or risers can double your storage.
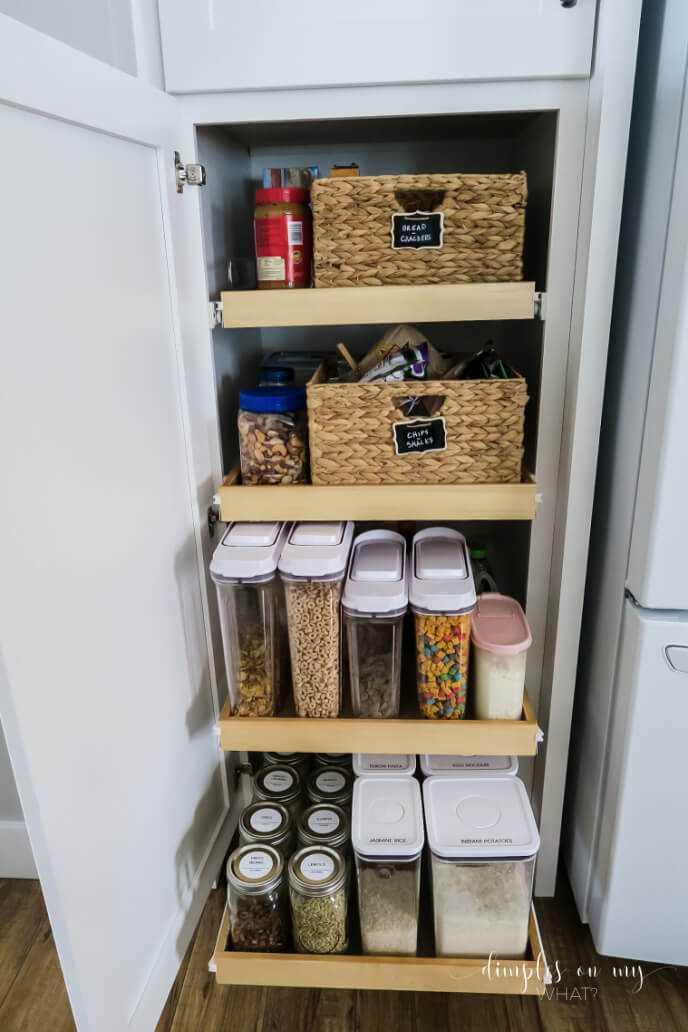
Credit: dimplesonmywhat.com
Planning The Layout
Now that you know what you have, it’s time to plan where things should go. The layout is the backbone of an organized pantry. Here’s how to set it up smartly:
Group By Category
Place similar items together. This way, you always know where to find things.
- Cans: Keep all canned foods in one area.
- Spices: Put all jars and small containers in a shallow drawer near your prep area.
- Snacks: Group chips, bars, and crackers in one spot.
- Baking Supplies: Flour, sugar, baking powder together.
- Breakfast Items: Cereals, oats, pancake mix in one drawer.
Frequency Of Use
Store the most-used items at eye level or in the easiest-to-reach drawer. Items you use rarely (like holiday baking tools) can go in the highest or lowest drawers.
Assign Drawers By Purpose
Give each drawer a “job.” For example:
- Top drawer: Spices and seasonings
- Second drawer: Canned and jarred goods
- Third drawer: Snacks and lunchbox items
- Bottom drawer: Bulk items or appliances
This structure means you never have to search for everyday items.
Non-obvious insight: Plan “overflow space.” Leave one small area for items you buy in bulk or new foods you want to try. This prevents clutter from spreading.
Choosing The Right Organizers
Not all pantry organizers are equal. The right tools can make your drawers neat and easy to use. But buying the wrong size or type can waste money and space.
Types Of Organizers
| Organizer | Best For | Pros | Cons |
|---|---|---|---|
| Bins & Baskets | Snacks, packets, small boxes | Contain loose items, easy to pull out | Can waste space if too big |
| Dividers | Separating large drawers | Flexible, customizable | May slide out of place |
| Lazy Susans | Spices, bottles | Easy access, good for corners | Takes up more space |
| Can Risers | Canned goods | See all cans at once | Not for deep drawers |
| Stackable Shelves | Small jars, cans | Maximizes height | May not fit all drawers |
Buying Tips
- Always measure before buying. Even one inch can make a difference.
- Choose clear bins so you can see what’s inside.
- Look for organizers that are easy to clean.
- For deep drawers, use tall bins to prevent items from tipping over.
Common mistake: Buying fancy organizers before measuring your drawers. Always check the fit first.

Credit: www.neathousesweethome.com
Step-by-step: Organizing Your Pull Out Pantry Drawers
Let’s put your plan into action. Follow these steps for a smooth process.
Step 1: Empty And Clean
Take everything out of each drawer. Wipe down all surfaces with a damp cloth. A clean start makes a big difference and helps you spot spills or crumbs.
Step 2: Sort And Purge
Lay out all items on your counter or table. Group them by category. Throw away expired food, stale snacks, or items you won’t use. Donate unopened, in-date extras to a local food bank.
Step 3: Plan Each Drawer
Decide which categories go in which drawers. Think about frequency, weight, and who needs access. For example, put heavy items like rice or flour in lower drawers.
Step 4: Add Organizers
Place your bins, dividers, or risers in the empty drawers. Adjust as needed so they fit snugly. Don’t try to fill every inch—leave some space for flexibility.
Step 5: Place Items Back
Put items back in their new homes, with labels facing forward. Heavier or bulkier foods go at the back or bottom. Lighter, smaller items can go upfront or on risers.
Step 6: Label Everything
Labels help everyone in the house know where things go. Use a label maker, stickers, or simple masking tape. Label bins, shelves, and even individual drawers.
Step 7: Adjust And Refine
Live with your new setup for a week. Notice what works and what doesn’t. Move things around if you find yourself reaching or searching too much. Organization is never “one and done”—it’s a process.
Organizing Different Types Of Pantry Items
Not all foods fit in the same kind of organizer. Here’s how to handle the most common pantry categories:
Canned Goods
Cans can easily become a jumble. Use a can riser or stackable shelf so you can see labels. Place heavier cans at the back, lighter ones in front. If you buy in bulk, keep extras in a lower drawer.
Dry Goods (flour, Sugar, Rice, Pasta)
Transfer these to airtight containers. Square or rectangular containers use space better than round ones. Label each container clearly. Stack them if possible, but don’t go too high or they’ll be hard to reach.
Snacks
Put snacks in clear bins at kid-friendly heights. Divide by type: sweet, salty, healthy, lunchbox. If you buy large bags, portion them into smaller containers to reduce mess.
Baking Supplies
Use small bins for baking powder, cocoa, and sprinkles. Store cookie cutters and measuring spoons in a shallow organizer. Keep all baking items together, even if you only bake once a month.
Spices
A shallow pull out drawer near your prep space is perfect for spices. Use a spice organizer or lay jars on their sides with labels facing up. If you have a lot of spices, consider a double-layer tray.
Bottles And Oils
Tall, narrow bins are best for bottles. Store upright so they don’t leak. Lazy Susans work well if your drawer is wide. Keep oils and vinegars away from heat and light.
Breakfast Foods
Group together cereal, oats, pancake mix, and spreads. Use bins for packets and boxes. Store honey or syrup in a leak-proof container.
Packets And Pouches
Small packets (soup mixes, seasoning, drink mixes) are easily lost. Use a divided bin or a small basket. Stack packets vertically so you can flip through them.
Bulk Foods
Keep backup items in the lowest drawer. Store in original packaging if possible, or use large, labeled bins. Check on these items regularly to avoid waste.
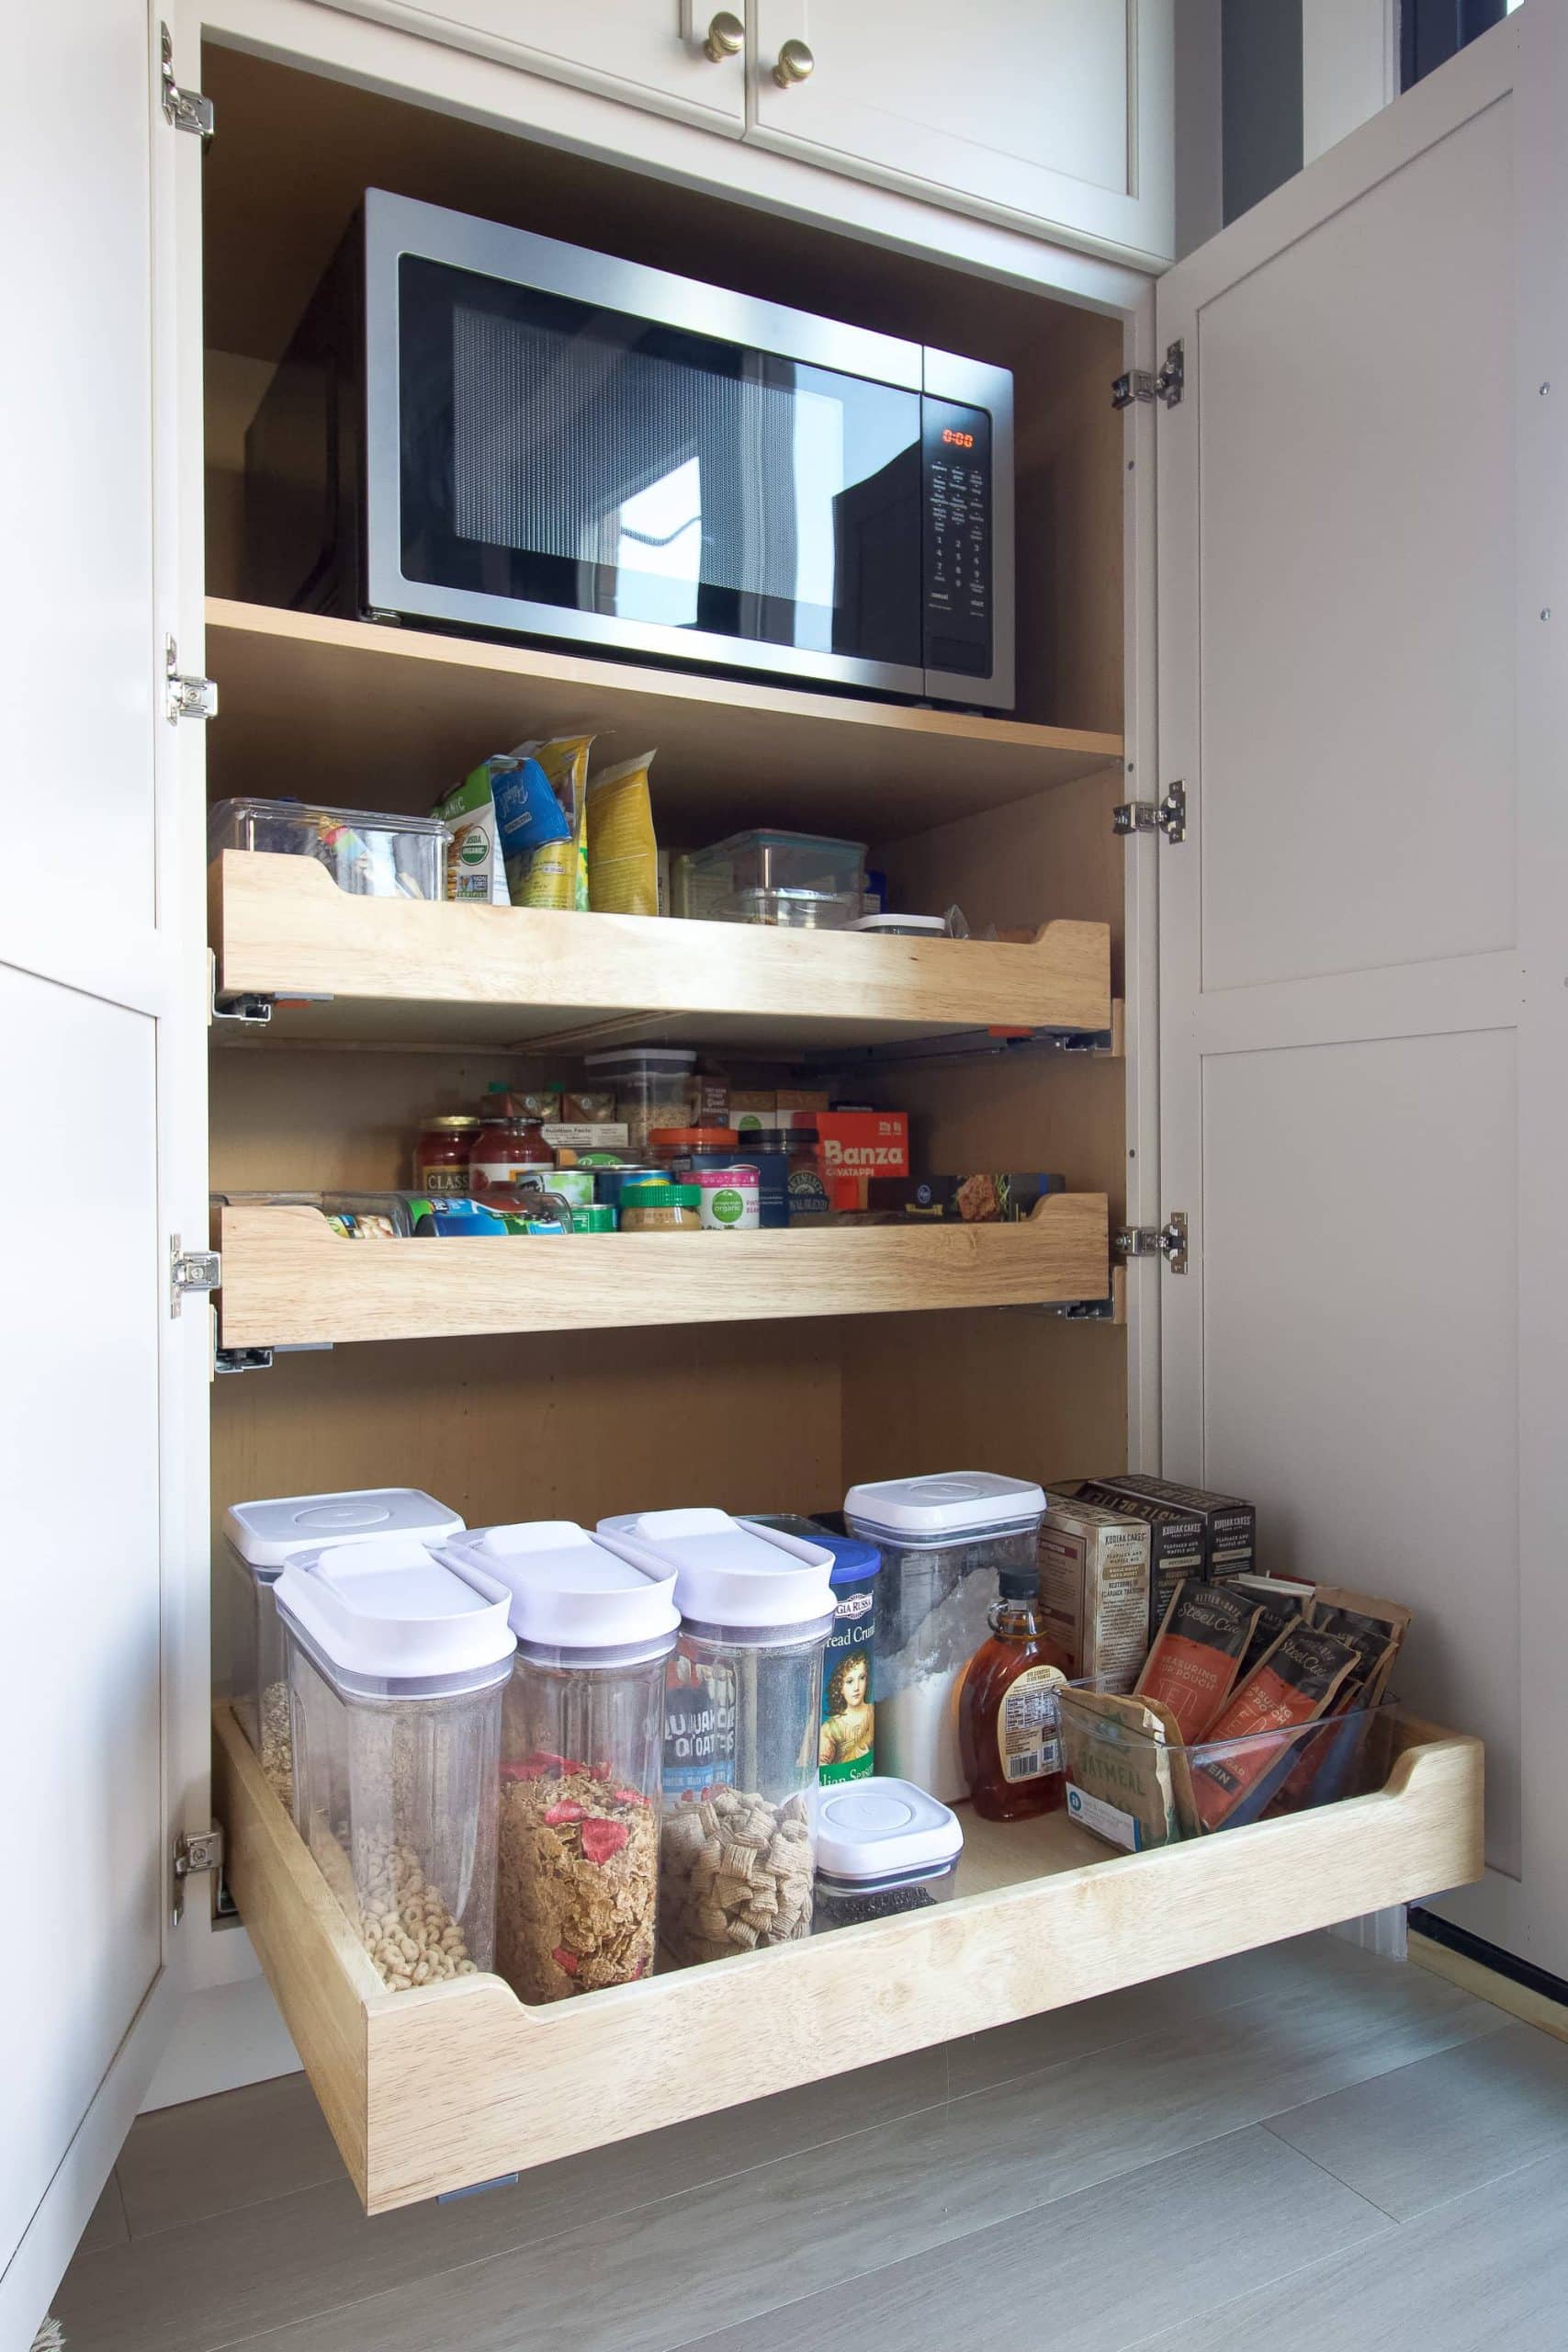
Credit: thediyplaybook.com
Maximizing Space In Pull Out Pantry Drawers
Even with the best organizers, space can run out fast. Here’s how to use every inch wisely:
- Go Vertical: Use stackable shelves, risers, or bins to add layers.
- Narrow Bins for Small Drawers: Don’t waste space with oversized organizers.
- Use Drawer Sides: Hang a small hook or adhesive bin on the inside wall for twist ties or measuring spoons.
- Adjustable Dividers: These can be moved as your needs change.
- Nest Similar Items: Stack cans, jars, or boxes by size.
- Rotate Stock: Place new food at the back so older items get used first.
Practical tip: Save the front few inches of each drawer for your most-used items. This “prime real estate” makes daily cooking faster.
Maintenance: Keeping Your Pantry Organized
A beautiful pantry can fall apart if you don’t have a maintenance routine. The key is to make tidying up quick and easy.
- Weekly Check: Spend five minutes each week putting items back in their place.
- Monthly Clean-Out: Once a month, remove everything from one drawer. Wipe it down and check for expired foods.
- Re-label as Needed: If your eating habits change, adjust the labels.
- Family Involvement: Teach everyone where items belong. Consistency prevents clutter.
Non-obvious insight: Keep a notepad or whiteboard near your pantry. When you finish an item, write it down to remember to buy more.
Common Mistakes And How To Avoid Them
- Overfilling Drawers: If your drawers are packed, it’s hard to see what you have. Leave some empty space.
- Ignoring Expiry Dates: Old food takes up space and can attract pests. Check dates regularly.
- No Labels: Without labels, things drift out of place quickly.
- Too Many Organizers: Don’t cram in bins just to fill space. Only use what you need.
- Not Using Vertical Space: Missed vertical storage means wasted space.
- Storing Rarely Used Items Upfront: Keep everyday foods within easy reach.
- Not Adjusting Over Time: Your needs change. Revisit your setup every few months.
Real-life Example: Pantry Drawer Makeover
Let’s walk through a real example.
Sarah, a busy mom of two, had four deep pull out pantry drawers. Before organizing, snacks were mixed with cans, and she often bought duplicates. She spent 20 minutes every week searching for ingredients.
After following the steps above, Sarah:
- Removed everything and cleaned the drawers.
- Measured each drawer and bought clear bins to fit.
- Grouped snacks in the bottom drawer so her kids could help themselves.
- Used risers for cans, placing soups on one level and beans on another.
- Labeled each drawer and bin.
- Added a whiteboard nearby for shopping lists.
Result: Sarah saves 10 minutes each night making dinner and wastes less food. Her kids can now pack their own lunches without help.
Quick Reference: Organizer Fit Guide
To help you match organizers to drawer types, here’s a simple guide:
| Drawer Depth | Best Organizer Types | Notes |
|---|---|---|
| Shallow (3-5″) | Spice trays, small bins, dividers | Great for spices, packets |
| Medium (6-10″) | Stackable shelves, risers, standard bins | Ideal for cans, baking supplies |
| Deep (11″+) | Tall bins, baskets, bulk storage | Perfect for snacks, cereals, large containers |
Safety And Hygiene In Pantry Drawers
Good organization is not just about looks—it’s also about safety and hygiene.
- Store heavy items low: Prevent accidents by keeping big bags of flour or bottles on the lowest drawers.
- Keep cleaning supplies separate: Never store chemicals or cleaners near food.
- Check for pests: Clean regularly and inspect for signs of insects or rodents.
- Use food-safe containers: Only use bins made for food storage to avoid chemical leaching.
When To Reorganize
You don’t need to wait until chaos returns. Here are signs it’s time for a refresh:
- You can’t find what you need quickly.
- Items no longer fit in their bins.
- Family members keep putting things in the wrong place.
- Food goes bad before you use it.
A quick reorganization every few months keeps your pantry working for you.
Helpful Resources
For more ideas and inspiration, check out this guide from the Good Housekeeping website, which offers expert tips and product recommendations.
Frequently Asked Questions
How Often Should I Reorganize My Pull Out Pantry Drawers?
It’s best to do a quick check every week and a deeper clean every month. If your needs change—like new family members or diet changes—reorganize as needed.
What Is The Best Way To Store Canned Goods In Pull Out Drawers?
Use a can riser or tiered shelf. This lets you see all labels easily. Place heavier cans in the back and rotate newer items to the back when restocking.
How Do I Keep Snacks Organized For Kids?
Use clear bins on lower drawers so kids can reach their favorites. Label each bin and teach them to put items back in the right spot.
Is It Safe To Store Flour And Sugar In Pantry Drawers?
Yes, as long as you use airtight, food-safe containers. This prevents pests and keeps food fresh longer.
What If My Drawers Are Too Shallow For Most Organizers?
Look for low-profile trays and dividers designed for shallow spaces. Stack items carefully and use labels to maximize efficiency.
An organized pull out pantry drawer system can save time, reduce stress, and even help you eat healthier. With clear steps, smart tools, and a little maintenance, anyone can turn messy drawers into a kitchen asset. Start with a small change today—you’ll notice the difference every time you cook.