Drying basil in the oven is a simple way to preserve the vibrant flavor of this beloved herb. Whether you grow basil in your garden, buy it fresh from the market, or receive it as a gift, drying lets you enjoy its aroma and taste all year round. Many people think only professionals or experienced cooks can dry herbs well. But anyone can do it at home with basic kitchen tools and a little patience.
Fresh basil leaves often spoil quickly. They turn brown, lose flavor, and wilt within days. Drying solves this problem. Oven drying is fast, reliable, and safe. It is much quicker than air-drying, which can take weeks. The oven method also helps keep the leaves green and fragrant, if you follow the right steps.
This guide covers everything you need to know about drying basil in your oven. You’ll learn how to prepare basil, which oven settings to use, how to store dried leaves, and even how to avoid common mistakes. We’ll also discuss ways to use dried basil, and answer questions beginners usually have.
By the end, you’ll be confident to dry basil yourself, and you’ll know why it’s a favorite method for home cooks everywhere.
Why Dry Basil In The Oven?
Drying basil preserves its taste, aroma, and nutrition. Fresh basil contains about 92% water. Once dried, it shrinks and concentrates, making it more powerful for cooking. Oven drying stands out because it is:
- Fast: Takes only 1-2 hours, compared to weeks for air-drying.
- Safe: The heat kills bacteria and mold.
- Easy: No special equipment needed, just a regular oven.
- Consistent: You control the temperature and timing.
For busy kitchens, oven drying is ideal. It suits anyone who wants to save basil quickly before it spoils.
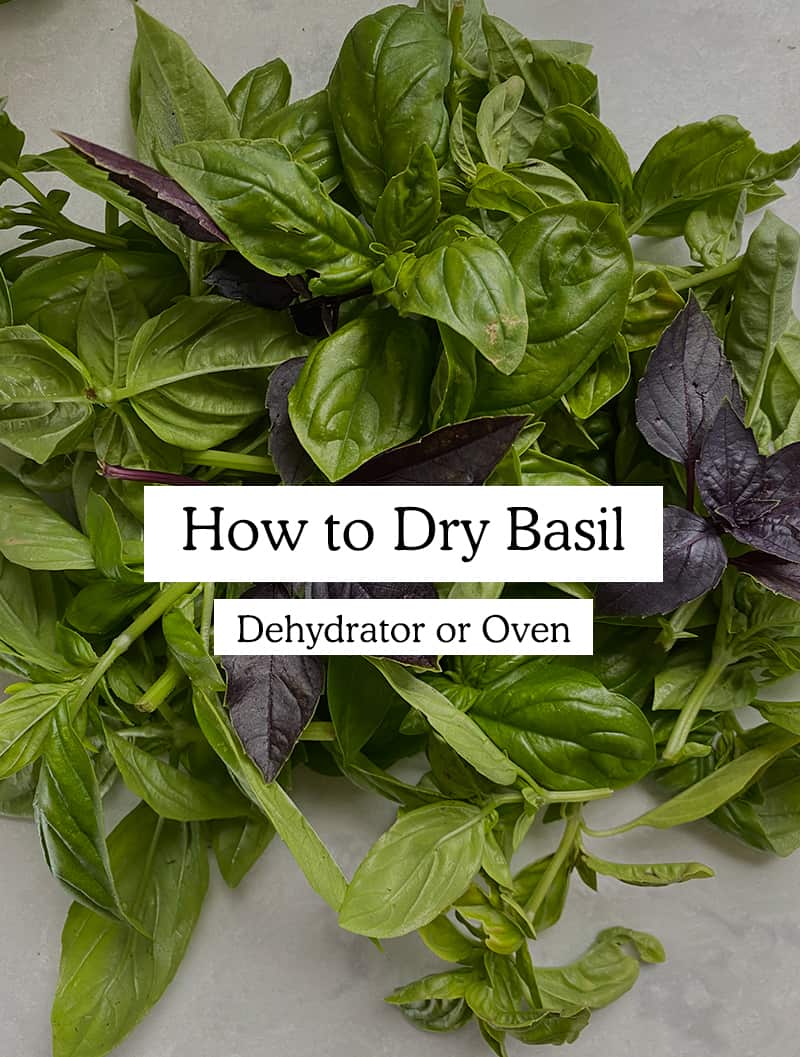
Choosing The Right Basil
Before drying, select the best basil leaves. Not all basil is equal. Quality at the start affects the final result.
- Type of Basil: There are many varieties. The most common is sweet basil, used in Italian recipes. Other types include Thai basil (spicy, licorice flavor), Genovese basil (large leaves), and lemon basil (citrus aroma). All can be dried, but sweet basil is easiest for beginners.
- Freshness: Pick basil leaves that are bright green. Avoid leaves with brown spots, holes, or wilted edges.
- Timing: Harvest basil in the morning, after dew dries but before the sun gets hot. This is when oils are strongest.
- Age of Plant: Young, tender leaves dry better. Older leaves may taste bitter.
- Quantity: One bundle (about 1 cup fresh leaves) yields less than ¼ cup dried basil.
Choosing good basil makes drying easier and improves the taste.
Preparing Basil For Oven Drying
Preparation is key for success. Follow these steps:
- Wash Basil: Rinse leaves under cool running water. Remove dirt and bugs. Use your hands gently; basil bruises easily.
- Dry Leaves: Pat leaves dry with a paper towel. Wet leaves may steam, not dry, in the oven.
- Remove Stems: Strip leaves from stems. Stems take longer to dry and may taste woody.
- Inspect Leaves: Discard damaged, yellow, or spotted leaves.
- Arrange Leaves: Place basil leaves in a single layer on a baking sheet. Use parchment paper for easy removal.
Table: Basil Preparation Checklist
| Step | Purpose | Tip |
|---|---|---|
| Wash | Remove dirt and bugs | Use cool water, gentle touch |
| Dry | Prevent steaming in oven | Pat, don’t rub |
| Remove stems | Even drying | Use fingers, avoid knives |
| Inspect | No bitter taste | Look for spots and holes |
| Arrange | Prevent overlap | Single layer only |
Correct preparation is a step beginners often rush. Take your time, and your dried basil will be much better.
Setting Up Your Oven
Oven settings matter. Basil is delicate, so high heat can ruin it. Set up your oven like this:
- Temperature: Use the lowest possible setting, usually 170°F (77°C) or lower. Some ovens go down to 140°F (60°C). If your oven only goes higher, prop the door open slightly.
- Rack Position: Use the middle rack. This gives even heat.
- Baking Sheet: Use a rimmed sheet lined with parchment paper.
- Airflow: Basil dries best with good air movement. If your oven has a fan (convection), turn it on. If not, open the oven door a crack.
- Preheat: Preheat oven for 5-10 minutes before starting.
Table: Oven Settings For Drying Basil
| Setting | Recommended Value | Alternative |
|---|---|---|
| Temperature | 140-170°F (60-77°C) | Prop door open if higher |
| Rack | Middle | Lower rack if crowded |
| Fan | On (if available) | Door open for airflow |
| Sheet | Parchment lined | Silicone mat as substitute |
Many beginners set the oven too high. This cooks the basil instead of drying it. Low and slow is best.
Drying Process: Step-by-step
Drying basil in the oven is simple, but the details matter. Follow these steps:
- Arrange Leaves: Place basil in a single layer. Overlapping leaves stay moist.
- Place in Oven: Put the baking sheet on the middle rack.
- Set Timer: Start with 45 minutes. Basil dries faster than other herbs.
- Check Every 15 Minutes: Open the oven and check leaves. Flip them gently for even drying.
- Look for Signs: Dried basil is crisp, not soft. It should break easily when touched.
- Remove When Done: Total drying time is usually 1-2 hours. Thicker leaves need more time.
- Cool: Let basil cool on the sheet for 10-15 minutes before storing.
Oven Drying Time By Leaf Type
| Basil Type | Typical Drying Time (at 170°F) |
|---|---|
| Sweet Basil | 60-90 minutes |
| Genovese Basil | 90-120 minutes |
| Thai Basil | 70-100 minutes |
| Lemon Basil | 60-80 minutes |
Every oven is different. Watch your basil closely, especially after 45 minutes.
How To Tell When Basil Is Ready
Knowing when basil is fully dried is important. Under-dried basil molds. Over-dried basil loses flavor.
- Texture: Dried basil snaps easily. If it bends, it is not ready.
- Color: Good dried basil stays green. Brown means too much heat.
- Aroma: Fresh, strong scent. Weak aroma means oils are gone.
- Taste: Try a small piece. It should taste sharp, not dull.
If you see spots or smell burning, remove the basil immediately.
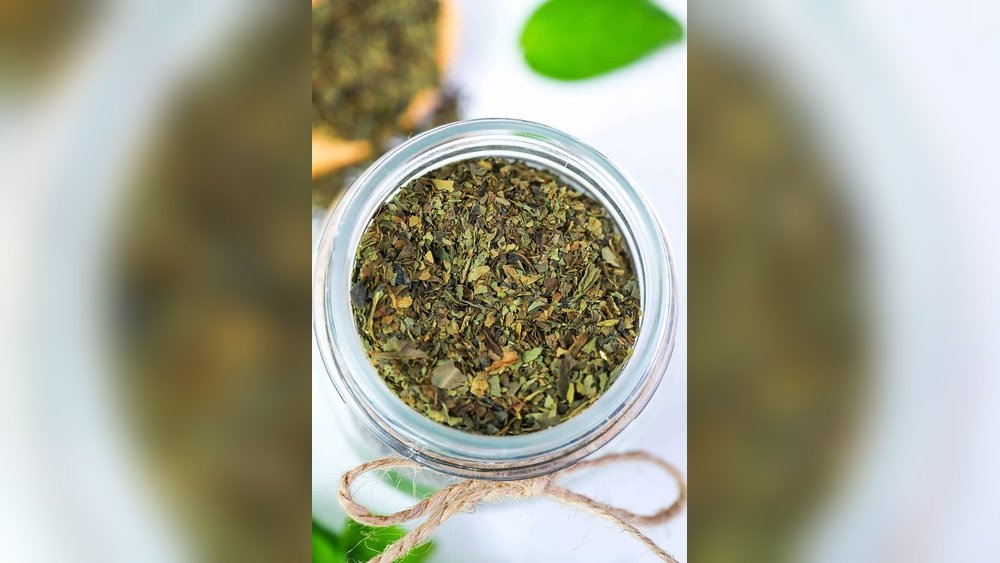
Cooling And Storing Dried Basil
Cooling is a small step, but it prevents moisture in storage.
- Cool Completely: Spread dried basil on a plate or tray for 10-15 minutes.
- Crush or Store Whole: You can keep leaves whole or crush them. Whole leaves keep flavor longer.
- Use Airtight Containers: Store dried basil in glass jars, plastic containers, or resealable bags.
- Label: Write the drying date and basil type on your container.
- Keep Away from Light and Heat: Store in a cool, dark place. Sunlight fades basil quickly.
- Avoid Humidity: Moisture ruins dried basil. Do not store near the stove or dishwasher.
Shelf Life
Properly dried and stored basil lasts up to 12 months. After this, aroma and taste fade. If you see mold, discard immediately.
Practical Tips For Better Results
Some tips are easy to miss, but they make a big difference:
- Don’t Overcrowd the Tray: More leaves mean slower drying. Use extra trays if needed.
- Leave the Oven Door Open: Even a small crack helps steam escape.
- Rotate Trays: If drying large batches, switch tray positions halfway.
- Use Parchment Paper: Prevents sticking and makes cleanup easier.
- Check Humidity: On humid days, drying may take longer.
- Don’t Rush: Quick heat ruins basil. Patience brings the best flavor.
- Test with a Small Batch First: Learn your oven’s quirks before drying large amounts.
Many beginners forget to label their jars. After a few months, it’s hard to remember which basil is which. Always mark your containers.
Common Mistakes And How To Avoid Them
Drying herbs sounds easy, but mistakes happen. Here are some frequent errors:
- Using High Heat: Basil burns easily. Low heat keeps flavor.
- Leaving Leaves Wet: Damp leaves steam, not dry. Always pat dry.
- Overlapping Leaves: Crowded trays lead to uneven drying.
- Ignoring the Oven: Basil can go from perfect to burnt in minutes. Check often.
- Storing Before Cooling: Warm leaves sweat in jars. Cool before storing.
- Using Old Basil: Wilted or yellow leaves taste bitter.
- Skipping the Fan or Door Crack: Poor airflow means longer drying and possible mold.
- Not Labeling Containers: Lose track of batch date and type.
Avoiding these mistakes helps you get vibrant, tasty dried basil every time.
Comparing Oven Drying To Other Methods
Basil can be dried in several ways. Oven drying is popular, but how does it compare?
Air Drying
- Pros: No energy needed, gentle on leaves.
- Cons: Takes weeks, risk of mold, color fades.
Dehydrator
- Pros: Precise temperature, easy for large batches.
- Cons: Requires buying equipment, takes space.
Microwave
- Pros: Very fast (minutes).
- Cons: Can burn basil, uneven drying, flavor loss.
Oven Drying
- Pros: Quick, reliable, no special tools.
- Cons: Needs attention, possible browning if not careful.
Table: Basil Drying Methods Comparison
| Method | Time Needed | Flavor Quality | Ease of Use | Risk |
|---|---|---|---|---|
| Oven | 1-2 hours | High | Easy | Browning if too hot |
| Air Dry | 2-3 weeks | Medium | Easy | Mold |
| Dehydrator | 4-8 hours | High | Medium | Cost of machine |
| Microwave | 3-5 minutes | Low | Easy | Burning |
Oven drying is the best balance for most home cooks.
How To Use Dried Basil
Dried basil is more concentrated than fresh. You can use it in:
- Sauces: Tomato sauce, pesto, marinara.
- Soups: Vegetable, chicken, minestrone.
- Meats: Sprinkle on chicken, beef, or fish before cooking.
- Salads: Mix into dressings or sprinkle on top.
- Pizza: Adds aroma and taste.
Conversion: Fresh Vs Dried Basil
Remember, dried basil is stronger. Use less when substituting.
- 1 tablespoon fresh basil = 1 teaspoon dried basil
This ratio keeps flavor balanced.
Non-obvious Insights For Beginners
Most guides miss these details:
- Store Whole Leaves for Best Flavor: Crushing exposes oils to air, which fade faster. Crush only when needed.
- Oven Thermometers Help: Many ovens run hotter or colder than their display. Using a thermometer makes drying more reliable.
- Use Leftover Basil Stems: While stems are woody, they can be dried and used in stocks or infused oils.
- Mix Basil Varieties: If you have several types, mix them after drying for unique blends.
- Re-Dry If Needed: If basil softens after storage, dry again for 10 minutes in the oven.
Credit: freshexchange.com
Troubleshooting: When Things Go Wrong
Even with care, problems can happen. Here’s how to fix them:
- Basil Turns Brown: Usually too much heat. Lower oven setting next time, and keep door open.
- Leaves Stay Soft: Not dry enough. Return to oven for another 15-30 minutes.
- Mold in Jar: Basil was not fully dried. Discard, clean jar, dry again.
- Flavor Is Weak: Basil was old, or dried too fast. Use fresher leaves and slower drying.
- Sticking to Tray: Skip oil, use parchment paper.
These fixes help you salvage your batch and improve next time.
Safety And Nutritional Facts
Dried basil is safe and healthy if prepared correctly.
- Nutrition: Dried basil is rich in vitamins A, K, and C. It contains iron, calcium, and antioxidants.
- Calories: 1 teaspoon dried basil has about 2 calories.
- Allergy: Rare, but some people react to basil pollen or oils.
Drying at low heat keeps most nutrients. High heat can destroy vitamin C.

Credit: homesteadandchill.com
Real-life Example: Drying Basil In A Home Kitchen
Imagine you have a garden with sweet basil. You harvest 2 cups of leaves. After washing, drying, and arranging on trays, you set your oven to 150°F. You check every 15 minutes, flipping leaves gently. After 1 hour, the leaves are crisp and still green. You cool them, store in a glass jar, and label with the date.
Six months later, you use your dried basil in tomato soup. The aroma is strong, and the taste is fresh. You saved money and reduced waste. This is a typical success story for home cooks.
Sustainability And Cost Benefits
Drying basil at home is eco-friendly and saves money.
- No waste: Use basil before it spoils.
- No packaging: Store in reusable jars.
- Lower cost: Dried basil in stores can cost $3-5 per ounce. Home drying is nearly free.
- Less transport: Reduces food miles.
If you grow basil yourself, drying makes your harvest last longer.
Expert Recommendations
Professional chefs prefer oven drying for small batches. It keeps color and taste. Nutrition experts suggest drying at low temperatures to preserve vitamins.
If you want more detailed guidance, you can check resources like The Spruce Eats.
Frequently Asked Questions
How Long Does Dried Basil Last?
Dried basil lasts up to 12 months if stored in airtight containers, away from light and heat. After this, flavor fades. Always check for mold or off smells before use.
Can I Dry Basil With Other Herbs?
Yes, you can dry basil with herbs like oregano, thyme, or mint. Make sure all herbs are washed and dried evenly. Place each in separate sections on the tray, as drying times may differ.
Is Dried Basil As Good As Fresh?
Dried basil is more concentrated, but not exactly the same as fresh. Use it in cooked dishes, sauces, and soups. For salads or garnishes, fresh basil is better.
What If My Oven Only Goes Above 170°f?
If your oven’s lowest setting is higher, prop the door open with a wooden spoon. This lets heat escape and keeps temperature lower. Check basil every 10 minutes to prevent burning.
Can I Use Dried Basil For Pesto?
Traditional pesto uses fresh basil. But you can use dried basil for a different flavor. Add extra olive oil and a splash of lemon juice to help rehydrate the leaves.

Credit: www.reddit.com
Final Thoughts
Drying basil in the oven is a practical way to preserve the fresh taste of summer. It is fast, easy, and reliable, even for beginners. With careful preparation, the right oven settings, and proper storage, you can enjoy dried basil for months. Avoid common mistakes, follow the steps, and remember the helpful tips shared here. Whether you use dried basil in sauces, soups, or salads, you’ll notice the difference in flavor and aroma. Drying herbs at home also saves money and supports a sustainable kitchen. So, try oven drying today—your meals and your pantry will thank you.