Keeping your white kitchen cabinets clean can feel like a never-ending task. Every fingerprint, food splatter, or dust particle seems to stand out even more against the bright surface. White cabinets make your kitchen look open, fresh, and modern, but they also show dirt faster than darker colors. Many homeowners worry about yellowing, stains, and that dull look that can appear over time. Some even fear that harsh cleaning can damage the finish or cause peeling. But, with the right methods and smart routines, you can keep your cabinets looking bright and new for years.
This guide will give you everything you need to know about cleaning white kitchen cabinets—from daily maintenance to tackling tough stains. You’ll find practical tips, real examples, and even common mistakes most people don’t realize they’re making. Whether you have painted wood, laminate, or another finish, you’ll learn the best strategies for your cabinet type.
Plus, you’ll discover what really works (and what to avoid) based on real kitchen experience, not just theory.
Why White Cabinets Get Dirty So Easily
White reflects light and makes your kitchen look bigger and cleaner. But that same brightness highlights smudges, grease, and dust. Cooking releases steam, oil, and tiny food particles, which can settle on surfaces. Over time, even gentle touching with dirty hands can transfer oils that slowly turn into yellowish stains.
The most common culprits for dirty cabinets include:
- Grease splatters from cooking
- Fingerprints around handles and edges
- Food stains from spills and splashes
- Dust that settles and mixes with kitchen moisture
- Water marks from wet hands or cleaning
What many people overlook is that using the wrong cleaner or cloth can actually make cabinets look worse. For example, abrasive sponges can scratch the surface, and strong chemicals can strip paint or dull the finish.
Understanding Your Cabinet Material
Not all white cabinets are the same. Some are painted wood, others are laminate, and some have a glossy finish. Each material needs a slightly different approach for cleaning and care. Using the wrong method can cause peeling, discoloration, or streaks that are hard to fix.
| Cabinet Material | Common Finish | Cleaning Caution |
|---|---|---|
| Painted Wood | Matte, Satin, Semi-gloss | Avoid excess water and harsh chemicals |
| Laminate | Glossy or Matte | No abrasives, avoid bleach |
| Thermofoil | Plastic-like wrap | Keep away from high heat |
| Melamine | Hard, smooth coating | No strong solvents |
If you’re not sure what type you have, check inside the doors or ask your installer. Most modern cabinets come with a manual or care instructions—these are worth keeping.
Essential Supplies For Cleaning White Cabinets
You don’t need fancy or expensive products. Some of the best cleaning is done with items you already have at home. However, using the right tools can make your work much easier and safer for your cabinet’s finish.
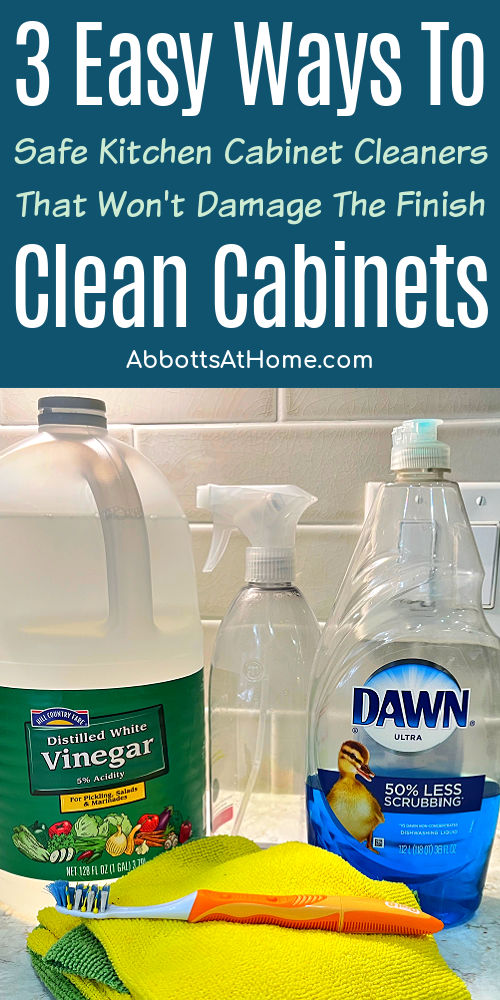
Here’s what you should have on hand:
- Microfiber cloths – Soft and non-abrasive, perfect for dusting and wiping.
- Mild dish soap – Cuts through grease without harming finishes.
- Spray bottle – For mixing gentle cleaning solutions.
- Soft-bristled brush or old toothbrush – Reaches into corners and around handles.
- Baking soda – For gentle scrubbing (only on stubborn spots).
- White vinegar – Effective for deodorizing and light cleaning.
- Warm water – The safest cleaning base.
- Dry towel – For buffing and drying after cleaning.
Avoid colored sponges, steel wool, or anything that could scratch the surface. If you use a commercial cleaner, test it on a hidden spot first.
Daily And Weekly Maintenance: The Key To Clean Cabinets
The secret to keeping white cabinets bright is routine maintenance. Small, regular cleaning jobs prevent big, stubborn stains from building up. Most homeowners ignore this step, hoping for a “deep clean” later—but by then, some stains are set.
Simple Daily Habits
- Wipe spills immediately. Even water can leave marks if it sits too long.
- Quick dusting. Use a dry microfiber cloth to swipe doors and handles once a day.
- Check handles and corners. These spots gather oils from hands.
Weekly Cleaning Routine
Once a week, set aside 10–15 minutes for a more thorough wipe-down:
- Mix a few drops of dish soap with warm water in a spray bottle.
- Spray lightly on cabinet surfaces (don’t soak them).
- Wipe with a damp microfiber cloth, working top to bottom.
- For sticky spots, let the solution sit for 30 seconds, then gently scrub.
- Rinse cloth in clean water and wipe again to remove soap residue.
- Dry with a soft towel to prevent streaks.
This routine prevents grease and grime from becoming permanent stains.
Deep Cleaning: How To Restore And Brighten White Cabinets
Even with daily care, you’ll need a deep clean every few months. This helps with yellowing, stubborn grease, and hidden dirt.
Step-by-step Deep Cleaning
- Empty the cabinets. Remove items so you can reach every surface.
- Dust inside and out. Use a dry microfiber cloth to remove loose dust.
- Prepare a stronger solution. Mix 1 part white vinegar to 2 parts warm water, plus a few drops of dish soap.
- Spot test first. Try your solution on a hidden area.
- Clean outside surfaces. Dampen a cloth, wring it well, and wipe doors, edges, and frames.
- Tackle tough spots. For sticky grease, sprinkle a little baking soda on your cloth and rub gently.
- Clean hardware. Use an old toothbrush dipped in your solution to scrub around handles and hinges.
- Wipe inside surfaces. Repeat with care—don’t soak the wood or material.
- Rinse and dry. Wipe all surfaces with a clean damp cloth, then dry thoroughly.
Common Mistakes To Avoid
- Using too much water (which can cause swelling or warping)
- Scrubbing with abrasive pads (which scratch and dull the finish)
- Skipping the drying step (which can leave streaks or water marks)
Removing Stains And Yellowing
One of the biggest frustrations with white cabinets is yellowing or stained spots that won’t come off with regular cleaning. Causes include cooking oil, smoke, sunlight, and even some cleaners.
How To Handle Tough Stains
- Grease stains: Use a paste of baking soda and water. Rub gently with a soft cloth, then wipe clean.
- Yellowing from sunlight: Unfortunately, this is sometimes permanent. For mild cases, a vinegar and water mix can reduce it. For severe yellowing, repainting may be needed.
- Food and drink stains: Try hydrogen peroxide diluted with water (spot test first). Leave it on for a few minutes, then rinse.
- Mold or mildew: Mix 1 part white vinegar with 1 part water. Wipe the spot and dry completely.
Always test any new cleaning solution on a small, hidden part of your cabinet first.
What Most People Miss
Many homeowners forget that sunlight can cause yellowing over time. Using UV-blocking window film or curtains can help protect your cabinets if your kitchen gets a lot of sun. Also, don’t use products with bleach unless your cabinet manufacturer says it’s safe.
Cleaning Different Types Of White Cabinet Finishes
How you clean your cabinets depends on the finish. Here’s a quick guide for each type:
| Finish Type | Best Cleaning Method | What to Avoid |
|---|---|---|
| Painted Wood | Mild soap and water, dry quickly | Excess water, harsh chemicals |
| High-Gloss Laminate | Microfiber cloth, diluted vinegar solution | Abrasives, strong solvents |
| Thermofoil | Damp cloth, mild soap | Heat exposure, hard scrubbing |
| Melamine | Mild detergent, soft cloth | Bleach, steel wool |
Not sure of your finish? If water beads up and wipes away easily, you likely have laminate or melamine. If the cabinet absorbs water and feels rough after cleaning, it’s probably painted wood.
Cleaning Cabinet Hardware
Handles, knobs, and hinges are touched constantly but often ignored during cleaning. They collect oil, sweat, and bacteria. Keeping them clean not only improves appearance but also helps prevent grime from spreading back onto your white cabinets.
Best Practices For Hardware Cleaning
- Remove hardware if possible for a full clean.
- Soak in warm, soapy water for 10–15 minutes.
- Scrub with a toothbrush, especially around threads or grooves.
- Rinse and dry completely before reinstalling.
- For fixed hardware, spray your cleaning solution on a cloth (not directly on hardware) and wipe thoroughly.
Extra Tip
Polished metal can be buffed with a dry microfiber cloth for extra shine. For stubborn tarnish on brass or copper, use a small amount of vinegar or a commercial metal polish (test carefully).
Credit: www.abbottsathome.com
How To Clean Cabinet Interiors
Cleaning inside cabinets is as important as the outside, but it’s often overlooked. Crumbs, dust, and spills can lead to odors and attract pests.
Effective Interior Cleaning Steps
- Remove all items and shelf liners.
- Vacuum out loose crumbs and dust.
- Wipe shelves and walls with mild soapy water (or vinegar solution for odor).
- Dry thoroughly before replacing items.
- Wash or replace shelf liners as needed.
If you store food in cabinets, keep an eye out for sticky spills or leaks, especially from oils, syrups, or sauces.
How To Keep White Cabinets Clean Longer
Prevention is easier than constant cleaning. A few smart habits can keep your cabinets looking fresh between deep cleans.
Pro Tips For Longevity
- Install range hoods and use them every time you cook to reduce grease in the air.
- Wipe cabinet doors after cooking, especially above the stove.
- Use cabinet mats inside to catch spills and crumbs.
- Avoid hanging wet towels on cabinet doors.
- Encourage family to use handles, not cabinet edges, to minimize fingerprints.
What Most People Don’t Realize
Even the type of cookware you use can matter. Cast iron pans, for example, often release more smoke and oil, which leads to more grease on cabinets. Try to cook with lids when possible to keep splatters down.
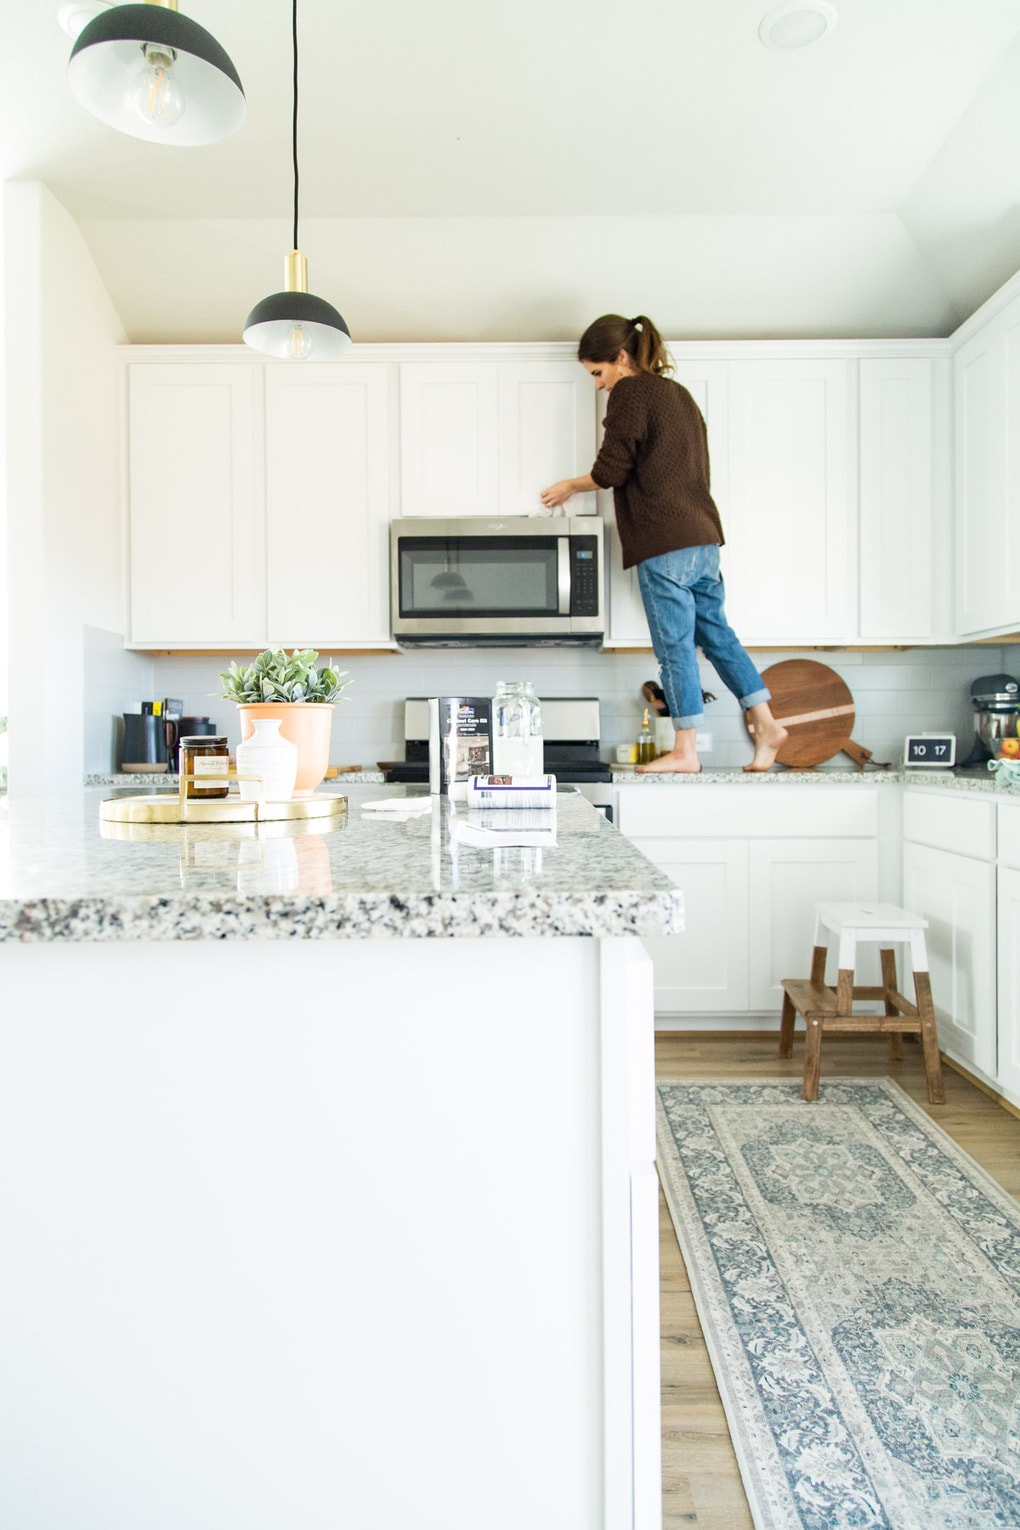
Credit: www.loveandrenovations.com
How To Clean Glass-front White Cabinets
Glass-front cabinets are a stylish feature but need special care to avoid streaks and residue.
Cleaning Method
- Use a glass cleaner or a mix of vinegar and water (1: 1 ratio).
- Spray onto a microfiber cloth (not directly on glass).
- Wipe gently, focusing on corners and edges.
- Buff with a dry, lint-free cloth for a streak-free finish.
Don’t forget to clean the wood or frame around the glass with your regular cabinet cleaner.
Dealing With Odors Inside Cabinets
Musty smells can build up inside cabinets, especially in humid kitchens. Here’s how to keep your cabinets fresh:
- Air them out by leaving doors open for a few hours.
- Place a bowl of baking soda or a few charcoal briquettes inside to absorb odors.
- Use shelf liners that are easy to remove and wash.
Check for leaks under the sink or near water sources, as moisture can lead to odors and even mold.
When To Repaint Or Refinish White Cabinets
Sometimes, cleaning isn’t enough. If your cabinets are permanently stained, yellowed, or peeling, it may be time to repaint or refinish.
Signs You Need A Refresh
- Deep yellowing that doesn’t come off
- Chipped or peeling paint
- Water damage (swelling, warping)
- Surface feels rough or sticky even after cleaning
Repainting is a bigger job but can restore your cabinets to like-new condition. If you’re not confident, consider hiring a professional.
Safe Cleaning Products For White Cabinets
Many commercial cleaners claim to be “safe for kitchens,” but not all are good for white cabinets. Here are some reliable choices:
- Murphy Oil Soap (for wood cabinets)
- Simple Green All-Purpose Cleaner
- Seventh Generation Free & Clear
- Homemade mix: 1 cup vinegar, 2 cups water, a few drops of dish soap
Always check the label and avoid bleach, ammonia, or anything abrasive unless the manufacturer says it’s okay. For more info on safe cleaning ingredients, see the EPA’s Safer Choice Program.
Mistakes To Avoid When Cleaning White Cabinets
Many people unintentionally damage their cabinets while trying to clean them. Here are some pitfalls to watch out for:
- Using excessive water. Too much moisture can cause swelling and paint to peel.
- Skipping drying. Wet surfaces attract dust and can leave streaks.
- Using harsh chemicals. Bleach, ammonia, and strong degreasers can yellow or dull finishes.
- Scrubbing too hard. Abrasive sponges scratch and remove protective coatings.
- Ignoring hidden areas. Dirt builds up at the tops, bottoms, and hinges if left unchecked.
If you’re ever unsure, start with the gentlest method first.
Real-life Examples And Troubleshooting
Let’s look at two common situations:
Grease Build-up Over The Stove
Sarah noticed a sticky yellow film on her upper cabinets after months of frying food. Regular soap and water didn’t help. She made a paste of baking soda and water, rubbed it gently with a microfiber cloth, and let it sit for 2 minutes before wiping clean.
The grease dissolved without scratching the paint.
Water Marks Around The Sink
James saw dull spots appearing around his sink cabinets. He realized his family left wet towels on the doors. After cleaning the area with a vinegar solution and drying it well, he added a small towel rack to keep wet cloths off the cabinet surface.
The marks faded and didn’t return.
Credit: www.abbottsathome.com
How Often Should You Clean White Cabinets?
Frequency depends on your kitchen use, but here’s a good schedule:
- Daily: Wipe spills and fingerprints
- Weekly: Full wipe-down of doors and handles
- Monthly: Clean inside cabinets and hardware
- Seasonally (every 3–6 months): Deep clean, check for stains or yellowing
Adapting this routine keeps your cabinets in top shape and reduces the need for heavy cleaning.
How To Clean Cabinet Hinges And Tracks
Hinges and tracks often get grimy, squeaky, or sticky. Here’s how to care for them:
- Use a dry brush or vacuum to remove dust.
- Wipe with a damp cloth (mild soap if needed).
- Dry completely and apply a drop of light oil to hinges if they squeak.
- For sliding tracks, use a soft brush and a cloth—never spray oil directly as it can drip onto the cabinet.
Regular attention prevents rust and keeps doors moving smoothly.
Kid And Pet Safety In Kitchen Cabinet Cleaning
If you have children or pets, keep cleaning supplies out of reach. Rinse surfaces well to remove any residue, especially if your kids touch cabinet doors often. Choose non-toxic, fragrance-free cleaners whenever possible.
How To Fix Minor Scratches Or Chips
No matter how careful you are, white cabinets can get scratched or chipped. Here’s a quick fix:
- Use a touch-up pen or paint that matches your cabinet color (available at hardware stores).
- Fill small chips with wood filler, let dry, then touch up with paint.
- For laminate, use a color-matched repair paste.
Always clean the area first and let it dry before repairing.
Kitchen Layouts And Cabinet Cleaning Challenges
Certain kitchen layouts make cleaning harder. For example, galley kitchens often have cabinets close to the stove, so they get greasy faster. Open kitchens may get more sunlight, increasing the risk of yellowing. Adjust your cleaning routine based on your layout and how you use your kitchen.
Frequently Asked Questions
How Do I Prevent Yellowing On My White Kitchen Cabinets?
Keep cabinets clean, use the stove hood when cooking, and avoid harsh cleaners. Block direct sunlight with curtains or UV film if your kitchen is very bright.
Can I Use Magic Eraser On White Cabinets?
Use Magic Erasers with caution. They’re slightly abrasive and can dull or scratch the finish, especially on glossy or painted surfaces. Test on a hidden spot first.
What Is The Best Homemade Cleaner For White Cabinets?
A mix of warm water, a few drops of dish soap, and a splash of vinegar works well for most cabinets. Always wring out your cloth so it’s damp, not wet.
How Do I Remove Sticky Grease From Cabinet Doors?
Make a paste of baking soda and water. Rub gently with a microfiber cloth, let it sit for a minute or two, then wipe clean. Repeat if needed.
How Often Should I Deep Clean My Kitchen Cabinets?
Aim for a deep clean every 3 to 6 months. If you cook a lot or have kids and pets, you may need to deep clean more often.
Keeping your white kitchen cabinets looking fresh is not difficult if you know what to do and stick to a smart routine. With the right supplies and habits, you’ll enjoy a bright, clean kitchen every day. If you ever feel overwhelmed, just start small—wipe a few doors, and the results will encourage you to keep going. Clean cabinets are not just about looks—they also mean a healthier, more welcoming kitchen for you and your family.