Canning ribs in the oven may sound unusual, but it’s a practical way to enjoy tender, flavorful meat all year round—without depending on a grill or smoker. Many home cooks look for ways to store cooked ribs safely, especially when buying in bulk or preparing for busy weeks ahead.
Oven canning offers a solution, but it requires careful attention to process, safety, and flavor. This guide will take you through every step, from choosing ribs to sealing jars, and even troubleshooting common mistakes. You’ll also find real-world tips and comparisons to help you get the best results.
What Does It Mean To Can Ribs In The Oven?
Canning typically means preserving food in jars by heating them to kill bacteria, then sealing to keep food shelf-stable. Most experts recommend water bath or pressure canning, but some home cooks use the oven for convenience. Oven canning involves placing prepared ribs in glass jars, covering with sauce or broth, and baking them in the oven at high heat. The heat creates a vacuum seal as the jars cool.
However, it’s important to know that the USDA and most food safety authorities do not officially recommend oven canning because oven heat may not penetrate food as evenly as boiling water or steam. Still, many people use this method with success, especially for cooked meats. If you choose to oven-can, follow every step carefully and understand the risks.
Is Oven Canning Ribs Safe?
Safety is the top concern with any home canning. Oven canning is controversial because:
- Oven temperatures can be uneven
- Glass jars may break or not seal properly
- Bacteria like Clostridium botulinum (which causes botulism) can survive if food doesn’t get hot enough
For best safety, always use new lids, sterilize jars, and heat ribs to recommended temperatures. If you have a pressure canner, use it instead of the oven. If not, follow all steps and tips in this guide. Check every jar for a tight seal before storing, and discard any food that smells off or looks spoiled.
Why Oven Canning Ribs?
People choose oven canning for several reasons:
- No pressure canner needed: Many home cooks don’t own one.
- Saves freezer space: Canned ribs can stay on the shelf.
- Convenient: You can make large batches ahead.
- Flavor: Slow cooking in jars with sauce keeps ribs moist.
Still, it’s not for everyone. If you cook for people with weak immune systems, consider safer canning methods.
Choosing The Right Ribs
The type of ribs you use will affect the texture, flavor, and shelf life. Here’s how to decide:
Types Of Pork Ribs
| Rib Type | Meatiness | Flavor | Best For |
|---|---|---|---|
| Baby Back Ribs | Lean, tender | Mild | Quick canning, mild sauces |
| Spare Ribs | Meaty, fatty | Rich, strong | Longer cooking, bold sauces |
| St. Louis Style | Meaty, trimmed | Balanced | All-purpose canning |
Baby back ribs are smaller and cook faster, but spare ribs offer deeper flavor. St. Louis style ribs are a trimmed version of spare ribs and give a balance between fat and meat.
How Much To Buy
Plan for about 1-1.5 pounds of ribs per quart jar (with bones). This usually means one rack fills two jars. Always buy a bit extra to allow for trimming and bone size.
Preparing Ribs For Oven Canning
Step 1: Trim And Season
Trim off any extra fat or ragged edges. Fat can go rancid in jars over time. Remove the thin membrane from the back of the ribs for tender results.
Season with your favorite dry rub or marinade. Salt, pepper, garlic powder, and paprika are good basics. Go light on sugar if storing for a long time—sugar can darken or change flavor.
Step 2: Pre-cooking The Ribs
Some skip this, but pre-cooking helps remove fat and ensures even cooking. Bake ribs at 350°F (175°C) for 20-30 minutes, or until just cooked through but not browned. This step also shrinks the meat, so more fits in the jar.
Step 3: Choosing The Right Sauce
Sauce is optional, but it keeps ribs moist and adds flavor. You can use:
- Barbecue sauce (store-bought or homemade)
- Broth (chicken, beef, or vegetable)
- Tomato sauce with spices
If you want smoky ribs, add a few drops of liquid smoke. Avoid creamy or dairy-based sauces, as they don’t store well.
Sterilizing Jars And Lids
Cleanliness is critical in canning. Here’s how to prepare jars and lids:
- Wash jars, lids, and rings in hot, soapy water. Rinse well.
- Place jars in a large pot of boiling water for 10 minutes, or heat in a 250°F (120°C) oven for 15 minutes.
- Place lids and rings in simmering (not boiling) water for 5 minutes. Keep them hot until use.
Never use old or chipped jars. Always start with new lids for the best seal.
Packing The Jars
Step 1: Layering Ribs
Cut ribs into pieces that fit your jars—usually 2-3 ribs per section. Stand or stack ribs in the jars, leaving about 1 inch of headspace at the top.
Step 2: Adding Sauce Or Broth
Pour sauce or hot broth over the ribs, covering them completely but still leaving headspace. This prevents overflow and helps create a vacuum seal.
Step 3: Removing Air Bubbles
Slide a clean, thin spatula or chopstick around the edges to remove trapped air. Wipe the rim with a clean, damp cloth to ensure a good seal.
Sealing And Preparing For The Oven
- Place hot lids on the jars and screw on rings fingertip tight—don’t over-tighten.
- Place jars on a baking tray with space between them.
- Add a layer of folded kitchen towel under the jars to prevent direct contact with the hot pan (less risk of breaking).
Oven Canning Process
Step 1: Preheat The Oven
Set your oven to 250°F (120°C). Don’t use convection mode, as it may heat jars unevenly.
Step 2: Bake The Jars
Place the tray of jars in the oven. Bake for 90 minutes. This long, slow heat kills most bacteria and allows flavors to blend.
Step 3: Cooling
After baking, turn off the oven but leave jars inside for 15 minutes. Then, carefully move jars to a towel-lined counter. Let cool completely—don’t move or tilt them.
You’ll hear a “pop” as jars seal. The lid should be concave (slightly dipped in) and not move when pressed.
Checking Seals And Storage
After jars are cool (about 12 hours), check each lid:
- Press the center. It should not pop up and down.
- Remove rings and lift jars by the lid—if it stays put, the seal is good.
Store sealed jars in a cool, dark place for up to 6 months. Refrigerate after opening.
If a jar didn’t seal, refrigerate and use within a week.
Credit: www.justataste.com
Common Mistakes And How To Avoid Them
Oven canning ribs has unique challenges. Here are frequent mistakes:
- Not sterilizing jars: Even a small bit of bacteria can spoil food.
- Overfilling jars: Food expands; overfilled jars may leak or not seal.
- Using too much fat: Excess fat can lead to spoilage and poor seals.
- Skipping pre-cooking: Raw fat and juices can create air pockets or cloudiness.
- Ignoring failed seals: Always check; never eat from a jar with a loose lid.
Flavor And Texture: What To Expect
Oven-canned ribs are different from grilled or fresh-cooked ribs. Expect:
- Tender, fall-off-the-bone texture
- Rich, blended flavors (especially with sauce)
- Less smoky crust (unless using smoked paprika or liquid smoke)
- Moister meat (sometimes softer than grilled)
If you want a crispy finish, reheat ribs under a broiler or on the grill before serving.
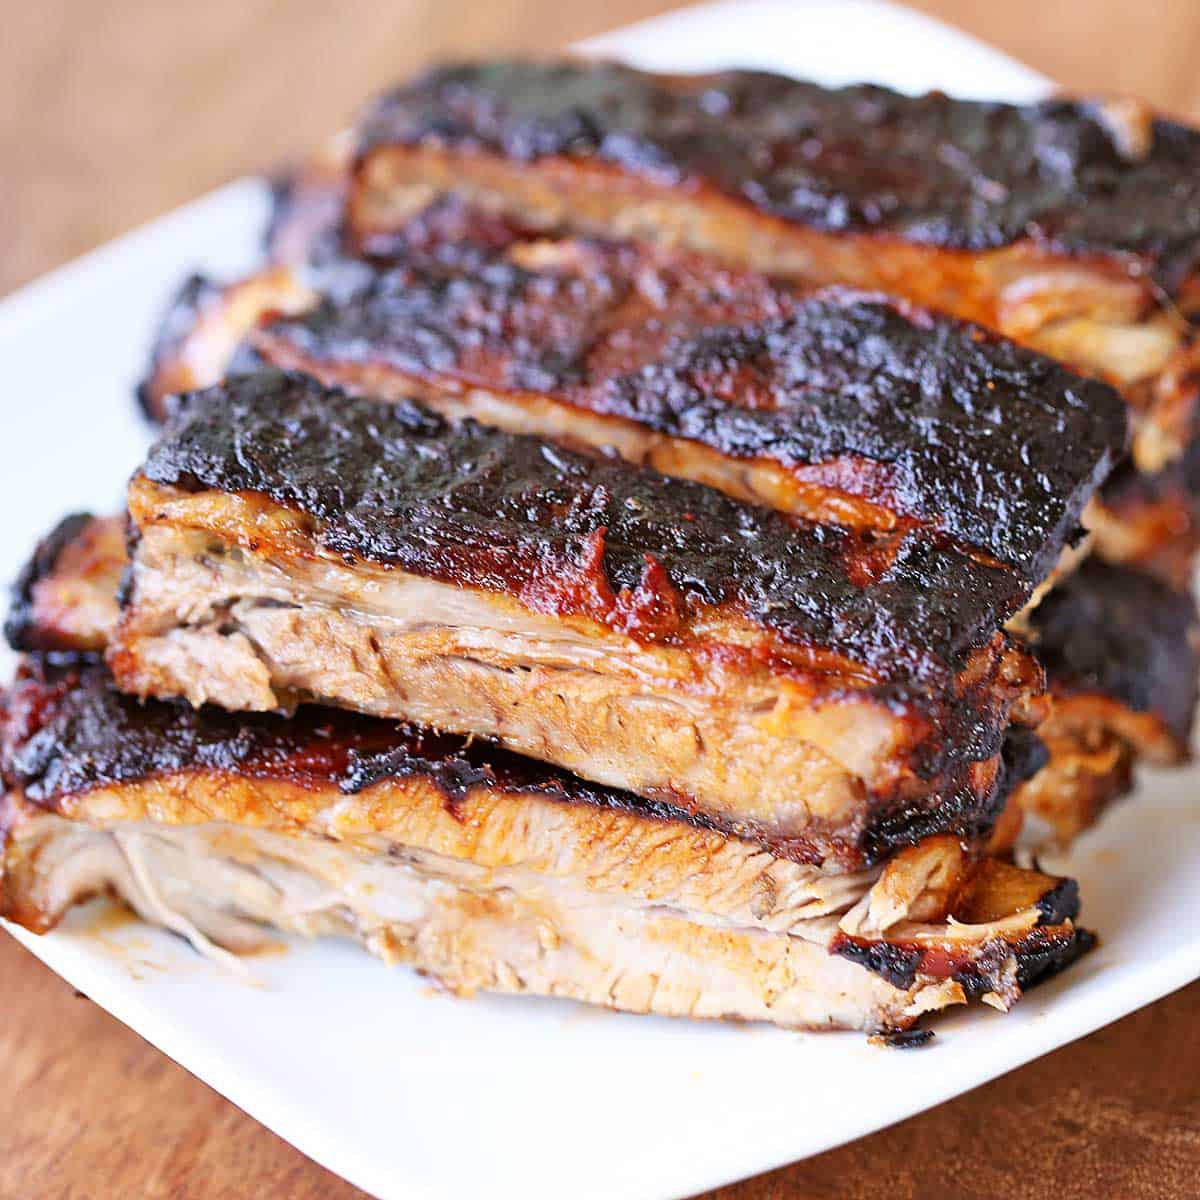
Credit: healthyrecipesblogs.com
Comparing Oven Canning To Other Methods
How does oven canning stack up against other ways to preserve or prepare ribs?
| Method | Flavor | Texture | Shelf Life | Equipment Needed |
|---|---|---|---|---|
| Oven Canning | Rich, blended | Very tender | 6 months | Jars, oven |
| Pressure Canning | Pure, meaty | Firm, moist | 1+ years | Pressure canner |
| Freezing | Fresh-like | Varies | 6-8 months | Freezer, bags |
| Refrigerating | Very fresh | Moist, soft | 3-5 days | None |
Pressure canning is safest for meats and gives the longest shelf life. Freezing works well but uses more energy and space.
Practical Tips For Best Results
- Use wide-mouth jars for easier packing and removal.
- Label jars with date and contents.
- Don’t stack jars during storage; it can weaken the seal.
- Reheat before serving: Pour off fat, brush with sauce, and broil or grill.
- Check for spoilage: Cloudy liquid, bubbles, or bad smell mean the ribs are not safe.
Troubleshooting: Why Did My Ribs Not Seal Or Spoil?
Jars Didn’t Seal
- Lids may have been too loose or too tight.
- Rim may not have been clean.
- Not enough headspace.
Meat Spoiled
- Jars weren’t sterilized.
- Canning temperature too low.
- Too much fat in the jar.
If in doubt, throw it out. Never taste food if you’re not sure.
How To Serve Canned Ribs
Oven-canned ribs are great for quick meals. Here’s how to serve them:
- Reheat in sauce: Pour jar contents into a pan, heat gently, and serve with rice or bread.
- Crisp under broiler: Place ribs on a baking sheet, brush with fresh sauce, and broil for 5 minutes.
- Add to stews: Shred meat and add to bean or vegetable soups.
- BBQ sandwiches: Pull the meat, mix with sauce, and pile on buns with slaw.
Canning Ribs In The Oven: Step-by-step Recipe
Here is a complete, practical recipe for canning ribs in your oven.
Ingredients (makes 4 Quart Jars)
- 2 racks pork ribs (about 6 pounds)
- 2 cups barbecue sauce or broth
- 2 tablespoons salt
- 2 teaspoons black pepper
- 2 teaspoons garlic powder
- 2 teaspoons paprika
- 4 quart-size canning jars with new lids and rings
Instructions
- Preheat oven to 350°F (175°C).
- Trim ribs, remove membrane, and cut into 2-3 rib sections.
- Mix salt, pepper, garlic powder, and paprika. Rub all over ribs.
- Bake ribs on a tray for 25 minutes to render some fat.
- Sterilize jars and lids as described above.
- Pack hot ribs into jars, leaving 1 inch headspace.
- Pour hot barbecue sauce or broth into jars, covering ribs.
- Remove air bubbles, wipe rims, and apply lids and rings.
- Place jars on a towel-lined baking tray.
- Lower oven temperature to 250°F (120°C). Bake jars for 90 minutes.
- Turn off oven, leave jars inside for 15 minutes, then cool on a towel.
- Check seals after 12 hours. Store sealed jars in a cool, dark place.
Cooking Time
- Prep: 40 minutes
- Bake (sterilizing, pre-cook, and canning): 2 hours
- Total: About 2.5 hours
Serving Size
Each quart jar serves 2 people (main dish).
Advanced Tips And Insights
Here are two insights many beginners miss:
- Acidity matters: Adding a splash of vinegar or lemon juice to your sauce improves safety and flavor. Acid helps prevent bacteria and keeps meat tender. For every quart jar, add 1 tablespoon vinegar if your sauce is not tangy.
- Fat floats: Even after pre-cooking, fat will rise in the jar. Before serving, chill the jar and remove solid fat from the top for a cleaner flavor and texture.
Another expert tip: If you want a stronger smoke flavor, add 1/2 teaspoon smoked paprika or 2 drops liquid smoke per jar before baking.
Long-term Storage And Quality
Ribs canned in the oven stay good for up to 6 months if kept in a cool, dark place. For best flavor, use within 3 months. Over time, texture may soften and flavors blend more. Don’t store near heat or sunlight. If you notice any discoloration, leaks, or bulging lids, discard the jar.
Comparing Oven Canning With Pressure Canning
Many people wonder if oven canning is “worth it” compared to pressure canning. Here’s a side-by-side look:
| Feature | Oven Canning | Pressure Canning |
|---|---|---|
| Ease of Use | Simple, no special gear | Requires pressure canner |
| Safety | Controversial, more risk | Officially recommended |
| Shelf Life | 6 months | 1-2 years |
| Texture | Very tender | Firm, meaty |
If you plan to can ribs often, invest in a pressure canner for maximum safety and shelf life. For occasional use, oven canning is a practical solution.
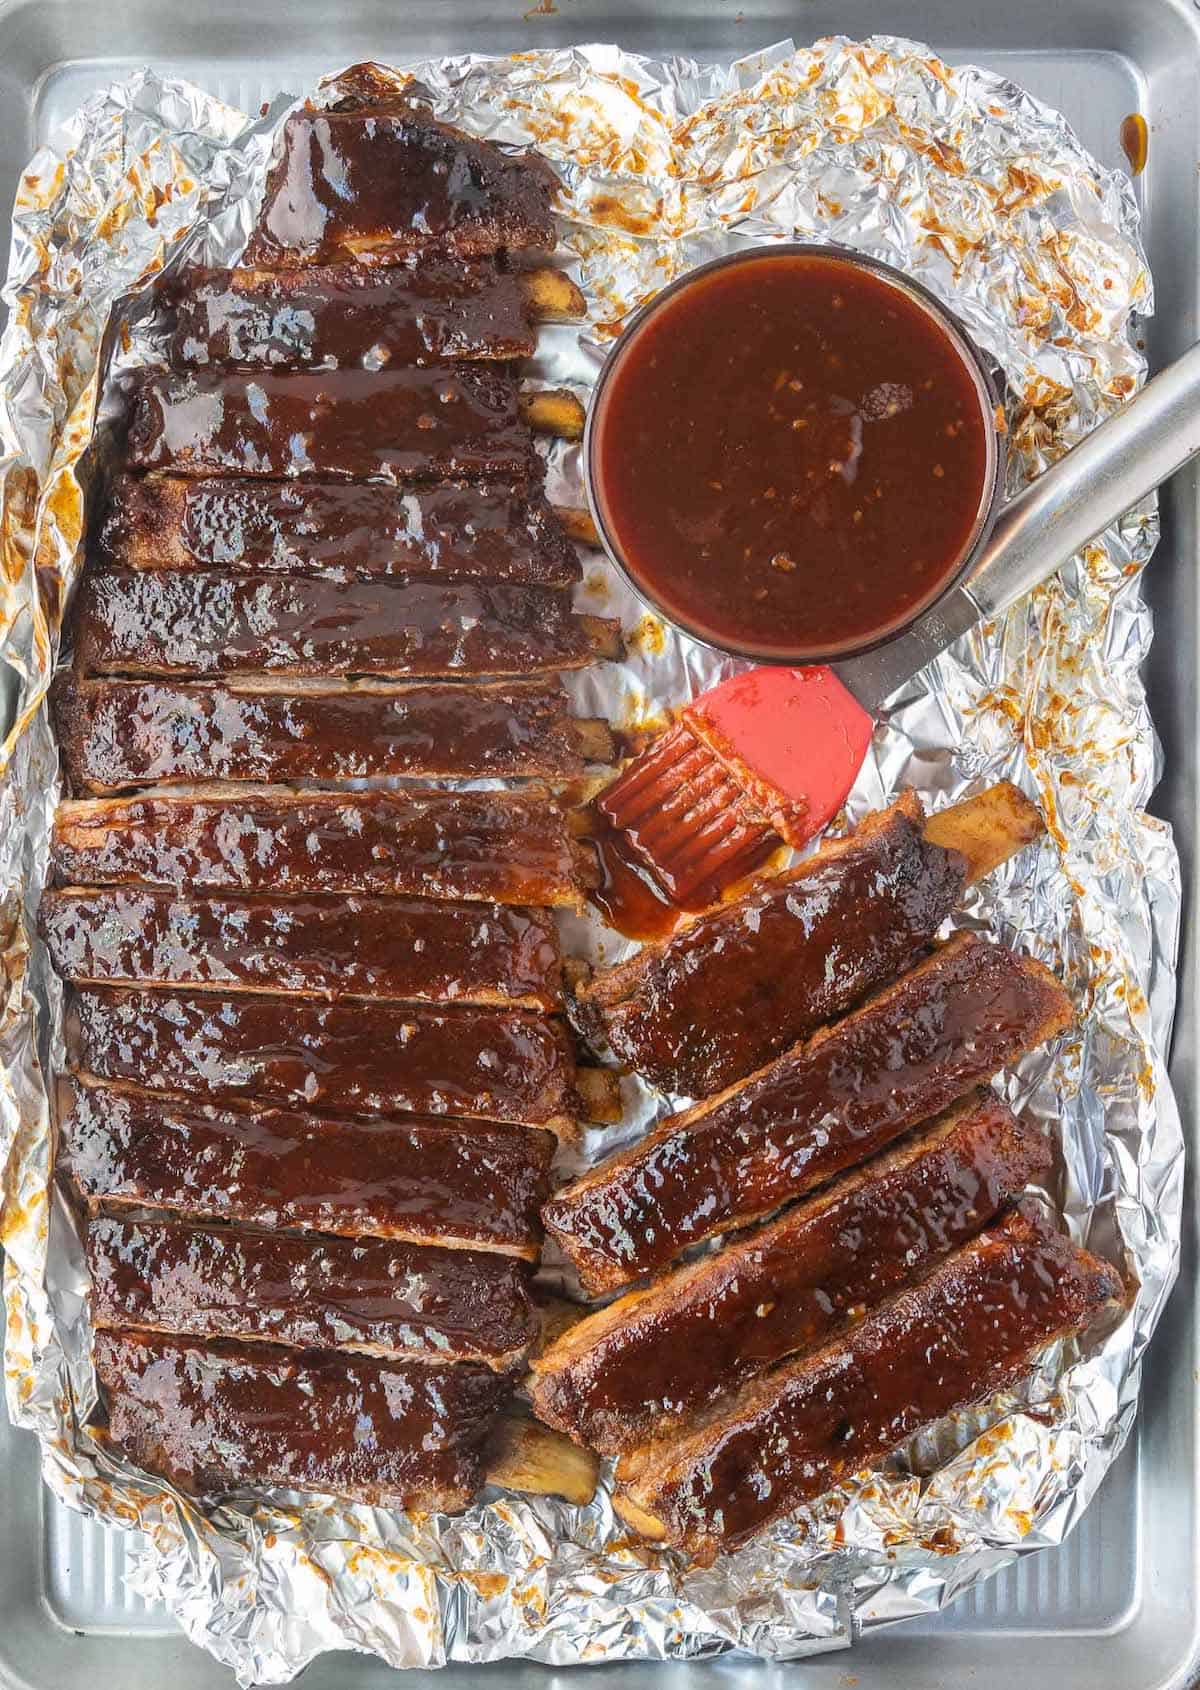
Credit: butteryourbiscuit.com
When Not To Can Ribs In The Oven
Avoid oven canning ribs if:
- You want to store ribs more than 6 months
- Cooking for infants, elderly, or immunocompromised people
- You can’t monitor oven temperature accurately
- Jars are old, chipped, or have reused lids
When in doubt, use a pressure canner or freeze cooked ribs.
Where To Learn More
For deeper research, visit the National Center for Home Food Preservation at nchfp.uga.edu. You’ll find official guidelines and safe recipes.
Frequently Asked Questions
How Long Can You Store Oven-canned Ribs?
Oven-canned ribs are best used within 6 months. Always store in a cool, dark place. After opening, keep in the refrigerator and use within a week.
Can You Can Ribs With Barbecue Sauce In The Oven?
Yes, you can use barbecue sauce. Make sure the sauce is hot when poured over the ribs. Avoid creamy or dairy-based sauces, as they don’t store safely.
What If A Jar Doesn’t Seal After Oven Canning?
If a jar doesn’t seal, refrigerate it immediately and eat the contents within 7 days. Never try to reprocess or reseal a failed jar.
Is Oven Canning Safe For All Meats?
Oven canning is not officially recommended for any meat by the USDA. It works for cooked meats with low fat, but pressure canning is safer and gives a longer shelf life.
How Do You Know If Canned Ribs Have Spoiled?
Signs of spoilage include cloudy or bubbling liquid, a bad smell, or a loose lid. If in doubt, throw it out—never taste questionable food.
Enjoying Your Homemade Canned Ribs
Canning ribs in the oven is a unique way to enjoy homemade, ready-to-eat barbecue whenever you want. While not officially recommended by safety experts, many home cooks use this method with success by following careful steps. If you value convenience and want to save freezer space, oven canning can be a useful skill. Always check seals, use clean jars, and trust your senses. With these tips, you’ll have delicious, shelf-stable ribs for quick dinners, picnics, or gifts. For even safer results, consider learning about pressure canning from trusted sources like the National Center for Home Food Preservation. Enjoy your cooking adventure!