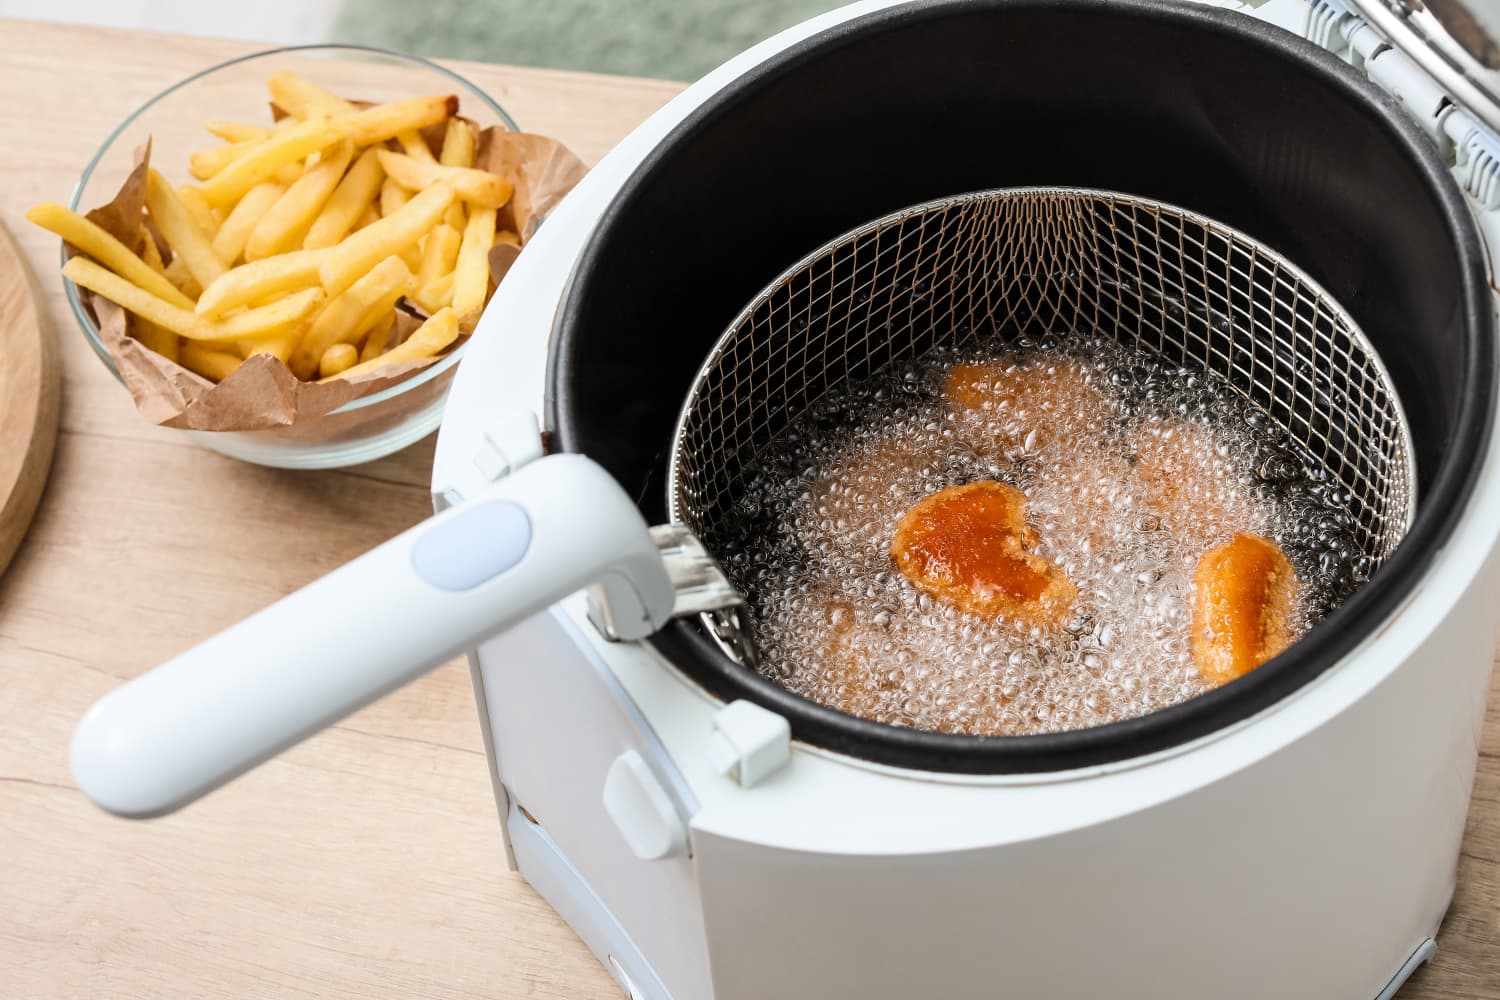
Cleaning a deep fryer can feel like a big task, especially if you use it often. Grease, crumbs, and burnt bits build up quickly. Over time, these can affect the taste of your fried food and even make the fryer less safe to use. Many people look for an easy, safe cleaning solution—something that doesn’t need strong chemicals. Vinegar is a smart choice. It’s natural, cheap, and cuts through grease very well. Plus, it helps get rid of smells, leaving your fryer fresh.
If you’ve never cleaned a deep fryer with vinegar, you might worry about doing it right. Will vinegar damage the fryer? How do you reach every part? Is it safe for the heating element? This guide will take you through every step.
You’ll learn exactly what you need, how to clean each part, and how to keep your fryer in great condition for longer. You’ll also find tips that even experienced cooks sometimes miss.
Why Use Vinegar To Clean A Deep Fryer?
Vinegar isn’t just for salads. It’s a powerful cleaner, especially for kitchen tools that deal with oil. The acid in vinegar breaks down grease, dissolves stuck-on food, and neutralizes bad smells. Unlike strong cleaners, it doesn’t leave behind dangerous chemicals.
Many popular fryer cleaners use strong scents or harsh ingredients. These can stay on the metal and mix with your next batch of food. Vinegar is food-safe and rinses away easily. It’s also cheap and easy to find.
Another reason people choose vinegar: it helps fight bacteria. Studies show that vinegar kills many common germs. It’s not a replacement for hospital-grade sanitizers, but in a home kitchen, it’s more than enough.
What You’ll Need Before You Start
Having the right tools makes cleaning faster and safer. Here’s what you need:
- White vinegar (at least 2 cups)
- Warm water (enough to fill the fryer’s oil pan)
- Mild dish soap
- Soft sponge or non-scratch scrubber
- Old toothbrush (for corners and tight spots)
- Microfiber cloth or soft towel
- Plastic spatula (for scraping)
- Large bowl or container (for draining oil)
- Paper towels
- Gloves (optional, for sensitive skin)
Don’t use steel wool or hard brushes, as these can scratch or damage the fryer’s coating.
Safety Steps: Before You Clean
Cleaning a deep fryer is different from cleaning a regular pan. There are a few important safety rules:
- Unplug the fryer and let it cool down. Hot oil can cause burns.
- Remove all oil. Pour used oil into a container—never down the drain. Oil can block pipes and cause problems.
- Wipe any spills right away. Oil on the floor is slippery and dangerous.
- If your fryer is heavy, place it on a towel to avoid scratching the counter.
- Check the owner’s manual. Some parts may need special care.
Step-by-step: How To Clean A Deep Fryer With Vinegar
Follow these steps for a deep clean. Take your time and be careful with each part.
1. Remove The Oil And Loose Debris
First, unplug the fryer and let it cool. Oil should be completely cool before you touch it. Once cool, pour the oil into a container. If you plan to reuse the oil, strain it through a fine sieve or cheesecloth to remove crumbs.
Next, use a paper towel or soft cloth to wipe out loose crumbs and sticky bits. A plastic spatula helps with any stubborn food stuck to the bottom or sides. Do not use anything metal, as it can scratch the fryer.
2. Disassemble Removable Parts
Most deep fryers have parts you can take out, like the basket, lid, and oil pan. Remove these carefully.
- Basket: Usually metal, easy to lift out.
- Oil pan: Some fryers have a removable pan; check your manual.
- Lid: Some lids have a filter. Remove it if possible.
Lay each part on a towel. This helps you see what needs cleaning and prevents water from getting into the fryer’s electrical parts.
3. Pre-soak With Vinegar Solution
In a large bowl, mix one part white vinegar to two parts warm water. Add a few drops of mild dish soap. Place the basket, lid (if possible), and oil pan in the solution.
Let them soak for 15–20 minutes. This loosens grease and softens burnt-on food. If your fryer is very dirty, you can soak a bit longer.
4. Scrub Removable Parts
After soaking, use a soft sponge or old toothbrush to scrub each part. Pay special attention to corners, mesh, and any moving joints. These areas hold the most grease.
If you see stubborn stains, dip the sponge in pure vinegar and scrub again. For hard-to-reach spots, the toothbrush is your best friend.
Rinse each part with warm water until all soap and vinegar are gone. Dry with a microfiber cloth or let air dry.
5. Clean The Fryer Body
The main fryer body can’t be soaked, as it holds the electrical wiring. Instead, dip a sponge in the vinegar solution, squeeze it out well, and wipe the inside and outside.
Use the toothbrush for crevices and the area where the basket rests. Never pour water into the fryer. For sticky corners, wrap the toothbrush with a damp cloth.
After cleaning, wipe with a clean, damp cloth to remove vinegar. Dry the fryer body with a towel.
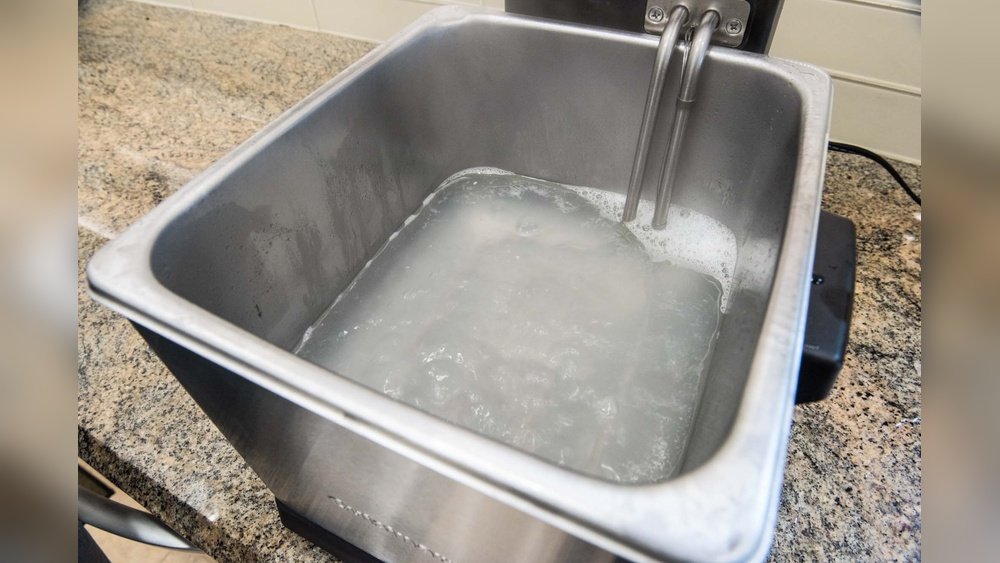
6. Removing Odors With Vinegar Steam
Some fryers trap odors even after washing. To remove these, fill the oil pan with a mixture of half vinegar, half water (enough to cover the heating element, but not overflow).
Plug in the fryer and heat the solution until it just starts to steam—do not let it boil. Turn off and unplug the fryer, then let it sit for 10 minutes.
Vinegar steam loosens old grease and removes smells. When done, pour out the solution and wipe the inside with a soft cloth.
7. Rinse And Dry Everything
Make sure all parts are completely dry before reassembling. Even a few drops of water can make oil splatter when you next use the fryer.
Wipe each part with a dry towel. Let air dry for 10–15 minutes if needed.
8. Reassemble The Fryer
Put all the parts back in place:
- Insert the oil pan
- Attach the basket and lid
- Check that everything fits snugly
Wipe the outside of the fryer with a clean, dry cloth to remove any fingerprints.
9. Final Touches
Before using the fryer again, make sure there’s no smell of vinegar. If you smell vinegar, wipe again with a damp cloth and dry. This ensures your food tastes perfect.
How Often Should You Clean A Deep Fryer With Vinegar?
The more often you use your fryer, the more often you need to clean it. For most home cooks, a deep clean with vinegar every 3–5 uses is enough. If you fry food with strong smells (like fish), clean more often.
Oil should be changed after 8–10 uses or when it smells bad or changes color. Cleaning the fryer after changing oil is the best time.
Comparing Vinegar To Other Deep Fryer Cleaners
People often wonder if vinegar is the best choice, or if store-bought cleaners are better. Here’s a quick look at how vinegar compares to other options:
| Cleaner Type | Cost | Food-Safe? | Removes Grease | Removes Odors | Environmental Impact |
|---|---|---|---|---|---|
| White Vinegar | Low | Yes | Very Good | Excellent | Low |
| Commercial Cleaner | Medium–High | Check label | Excellent | Good | Medium–High |
| Baking Soda Paste | Low | Yes | Good | Good | Low |
| Lemon Juice | Medium | Yes | Fair | Very Good | Low |
Vinegar stands out for being safe, cheap, and effective. It works as well as most store-bought cleaners, without the risks.
Avoiding Common Mistakes When Cleaning With Vinegar
Some people try vinegar once, then say it “didn’t work.” Usually, the problem is with how they used it. Here are mistakes to avoid:
- Not unplugging the fryer first. This is dangerous and can damage the fryer.
- Using cold vinegar. Warm vinegar works faster at breaking grease.
- Not soaking long enough. Stubborn grease needs at least 15–20 minutes.
- Forgetting to rinse. Vinegar left behind can affect the taste of food.
- Using vinegar on aluminum. Some fryers have aluminum parts, which can react with vinegar. Check your manual.
- Scrubbing with rough tools. Metal pads scratch the fryer’s coating and make it rust.
A bonus tip: If you use your fryer every day (like in a food truck or small shop), vinegar cleaning should be part of your weekly routine.
Special Cases: Cleaning Burnt-on Oil Or Carbon Buildup
Sometimes, regular cleaning isn’t enough. Burnt-on oil (carbon buildup) is tough to remove. Here’s how vinegar can help:
- Mix a thick paste of baking soda and vinegar. Spread it on the burnt area and let sit for 30 minutes.
- Scrub gently with a non-scratch pad. The fizzing helps lift the carbon.
- If needed, repeat the process.
For very old fryers, some stains may never come off fully. As long as they don’t smell or flake, the fryer is still safe to use.
Credit: www.apartmenttherapy.com
How Vinegar Cleans: The Science Behind It
Vinegar contains acetic acid. This acid breaks down the long chains of fat in grease, making them water-soluble. That’s why greasy pans look cloudy at first, then rinse clean after using vinegar.
Vinegar also kills many types of bacteria. According to a study in the *Journal of Environmental Health*, household vinegar kills about 80% of germs found in kitchen oil. While it’s not as strong as bleach, it’s much safer for cooking tools.
Caring For Your Deep Fryer After Cleaning
Proper care keeps your fryer working longer and makes each cleaning easier.
- Store the fryer dry. Moisture causes rust, especially on heating elements.
- Keep the oil covered. When not using, always close the lid.
- Wipe splashes right away. Old oil is harder to clean.
- Check the power cord and plug. Oil can drip and make a sticky mess if ignored.
If your fryer has a filter, clean or replace it as the manual suggests.
Deep Fryer Parts: What Needs Cleaning And How Often
Not every part needs the same care. Here’s a quick guide:
| Fryer Part | How Often to Clean | Best Cleaning Method |
|---|---|---|
| Oil Pan | Every oil change | Soak in vinegar solution, scrub |
| Basket | Every use | Soak, scrub, rinse |
| Lid | Weekly or as needed | Wipe, soak if removable |
| Heating Element | Monthly | Wipe carefully, do not soak |
| Body/Exterior | Weekly | Wipe with damp cloth |
| Filter | Check manual | Replace or wash |
This routine saves time and prevents problems before they start.
Two Surprising Vinegar Cleaning Tricks Pros Use
Even experienced home cooks sometimes skip these:
1. Vinegar Soaked Paper Towels For Tight Spaces
Roll up a paper towel, soak it in vinegar, and stuff it into hard-to-reach corners. Let it sit for 10 minutes. When you pull it out, it takes the grime with it.
2. Vinegar And Salt For Rust Spots
Mix vinegar with a little salt and rub it on rusty areas with a soft cloth. This removes rust without scratching. Rinse well after.
These tricks save time and keep your fryer looking new.

Credit: www.reddit.com
When To Replace Your Deep Fryer
No fryer lasts forever. Signs you may need a new one:
- Heating element is corroded or damaged
- Plastic is cracked or warped
- Parts don’t fit together anymore
- You see sparks or smell burning plastic
If you notice these, stop using the fryer and consider a new one. Regular cleaning helps your fryer last longer, but safety comes first.
Eco-friendly Ways To Dispose Of Used Oil
Never pour used oil down the sink or toilet. This causes plumbing problems and pollutes water.
Here are better options:
- Let oil cool, then pour into a sealable container. Throw in the trash (if allowed in your area).
- Some cities have special collection days for used oil. Check your local rules.
- Many auto shops accept used oil for recycling.
- Mix old oil with birdseed to make suet cakes for wild birds (only if oil is clean and plant-based).
Cleaning with vinegar means less impact on the environment compared to chemical cleaners.
How To Keep Your Fryer Clean Longer
A few simple habits make cleaning faster:
- Strain oil after each use. This removes crumbs that burn and stick.
- Don’t overfill the basket. Overcrowding causes oil to spill and splatter.
- Wipe the outside after frying. Oil mist lands everywhere.
- Change oil on schedule. Old oil leaves more residue.
With these habits, you may only need a deep vinegar clean once a month.
What If My Deep Fryer Smells Even After Cleaning?
Sometimes, the fryer smells even after a vinegar clean. This can happen if the heating element has oil trapped inside, or if the filter is old.
Try these fixes:
- Run the vinegar steam method twice.
- Check and replace the filter.
- Leave the fryer open (unplugged) for a few hours to air out.
- Wipe inside with a bit of lemon juice after the vinegar clean.
If smells continue, the fryer may be worn out or have hidden oil in the wiring.
:max_bytes(150000):strip_icc()/faw-toaster-ovens-air-fryers-test-chefman-3-7qt-turbofry-rkilgore-111-487d903950824b019a89d671ec68e254.jpg)
Credit: www.foodandwine.com
Quick Reference: Cleaning Schedule For Home Deep Fryers
Here’s a simple schedule for most home users:
| Task | Frequency |
|---|---|
| Strain oil | After every use |
| Wipe outside | After every use |
| Deep clean with vinegar | Every 3–5 uses |
| Change oil | Every 8–10 uses |
| Check filter | Monthly |
Following this routine keeps your fryer safe, clean, and ready for great-tasting food.
Frequently Asked Questions
How Much Vinegar Should I Use To Clean A Deep Fryer?
Use about one cup of white vinegar for every two cups of warm water. This ratio is strong enough to cut grease but safe for most fryer parts.
Can I Use Apple Cider Vinegar Instead Of White Vinegar?
White vinegar is best because it has no sugar and leaves no sticky residue. Apple cider vinegar works in a pinch but may leave a scent or film.
Is It Safe To Clean The Heating Element With Vinegar?
Wipe the heating element with a damp sponge dipped in vinegar, but never soak it. Make sure it is completely dry before using the fryer again.
Will Vinegar Remove Bad Smells From My Deep Fryer?
Yes, vinegar is very effective at removing old oil and food smells. If one cleaning isn’t enough, repeat the vinegar steam method.
Where Can I Learn More About Safe Cleaning With Vinegar?
For more on using vinegar safely in your kitchen, see the EPA’s Safer Choice page.
Cleaning your deep fryer with vinegar is simple, safe, and cost-effective. With these steps and tips, your fryer will stay fresh and ready for delicious food every time.