Keeping your painted cabinets looking fresh is a challenge many homeowners face. Whether you have a bold navy kitchen, sleek white bathroom cabinets, or colorful built-ins, painted surfaces can quickly lose their beauty without proper care. Stains, scratches, chips, and fading are common problems—especially in busy homes.
But the good news is, you can protect painted cabinets and extend their life with the right habits, cleaning methods, and protective measures. You don’t need special skills or expensive products, just a little know-how and some regular attention.
This article will guide you through all the steps you need to safeguard your painted cabinets. You’ll learn why painted surfaces are vulnerable, how to prevent damage before it starts, and what to do if scratches or stains appear. We’ll also look at cleaning routines, touch-up strategies, and the best ways to shield your cabinets from sunlight, moisture, and daily wear.
If you want your cabinets to look like new for years, read on for practical, complete advice.
Why Painted Cabinets Need Special Protection
Painted cabinets add color and style to your home, but they also have unique weaknesses. Unlike factory-finished or laminate cabinets, painted wood surfaces are more sensitive to scratches, moisture, and chemical cleaners. Even the highest quality paint will wear down if not protected.
Paint forms a thin layer over wood or MDF, which can chip or peel when exposed to hard impacts or high humidity. Grease, fingerprints, and spills can leave stains if not cleaned quickly. Sunlight fades colors over time, and repeated scrubbing can dull the finish.
These problems are more obvious on painted surfaces than on natural wood or veneer.
Understanding these risks is the first step in protecting your cabinets. With this in mind, you can choose the best strategies to keep them looking their best.
Daily Habits That Keep Cabinets Looking New
Most damage to painted cabinets comes from daily routines. Small changes in how you use your kitchen or bathroom can make a big difference over time. Here are the habits to build:
- Wipe spills immediately. Even a few drops of water or oil can damage painted surfaces if left to sit. Use a soft, dry cloth to blot up spills as soon as you see them.
- Handle doors gently. Don’t slam or yank cabinet doors and drawers. Use handles or knobs, and avoid touching the painted surface with wet or greasy hands.
- Keep countertops dry. Water often drips from countertops onto cabinet doors. Dry the edges after washing dishes or using the sink to prevent swelling and paint bubbling.
- Ventilate your kitchen or bathroom. High humidity causes wood to expand and paint to crack. Use exhaust fans, open windows, or run a dehumidifier when cooking or showering.
- Keep pets and kids away from cabinets. Scratches and stains often come from pets jumping or children playing near cabinets. Teach kids to respect painted surfaces.
These small habits can prevent most everyday damage before it starts.
Credit: www.loveandrenovations.com
Cleaning Painted Cabinets The Right Way
Cleaning is essential for painted cabinets, but the wrong products or methods can do more harm than good. Here’s how to clean without damaging the paint:
Best Cleaning Tools And Products
- Soft microfiber cloths: These trap dust and clean gently without scratching.
- Mild dish soap: Mix a drop or two with warm water for everyday cleaning.
- Distilled white vinegar: Safe for removing grease, but always dilute (1:10 with water).
- Spray bottle: Makes it easy to control how much cleaner you use.
Avoid abrasive sponges, harsh chemicals, and ammonia-based cleaners—they can scratch or dull the paint.
Step-by-step Cleaning Process
- Dust first. Wipe cabinets with a dry microfiber cloth to remove loose dirt and dust.
- Mix your cleaner. Combine a few drops of mild dish soap with warm water in a spray bottle.
- Dampen a cloth. Never soak the cabinet; use a damp, not wet, cloth.
- Wipe gently. Clean in the direction of the wood grain or paint strokes.
- Dry immediately. Use a second, dry cloth to remove any moisture.
Repeat this routine weekly or as needed, depending on how much you use your cabinets.
Common Cleaning Mistakes To Avoid
- Using too much water (can cause paint to swell or bubble)
- Scrubbing hard at sticky spots (can remove paint)
- Skipping regular cleaning (build-up becomes harder to remove)
- Letting cleaning solutions dry on the surface (can stain or leave residue)
A gentle touch goes a long way in protecting the finish.
Preventing Scratches And Chips
Scratches and chips are the most visible signs of wear on painted cabinets. They can happen from utensils, rings, or hard impacts. Here’s how to keep surfaces smooth:
Protective Accessories
- Felt pads: Place these on the back of cabinet doors and drawers to cushion when closing.
- Bumpers: Stick-on bumpers soften impact and reduce noise.
- Drawer liners: Line cutlery and utensil drawers to prevent scratches from sharp objects.
- Soft-close hinges: Upgrade hardware to slow down doors and drawers, reducing stress on paint.
Mindful Use
- Always use handles or knobs—don’t grab painted surfaces directly.
- Avoid stacking heavy items on cabinet shelves, as this can cause the wood to warp and paint to crack.
- Don’t hang wet towels or cloths on cabinet doors; moisture weakens paint.
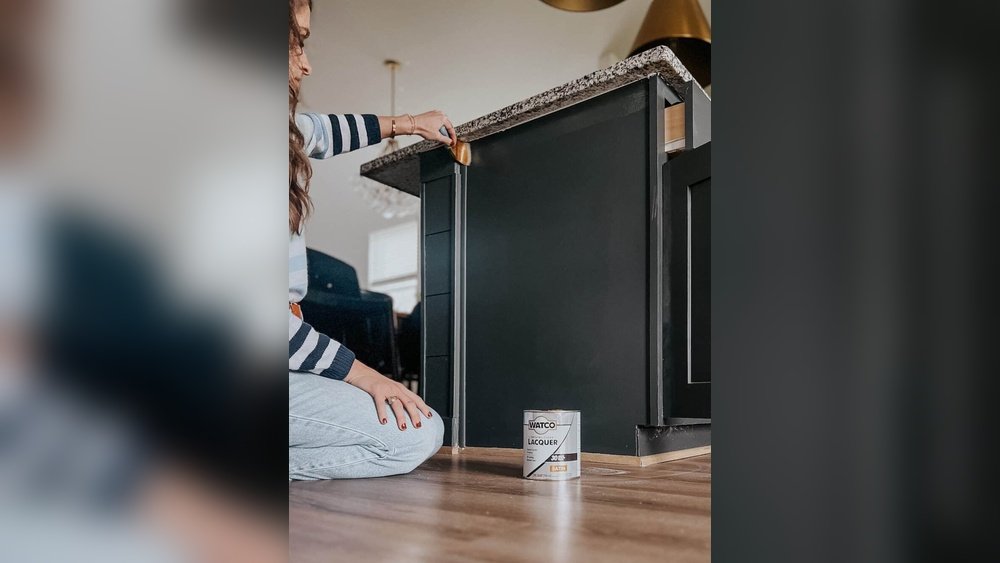
Quick Fixes For Small Damage
If you notice a small chip or scratch, address it quickly:
- Lightly sand the area with fine-grit sandpaper.
- Clean with a damp cloth and let dry.
- Dab on a matching touch-up paint using a small brush.
- Let it cure fully before using the cabinet.
This prevents further peeling or spreading.

Credit: www.lovelyetc.com
Protecting Cabinets From Sunlight And Heat
Sunlight and heat can cause painted cabinets to fade, yellow, or crack. This is especially important for cabinets near windows or appliances.
How Sunlight Affects Paint
Ultraviolet (UV) rays break down paint pigments over time. This is most visible with bold or dark colors, which can fade unevenly. Even white paint can yellow in direct sunlight.
Strategies To Block Sunlight
- Install window treatments: Use blinds, curtains, or UV-blocking films on windows near cabinets.
- Move small appliances: Keep toasters, kettles, and other hot items away from painted cabinet sides.
- Close curtains when not using the kitchen: Especially during midday when sunlight is strongest.
- Consider cabinet placement: If remodeling, avoid placing painted cabinets directly under skylights or large windows.
Heat Protection
- Add heat shields: Place aluminum or heat-resistant tape inside cabinets next to ovens or dishwashers.
- Leave space: Ensure a small gap between appliances and cabinets for air flow.
These simple steps can add years to the life of your cabinet finish.
Moisture Control: The Hidden Danger
Moisture is a silent enemy of painted cabinets. High humidity or leaks can cause paint to bubble, peel, or mildew to grow underneath.
How Moisture Damages Paint
Water seeps into wood or MDF under the paint, causing swelling. The paint layer can then crack, bubble, or lift away from the surface. Mold and mildew are also risks in damp areas.
Best Ways To Control Moisture
- Fix leaks fast: Check for dripping sinks, pipes, or appliances near cabinets.
- Seal edges: Use silicone caulk around sinks and backsplashes to block water.
- Ventilate regularly: Use exhaust fans or open windows after cooking or showering.
- Check humidity: Keep indoor humidity between 30–50%. Use a hygrometer to monitor levels.
- Wipe dry: Always dry cabinet surfaces after cleaning or spills.
Extra Protection In Bathrooms
Bathroom cabinets are especially vulnerable. Consider painting the inside edges with clear polyurethane for extra moisture resistance.
Choosing The Right Products For Protection
Not all paints and sealers are equal. If you’re painting or touching up cabinets, use products designed for durability.
Best Paints For Cabinets
- Acrylic latex paint: Flexible, durable, and resists chipping. Good for kitchens and bathrooms.
- Alkyd paint: Oil-based but cleans up with water; dries harder than latex.
- Enamel paint: Offers a hard, glossy finish that’s easy to wipe clean.
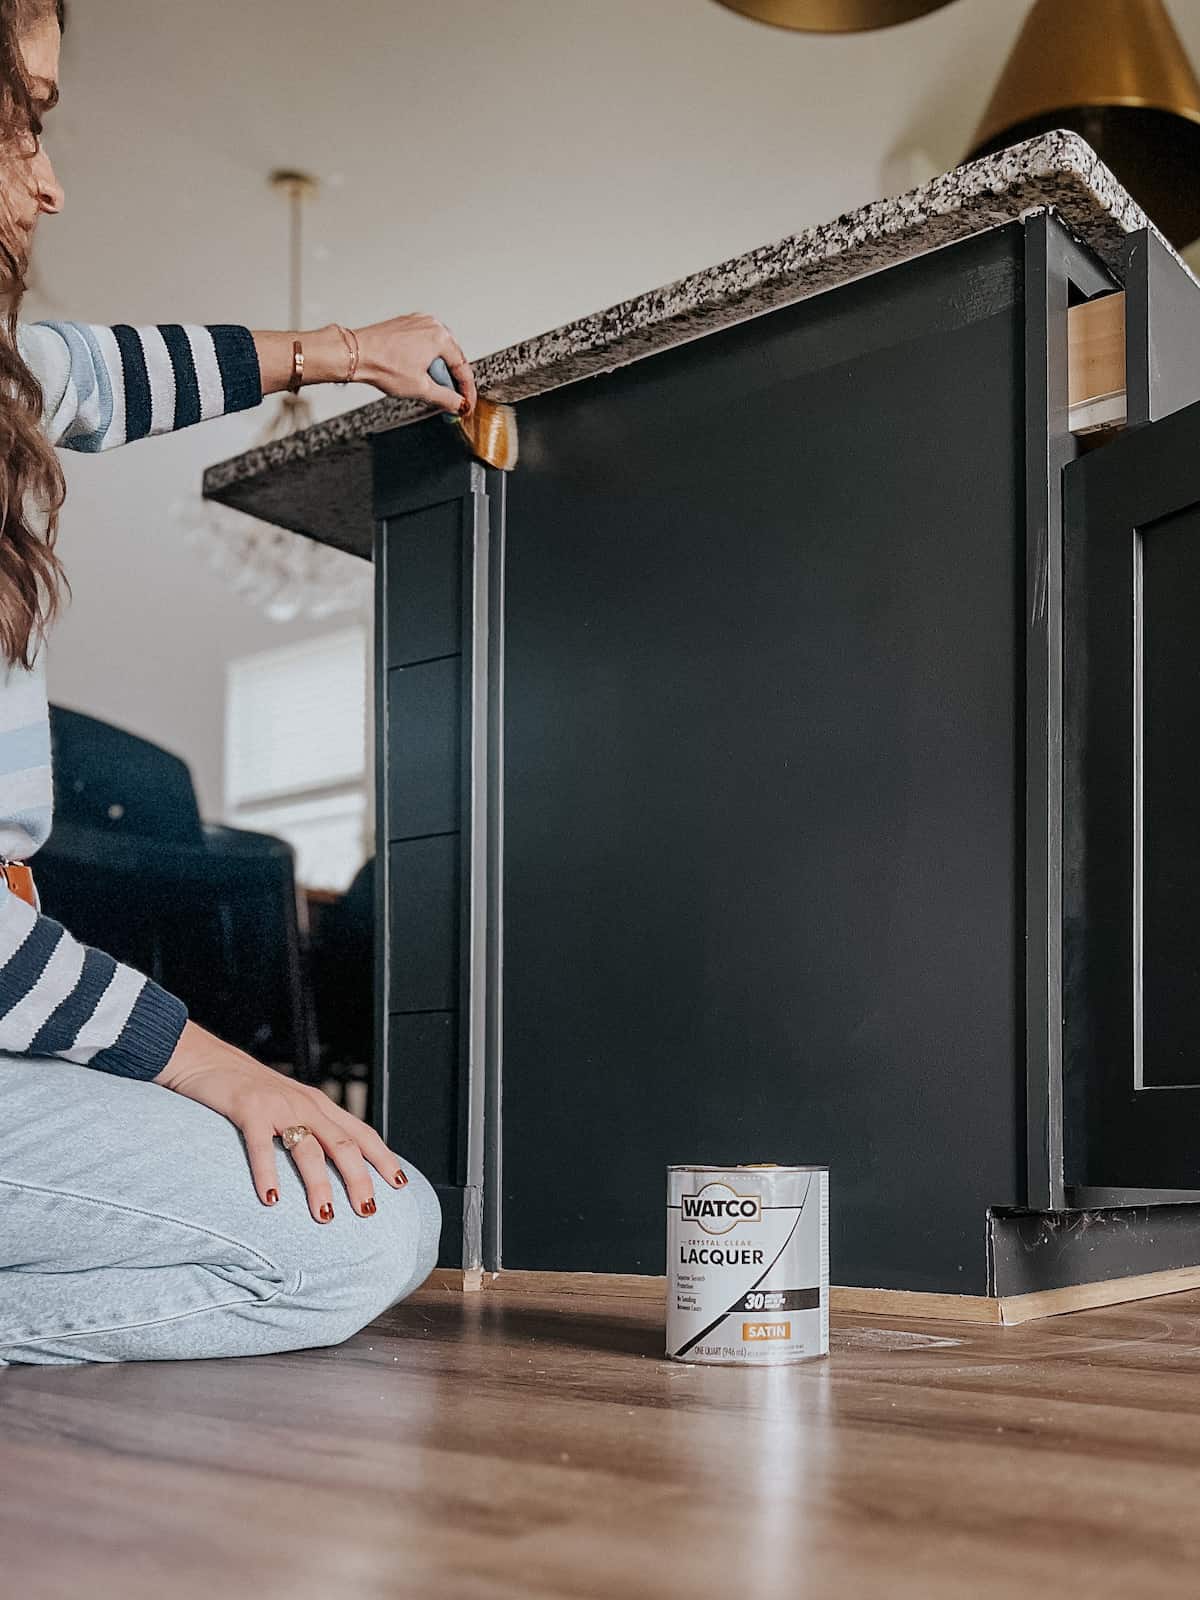
Topcoats And Sealers
Applying a protective topcoat can make a big difference:
- Water-based polyurethane: Clear, doesn’t yellow, and adds a hard protective layer.
- Wax finish: Good for matte or chalk-painted cabinets; less durable than polyurethane.
- Oil-based polyurethane: Extra tough but may yellow over time.
Table: Paint And Topcoat Comparison
| Type | Pros | Cons | Best For |
|---|---|---|---|
| Acrylic Latex | Flexible, easy clean-up | Less hard than oil-based | Kitchens, bathrooms |
| Alkyd | Hard finish, durable | Strong odor, longer dry time | High-use cabinets |
| Water-based Polyurethane | Clear, non-yellowing | May need multiple coats | Any painted cabinet |
| Wax Finish | Matte look | Needs reapplication, less durable | Decorative cabinets |
When To Repaint Or Reseal
- Heavy wear or chipping: Every 5–7 years for kitchen cabinets, or as needed.
- Fading or yellowing: Consider repainting with UV-resistant paint.
- After deep cleaning: Apply a new topcoat if the finish feels rough or dull.
Always follow the manufacturer’s instructions for best results.
Touch-up And Repair Techniques
Even with good care, painted cabinets may need touch-ups. Here’s how to make repairs invisible.
Spot-touching Chips And Scratches
- Clean the area with mild soap and water. Let dry completely.
- Lightly sand the damaged spot with 220-grit sandpaper.
- Wipe away dust with a microfiber cloth.
- Use a small artist’s brush to apply matching paint. Feather the edges for a smooth blend.
- Let dry and apply a thin layer of clear topcoat if needed.
Filling Dents And Holes
For deeper dents or holes, use wood filler:
- Apply filler with a putty knife. Let dry.
- Sand smooth and clean away dust.
- Prime the spot before painting, especially on MDF or bare wood.
When To Call A Pro
If you have large areas of damage, or if cabinets are swollen or warped, it’s best to consult a professional. DIY repairs are best for small chips, scratches, or stains.
Organizing Cabinet Interiors To Reduce Damage
The inside of cabinets needs attention too. Good organization prevents scratches, spills, and excess weight.
Smart Storage Solutions
- Shelf liners: Prevent stains and scratches from pots, pans, and food containers.
- Pull-out trays: Reduce reaching and scraping against painted sides.
- Dividers: Keep lids, trays, and cutting boards upright to avoid shifting.
- Lazy Susans: Make it easy to reach items without dragging them across shelves.
Table: Common Cabinet Organizers
| Organizer Type | Protects Against | Notes |
|---|---|---|
| Shelf Liner | Scratches, spills | Replace yearly for best results |
| Pull-out Tray | Scuffs, hard-to-reach items | Easy retrofit for most cabinets |
| Divider | Falling pans, shifting items | Use for plates, lids, trays |
| Lazy Susan | Spills, dragging items | Great for corner cabinets |
Weight Management
Don’t overload shelves, especially upper cabinets. Too much weight can cause sagging, which cracks paint and weakens the cabinet structure.
Seasonal Deep Cleaning And Inspection
A few times a year, give your cabinets a more thorough cleaning and check for early signs of damage.
Deep Cleaning Steps
- Empty cabinets and remove shelf liners.
- Wash interiors with a damp cloth and mild soap. Rinse and dry fully.
- Wipe down all painted surfaces, paying attention to corners and edges.
- Inspect for chips, stains, or mold.
- Apply a thin layer of protective polish or wax if recommended by the manufacturer.
What To Check
- Loose hinges or handles: Tighten if necessary.
- Swelling or soft spots: Indicates moisture problems.
- Early paint cracks: Touch up before they spread.
Regular inspections catch small problems before they become big repairs.
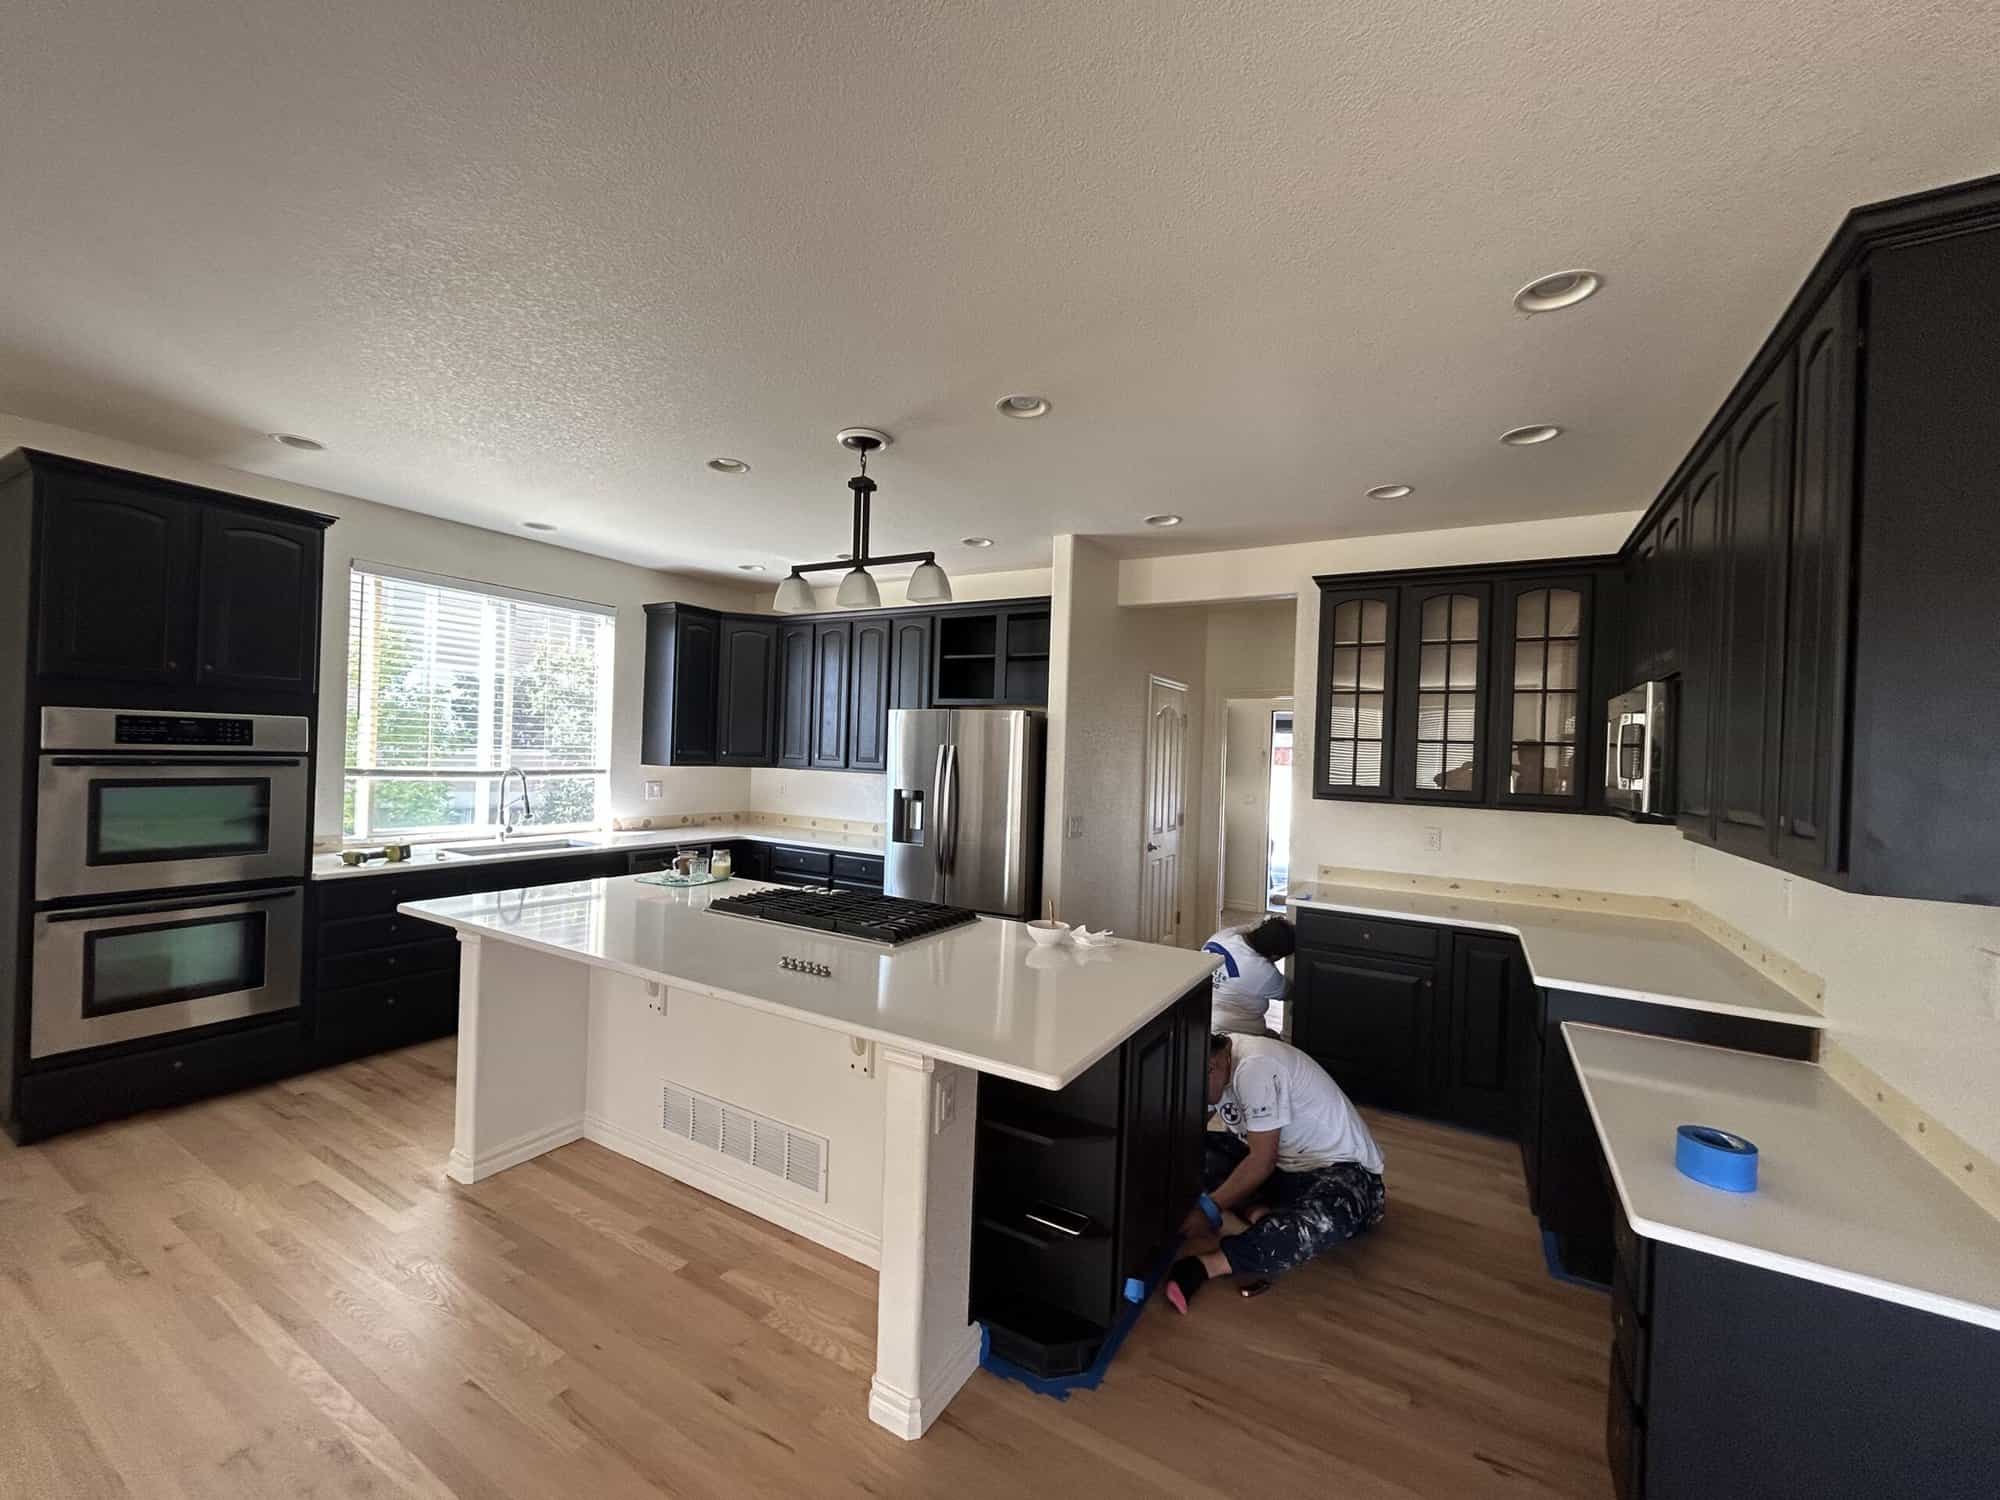
Credit: foothillspainting.co
Kitchen-specific Tips
Kitchens are the toughest environment for painted cabinets. Grease, food stains, and heavy use are daily risks.
Grease Prevention
- Use a range hood: Always run it when cooking.
- Wipe backsplash and cabinets after frying: Oil can drift and settle on surfaces.
- Avoid open shelving above the stove: Painted surfaces here get the most grease.
Dishwashing Tips
- Don’t open the dishwasher immediately after running. Let steam escape before opening to prevent moisture damage.
- Check for leaks: Dishwashers sometimes drip water near lower cabinets.
Food And Beverage Spills
- Clean sticky spills right away: Sugary or acidic foods (like tomato sauce or juice) can stain paint if left to sit.
- Don’t stack hot pans on painted surfaces: Use trivets or pads.
These extra steps help painted cabinets survive busy kitchens.
Bathroom-specific Tips
Bathroom cabinets face different threats: water, steam, and beauty products.
Moisture Barriers
- Seal cabinet edges: Especially under sinks where leaks are common.
- Use a bath mat: Prevents water from dripping onto cabinet bases.
Product Stains
- Store hair dye, makeup, and nail polish remover away from cabinets: These can discolor paint instantly.
- Use organizers: Keep bottles and jars upright, and clean spills quickly.
Humidity Control
- Run a fan during showers: Reduces condensation on cabinets.
- Wipe down surfaces daily: Especially after baths or heavy use.
Bathrooms need vigilance to keep painted cabinets looking fresh.
Painted Cabinet Myths And Misunderstandings
Many people believe a few common myths about painted cabinets. Let’s clear them up:
- “Painted cabinets are high-maintenance.” With the right habits, they are as easy to maintain as wood or laminate.
- “Repainting is the only fix for damage.” Most small chips or scratches can be touched up without a full repaint.
- “You must use expensive cleaners.” Mild soap and water work best; harsh cleaners do more harm than good.
- “Paint always peels in humid areas.” Modern paints and good ventilation prevent most humidity-related issues.
Understanding the truth helps you care for your cabinets with less worry.
When To Repaint Or Replace Painted Cabinets
Sometimes, even the best care is not enough. Here’s how to decide between repainting and replacing:
Signs It’s Time To Repaint
- Large areas of peeling or cracking paint
- Faded or yellowed color that cleaning can’t fix
- Frequent chips or scratches that don’t blend with touch-ups
Repainting is a cost-effective way to refresh cabinets if the structure is still solid.
Signs You May Need Replacement
- Doors or frames are warped or swollen
- Cabinets feel soft or spongy (water damage)
- Mold or mildew keeps returning
- Hardware pulls out of the wood easily
Replacement is a bigger investment but may be necessary for safety and durability.
Table: Repainting Vs. Replacement
| Factor | Repainting | Replacement |
|---|---|---|
| Cost | Lower | Higher |
| Time Required | 1–3 days | Up to a week |
| Best For | Cosmetic updates | Structural issues |
| Result | Like-new look | Totally new cabinets |
If you’re unsure, consult a cabinet professional for advice.
Environmental Factors And Long-term Care
Painted cabinets react to changes in temperature, humidity, and air quality. Paying attention to your home environment protects the finish.
Seasonal Changes
- In winter, dry air can cause paint to crack.
- In summer, humidity can make paint sticky.
- Rapid changes from cold to hot can stress paint layers.
Preventing Environmental Damage
- Use a humidifier or dehumidifier as needed.
- Avoid sudden temperature swings (don’t leave windows open in extreme weather).
- Keep cabinets away from heating vents or radiators.
Air Quality
- Paint can absorb odors and particles from the air.
- Avoid smoking or burning candles near cabinets.
- Clean air filters in your HVAC system regularly.
Care for your whole home to help painted cabinets last longer.
Non-obvious Tips Most People Miss
- Match touch-up paint now, not later. Paint colors fade over time. Save extra paint or note the color code right after installation. This makes future touch-ups invisible.
- Check the tops and sides. Most people only clean cabinet fronts, but dust and grease build up on top and along the sides—especially in kitchens. Regularly wipe these hidden areas to prevent long-term stains.
- Use a soft brush for crevices. Detailed trim or routed doors trap dust and grime. A soft-bristled brush cleans these areas without scratching.
- Rotate cabinet contents. Move items around every few months to prevent permanent marks or dents inside.
- Test cleaners in a hidden spot. Even “safe” cleaners can react with some paints. Always test first to avoid big mistakes.
Frequently Asked Questions
How Often Should I Clean Painted Cabinets?
For best results, wipe down your painted cabinets once a week with a soft, damp cloth and mild soap. Deep clean and inspect them seasonally—about four times per year. This keeps dust, grease, and stains from building up and makes it easier to spot early signs of wear.
Can I Use Vinegar To Clean Painted Cabinets?
Yes, you can use diluted distilled white vinegar (about 1 part vinegar to 10 parts water) to clean painted cabinets. It’s effective for removing grease and disinfecting. However, always test in a hidden spot first, and never use undiluted vinegar, as it can damage the paint finish.
What Should I Do If My Painted Cabinets Start Peeling?
If you see small areas of peeling, lightly sand the area, clean it, and apply matching touch-up paint. For larger sections or if cabinets feel soft or swollen, you may need professional help or consider repainting or replacing the cabinets.
Prevent future peeling by controlling moisture and avoiding harsh cleaners.
Is It Safe To Use Wax Or Polish On Painted Cabinets?
Use only products recommended by your cabinet or paint manufacturer. Water-based polyurethane is usually safest for added protection. Some waxes are suitable for matte or chalk finishes, but not all. Always test in a hidden area first, and don’t overapply polish, as it can build up and attract dirt.
How Do I Protect Painted Cabinets From Heat And Sunlight?
Install window treatments like blinds or curtains, use UV-blocking window film, and avoid placing heat-generating appliances close to painted cabinets. Adding heat shields or leaving small gaps between cabinets and hot appliances also helps. For more advice, see Better Homes & Gardens.
Protecting painted cabinets is about building good habits and using the right products. With a little attention, your cabinets can stay beautiful and strong for many years. If you follow these tips and routines, you’ll enjoy the color, style, and function of painted cabinets without worry—no matter how busy your home is.