Painting above kitchen cabinets can make a big difference in your kitchen’s look. Many people ignore this space, but it’s a chance to add color, style, and personality to your home. If you look at that area and see only dust or boring white, you’re missing out.
Painting above your cabinets is not hard, but it does need some planning and care. This guide will help you paint above your kitchen cabinets step by step, even if you have never painted before.
You’ll discover how to choose the best color, pick the right paint, and prepare your kitchen so everything stays clean. You’ll also learn how to deal with tall cabinets, rough walls, or areas with lots of grease. With the right tips and tools, you can get a smooth, professional finish.
Whether you want a bold accent color, a soft neutral, or a fun pattern, this article gives you the knowledge to succeed. You don’t need to be a professional painter—just follow the steps, and you’ll get great results.
Why Paint Above Kitchen Cabinets?
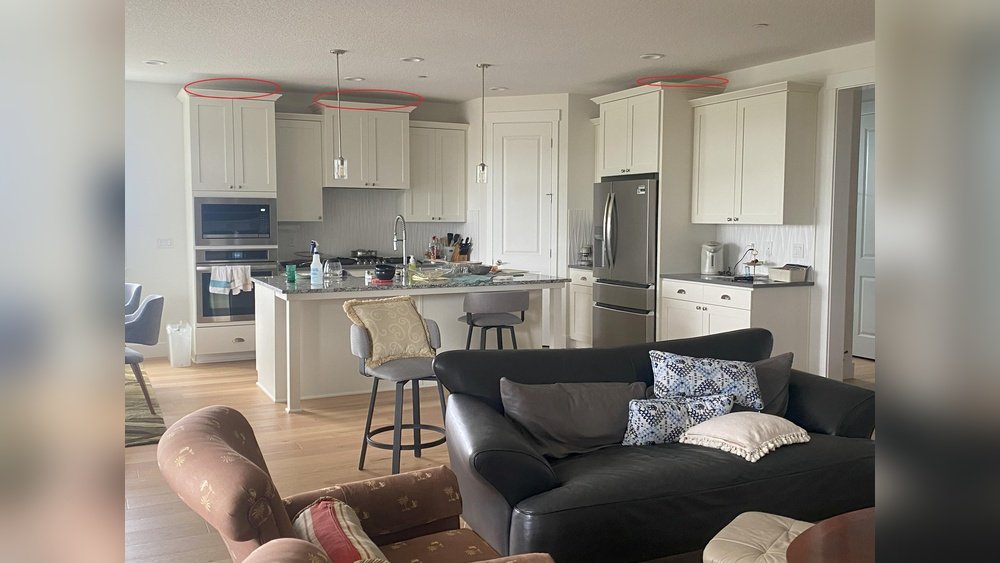
This spot, also called the soffit or bulkhead, often collects dust and stays unnoticed. But when you paint it, the whole kitchen can feel different. Here are some reasons to paint above your kitchen cabinets:
- Add Visual Interest: A painted soffit draws the eye up and makes the room feel taller.
- Hide Stains or Marks: Older kitchens often have stains or cracks above the cabinets. Paint covers these up.
- Create a Focal Point: A bold color or pattern can make your kitchen unique.
- Match Your Decor: Changing the color helps tie together counters, cabinets, and walls.
- Increase Home Value: Small updates like this can impress buyers if you ever sell your home.
Many homeowners don’t realize how a simple coat of paint can refresh the whole kitchen. If your kitchen feels boring, start above the cabinets.
Choosing The Right Color
The color you pick for above your kitchen cabinets can affect the mood of the whole room. Here are steps to help you decide:
Consider Your Kitchen’s Style
Look at your cabinets, counters, backsplash, and floor. If you have white cabinets, you can choose almost any color above them. For wood cabinets, think about warm tones like beige, tan, or olive green. If your kitchen is modern with stainless steel, cool colors like gray or navy work well.
Light And Space
Bright colors make a small kitchen look bigger, while dark colors can add drama but may make it feel smaller. If your kitchen doesn’t get much sun, lighter shades are better.
Accent Wall Or Blend In?
Do you want the area above the cabinets to stand out or blend with the rest of the kitchen? For a subtle look, choose a shade slightly lighter or darker than your wall color. For an accent, pick a contrasting color.
Test Samples
Buy small sample pots and paint patches above the cabinets. Check them at different times of day—light changes color! It’s better to test than to repaint later.
Popular Colors
- Soft gray: Modern and neutral, matches many kitchens.
- Warm taupe: Cozy and blends with wood cabinets.
- Bold navy: A strong statement for modern or classic kitchens.
- Moss green: Earthy and calming.
- Bright white: Clean and fresh, especially in small kitchens.
A color that looks great in a magazine might not look good in your kitchen’s light. Always test first.

Credit: www.remodelandolacasa.com
Selecting The Best Paint Type
Not all paint is the same. The area above kitchen cabinets can get greasy, dusty, and dirty, so you need paint that cleans easily and sticks well.
Paint Finish
- Satin or semi-gloss: These are the best choices. They wipe clean and resist stains better than flat or eggshell finishes.
- Flat paint: Avoid using flat paint above cabinets. It’s hard to clean and shows marks.
Paint Quality
Buy a good-quality paint, even if it costs a bit more. Cheap paint will need more coats and might peel or fade quickly.
Stain-blocking
If your kitchen is older or has stains above the cabinets, look for paint labeled “stain-blocking. ” This will hide yellow marks, grease, or old water stains.
Paint And Primer In One
Some paints have primer mixed in. These can save you time, but if the area is very greasy or stained, use a separate stain-blocking primer first.
Vocs
Choose low-VOC (volatile organic compound) paint for safety. It smells less and is better for indoor air quality, especially in a kitchen where you cook.
Tools And Supplies You Need
Before you start, gather everything you need. Having tools ready saves time and frustration.
- Step ladder or sturdy stool: You’ll need to reach above the cabinets safely.
- Drop cloths or old sheets: To cover counters, appliances, and floors.
- Painter’s tape: For clean edges.
- Degreaser or kitchen cleaner: To clean the wall above cabinets.
- Sponge and bucket: For washing and rinsing.
- Sandpaper (120–150 grit): To smooth rough areas.
- Putty knife and spackle: To fill holes or cracks.
- Paint scraper: For peeling or flaking paint.
- Stain-blocking primer: For stained or greasy spots.
- Satin or semi-gloss paint: Your chosen color.
- 2-inch angled paintbrush: For corners and edges.
- Small foam roller: For smooth, fast coverage.
- Paint tray: For rolling paint.
- Gloves: To protect your hands.
Some people forget about cleaning supplies or a ladder—don’t make that mistake. Safety and prep matter as much as the paint.
Preparing The Area Above Your Kitchen Cabinets
Preparation is the key to a good paint job. Most painting mistakes happen because people skip these steps.
Clear And Cover
Remove anything stored above the cabinets—plants, decor, or cookbooks. Take down any pictures or hooks on the wall. Lay drop cloths over your counters, stove, and floor.
Clean Thoroughly
Grease, dust, and cooking smoke collect above cabinets. If you paint over dirt, the new paint will peel off. Use a degreaser or hot water with dish soap. Scrub the area with a sponge, then wipe with clean water. Let it dry completely.
Repair And Sand
Check for cracks, nail holes, or peeling paint. Use a putty knife and spackle to fill holes. Sand rough spots with 120–150 grit sandpaper. Wipe away dust with a damp cloth.
Tape Off Edges
Use painter’s tape to mask the edge where the wall meets the ceiling, the sides of cabinets, and any trim. Press the tape down firmly so paint doesn’t seep under.
Prime Stained Or Glossy Areas
If the wall is stained or very shiny, use a stain-blocking primer. This helps the paint stick and stops old stains from bleeding through. Apply primer with a brush and roller, just like paint.
Wait For Primer To Dry
Don’t rush. Wait for the primer to dry completely, usually 1–2 hours. If you paint too soon, you might get peeling or uneven color.
Step-by-step Painting Process
Now you’re ready to paint. Take your time, and you’ll get a smooth, even finish.
1. Cut In Edges With A Brush
Dip your angled paintbrush into the paint and tap off extra. Paint a line along the ceiling, cabinet tops, and corners—this is called “cutting in.” It gives you clean edges where the roller can’t reach.
2. Use A Small Roller
Pour paint into a tray. Load your small foam roller and roll off extra paint. Roll paint onto the wall above the cabinets, overlapping the edges where you cut in. Work in small sections, rolling up and down for even coverage.
3. Watch For Drips
Because you’re working above your head, it’s easy to miss drips. Check for runs or drips as you go and smooth them out with your brush or roller.
4. Let The First Coat Dry
Follow the drying time on the paint can, usually 2–4 hours. Don’t rush—if you add a second coat too soon, the paint may peel.
5. Add A Second Coat
Most colors need two coats for full coverage, especially if you’re painting a light color over a dark wall (or vice versa). Repeat the brush and roller steps.
6. Remove Tape Carefully
Pull off painter’s tape while the paint is still a little wet. This gives a cleaner edge.
7. Touch Up Missed Spots
Check for missed spots or thin areas. Dab extra paint with your brush if needed.
8. Clean Up
Wash brushes and rollers right away. Fold up drop cloths and return decor or items above the cabinets once the paint is fully dry.
Special Tips For Common Challenges
Painting above kitchen cabinets sounds simple, but some kitchens have tricky problems. Here’s how to handle them.
Grease Buildup
If your kitchen is older or you cook a lot, grease may be thick above the cabinets. Regular cleaner may not work. Use a degreaser like TSP (trisodium phosphate, available at hardware stores). Wear gloves, and rinse well after scrubbing.
Very High Ceilings
If your cabinets stop far below the ceiling, you have a tall space to paint. Use an extension pole for your roller. For very high areas, consider renting a taller ladder or asking a friend for help.
Textured Walls
Some kitchen walls have texture. Use a thicker nap roller (like 3/8-inch or 1/2-inch) to cover bumps. You might need a little more paint.
Tight Spaces
Above the fridge or in corners, you may need a small brush or a mini roller to fit.
Mold Or Water Stains
If you see black spots or brown water stains, clean with bleach and water first (one part bleach to three parts water). Wear gloves and let it dry, then use a stain-blocking primer.
Painting Patterns Or Designs
Want to add stripes or a stencil? Use painter’s tape to mark off your design. Paint the base color first, let it dry, then add the second color. Remove tape before the paint dries fully.
How To Paint Above Cabinets With No Soffit
Some kitchens don’t have a soffit—the wall goes all the way to the ceiling. Painting this space is almost the same, but you may need to paint the side walls and ceiling at the same time for a seamless look.
- Use a level to get a straight line if you want to paint only partway up.
- If the space is open, consider painting the top of the cabinet, too, for a finished look.
- For open space, you can add shelves or decor on top of the painted area for more style.

Credit: angelamariemade.com
Painting Above Kitchen Cabinets: Mistakes To Avoid
Many people rush or skip steps. Avoid these common mistakes for a better result.
- Skipping cleaning: Paint will not stick to grease or dust.
- No primer on stains: Old stains can bleed through paint.
- Using flat paint: Hard to clean and shows marks.
- Painting over wet areas: Paint won’t stick if the wall is damp.
- Not using tape: Freehand lines are rarely straight.
- Not testing color: The color on the can may look different in your kitchen’s light.
- Painting too thin: Thin coats may look patchy.
- Ignoring safety: Don’t stand on chairs—use a ladder.
Comparing Paint Finishes For Above Kitchen Cabinets
Choosing the right finish is important. Here’s how the common types compare:
| Finish | Best For | Pros | Cons |
|---|---|---|---|
| Flat | Ceilings, low-traffic areas | Hides imperfections | Hard to clean, stains easily |
| Eggshell | Living rooms, bedrooms | Soft sheen, easier to clean than flat | Not very durable for kitchens |
| Satin | Kitchens, bathrooms | Easy to clean, slight sheen | May show brush marks |
| Semi-gloss | Trim, cabinets, kitchens | Very washable, durable | Shows wall imperfections |
For above kitchen cabinets, satin or semi-gloss is almost always the best choice.
Cost And Time Estimates
Painting above kitchen cabinets is one of the cheapest ways to refresh your kitchen. Here’s what you can expect:
| Item | Average Cost | Notes |
|---|---|---|
| Paint (1 quart) | $15–$25 | Enough for most kitchens |
| Primer (1 quart) | $10–$20 | Only needed for stains or glossy walls |
| Brushes & Rollers | $10–$20 | Reusable for other projects |
| Tape, Drop Cloths | $10–$15 | Often already on hand |
| Total Cost | $45–$80 | DIY, not including ladder |
Most people can finish painting above the cabinets in one day, including prep and drying time. For a large kitchen, it may take two days.
Cleaning And Maintaining Painted Areas
After painting, you want the area above your cabinets to look fresh for years. Here’s how to keep it clean:
- Dust regularly: Use a duster or microfiber cloth to wipe away dust and cobwebs.
- Wipe spills quickly: If you see a grease spot, clean it with a damp cloth.
- Avoid harsh scrubbing: Satin and semi-gloss are washable, but scrubbing too hard can damage the paint.
- Touch up as needed: Keep a small container of leftover paint for quick touch-ups if you get chips or marks.
Credit: www.hometalk.com
Decorating Above Kitchen Cabinets After Painting
Once you’ve painted, you might want to add decor. Here are ideas that go well with a fresh coat of paint:
- Baskets: Woven baskets can hold extra kitchen items and look stylish.
- Plants: Small plants add life and color.
- Artwork or plates: Hang light artwork or decorative plates.
- Seasonal items: Change decor with the seasons for variety.
- Lighting: Install LED strip lights for a glow above the cabinets.
Less is more—don’t overcrowd the space. Let the color you chose be the main feature.
Professional Vs. Diy: Which To Choose?
Most people can paint above kitchen cabinets themselves. But if you have a very high ceiling, severe stains, or health issues, you might hire a professional.
Diy Painting
- Pros: Low cost, flexible timing, personal satisfaction.
- Cons: Takes time, some risk of mistakes.
Professional Painting
- Pros: Fast, perfect results, no mess for you.
- Cons: Higher cost ($200–$500 for most kitchens), must schedule in advance.
If you want to learn more about hiring painters and what to expect, see Angi’s Guide to Interior Painting Costs.
Real-life Example: A Kitchen Makeover
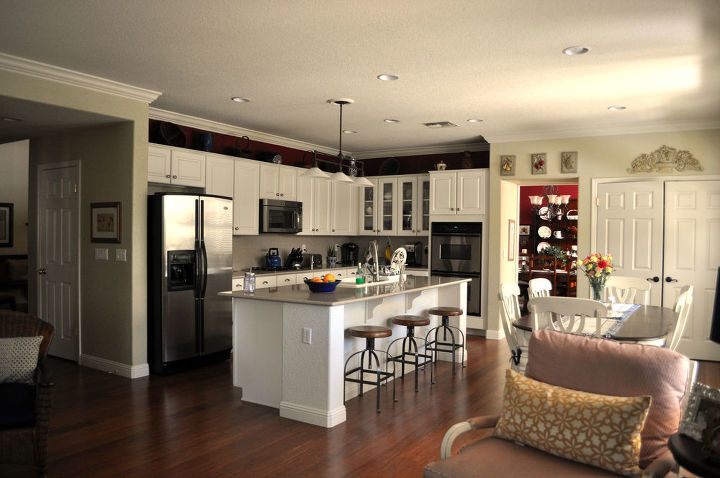
Anna had a small kitchen with dark wood cabinets and a soffit that was stained and yellowed from years of cooking. She wanted the kitchen to look brighter but didn’t have the budget to replace cabinets or add new tile.
She decided to paint the soffit above the cabinets with a soft gray satin paint. She cleaned, sanded, and primed the area. After two coats of paint and some patience, her kitchen looked bigger and newer. She added three small baskets and a fake plant above the cabinets. Friends who visited thought she had remodeled the whole kitchen.
This example shows that painting above the cabinets can make a big difference, even in an older home. The secret is in careful prep and choosing the right color.
Advanced Tips For A Professional Look
If you want your kitchen to look like it was done by a pro, try these advanced tips:
- Use caulk: After painting, run a small bead of paintable caulk along the edge where the wall meets the cabinet for a seamless look.
- Feather the edge: Use a dry brush to lightly “feather” the edge between two colors for a soft blend.
- Add crown molding: After painting, install molding for extra style.
- Try two-tone designs: Paint the wall above cabinets one color and the ceiling another for a modern look.
- Use a laser level: For perfectly straight lines, a laser level is better than painter’s tape alone.
These ideas take a little more time but can make your kitchen stand out.
Trouble-shooting: Fixing Common Problems
Even if you follow all the steps, you might run into problems. Here’s how to fix them:
- Peeling paint: Usually from painting over grease or damp walls. Scrape off loose paint, clean, prime, and repaint.
- Streaks or roller marks: Use a higher-quality brush or roller and apply paint in thin, even coats.
- Color looks wrong: Let the paint dry fully. If you still don’t like it, buy another color and repaint—don’t try to “fix” it with touch-ups.
- Paint on cabinets: Wipe off while still wet. If it’s dry, gently scrape with a plastic scraper and touch up the cabinet paint if needed.
- Tape pulls off paint: This often happens if the wall wasn’t clean or if you waited too long to remove the tape. Next time, pull tape while paint is still slightly wet.
Sustainability And Safety Tips
Painting can be safe and green if you follow a few simple rules:
- Ventilate: Open windows and use fans to clear out paint fumes.
- Wear gloves and old clothes: Protect your skin from paint and cleaner.
- Dispose of paint properly: Don’t pour leftover paint down the drain. Check your city’s rules for paint disposal.
- Use low-VOC paint: Better for your health, especially in kitchens.
- Recycle tools: Wash brushes and rollers for future use.
Eco-friendly paint choices are better for you, your family, and the planet.
Frequently Asked Questions
How Do I Clean The Area Above Kitchen Cabinets Before Painting?
Mix hot water with dish soap or use a degreaser. Scrub the area with a sponge to remove grease and dust. Rinse with clean water and let it dry. If grease is thick, use a stronger cleaner like TSP.
What Kind Of Paint Should I Use Above Kitchen Cabinets?
Choose satin or semi-gloss paint for easy cleaning and durability. Use a stain-blocking primer if the area is stained or very glossy.
Do I Need To Use A Primer Before Painting?
Use a primer if the wall is stained, greasy, or very shiny. For clean, matte walls, you may be able to skip primer if your paint is high-quality and includes primer.
How Can I Reach The Space Above Tall Kitchen Cabinets Safely?
Use a sturdy step ladder or extension ladder. Never stand on chairs or counters. Ask a friend to hold the ladder if you feel unsteady.
Can I Paint Above Kitchen Cabinets Without Removing The Cabinets?
Yes, you do not need to remove cabinets. Simply cover them with drop cloths and tape the edges to protect them from paint.
Painting above your kitchen cabinets is a simple, affordable way to update your kitchen. With the right tools, color, and patience, you’ll create a space that looks cleaner, bigger, and more stylish. Don’t rush the prep, and remember: the details make the difference. Happy painting!