Removing a tap head might sound simple, but if you haven’t done it before, it can be confusing and even a bit frustrating. Whether you want to fix a dripping faucet, replace a worn washer, or just update the look of your bathroom or kitchen, understanding how to remove a tap head is a valuable skill.
Many people worry about damaging their sink or causing a leak. The good news is, with the right tools and steps, you can do this task safely—even if you have little plumbing experience.
This guide will walk you through every detail, from identifying your tap type to common mistakes to avoid. You’ll also see clear steps, practical tips, and expert insights that even beginners often overlook. If you follow this guide carefully, you will not only be able to remove a tap head but also feel more confident about other simple plumbing jobs in the future.
Understanding Tap Heads: Types And Differences
Before you start, it’s important to know what kind of tap you have. Not all tap heads are the same, and using the wrong method can cause damage. Here are the most common types you’ll find:
Compression Tap Heads
Compression taps are classic. They have separate hot and cold handles, which you turn to open or close the water flow. You’ll find these in older homes and traditional designs.
Ceramic Disc Tap Heads
Modern kitchens and bathrooms often use ceramic disc taps. These usually have a smooth action and only need a quarter-turn to fully open or close. Instead of a washer, they use a ceramic cartridge.
Mixer Tap Heads
A mixer tap combines hot and cold water inside the faucet body. The tap head might be a single lever or two separate handles.
Monobloc Tap Heads
Monobloc taps have a single spout and one or two handles fixed to a single base. The removal process is slightly different and sometimes more challenging.
Why Tap Type Matters
Knowing your tap type helps you choose the right tools and avoid breaking any internal parts. For example, ceramic disc taps are more delicate than compression taps.
Tools And Materials You Need
Having the right tools makes the job smoother and prevents damage. Here’s what you’ll need:
- Adjustable wrench (or spanner)
- Flathead screwdriver
- Phillips screwdriver
- Allen key set (for some modern taps)
- Cloth or towel (to protect surfaces)
- Penetrating oil (for stuck parts)
- Bucket or bowl (to catch drips)
- Flashlight (if lighting is poor)
- Tap puller (optional, for stubborn tap heads)
Optional Materials
- Replacement washer or cartridge (if repairing)
- Plumber’s grease
- Cleaning brush
Having these ready before you start will save time and stress.

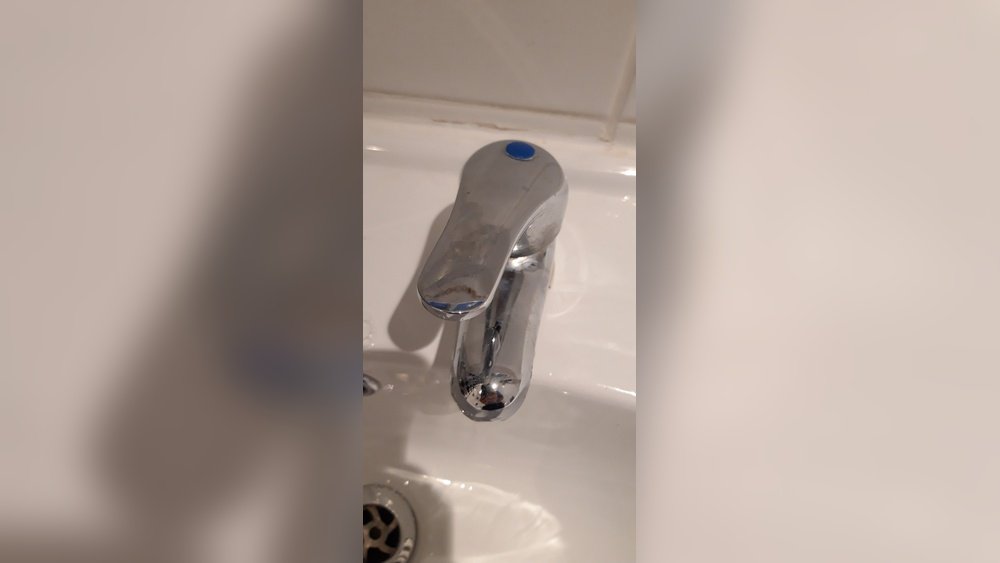
Credit: www.youtube.com
Preparing Your Workspace
A little preparation prevents mess and damage. Here’s what to do before you touch the tap:
- Turn off the water supply. This is critical. Look for isolation valves under the sink. Turn them clockwise to shut off the water.
- Open the tap. This releases any water left in the pipes.
- Place a towel in the sink. This protects both the basin and any dropped parts.
- Set up a bowl or bucket. Sometimes, a small amount of water still escapes.
- Clear the area. Remove any items from around the sink that could get in the way.
People often forget to turn off the water, which can lead to a big mess. Always double-check before you begin.
Step-by-step Guide: How To Remove A Tap Head
Now that everything is ready, it’s time to get started. Follow these steps carefully:
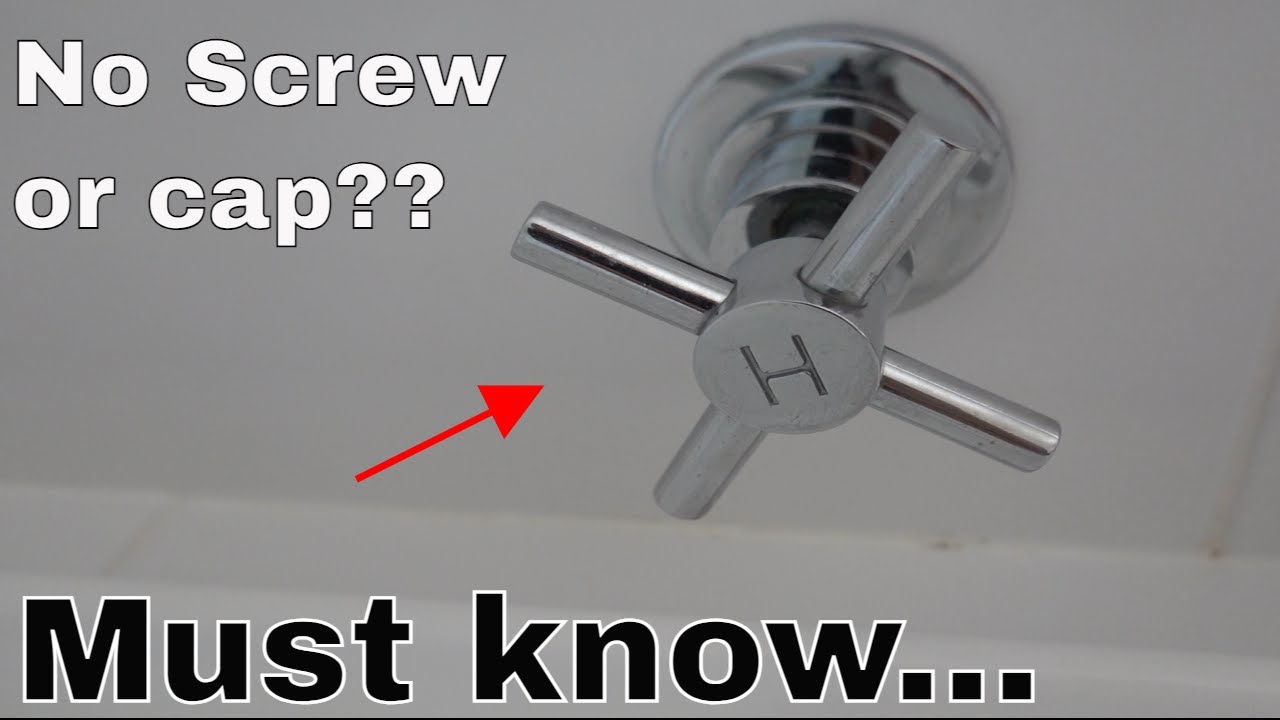
1. Identify And Remove The Tap Cover Or Cap
Most tap heads have a small cap on top, often showing “H” for hot or “C” for cold. This hides the screw underneath.
- Use a flathead screwdriver to gently pry off the cap.
- Place the cap in a safe place—you’ll need it later.
Pro tip: Some caps are screw-on types, while others just pop off. Work gently to avoid scratching the finish.
2. Unscrew The Tap Head
You will see a screw after removing the cap. This holds the tap head in place.
- Use a Phillips or flathead screwdriver (depending on the screw type).
- Turn counterclockwise to loosen and remove the screw.
- If the screw is corroded, apply a little penetrating oil and wait a few minutes.
Don’t force the screw. If it’s stuck, patience is better than brute strength.
3. Remove The Tap Handle
With the screw removed, the tap handle should slide off. Sometimes, mineral deposits or corrosion make this difficult.
- Gently wiggle the handle side-to-side while pulling upward.
- If it’s really stubborn, wrap a cloth around the handle and use gentle leverage with an adjustable wrench.
- As a last resort, a tap puller tool can help.
Insight: Beginners often damage tap heads by twisting them too hard. If it doesn’t move, check again for hidden screws or stuck parts.
4. Remove The Shroud Or Cover (if Present)
Some taps have a metal cover (shroud) below the handle.
- Unscrew the shroud by hand.
- If tight, use an adjustable wrench with a cloth to avoid scratching.
This exposes the tap cartridge or spindle, ready for maintenance or replacement.
5. Inspect The Inside Parts
Look inside the tap body. You’ll see either:
- A spindle and washer (compression taps)
- A ceramic cartridge (modern taps)
- A cartridge (mixer taps)
Check for signs of wear, corrosion, or debris.
6. Clean And Prepare For Reassembly
Before putting things back or replacing any parts, clean the area.
- Use a cleaning brush and a little vinegar to remove mineral buildup.
- Apply a small amount of plumber’s grease to moving parts if needed.
Special Cases: Removing Different Tap Heads
Not every tap is the same. Here’s how to handle some common variations.
Removing A Lever Tap Head
Lever tap heads are common in kitchens and modern bathrooms.
- Look for a small screw under the lever (sometimes hidden behind a plastic cover).
- Use an Allen key to remove this screw.
- The lever should lift off easily.
Removing A Mixer Tap Head
Many mixer taps have a small retaining screw at the back or base.
- Check for a plastic or metal cap hiding the screw.
- Use an Allen key or screwdriver as needed.
Note: If your mixer tap has a single lever, removal is similar to a lever tap.
Removing A Stuck Tap Head
If the tap head won’t budge:
- Apply penetrating oil to the joint and wait 10-15 minutes.
- Tap gently around the base with a wooden handle (never metal).
- Use a tap puller if necessary.
Never use excessive force. If it still won’t move, it’s better to call a professional than risk breaking the tap.
Common Problems And Solutions
Even with care, some issues can come up. Here’s how to handle the most frequent ones.
The Screw Is Stripped Or Stuck
- Apply penetrating oil and let it soak.
- Use a screwdriver with a good grip.
- As a last resort, use a screw extractor.
The Handle Won’t Come Off
- Double-check for hidden screws.
- Use a cloth-wrapped wrench for gentle leverage.
- Try a tap puller tool.
The Cap Won’t Pry Off
- Use a thin, flat tool.
- Work slowly around the edge.
- If plastic, be extra gentle to avoid breaking it.
The Tap Leaks After Reassembly
- Check that all washers and cartridges are seated correctly.
- Tighten (but don’t over-tighten) all screws.
- Make sure the shroud is not cross-threaded.
Table: Quick Comparison Of Tap Head Types And Removal Difficulty
To help you plan, here’s a quick comparison of common tap heads and how easy they are to remove:
| Tap Head Type | Common Location | Removal Difficulty | Special Tools Needed |
|---|---|---|---|
| Compression | Older homes, traditional sinks | Easy to Moderate | None |
| Ceramic Disc | Modern kitchens/bathrooms | Moderate | Allen key |
| Mixer | Kitchen sinks, modern bathrooms | Moderate | Allen key or screwdriver |
| Monobloc | High-end fixtures | Challenging | Tap puller (sometimes) |
When To Replace Vs. Repair
Sometimes, removing the tap head is just the first step. Should you repair or replace the whole tap?
Repair
- If the problem is a worn washer or cartridge, repair is easy and cheap.
- Surface corrosion can often be cleaned.
Replace
- If the tap body is cracked or heavily corroded, replacement is safer.
- If you want a new style or better water-saving features, replacement makes sense.
Insight: Many people replace a whole tap when just a washer or cartridge is needed. Always check internal parts before deciding.
Table: Cost Comparison – Repair Vs. Replace
Here’s a look at the typical costs involved in each option:
| Option | Typical Cost | Skill Level Needed | Time Required |
|---|---|---|---|
| Repair (washer/cartridge) | $3 – $20 | Beginner to Intermediate | 20 – 40 minutes |
| Replace Tap Head | $15 – $70 | Intermediate | 30 – 60 minutes |
| Replace Whole Tap | $50 – $250+ | Advanced | 1 – 2 hours |
| Professional Plumber | $80 – $200/hour | N/A | Depends on job |
Practical Tips For A Smooth Tap Head Removal
The difference between a simple job and a frustrating one often comes down to these practical tips:
- Take photos as you go. This helps you remember how things fit back together.
- Label small parts. Use masking tape to identify screws and washers.
- Work in good light. A flashlight or headlamp makes it easier to see small screws and parts.
- Don’t overtighten screws on reassembly. This avoids stripping threads or cracking parts.
- Keep spare washers or cartridges on hand. You don’t want to leave the job half-done if you find a worn part.
Pro insight: Many people rush reassembly and overtighten, causing leaks later. Tight is good—over-tight is not.
Safety Precautions
Plumbing jobs might seem harmless, but it’s important to stay safe:
- Always turn off the water supply.
- Use insulated tools if working near electrical fixtures.
- Wear gloves if you have sensitive skin or are working with chemicals.
- Avoid using excessive force. If a part won’t move, stop and reassess.
If you notice cracks in the tap body or see signs of mold, consider calling a professional.
What To Do After Removing The Tap Head
Once you’ve removed the tap head, you might need to:
- Replace the washer or cartridge. This is the most common reason for removal.
- Clean the internal parts. Mineral buildup can cause stiffness or leaks.
- Lubricate moving parts. A little plumber’s grease keeps everything working smoothly.
- Check for other damage. Look for cracks, worn threads, or corrosion.
After finishing repairs or replacements, carefully reassemble the tap in the reverse order.
Table: Troubleshooting Common Tap Head Issues
Here’s a quick guide to common problems you might encounter:
| Problem | Possible Cause | Solution |
|---|---|---|
| Tap head stuck | Mineral buildup, corrosion | Penetrating oil, tap puller |
| Handle spins but does not open water | Broken spindle or cartridge | Replace internal part |
| Leaking after reassembly | Washer not seated, overtightened parts | Re-seat washer, check tightness |
| Screw stripped | Old or worn screw | Screw extractor, replace screw |
| Cap will not come off | Hidden screw, stuck cap | Check for screws, gently pry cap |
Avoiding Common Mistakes
Even with instructions, these mistakes are frequent:
- Forgetting to turn off the water. This can cause flooding.
- Losing small parts. Work over a towel or tray to catch anything dropped.
- Forgetting the order of reassembly. Photos help a lot.
- Using the wrong tools. This can strip screws or scratch surfaces.
- Overtightening. This causes cracks or leaks.
Expert insight: A small mistake, like losing a screw or washer, can turn a 20-minute job into a trip to the hardware store.
Credit: www.youtube.com
When To Call A Professional
Some problems are best left to the pros:
- The tap head is seized and won’t move, even with proper tools.
- There’s visible damage to the tap body or sink.
- You’re unsure about internal repairs.
- You lack the right tools or confidence.
A plumber can handle difficult cases and prevent more costly damage.
Eco-friendly Disposal And Recycling Tips
When replacing parts, don’t just throw old metal or plastic pieces away.
- Metal tap heads and parts can often be recycled.
- Old washers may go in regular trash, but check local recycling guidelines.
- Packaging from new parts can usually be recycled.
Proper disposal is good for your home and the environment.

Credit: www.reddit.com
Useful Resources
If you’re new to DIY plumbing, you may find guides and videos helpful. The Family Handyman website offers reliable guides for many home repair tasks, including tap and faucet repairs.
Frequently Asked Questions
How Do I Know If I Have A Compression Or Ceramic Disc Tap?
Check the way the tap operates. If you need to turn the handle several times to fully open or close it, it’s likely a compression tap. If the tap opens with a quarter or half turn, it’s probably a ceramic disc tap.
What If My Tap Head Is Stuck And Won’t Come Off?
Try applying penetrating oil and let it soak for 10-15 minutes. Gently wiggle the tap head or use a tap puller tool. Avoid using too much force, as this can break the tap or the sink.
Can I Remove A Tap Head Without Turning Off The Water Supply?
No. Always turn off the water supply before starting. Even if you just want to replace a tap head, water can leak out quickly and cause a mess or even damage.
What Tools Are Essential For Removing A Tap Head?
The basic tools are a screwdriver, adjustable wrench, and sometimes an Allen key. For stubborn tap heads, a tap puller and penetrating oil can help.
Is It Worth Repairing An Old Tap, Or Should I Replace It?
If the problem is just a worn washer or cartridge, repair is usually quick and cheap. If the tap is heavily corroded or cracked, replacement is safer and can improve both function and style.
Removing a tap head is a task that many homeowners can handle with the right information and tools. By following these steps and tips, you’ll avoid common mistakes and finish the job with confidence. Taking your time and working carefully makes all the difference.
If you’re ever in doubt, don’t hesitate to call a professional—protecting your home is always the top priority.