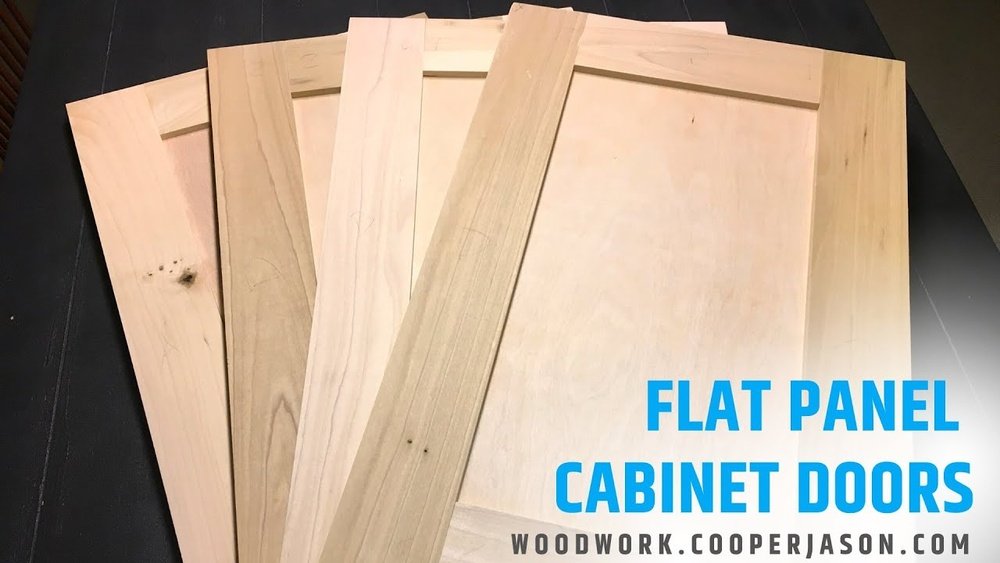
Making your own flat panel cabinet doors is a satisfying project for anyone who enjoys woodworking or DIY home improvements. Whether you’re updating your kitchen, bathroom, or building custom furniture, flat panel doors (also called slab doors) offer a modern look, are easier to clean, and can be surprisingly straightforward to build with the right approach. If you’re new to woodworking, you might think cabinet doors are difficult. In reality, with careful planning and attention to detail, you can create professional-quality doors that last for years.
Flat panel cabinet doors are popular because they fit many styles—modern, contemporary, and even minimalist. They’re also more forgiving than raised panel or shaker-style doors, making them a smart choice for beginners and experienced woodworkers alike. In this guide, you’ll learn everything needed: from measuring your cabinets, selecting the right materials and tools, to building, finishing, and installing your doors. You’ll also discover common mistakes, helpful tips, and answers to frequent questions, so you can avoid pitfalls and get great results.
What Are Flat Panel Cabinet Doors?
Flat panel cabinet doors are simply doors with a smooth, flat surface. Unlike shaker or raised panel doors, there’s no frame around the central panel—just a solid piece of wood or engineered material. These doors are often used in modern kitchens, offices, and bathrooms because of their clean lines and simple look.
A flat panel door usually consists of:
- A single flat piece of wood or MDF
- Sometimes, a thin edge banding for a clean finish
- Hinges and handles (hardware) for mounting and opening
Because their design is simple, the real focus is on material quality, finish, and precision. Even small errors in measurement or cutting can stand out, so accuracy matters.
Tools And Materials Needed
Before starting, gather all tools and materials. Having everything ready will make the process smoother and reduce the risk of mistakes.
Essential Tools
- Tape measure – For precise measurements.
- Pencil and straightedge – Marking cut lines.
- Circular saw or table saw – Cutting panels to size.
- Clamps – Holding pieces securely while working.
- Sanding block or electric sander – Smoothing edges and surfaces.
- Drill and bits – For hinge holes and hardware.
- Edge banding trimmer or utility knife – For trimming edge banding.
- Iron (if using pre-glued edge banding) – Applying banding.
- Paintbrush or roller – For finishing.
Additional Helpful Tools
- Router with a flush trim bit – For perfect edge banding.
- Combination square – Ensuring 90-degree angles.
- Workbench or sturdy table – Safe workspace.
Materials
- Panel material – Choose from plywood, MDF, or solid wood.
- Edge banding – For covering raw edges (optional for plywood/MDF).
- Wood glue – Securing edge banding.
- Primer and paint or wood finish – For the final look.
- Cabinet hinges – European-style concealed hinges are common.
- Handles or knobs – For opening doors.
- Screws – For attaching hardware.
Material Choices: Quick Comparison
Choosing the right material is crucial. Here’s a quick comparison:
| Material | Pros | Cons | Best For |
|---|---|---|---|
| Plywood | Strong, lightweight, holds screws well | Visible layers on edges, needs edge banding | Kitchens, bathrooms, painted or veneered doors |
| MDF | Very smooth, no grain, easy to paint | Heavy, absorbs water, not strong for screws | Painted doors, indoor use only |
| Solid Wood | Beautiful grain, can be stained, very strong | Expensive, can warp, needs careful finishing | High-end projects, visible wood grain |
Non-obvious insight: Many beginners overlook how moisture affects MDF—it swells and gets damaged easily if exposed to water. If you’re making doors for a bathroom or laundry room, plywood is usually a safer choice.
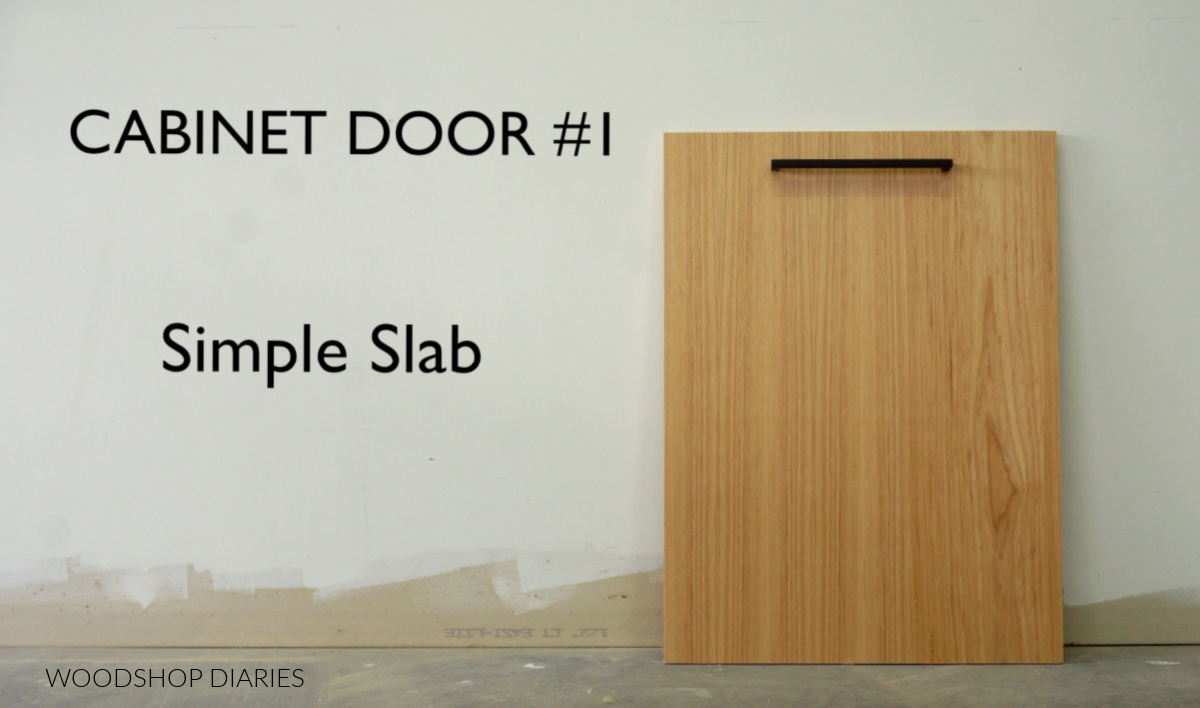
Credit: www.woodshopdiaries.com
Measuring And Planning Your Cabinet Doors
Accurate measuring is essential. Even small mistakes can cause gaps or doors that don’t fit. Don’t rush this step.
Measure Your Cabinet Openings
- Remove old doors (if replacing).
- Measure the width and height of each cabinet opening, to the nearest millimeter or 1/16 inch.
- Check for squareness – Measure both diagonals. If they’re not equal, your opening isn’t square.
- Decide on overlay – Flat panel doors are usually “full overlay” (covering the whole cabinet front) or “partial overlay” (showing some cabinet frame). Standard overlay is 1/2 inch on each side, but check your hinge specs.
Calculate Door Size
- Full overlay example: If your cabinet opening is 15” wide by 24” high, and you want a 1/2” overlay on all sides, the door size is 16” x 25”.
- Double doors on one opening: Subtract 1/16” to 1/8” from the total width for a small gap between doors.
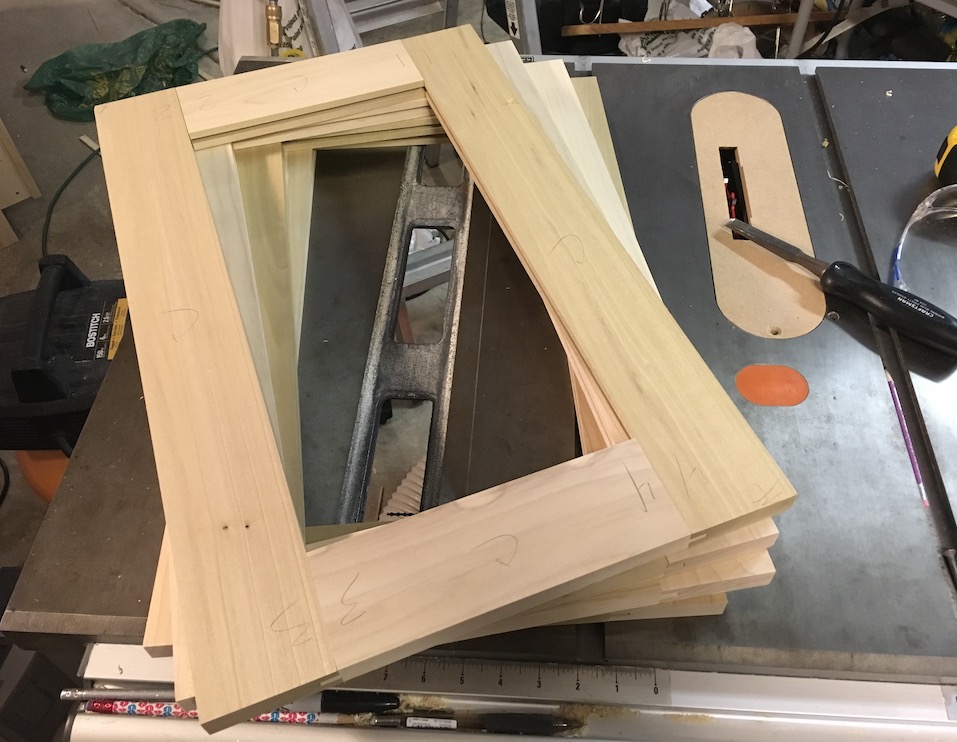
Tip: Write down all your measurements and label each door location. Mistakes often happen when swapping dimensions between similar-sized doors.
Plan For Hinge Placement
Most modern cabinets use concealed European-style hinges. These need a 35mm (1-3/8”) hole drilled in the back of the door. Plan where these go—usually 3-4” from top and bottom edges.
Cutting And Preparing The Panels
With your measurements ready, it’s time to cut your panels.
Marking And Cutting
- Lay out your cuts on the sheet material using a pencil and straightedge.
- Double-check measurements before cutting—measure twice, cut once.
- Cut panels using a table saw for straight, clean edges. If using a circular saw, clamp a guide to keep lines straight.
- Check each piece after cutting for size and squareness.
Non-obvious insight: Factory edges on plywood or MDF are usually straighter than DIY cuts. Try to use factory edges for the most visible sides of your doors.
Sanding The Panels
- Smooth all edges using a sanding block or electric sander with 120-150 grit sandpaper.
- Lightly sand the faces to remove any marks or roughness.
- Wipe dust away with a clean, dry cloth.
For doors that will be painted, you don’t need to sand to a mirror finish, but rough spots will show through paint.
Applying Edge Banding
If you’re using plywood or MDF, the raw edges don’t look good and can soak up finish unevenly. Edge banding gives a clean, professional edge.
Types Of Edge Banding
- Pre-glued (iron-on) edge banding – Easiest for beginners.
- Glue-on edge banding – Needs wood glue and clamps.
- Solid wood strips – For thicker, more durable edges.
How To Apply Iron-on Edge Banding
- Cut banding slightly longer than each edge.
- Heat your iron to medium (no steam).
- Place banding on edge, heat it slowly with the iron, pressing down as you move.
- Press firmly with a wood block or roller as the glue cools.
- Trim excess using a trimmer or sharp utility knife.
- Sand the edges gently so banding is flush with the panel.
Tip: Practice on a scrap piece first. If the banding is too hot, the glue can ooze out or the banding can bubble.
When To Use Solid Wood Edges
For high-traffic areas or thicker doors, you might want to glue a 1/4” or 1/2” solid wood strip to each edge. This is more work but gives a sturdy, classic look.
Drilling For Hinges And Hardware
Precise drilling is key for a professional fit.
Marking Hinge Locations
- Standard position: 3” from top and bottom edges.
- Hinge cup hole: 35mm diameter, about 1/8” from the door edge.
Use a hinge jig or a drill press if you have one. If not, a Forstner bit in a hand drill works, but go slowly to avoid blowout.
Pre-drilling For Handles
- Mark the handle location. For vertical doors, handles usually go 2-3” from the edge.
- Drill small pilot holes before using larger bits.
Common mistake: Drilling all holes before labeling each door. It’s easy to mix up left- and right-hand doors!
Finishing Flat Panel Cabinet Doors
The finish you choose depends on the look and durability you want.
Paint
- MDF is ideal for paint—no grain to show through.
- Apply a quality primer first. MDF soaks up paint otherwise.
- Use a foam roller for a smooth finish, or spray for best results.
- Apply 2-3 thin coats of paint, sanding lightly between coats.
Stain And Clear Finish
- Only works well on wood veneer plywood or solid wood.
- Sand to at least 180 grit.
- Wipe on stain, let it soak, then wipe off excess.
- After drying, apply 2-3 coats of clear finish (polyurethane or lacquer).
Comparing Finishes
Here’s a quick look at how common finishes compare for durability and looks:
| Finish Type | Appearance | Durability | Best On |
|---|---|---|---|
| Paint | Solid color, hides grain | Good (if sealed) | MDF, plywood |
| Stain & Polyurethane | Shows wood grain | Excellent | Solid wood, veneer plywood |
| Lacquer | Smooth, glossy or matte | Very high | Wood, MDF |
Tip: For kitchens or bathrooms, use a finish rated for moisture resistance.
Installing The Doors
With your doors finished, it’s time to hang them.
Attaching Hinges
- Attach the hinges to the door first, using the holes you drilled.
- Mount each door to the cabinet box. It’s easier with a helper, but you can prop the door up with blocks to keep it level.
- Adjust the hinges—most European hinges allow for side-to-side, up-and-down, and in-and-out adjustment. This helps line up the door perfectly.
Mounting Handles Or Knobs
- Install handles or knobs using your pre-drilled holes.
- Use a small piece of tape to avoid scratches during installation.
Non-obvious insight: If you’re installing many doors, make a simple jig for handle placement. This ensures every handle is in exactly the same spot.
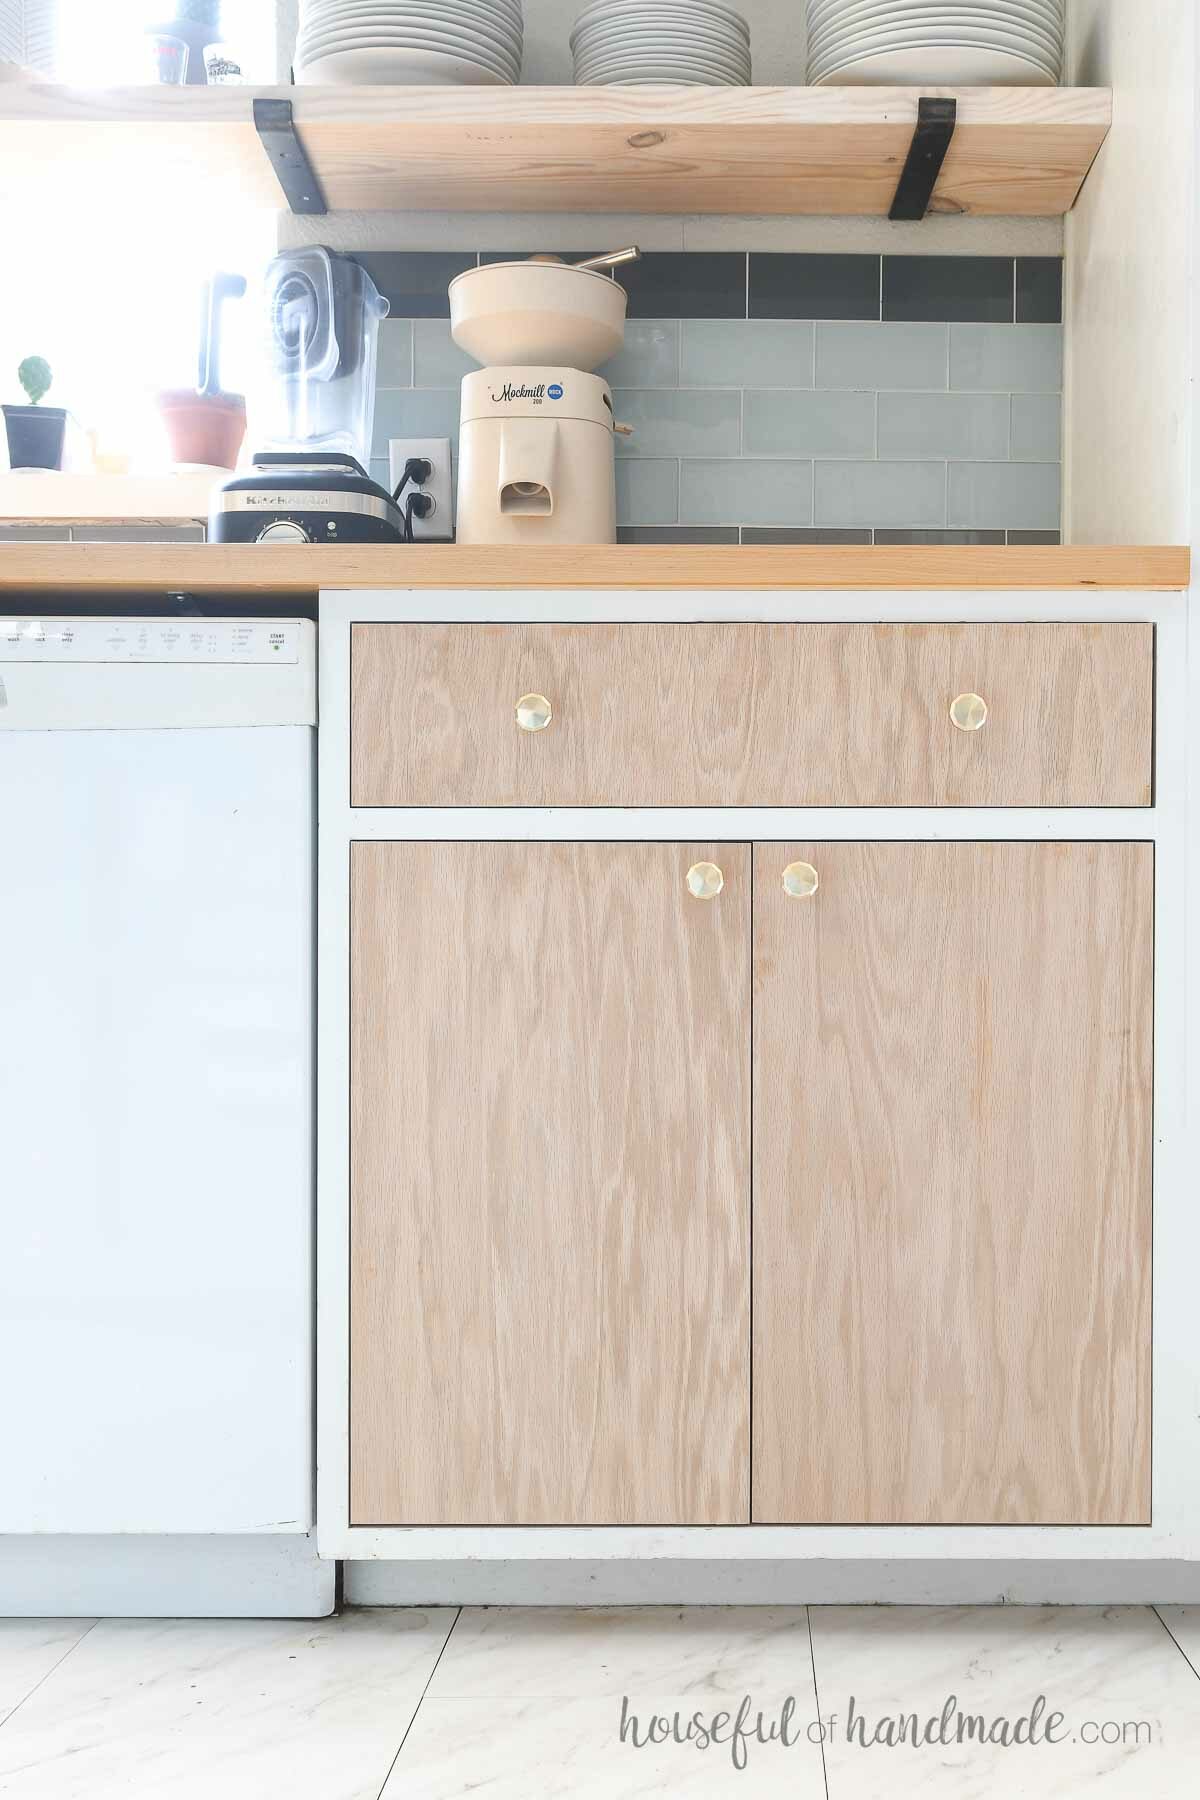
Credit: housefulofhandmade.com
Common Mistakes And How To Avoid Them
Even experienced woodworkers make mistakes. Here are some to watch for:
- Measuring errors – Double-check all measurements before cutting. Label each door and opening.
- Wrong hinge placement – Always confirm the hinge overlay and setback for your hardware.
- Poor edge banding – Practice on scraps. Don’t rush the iron-on process.
- Skipping primer on MDF – MDF drinks paint. Primer is a must for a smooth, even finish.
- Not allowing for expansion – Wood moves with humidity. Leave a small gap between double doors.
- Uneven doors after hanging – Use hinge adjustments to get perfect alignment.
Advanced Tips For A Professional Look
If you want to go beyond the basics, try these techniques:
- Routered edges: Add a simple bevel or round-over with a router for a modern touch.
- Veneer upgrades: Apply a wood veneer to MDF for a high-end look at lower cost.
- Soft-close hinges: These prevent slamming and make cabinets feel luxurious.
- Custom colors: Use color-matched paint for a unique kitchen or bath.
Experience tip: If you’re building many doors, have all panels cut at the same time. This guarantees consistent sizes and saves time.
Maintenance And Long-term Care
Flat panel cabinet doors are easy to clean—just wipe with a damp cloth and mild soap. For painted doors, avoid harsh cleaners. Inspect hinges and handles every few months and tighten screws if needed. If a scratch or chip happens, touch up with matching paint or finish.
Cost And Time Estimate
How much does it cost to make flat panel cabinet doors? Prices vary, but here’s a basic estimate for a standard kitchen door (16” x 28”):
- Plywood/MDF: $20-30 per sheet (makes 3-4 doors)
- Edge banding: $1-2 per door
- Hinges: $3-5 each (2 per door)
- Paint/finish: $5-10 per door
Total: About $20-25 per door (excluding tools)
Time: A beginner can build, finish, and install 4-6 doors in a weekend.
Credit: woodwork.cooperjason.com
When To Buy Vs. Make
Building your own doors saves money but takes time and patience. If you need many doors, or want high-end finishes, compare prices with custom door shops. Many local shops offer pre-finished slab doors, but making your own allows for complete customization.
For more inspiration and examples, you can check professional resources like Wood Magazine.
Frequently Asked Questions
How Thick Should Flat Panel Cabinet Doors Be?
Most flat panel cabinet doors are 3/4 inch (19mm) thick. This thickness is standard for durability and works well with most concealed hinges. Thinner doors can feel cheap and may warp, while thicker doors are heavier and need stronger hardware.
What Is The Best Material For Flat Panel Cabinet Doors?
Plywood is the best all-around choice for most DIYers. It is strong, light, holds screws well, and resists warping better than solid wood. Use MDF for a super-smooth, paintable surface, but avoid it in damp areas. Solid wood is beautiful but can be expensive and tricky to finish.
Can I Make Flat Panel Cabinet Doors Without Special Tools?
Yes, you can make these doors with basic tools: a circular saw (with guide), drill, sander, and clamps. For best results, a table saw and router help, but they’re not required. Pre-glued edge banding can be applied with just an iron and utility knife.
How Do I Prevent My Cabinet Doors From Warping?
To reduce warping:
- Use stable materials like plywood or MDF
- Seal all surfaces (including edges) with paint or finish
- Store doors flat before installing
- Avoid exposing to water or extreme humidity
How Do I Fix Small Mistakes Or Chips On My Doors?
For small chips or dents, fill with wood filler or putty, sand smooth, then repaint or re-stain. For edge banding issues, re-glue loose spots with a hot iron or wood glue. If a door is badly damaged, it’s sometimes easier to replace the panel.
Making flat panel cabinet doors yourself is a project that rewards careful planning, attention to detail, and patience. With each step, you build both skill and confidence. Whether you’re refreshing a single cabinet or transforming an entire kitchen, these simple, stylish doors are a smart upgrade that make your space your own.