Seasoning wooden utensils might sound like an old tradition, but it’s a simple habit that can dramatically extend the life and beauty of your kitchen tools. If you’ve ever noticed your wooden spoons drying out, cracking, or absorbing strong smells, you’re not alone.
Wooden utensils are natural, durable, and gentle on cookware, but they do need a little care to stay their best. Learning how to season wooden utensils is not just for chefs or serious cooks—anyone who uses wood in the kitchen can benefit.
By seasoning, you create a protective barrier that keeps out water, food particles, and bacteria. This process also brings out the grain, making each utensil look rich and smooth. In this guide, you’ll find everything you need to know, from why seasoning matters, to the best oils to use, to a step-by-step process, and even common mistakes to avoid.
Whether you’re caring for a favorite wooden spoon, spatula, or salad tongs, the right technique can make them last for years. Let’s dive in so your wooden utensils can work hard—and look good—meal after meal.
Why Season Wooden Utensils?
Wood is a natural material with tiny pores. When left untreated, those pores absorb water, food, and even odors. This can lead to some unpleasant surprises—like a garlic-flavored spoon when you’re making dessert! Worse, water left inside the wood can cause cracking, warping, or even mold over time.
Seasoning wooden utensils is like giving them a weatherproof jacket. The oil soaks into the wood, filling in those pores and creating a barrier. That means your utensils will:
- Resist stains and odors from strong foods
- Repel water and slow down drying and cracking
- Stay smooth and splinter-free
- Last much longer than unseasoned utensils
Seasoning also makes your utensils look better. A well-oiled spoon will turn a deep, rich color, showing off the natural beauty of the wood.
Choosing The Right Oil For Seasoning
Not all oils are equal when it comes to wood care. Some can go rancid, some don’t soak in well, and some may cause allergic reactions. It’s important to pick the right oil for seasoning.
Popular Oils For Wooden Utensils
Here’s a comparison of common oils used for seasoning wooden utensils:
| Oil Type | Pros | Cons |
|---|---|---|
| Food-Grade Mineral Oil | Inexpensive, odorless, won’t go rancid, widely available | Petroleum-based (some prefer plant oils) |
| Fractionated Coconut Oil | Long shelf life, won’t go rancid, plant-based, clear | More expensive than mineral oil |
| Walnut Oil | Natural, dries to a hard finish, enhances wood grain | Potential allergen, can go rancid if not pure and fresh |
| Raw Linseed (Flaxseed) Oil | Natural, polymerizes (hardens), food safe if pure | Long drying time, can be expensive |
| Beeswax Blends | Seals wood, adds shine, all-natural, protective finish | May require melting, not vegan |
Oils To Avoid
Some oils are not good for wooden utensils:
- Vegetable oils (like olive or canola): They can turn sticky or go rancid, leading to unpleasant smells.
- Butter, lard, or animal fats: These spoil quickly and can attract bacteria.
If you want a safe, reliable choice, food-grade mineral oil is often recommended. It doesn’t spoil and is available at most kitchen stores.
How Often Should You Season Wooden Utensils?
The frequency depends on how often you use and wash your utensils. As a general rule:
- New utensils: Season 2-3 times before first use.
- Heavily used utensils: Season once a month.
- Rarely used utensils: Season every 2-3 months.
A good test: if your utensil looks dry, feels rough, or water doesn’t bead on the surface, it’s time to season.
Preparing Wooden Utensils Before Seasoning
Before you apply any oil or wax, it’s important to start with clean, dry utensils.
- Wash: Scrub the utensil with mild soap and warm water. Avoid soaking—just a quick wash and rinse.
- Dry: Wipe with a towel, then let it air dry completely. Wood must be bone-dry or oil won’t soak in properly.
- Smooth: If the utensil feels rough, gently sand with fine-grit sandpaper (220 grit is good). Always sand along the grain, not across.
- Remove Dust: Wipe away any sanding dust with a damp cloth, then let dry again.
Never skip the drying step. If there’s moisture trapped in the wood, oil won’t penetrate and could even seal in water, which leads to mold or cracks.
Step-by-step Guide: How To Season Wooden Utensils
Seasoning is simple but works best when you take your time. Here’s the full process:
Step 1: Gather Your Supplies
You’ll need:
- Clean, dry wooden utensils
- Chosen oil (food-grade mineral oil, fractionated coconut oil, etc.)
- Soft, clean cloth or paper towels
- Optional: Beeswax (for extra protection)
- Optional: Fine sandpaper (220 grit) for smoothing
Step 2: Warm The Oil (optional)
Warming the oil slightly (not hot, just warm) makes it thinner and easier for the wood to absorb. You can warm oil by placing the bottle in a bowl of hot water for a few minutes. This is optional, but can help for dense woods like maple.
Step 3: Apply The Oil
- Pour a small amount of oil onto the cloth or directly onto the utensil.
- Rub the oil into the wood, covering all surfaces: The bowl of a spoon, handle, edges, and any carved details.
- Use small circles and moderate pressure to help the oil soak in.
Pay special attention to any cracks, joints, or engravings—these spots are most likely to dry out or trap bacteria.
Step 4: Let It Soak
Place the oiled utensils on a clean plate or tray. Let them sit for at least 1 hour—overnight is even better. The longer the oil soaks, the deeper it penetrates.
If the wood is very dry, it may absorb oil fast. In this case, add more oil after 1-2 hours and repeat the soaking.
Step 5: Wipe Off Excess Oil
After soaking, use a clean cloth to wipe away any extra oil. The surface should feel smooth, not sticky or oily.
Step 6: (optional) Apply A Wax Finish
For even more protection, some people use a wax finish, like a blend of beeswax and mineral oil. Melt a small amount of wax with oil and rub it onto the utensil after the oil step. Let it dry, then buff with a clean cloth. This creates a harder, more water-resistant finish.
Step 7: Cure Before First Use
Let your utensil sit, unwashed, for at least 6-8 hours after the last oiling. This lets the oil settle and harden a bit. Don’t use it or get it wet too soon.
Maintaining Seasoned Wooden Utensils
Once your utensils are seasoned, keeping them in good shape is easy. A little routine care will keep them smooth and safe for years.
Cleaning
- Hand wash only: Never put wooden utensils in the dishwasher. The heat and water can ruin the wood.
- Mild soap and quick rinse: Wash right after use with warm water and a mild detergent.
- No soaking: Don’t leave wooden utensils sitting in water, as this can cause swelling or cracking.
- Dry immediately: Pat dry with a towel, then air dry completely before storing.
Re-oiling
Whenever your utensil looks pale, feels rough, or starts absorbing water, reapply oil as described above. This can be as simple as a quick wipe with a small amount of oil, let sit for an hour, then buff dry.
Storage
- Store wooden utensils in a dry, well-ventilated place.
- Don’t keep them in a closed container or drawer while damp.
- Store upright if possible, so air can circulate.
Dealing With Stains Or Odors
If your utensil picks up a stain or smell (like onion or curry):
- Sprinkle with coarse salt or baking soda.
- Rub with half a lemon or a damp cloth.
- Rinse and dry, then re-oil if needed.
Common Mistakes When Seasoning Wooden Utensils
Even with the best intentions, it’s easy to make mistakes. Here are some common ones—and how to avoid them.
- Using the wrong oil: Oils like olive or vegetable oil can become sticky or go bad. Always use oils that don’t spoil, like mineral oil or fractionated coconut oil.
- Not drying the utensil first: If there’s water in the wood, the oil can’t soak in and may trap moisture, leading to mold.
- Applying too much oil at once: This can leave a sticky surface. It’s better to use thin coats and let each one soak in.
- Skipping regular maintenance: Seasoning once isn’t enough. Wood needs ongoing care, especially if you use the utensil often.
- Using harsh detergents or dishwashers: Strong soaps or dishwasher cycles can strip away the oil and dry out the wood.
- Not wiping off extra oil: Leaving oil sitting on the surface can attract dust and become tacky.
- Forgetting to treat new utensils: Many new wooden utensils come unfinished. Season them before first use.
- Ignoring deep cracks or splits: Seasoning helps, but once a utensil is badly damaged, it’s best to replace it for safety.
The Science Behind Seasoning Wood
Why does seasoning work so well? Wood is made up of tiny tubes and fibers. When you add oil, it soaks into these spaces, blocking water and other things from getting in. Over time, the oil hardens a bit, making the wood more durable.
Some oils (like walnut or linseed) actually cure and form a harder surface, while others (like mineral oil) stay flexible.
A well-seasoned utensil resists bacteria because water and food can’t soak into the wood as easily. According to research, wooden cutting boards and utensils naturally fight bacteria better than plastic, as long as they’re kept clean and oiled.
Different Types Of Wooden Utensils: Special Tips
Not all wooden utensils are the same. Here’s how to handle a few common types:
Wooden Spoons
These are workhorses in the kitchen and see lots of action. Season both the bowl and handle. Pay attention to the tip, which gets the most wear.
Spatulas And Turners
Flat surfaces can get dry or rough. Always sand any splinters before oiling. Use a wax finish if you flip a lot of moist foods.
Salad Tongs
These often get wet. Be extra careful to dry them quickly after washing and re-oil every few weeks.
Wooden Chopsticks
These need thin, even coats of oil. Don’t over-oil, as chopsticks are used near the mouth and should not feel greasy.
Wooden Bowls Or Mortars
Larger items like bowls need more oil and a longer soak. Let oil soak in overnight and repeat several times for the best protection.
Comparing Seasoning Methods
There are a few main ways to season wooden utensils. Here’s how they compare:
| Method | Process | Protection Level | Time Required |
|---|---|---|---|
| Mineral Oil Only | Rub on, soak, wipe off | Good | 2-8 hours |
| Oil + Beeswax | Apply oil, add melted wax, buff | Excellent | 8-24 hours |
| Drying Oils (Walnut, Flaxseed) | Rub on, let cure, repeat | Very Good | 12-24 hours |
The oil + beeswax method is best for heavy-use utensils. Pure oil is quicker and still works well for most daily needs.
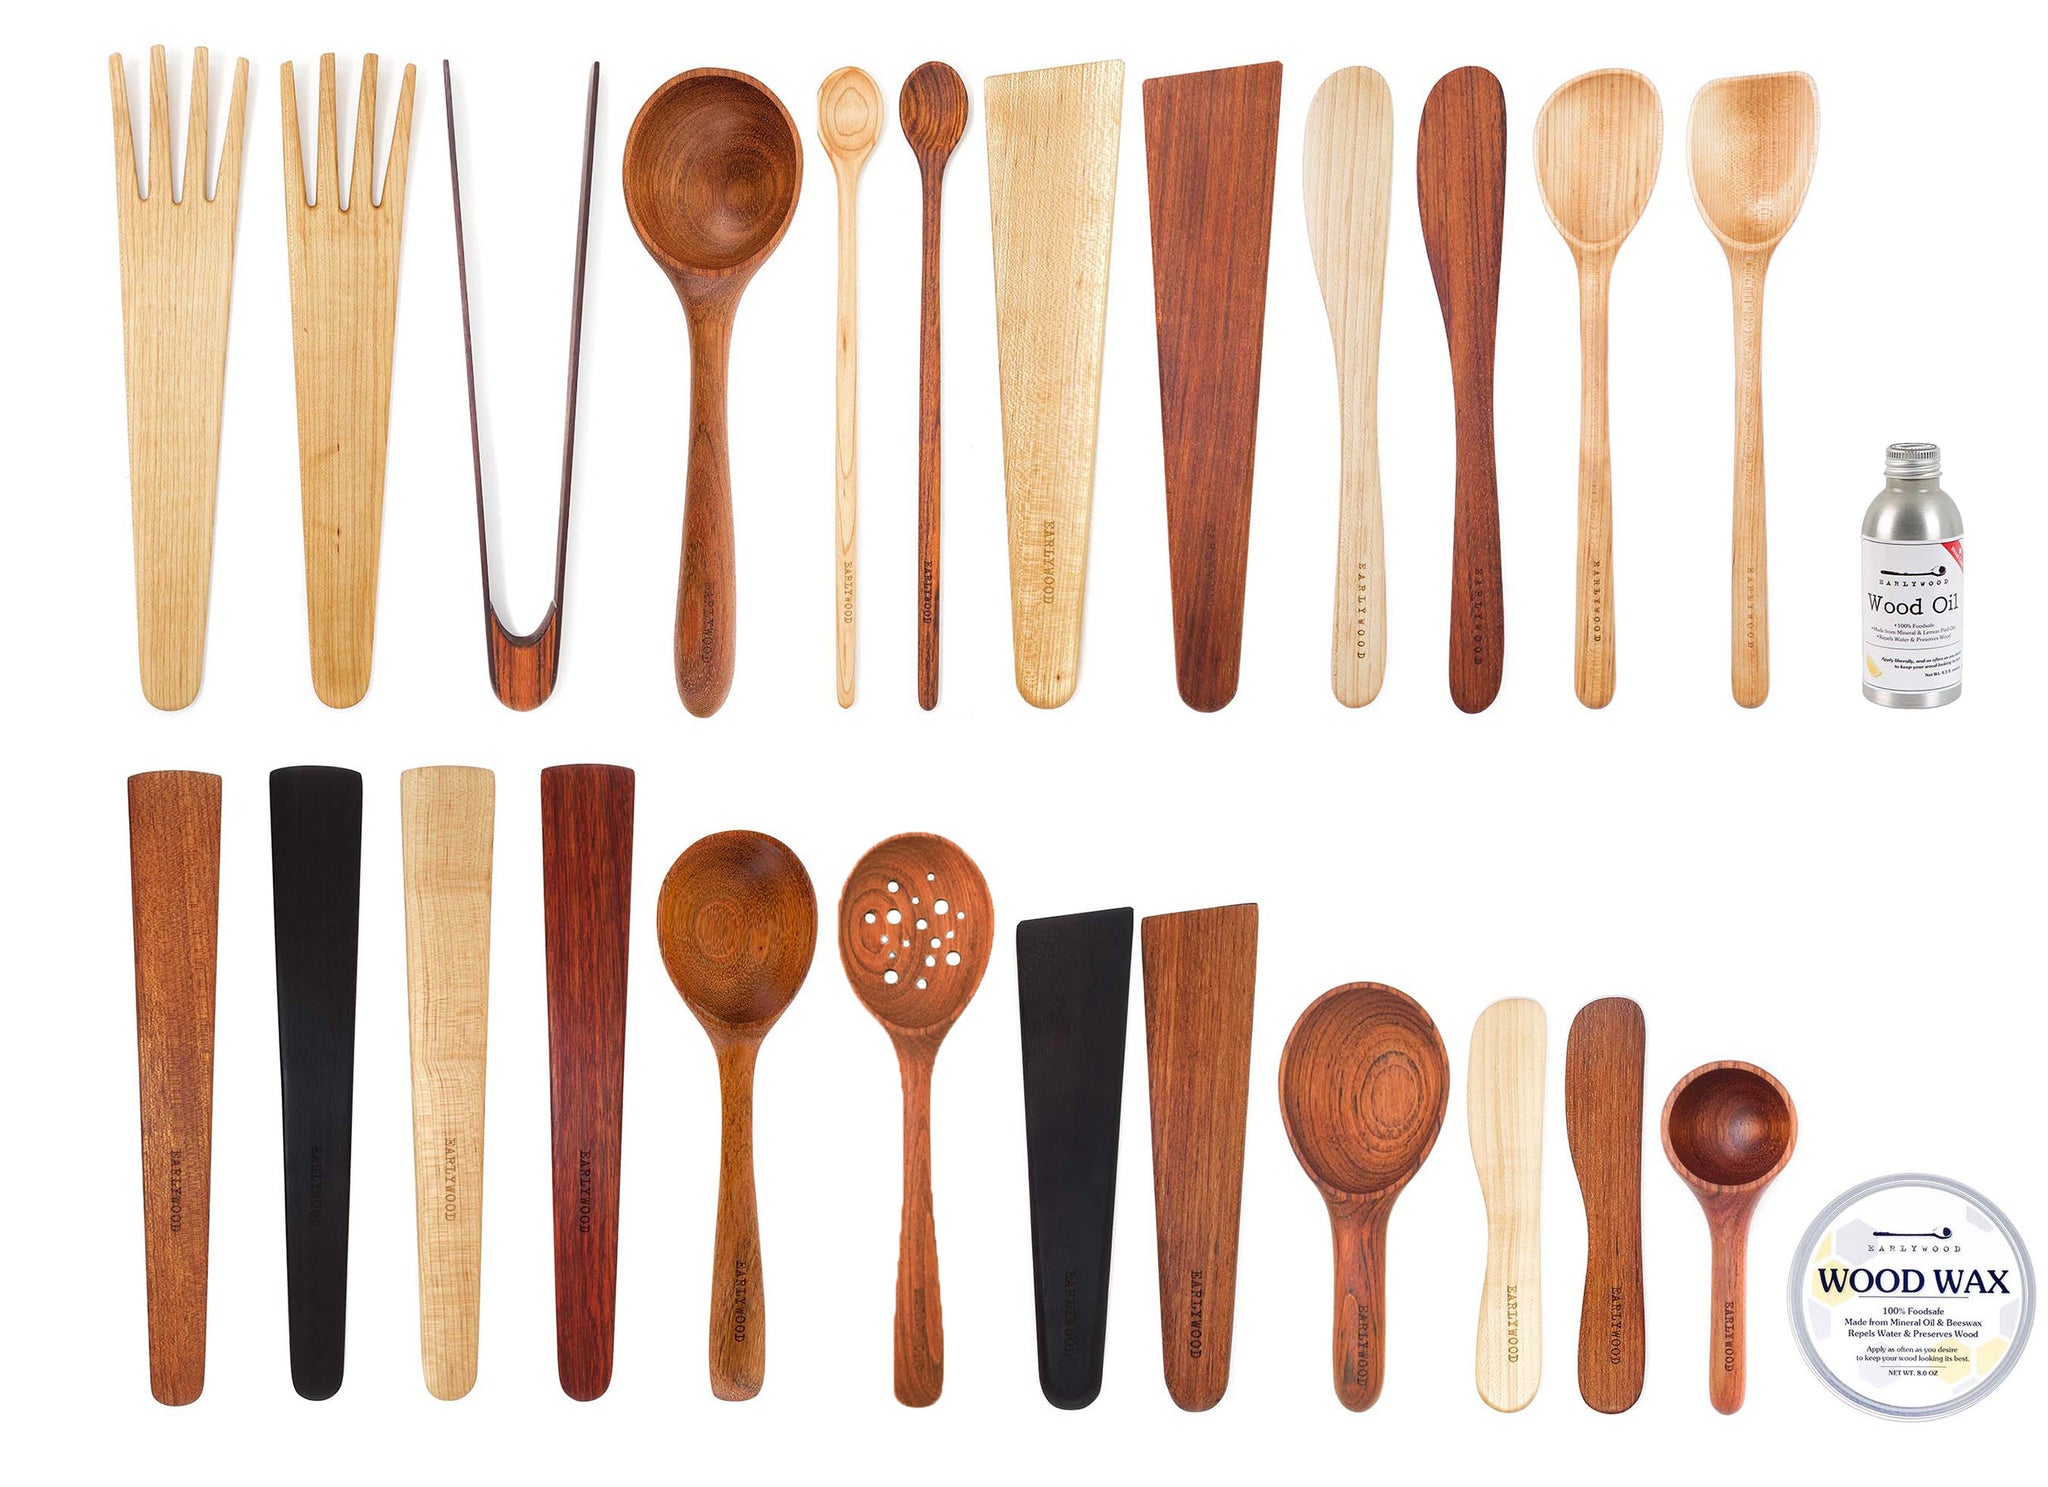
Credit: www.earlywooddesigns.com
Practical Tips For Long-lasting Utensils
- Rotate utensils: Don’t use the same spoon for everything, every day. This lets each piece rest and recover.
- Spot check: After washing, feel for rough spots or splinters. Sand and oil as needed.
- Use gentle soaps: Harsh chemicals are not needed—mild dish soap is enough.
- Don’t expose to extreme heat: Avoid leaving wooden utensils near stovetops or open flames, which can dry them out quickly.
- Keep away from strong odors: Wood absorbs smells. Store away from things like onions or spices.
Environmental And Health Benefits
Wooden utensils, when properly seasoned, are a great choice for your health and the planet.
- No plastics or chemicals: Well-seasoned wood is naturally non-stick and doesn’t leach chemicals into food.
- Biodegradable: At the end of their life, wooden utensils break down naturally.
- Safe for nonstick cookware: Wood won’t scratch or damage pans.
If you want to go even deeper, look for utensils made from sustainably sourced wood. This ensures forests are managed well and your kitchen stays eco-friendly.
Signs Your Wooden Utensil Needs Seasoning
How do you know it’s time to re-season? Watch for these clues:
- Wood looks pale, faded, or dull
- Utensil feels rough or splintery
- Water soaks in quickly instead of beading up
- Utensil absorbs strong food smells
- Small cracks or splits appear
Season at the first sign of trouble, and your utensils will last much longer.
Can You Over-season Wooden Utensils?
It’s rare, but yes, you can overdo it. Too much oil can leave a sticky or gummy surface. If this happens:
- Wipe off extra oil with a clean, dry cloth.
- Let the utensil air out for 1-2 days before using.
- If still sticky, wash with mild soap, let dry, and start again with a thin coat.
Seasoning is about balance—enough to protect, but not so much that the wood feels greasy.
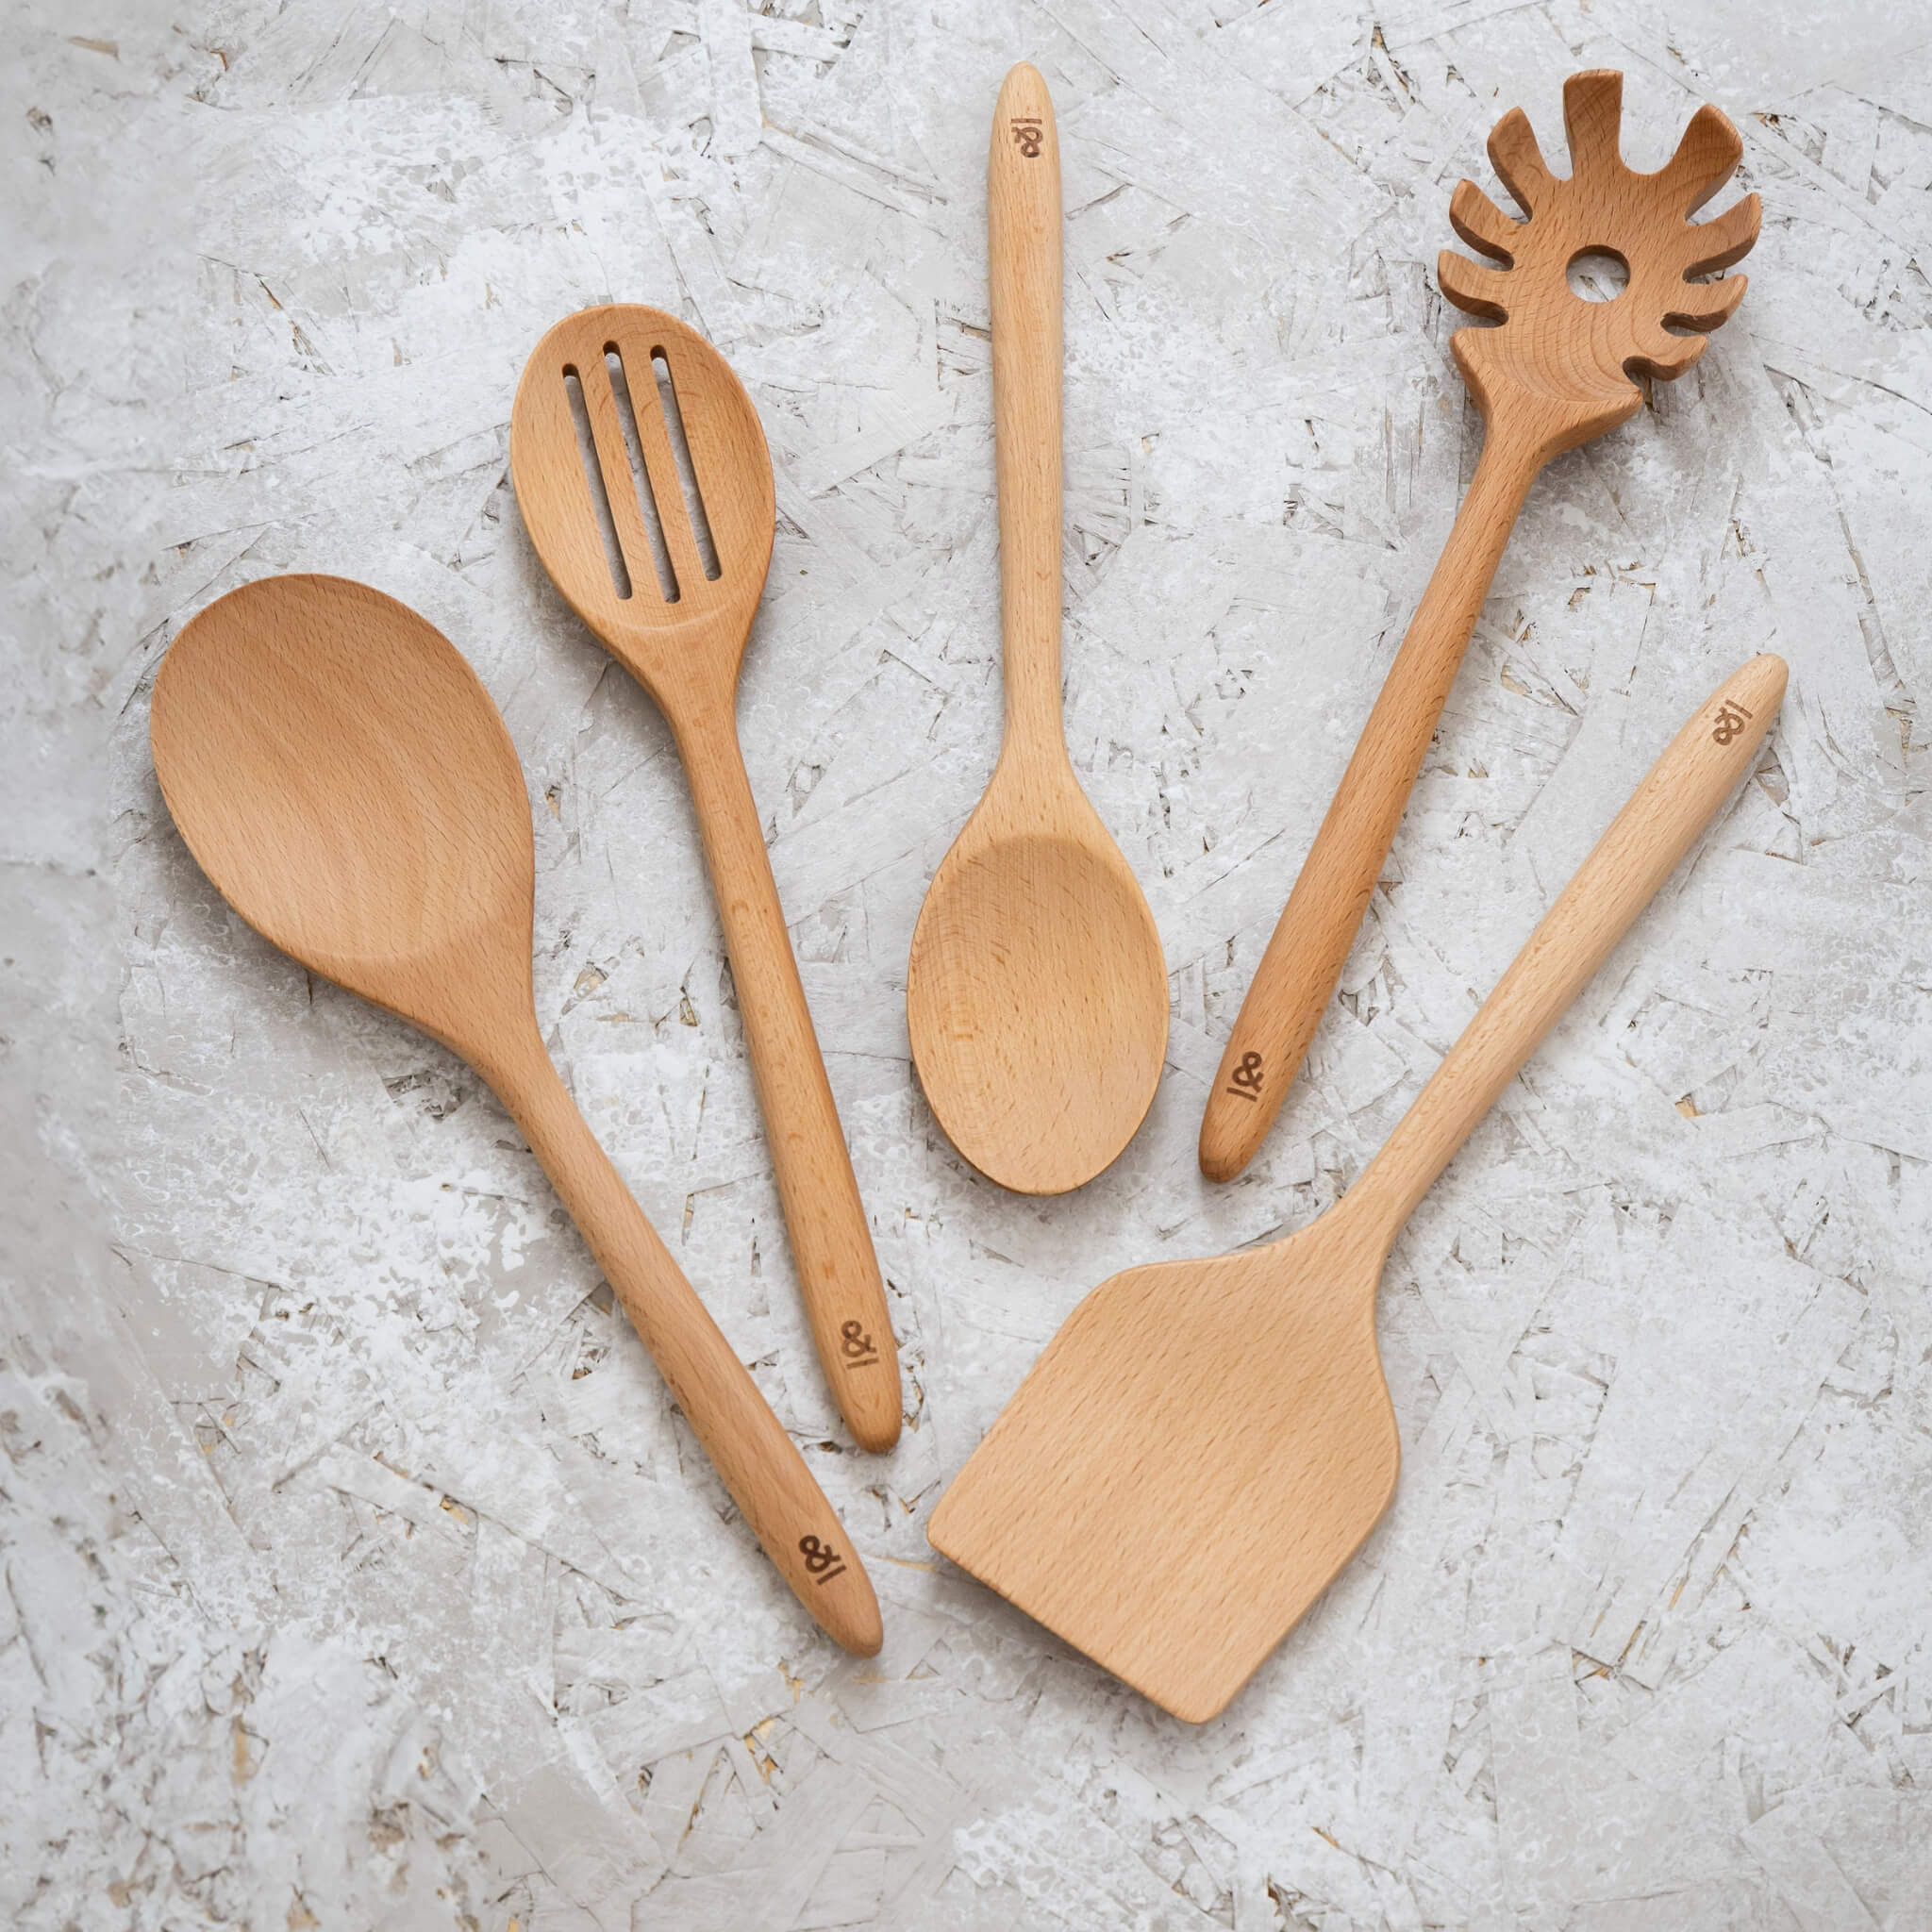
Credit: seedandsprout.com
Professional-level Seasoning: Chef Secrets
Many chefs take extra steps for their favorite wooden tools:
- Heat the utensil gently (not too hot) before oiling. Warm wood absorbs oil better.
- Use a mix of mineral oil and beeswax for a tougher finish.
- For old, dry utensils, soak overnight in oil, then wipe and repeat for several days.
- Occasionally sand the surface to keep it smooth.
Professional kitchens often season utensils every week, especially for tools used daily.
How Seasoning Changes Over Time
Seasoning is not a one-time thing. Each time you oil your utensil, the wood becomes more protected and beautiful. Over months and years, your spoon or spatula will develop a deep, rich patina—a mark of good care and many meals.
If you skip seasoning, you’ll notice the wood becomes pale, rough, or even cracks. But with regular oiling, your utensils can last decades and even become family heirlooms.
When To Replace Wooden Utensils
Even with great care, all wood wears out eventually. Replace your utensil if:
- There are deep cracks or splits that can’t be sanded smooth
- Mold or black stains appear and don’t go away after cleaning
- The utensil feels weak, bends, or chips easily
It’s better to be safe—especially for tools used with hot food.
Real-world Example: Restoring A Vintage Wooden Spoon
Imagine you find an old wooden spoon at a thrift store. It’s dry, gray, and maybe a little rough. Can you bring it back to life?
- Scrub the spoon with baking soda and water to remove surface dirt.
- Sand with 220 grit sandpaper until smooth.
- Wash and let dry completely (24 hours if needed).
- Rub with mineral oil, let soak overnight. Repeat as needed.
- Add a beeswax finish and buff.
With patience, many old wooden utensils can look and work like new—sometimes even better than modern ones.

Credit: www.amazon.com
Comparing Wooden Utensils To Other Materials
How Does Seasoned Wood Compare To Metal Or Plastic Utensils?
| Material | Pros | Cons | Lifespan |
|---|---|---|---|
| Wood (Seasoned) | Gentle, eco-friendly, safe for nonstick, beautiful | Needs maintenance, can crack if neglected | 5-20+ years with care |
| Plastic | Cheap, dishwasher safe, many colors | Can melt, may leach chemicals, not eco-friendly | 2-5 years |
| Metal (Stainless Steel) | Very durable, dishwasher safe, doesn’t absorb odors | Can scratch cookware, heavy, conducts heat | 20+ years |
Seasoned wooden utensils offer a unique mix of beauty and function, especially if you enjoy cooking with traditional tools.
Frequently Asked Questions
How Do I Know Which Oil Is Safe To Use?
Always pick food-grade mineral oil, fractionated coconut oil, or pure walnut oil. Avoid vegetable oils and animal fats, as they can spoil. Mineral oil is widely recommended for its stability and safety.
Can I Use Olive Oil To Season Wooden Utensils?
No, olive oil is not a good choice. It can turn sticky or rancid, leaving your utensils with bad smells and a gummy surface. Stick to oils that don’t spoil, like mineral oil.
Is It Okay To Season Bamboo Utensils The Same Way?
Yes, but bamboo is technically a grass, not a wood. It’s more water-resistant, but benefits from the same seasoning process. Use thin coats and let them soak in well.
What If My Utensil Has A Rough Spot Or Splinter?
Sand the area gently with fine-grit sandpaper (220 grit), always along the grain. After sanding, wipe away dust and re-oil the utensil for a smooth finish.
How Can I Remove A Strong Smell From My Wooden Spoon?
Rub the spoon with baking soda or coarse salt, then with half a lemon. Rinse, dry, and re-season. This helps remove odors and freshens the wood.
Learning how to season wooden utensils is more than a chore—it’s a way to keep your kitchen tools healthy, safe, and beautiful. With simple care and the right technique, your wooden utensils will serve you well for years to come. For more tips on food-safe oils, check out this Cook’s Illustrated guide.
With the knowledge you’ve gained here, every meal you cook will carry a touch of tradition and care—one wooden spoon at a time.