
Setting the correct temperature on your Kitchenaid oven is essential for cooking delicious meals, baking perfect cakes, and making sure your food is safe to eat. Many people find oven controls confusing, especially if the model has advanced features or digital displays. Whether you are new to using a Kitchenaid oven or want to improve your cooking results, understanding how to set and manage the temperature is a skill that pays off every day. This guide will walk you through everything you need to know, from basic steps to advanced tips, and help you avoid common mistakes that can ruin a good recipe.
Understanding Kitchenaid Oven Controls
Every oven model is a bit different, but Kitchenaid ovens share some standard features. You will find either a knob control, a digital control panel, or a combination of both. The way you set the temperature depends on the type of controls your oven has.
Kitchenaid ovens usually have a bake, broil, and sometimes a convection setting. Each function changes how heat is distributed. Understanding these basics will make the temperature setting process clearer.
Knob Controls
Some older or basic models use knobs. You simply turn the knob to the desired temperature. The numbers around the knob show the temperature in Fahrenheit.
Digital Controls
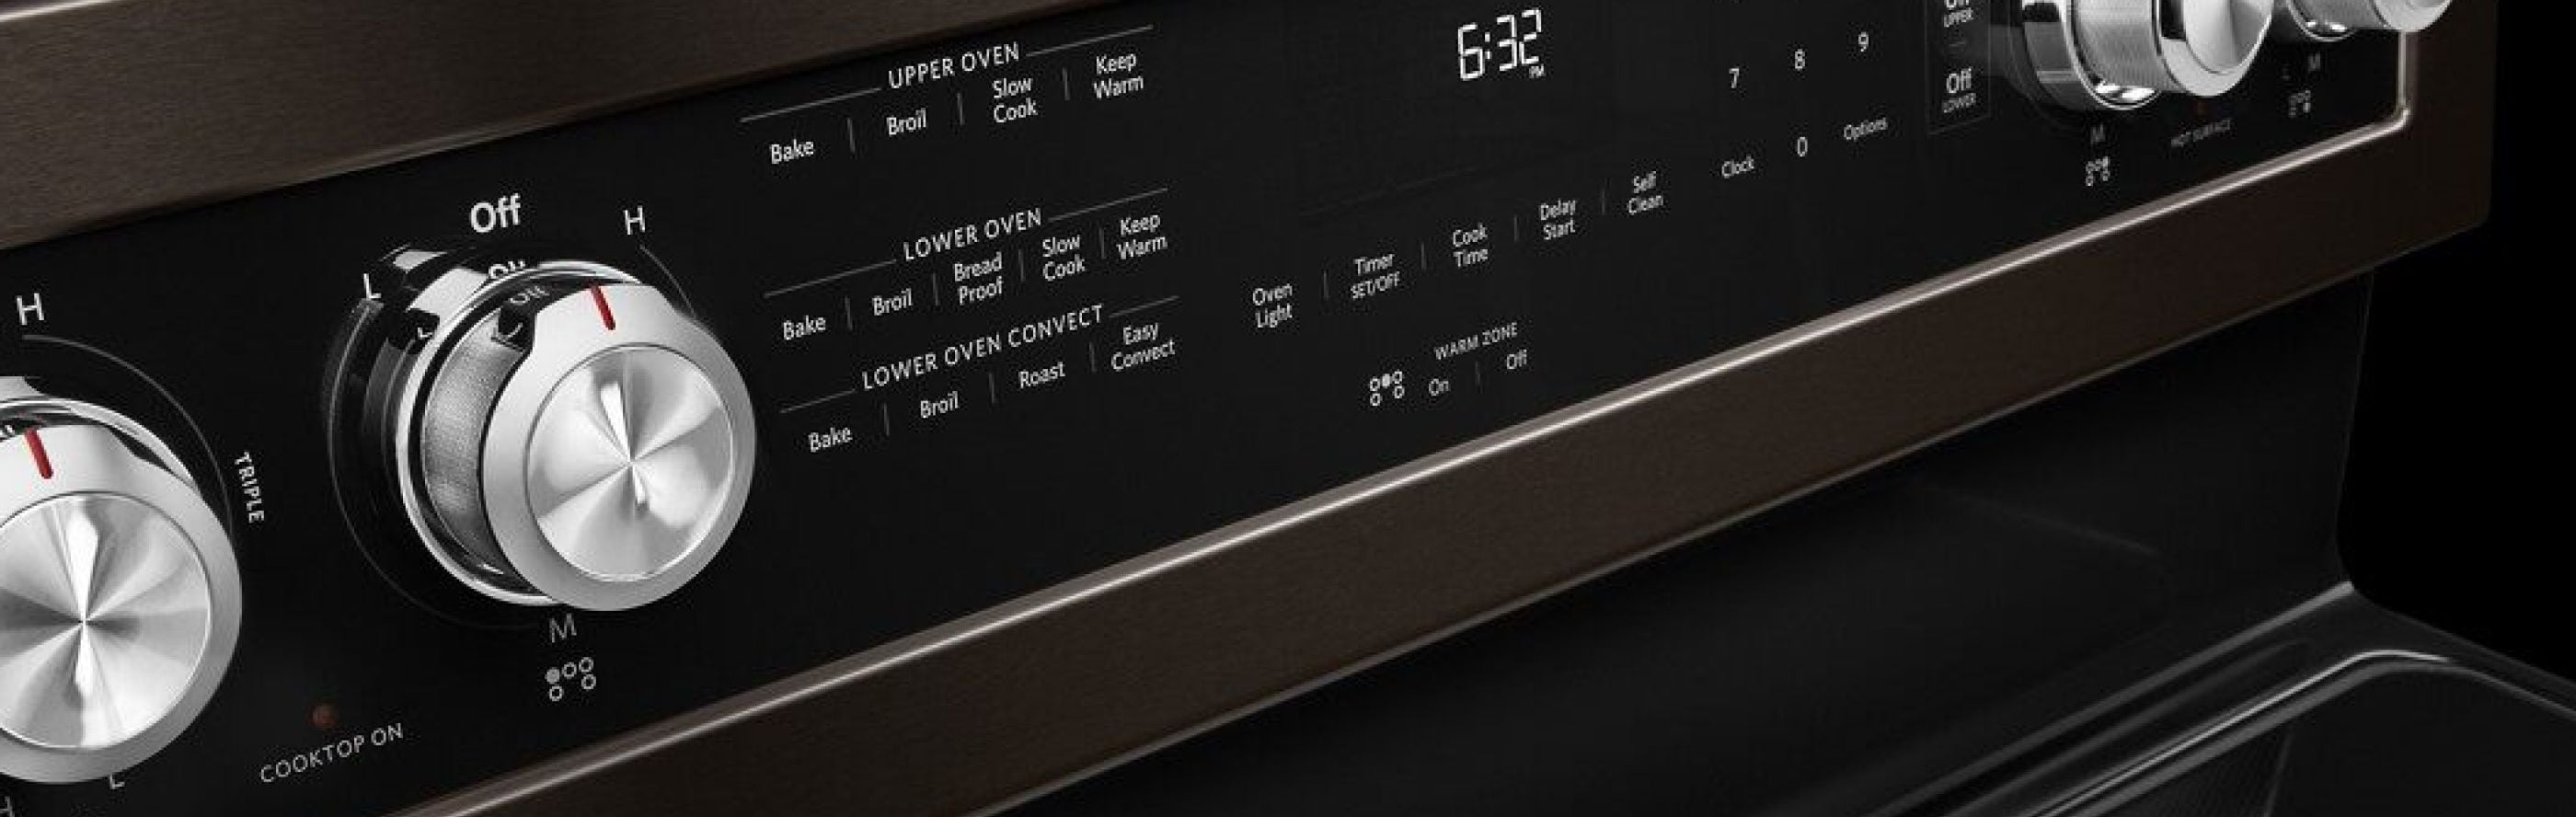
Most modern Kitchenaid ovens have a digital control panel. You usually press a “Bake” or “Broil” button, then use arrows or a keypad to select the temperature.
Common Features
- Display screen: Shows the current or set temperature.
- Preheat indicator: Lights up or beeps when the oven reaches the set temperature.
- Timer: Can be set to count down or alert you when cooking is done.
Before using your oven, take a few minutes to read the manual that comes with your model. If you don’t have it, you can usually find it on the Kitchenaid website by searching your model number.
Step-by-step: How To Set Temperature On Kitchenaid Oven
No matter the model, setting the temperature usually follows a simple process. Here’s a clear, step-by-step guide for both knob and digital models.
For Knob-control Ovens
- Turn the oven on: Locate the “Bake” or “Oven” knob.
- Select temperature: Turn the knob until the pointer is at your desired temperature.
- Wait for preheat: Most ovens will take 10–15 minutes to reach the selected temperature. Some have a light that turns off when ready.
- Place food in oven: Once preheated, carefully put your dish inside.
For Digital-control Ovens
- Press “Bake”: On the digital panel, press the “Bake” button.
- Set temperature: Use arrows or number keys to enter the desired temperature (for example, 350°F).
- Confirm selection: Press “Start” or “Enter” to begin preheating.
- Watch for preheat signal: Wait for the oven to beep or display “Ready.”
- Insert food: Open the door and put your dish inside.
Example: Setting To 375°f
- For a digital oven, press “Bake,” enter 375, and press “Start.”
- For a knob oven, turn the dial to 375°F.
Non-obvious Insight: If your oven does not have a preheat indicator, set a timer for 10–15 minutes before adding your food. Opening the oven too early leads to undercooked meals.
Setting Special Functions And Temperatures
Many Kitchenaid ovens offer more than just “Bake” and “Broil. ” Here’s how to set temperatures for other common functions.
Convection Bake
Convection ovens use a fan to move hot air, cooking food faster and more evenly. Kitchenaid convection ovens usually need a 25°F lower temperature than a standard bake.
- Press “Convection Bake.”
- Enter the temperature (e.g., 325°F if the recipe says 350°F).
- Press “Start.”
Broil
Broiling uses high heat from the top. You can often choose “High” or “Low” broil.
- Press “Broil.”
- Select “High” (usually 500°F) or “Low” (around 400°F).
- Press “Start.”
Proofing And Warming
Some models have “Proof” (for dough rising) or “Warm” settings.
- Press “Proof” or “Warm.”
- The oven will set itself to the correct low temperature (usually 80–100°F for proof, 170°F for warming).
Self-clean
For safety, never try to cook while the oven is in “Self-Clean” mode. The temperature goes over 800°F.
Understanding Oven Temperature Accuracy
Many people don’t realize that ovens can run hotter or cooler than the number you set. This can ruin recipes if not corrected. Kitchenaid ovens are designed to stay within ±10–15°F of the set temperature, but real-world factors can change this.
How To Check Oven Accuracy
- Buy an oven thermometer: Place it in the center of the oven.
- Preheat the oven: Set to 350°F and wait for the preheat signal.
- Check the thermometer: After 10 minutes, read the thermometer.
- Repeat: Do this a few times to see if the oven runs consistently hot or cold.
If your oven is off by more than 15°F, you may want to recalibrate it (explained later).
Practical Tip: Always check the oven temperature before baking sensitive foods like cakes or macarons.
Using The Oven Display And Sounds
The display and sound signals on Kitchenaid ovens help you know what’s happening.
- Preheat beep: Signals when the set temperature is reached.
- Display flashes: If the oven is not heating or there’s an error.
- Timer alert: Reminds you when your food is ready.
If you miss a beep, check the display. It usually shows “Ready” or the current temperature.
Non-obvious Insight: Some models allow you to adjust the beep volume or turn it off in the settings menu.
How To Change Temperature During Cooking
Sometimes you need to adjust the temperature while the oven is running—maybe to finish a roast or bake cookies at a lower heat. Here’s how to do it:
Digital Ovens
- Press “Bake” or “Broil” again.
- Enter the new temperature.
- Press “Start” to confirm.
Knob Ovens
- Simply turn the knob to the new temperature.
Tip: Allow 5–10 minutes for the oven to stabilize at the new temperature.
Calibrating Your Kitchenaid Oven
If you find your oven consistently overcooks or undercooks food, you might need to calibrate it. Calibration lets you adjust the oven’s display so it matches the real temperature.
How To Calibrate
- Access settings: Most digital models have a “Temp Cal” or “Oven Calibration” mode in the menu.
- Adjust up or down: Use the arrows to increase or decrease the offset (usually in 5°F steps).
- Save and exit: Press “Start” or “Enter” to confirm.
Check your manual for exact steps, since calibration menus differ.
When To Calibrate
- Your cakes are always raw in the middle.
- Roasts cook faster than recipes say.
- Oven thermometer shows a big difference.
Warning: Only calibrate if you are sure the oven is off. Sometimes, poor insulation or broken parts cause uneven heating.
Comparing Key Kitchenaid Oven Models And Their Temperature Controls
To help you see the differences, here is a comparison of three popular Kitchenaid oven models and their temperature setting features.
| Model | Control Type | Temperature Range (°F) | Special Features |
|---|---|---|---|
| Kitchenaid KODE500ESS | Digital Touch | 170–550 | Convection, Self-Clean, Proof |
| Kitchenaid KFGD500ESS | Knob + Digital | 170–500 | Dual Fuel, Warming Drawer |
| Kitchenaid KOSE500ESS | Digital Touch | 170–550 | True Convection, Delay Start |
Tip: Choose a model with a digital display if you want more precise temperature control.
Common Temperature Settings For Different Foods
Not sure what temperature to use? Here are typical oven temperatures for popular foods:
| Food Type | Recommended Temperature (°F) | Notes |
|---|---|---|
| Cakes | 325–350 | Lower temperature prevents burning |
| Cookies | 350–375 | Short baking time |
| Bread | 375–425 | Higher heat for crust |
| Roasts | 325–400 | Lower for slow cook, higher to brown |
| Pizza | 450–500 | High heat for crisp crust |
Always follow the recipe, but use this guide when experimenting.
Troubleshooting: When The Oven Won’t Set Or Hold Temperature
Sometimes, you may find your Kitchenaid oven won’t reach or hold the temperature you set. Here’s what to check:
- Door seal: A loose or broken seal lets heat escape.
- Heating element: If it glows weakly or not at all, it may need replacing.
- Thermostat sensor: If it’s dirty or broken, the oven can’t sense the right temperature.
- Power supply: Low voltage can cause weak heating.
- Control panel error: Try turning the oven off at the breaker for 5 minutes, then restart.
If you can’t find the problem, call Kitchenaid service. Don’t try to repair electrical parts yourself.
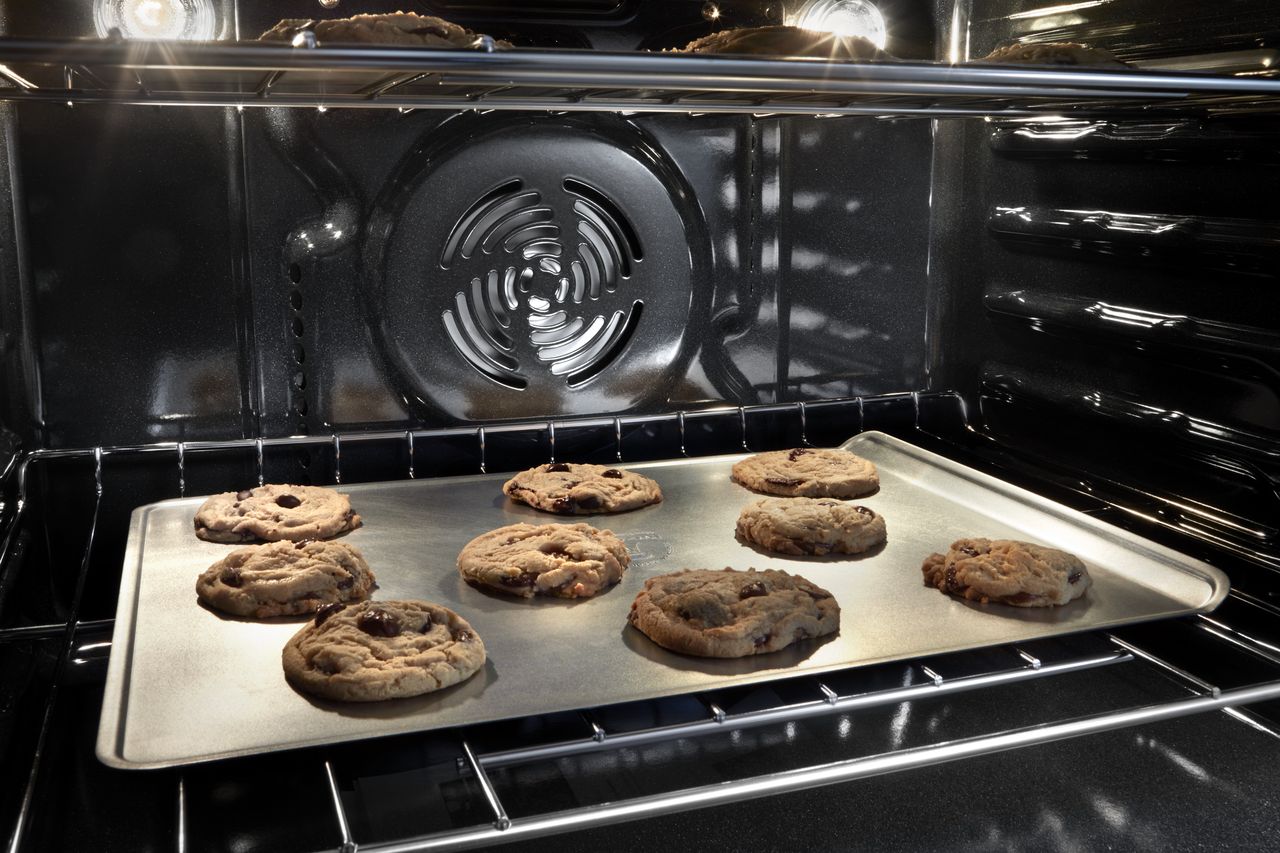
Practical Example: If your cookies always burn on the bottom but are raw on top, the lower element may be broken.
Credit: jerrysappliancerepair.com
Tips For Accurate Oven Temperature And Best Cooking Results
Getting the best results from your Kitchenaid oven takes practice and a few smart habits.
Use An Oven Thermometer
Even new ovens can be off by 10°F or more. A thermometer helps you know the real temperature.
Avoid Opening The Door
Each time you open the oven door, you lose about 25°F of heat. This can ruin delicate bakes.
Let The Oven Fully Preheat
Don’t rush. Wait until the preheat signal or at least 10 minutes after you set the temperature.
Rotate Your Food
Some ovens have hot spots. Turn your pan halfway through baking for even results.
Clean The Oven Regularly
A dirty oven can block heat and give uneven results.
Non-obvious Insight: If you bake on multiple racks, swap their positions halfway through cooking. Heat rises, so the top rack can be hotter.
What To Do If Your Kitchenaid Oven Shows An Error
Kitchenaid ovens sometimes show error codes when there’s a problem with temperature or controls.
- F1–E1, F2–E0, etc. : These codes mean a sensor or control problem.
- Oven not heating: Usually a broken heating element or sensor.
- Display won’t change temperature: Try resetting the oven by unplugging for 1 minute.
You can find a full list of error codes and what they mean in your manual or on the Kitchenaid website.
Tip: Write down the error code before calling for service. It helps the technician fix the problem faster.

Credit: manuals.plus
How To Use Delay Start And Timed Cooking
Many Kitchenaid ovens offer Delay Start or Timed Cooking features. These let you set the oven to start or stop at a specific time.
Delay Start
- Set the temperature as usual.
- Choose “Delay Start” and enter the time you want the oven to begin heating.
- Press “Start.”
Timed Cooking
- Set the temperature and function.
- Press “Cook Time” and enter how long you want to cook.
- Press “Start.” The oven will turn off when time is up.
Warning: Don’t use Delay Start for foods that can spoil at room temperature (like meat or eggs).
Adjusting For Altitude, Humidity, And Other Factors
Temperature settings can be affected by high altitude, humidity, or even the cookware you use.
- High altitude: Increase oven temperature by 15–25°F for baking.
- High humidity: Bake a few minutes longer.
- Dark pans: Absorb more heat—reduce temp by 25°F.
- Glass dishes: Heat slowly—may need higher temperature or longer time.
Practical Example: If you live in Denver (altitude 5,000 feet), set your oven 20°F higher for cakes.
Credit: www.kitchenaid.com
Cleaning And Maintenance For Accurate Temperature
Keeping your oven clean helps it reach and hold the right temperature.
- Wipe spills quickly: Baked-on food can smoke and block heat.
- Clean door glass: Lets you check food without opening the door.
- Use self-clean only when needed: Too often can damage parts.
Check the oven cavity and gaskets every few months.
Non-obvious Insight: Remove racks during self-clean cycles—they can discolor or warp from extreme heat.
Energy Saving Tips When Using Your Kitchenaid Oven
Ovens use a lot of power, especially at high temperatures. Save energy by:
- Cooking multiple dishes at once.
- Using convection if available—it cooks faster at lower temperatures.
- Turning off the oven a few minutes early—residual heat finishes the cooking.
- Avoiding preheating for foods like roasts or casseroles that start cold.
According to the US Department of Energy, using a convection oven can save up to 20% in energy compared to standard baking.
Using Smart Features On Wi-fi Enabled Kitchenaid Ovens
Some newer Kitchenaid ovens come with Wi-Fi connectivity. You can set temperature and monitor your cooking from your smartphone.
- Download the Kitchenaid app from the App Store or Google Play.
- Connect your oven to home Wi-Fi following the manual instructions.
- Use the app to set, change, or monitor the oven temperature remotely.
This feature is helpful if you want to preheat on your way home or get alerts when your food is ready.
External Resource: For more details, visit the official Kitchenaid Oven Temperature Guide.
Safety Tips When Setting And Using Oven Temperature
- Always use oven mitts when placing or removing food.
- Keep flammable items away from the oven.
- Check the oven is empty before turning on.
- Never cover vents or heating elements.
- If you smell gas (for gas ovens), turn off the oven and call for help.
Practical Tip: Don’t use aluminum foil on the oven floor—it can block heat and damage the oven.
Frequently Asked Questions
How Do I Know If My Kitchenaid Oven Is Preheated?
Most Kitchenaid ovens beep or show a light/message on the display when they reach the set temperature. If your model doesn’t have a preheat signal, wait at least 10–15 minutes after setting the temperature before adding your food.
Can I Change The Temperature After The Oven Has Started?
Yes, you can adjust the temperature anytime during cooking. On digital models, press “Bake” or “Broil,” enter the new temperature, and press “Start. ” For knob models, simply turn the dial to the new setting. Allow the oven a few minutes to adjust.
Why Does My Oven Thermometer Show A Different Temperature Than What I Set?
Oven thermostats aren’t perfect. Many ovens can be off by 10–15°F. Other reasons include hot/cold spots, how often you open the door, and where you place the thermometer. Consider calibrating your oven if the difference is big.
What Should I Do If My Kitchenaid Oven Won’t Heat Up?
Check that the oven is plugged in and has power. Make sure the controls are set correctly. If the heating element doesn’t glow or you see an error code, the element or sensor may be broken. Turn off the oven and call a service technician.
How Often Should I Calibrate My Oven Temperature?
You usually only need to calibrate if you notice food is always over- or undercooked compared to recipes, or if your oven thermometer shows a big difference from the set temperature. For most people, once every few years is enough.
Setting the right temperature on your Kitchenaid oven is simple once you know how the controls work. With practice, you’ll get better results, save energy, and enjoy more consistent meals. Be sure to keep your oven clean, check for accuracy, and don’t be afraid to use features like convection or smart controls. If you follow these steps and tips, you’ll soon cook like a pro—no guesswork needed.