Removing the oven door from your Emeril Lagasse Oven can feel intimidating if you’ve never done it before. But whether you want to deep-clean the glass, fix a loose hinge, or just understand your appliance better, learning how to do this safely is a valuable skill. As someone who has helped many people with home appliances, I’ll guide you through each step, including safety tips, common mistakes, and how to reattach the door when finished. If you follow these steps, you’ll not only protect your oven but also avoid damaging parts that are costly to replace.
Many owners worry they might break something or void their warranty. In reality, most Emeril Lagasse ovens are designed for easy door removal—if you know the correct sequence. In this guide, you’ll get clear, practical instructions suited to any skill level.
I’ll also explain why certain steps matter, not just how to do them. This way, you’ll feel confident and in control throughout the process.
Why Remove The Emeril Lagasse Oven Door?
People have different reasons for wanting to remove their oven door. Here are the most common:
- Deep cleaning: Food spills and grease can collect between the glass panes, which are hard to reach unless the door is off.
- Hinge or seal repair: Worn hinges or a loose door seal can affect oven efficiency and safety.
- Glass replacement: If the inner glass cracks, removing the door is the first step for repair.
- Transport or storage: Removing the door can make it easier to move or store the oven.
- Visual inspection: Checking for rust, wear, or other damage is much easier when the door is off.
What many new owners miss: Even if you clean the oven regularly, the area inside the door frame gathers grime. Over time, this can affect performance and even the smell of your food.
Understand Your Emeril Lagasse Oven Model
Emeril Lagasse ovens come in several models, including the Power AirFryer 360, French Door 360, and 360 Plus. While the basic removal steps are similar, some details—like hinge type or clip location—can vary.
Model Differences That Matter
| Model | Door Type | Removal Method | Common Challenges |
|---|---|---|---|
| Power AirFryer 360 | Single Swing-Down | Hinge Latch | Latch can be stiff |
| French Door 360 | Double French Doors | Hidden Pin/Clip | Small screws, fragile glass |
| 360 Plus | Single Swing-Down | Hinge Latch | Hinge tension strong |
Before you start, find your oven’s model number (usually on the back or inside the door). Download the official manual if possible. If you don’t have the manual, most are available on the manufacturer’s website.
Insight: Some models have a hidden screw under a rubber stopper on the door’s edge. New users often miss this, leading to unnecessary force and damage.
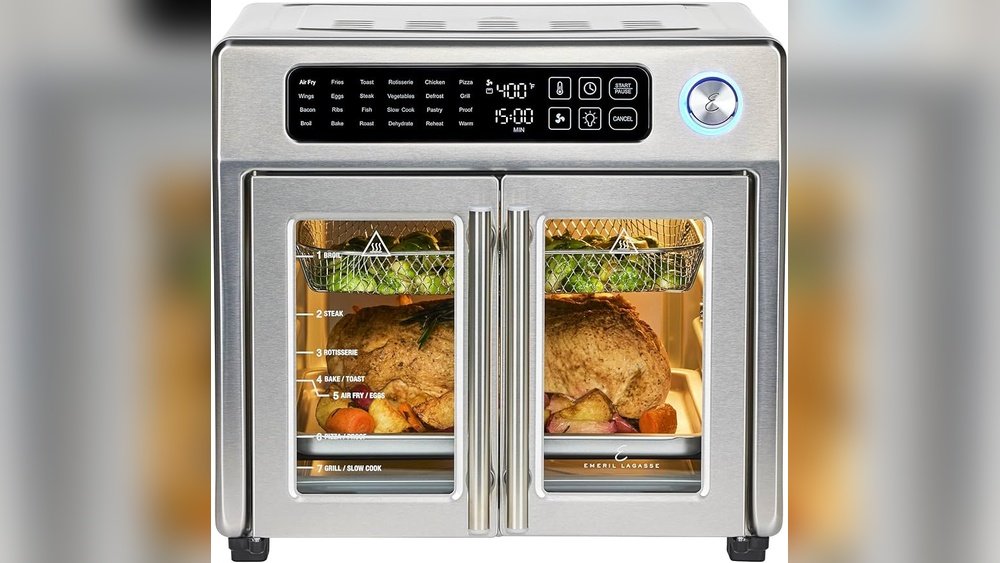
Credit: www.emerileveryday.com
Tools And Supplies You’ll Need
Gather these basic tools before you start. Having everything ready prevents mid-task frustration.
- Phillips screwdriver (medium size)
- Flathead screwdriver
- Soft towel or blanket (to protect door and floor)
- Flashlight (for seeing clips or screws)
- Gloves (optional, for grip and safety)
- Small container (for screws or parts)
Do not use power tools for this job. The screws and components are delicate—manual tools give you more control.
Safety Precautions Before You Begin
Many accidents happen not from the removal itself, but from skipping safety steps. Here’s what to do:
- Unplug the oven from the wall. Even if you’re not working with wiring, this prevents accidental activation.
- Let the oven cool fully. Removing the door after cooking can cause burns.
- Clear the area. Make space to set the door down safely—oven doors can be heavier than expected.
- Work on a flat surface. Place a towel or blanket to prevent scratches.
- Read your warranty. Some repairs may void coverage; check before proceeding.
Tip most miss: The glass inside the door can be sharp at the edges, especially if cracked. Wear gloves if you suspect any damage.
Step-by-step Guide: How To Remove The Oven Door
Now let’s get into the actual process. I’ll focus on the most common model (swing-down doors), then explain the French Door variation.
Step 1: Open The Oven Door Fully
Pull the door down to its lowest position. It should rest parallel to the floor. This exposes the hinge arms and any locking clips.
Why this matters: If the door isn’t fully open, the hinge will be under tension, making removal harder and more dangerous.
Step 2: Locate The Hinge Locks Or Clips
Look for metal tabs or latches on both sides of the hinge. On most Emeril Lagasse ovens, these are at the base where the door meets the oven cavity.
- Use a flashlight if needed.
- Some models have a small lever you flip up or out.
- Others have a retaining screw to remove.
Beginner mistake: Trying to force the hinge without releasing the lock will bend or break the hinge arm.
Step 3: Release The Hinge Locks
Gently pry up or pull out the hinge locks using your fingers or a flathead screwdriver. Move them to the “unlocked” position.
- You should feel or hear a small click.
- Double-check both sides are unlocked.
Step 4: Partially Close The Door
Slowly lift the door toward a 20-degree angle—just before it starts to close. The hinge should now be loose, and the door will feel “free. ”
Caution: The door may suddenly drop if the hinges disengage, so support it with both hands.
Step 5: Lift And Remove The Door
With both hands, grip the sides of the oven door firmly.
- Lift straight up and away from the oven.
- The hinges will slide out of their slots.
- Move the door to your padded surface.
Common error: Twisting or angling the door during removal can damage the hinge or oven frame.
Step 6: Set Aside All Small Parts
Place any screws, clips, or rubber stoppers in your small container. Do not lose these—they are often unique to the oven.
Special Instructions: French Door Model
If you own the Emeril Lagasse French Door 360, the process is a bit different.
- Open both doors fully.
- Look for small retaining pins near the top and bottom hinges.
- Use a screwdriver to remove these pins.
- Carefully slide each door up and off its hinge post.
- Set each door on a padded surface.
Unique challenge: The glass in French doors is thinner and more exposed, so handle with extra care.
Cleaning And Maintenance Tips While The Door Is Off
With the door removed, you have a rare chance to clean areas normally hidden. Here’s how to make the most of it:
Cleaning Between The Glass Panes
Food splatters and steam often get trapped between the glass layers.
- Locate the screws along the door’s edge.
- Remove them to separate the inner and outer glass.
- Clean glass with a mild detergent and a non-scratch sponge.
- Dry thoroughly before reassembling.
Important: Never soak the door in water—moisture can damage insulation.
Inspect And Clean The Door Gasket
The gasket is the rubber seal around the door.
- Wipe with a damp cloth.
- Check for cracks or flattening.
- Replace if damaged (affects oven efficiency).
Check The Hinges And Frame
- Remove crumbs or grease from the hinge slots.
- Inspect for rust or loose screws.
- Apply a tiny amount of high-temperature lubricant if hinges squeak.
Reattaching The Oven Door
When you’re ready, reversing the process is just as important as removal. Here’s the correct sequence:
Step 1: Align The Hinges
Hold the door at the same angle as when you removed it (about 20 degrees open).
- Line up the hinge arms with the slots on the oven frame.
- Insert both hinges at the same time.
Step 2: Lower The Door
Once the hinges are fully seated, slowly lower the door to the fully open position.
- The door should rest parallel to the floor.
- If it feels stuck, remove and try again—never force it.
Step 3: Lock The Hinges
Flip the hinge locks or reinsert pins/screws to secure the door.
- Double-check both sides are locked.
- Gently close the door to test movement.
Pro tip: If the door doesn’t close flush, one hinge may not be fully seated. Remove and repeat; forcing it can bend the hinge.

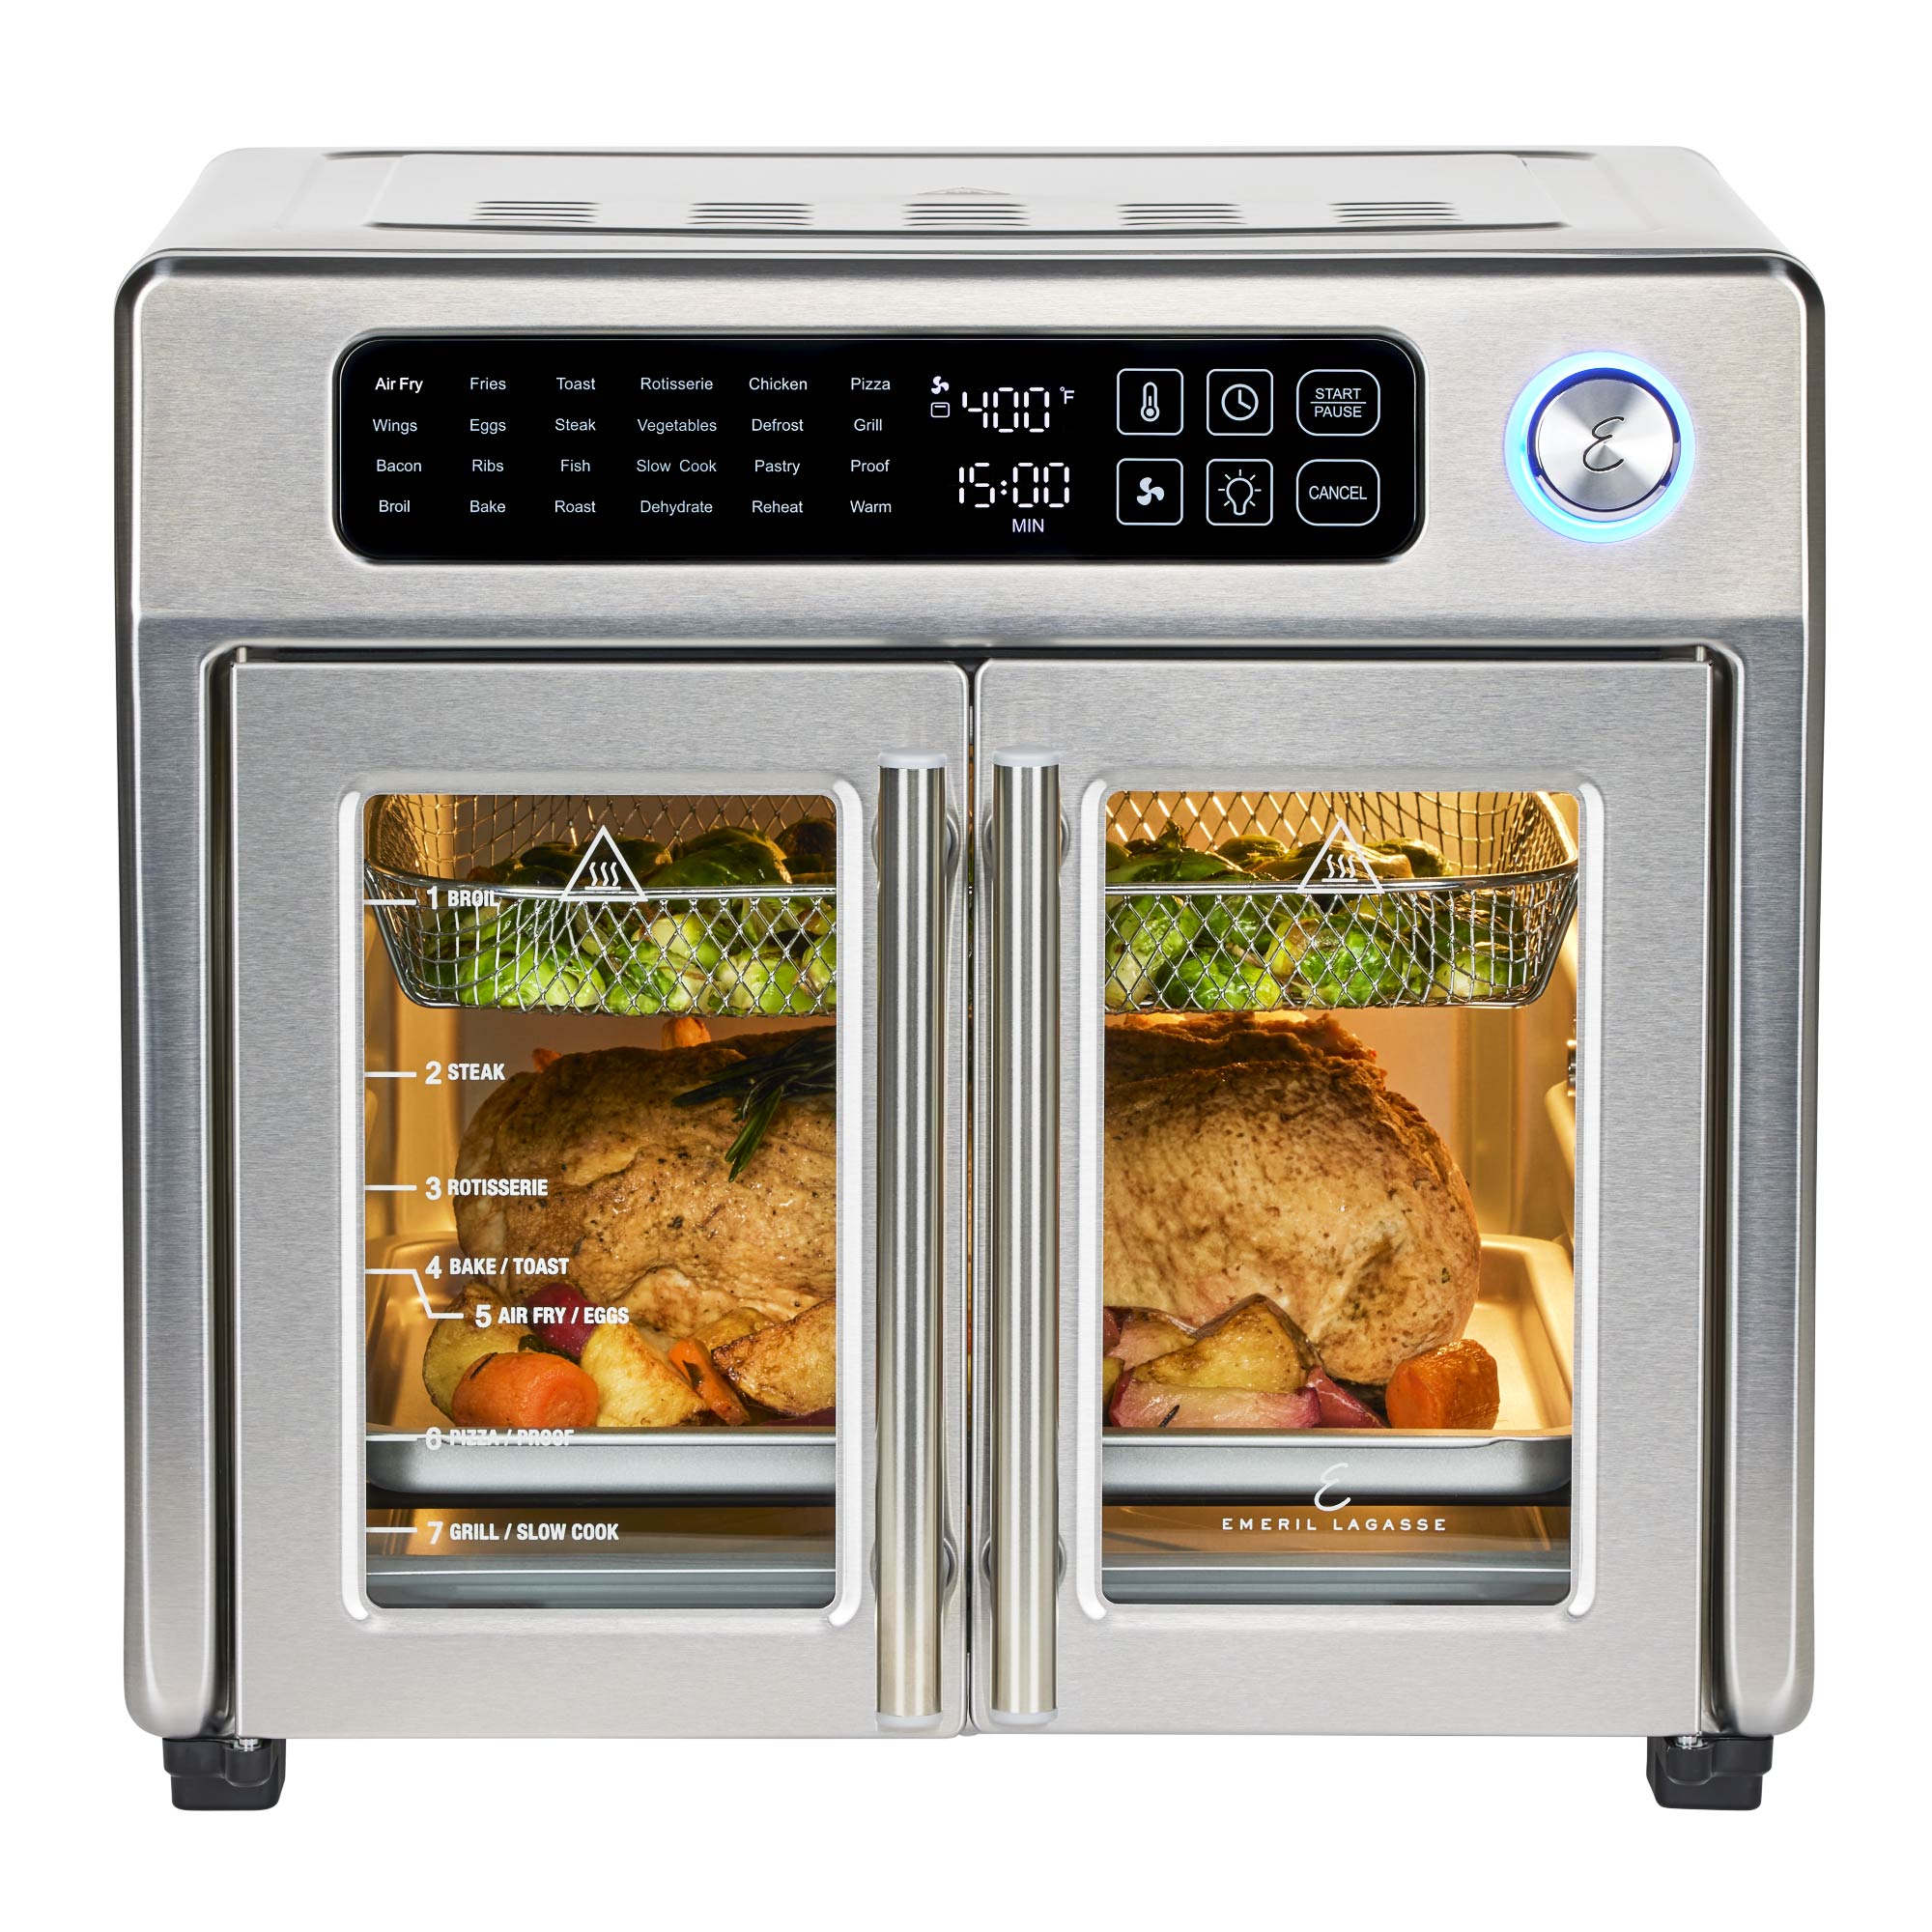
Credit: www.emerileveryday.com
Troubleshooting Common Problems
Sometimes, things don’t go as planned. Here’s how to solve the most frequent issues:
Door Won’t Come Off
- Check that all locks, clips, and screws are fully released.
- Apply gentle, even pressure; never jerk.
- Consult your manual for hidden fasteners.
Hinge Is Stuck Or Jammed
- Spray a small amount of penetrating oil on the hinge (avoid the oven interior).
- Tap gently with a soft mallet if needed.
Door Won’t Reattach Properly
- Review the angle—most doors need to be at 20-30 degrees for hinges to seat.
- Check for bent hinge arms or misaligned slots.
Glass Is Loose After Reassembly
- Ensure all screws are tight.
- Replace any missing rubber grommets or washers.
Comparison: Emeril Lagasse Vs Other Oven Doors
How does the Emeril Lagasse oven door compare to other brands? Here’s a quick overview:
| Brand | Door Removal Difficulty | Hinge Design | Common Issues |
|---|---|---|---|
| Emeril Lagasse | Moderate | Latch or Pin | Hidden clips, stiff latches |
| Breville | Easy | Exposed Hinge | Loose screws |
| Cuisinart | Challenging | Screw Secured | Many fasteners |
| Oster | Easy | Slide Out | Glass scratches |
Emeril Lagasse ovens tend to use robust, tight hinges for safety, which means removal takes a bit more care but offers better long-term durability.
Preventing Damage: What Not To Do
Mistakes during door removal can lead to expensive repairs. Here are the top errors to avoid:
- Using power tools: This can strip screws or crack glass.
- Skipping the unlock step: Forcing a locked hinge will warp it.
- Losing small parts: Each screw and clip is specific—keep them safe.
- Not supporting the door: These doors are heavier than they look. Always use both hands.
- Cleaning with harsh chemicals: Stick to mild, non-abrasive cleaners.
Non-obvious insight: Even if you plan to just “peek” at the hinges, always follow the full removal and replacement process. Shortcuts often lead to misaligned doors.
Long-term Maintenance Tips
Once you’ve successfully removed and replaced your oven door, keeping it working well is easy if you:
- Clean the gasket monthly to keep the seal tight.
- Check hinges every 6 months for rust or looseness.
- Wipe glass after every use to prevent buildup.
- Lubricate hinges once a year with a small drop of high-temp oil.
If you notice the door isn’t closing tightly or heat is escaping, re-check your installation. A loose door can reduce cooking efficiency by up to 15%, raising your energy costs and cooking times.

Credit: www.emerileveryday.com
When To Call A Professional
Most users can handle basic removal and cleaning. However, you should contact a professional if:
- The door glass is cracked or shattered.
- The hinge mechanism feels jammed or broken.
- You’re unsure about reassembly or have lost parts.
- Your oven is still under warranty and you’re worried about coverage.
Professionals have the correct tools and replacement parts. For complex repairs, this saves time and prevents further damage.
Key Takeaways For A Successful Door Removal
Let’s recap the most important points for removing your Emeril Lagasse oven door:
- Always unplug and cool the oven before starting.
- Identify your model for specific removal details.
- Release all locks and clips—never force parts.
- Support the door with both hands during removal and replacement.
- Store small parts safely and clean the door and gasket while it’s off.
- Reverse the process carefully to reattach the door.
- If unsure, check the manual or call support.
Extra tip: Take photos as you go. This makes reassembly much easier—especially if you need to remember screw or clip locations.
Frequently Asked Questions
How Often Should I Remove The Oven Door For Cleaning?
For most users, removing the door twice a year is enough for deep cleaning. If you cook foods that splatter a lot, you may want to clean more often. Regular wiping of the visible surfaces can reduce the need for full removal.
Will Removing The Oven Door Void My Warranty?
In most cases, removing the oven door for cleaning or inspection does not void the warranty—as long as you don’t damage parts or make unauthorized repairs. Always check your warranty document or contact Emeril Lagasse support if unsure.
Can I Replace The Oven Door Glass Myself?
If you are comfortable with tools and follow the steps carefully, you can replace the inner or outer oven glass. However, if the glass is shattered or the frame is bent, it’s safer to have a professional do the work. Glass edges are very sharp and can cause injury.
What Should I Do If The Oven Door Won’t Close After Reattaching?
This usually means the hinges are not seated correctly or the locking mechanism is not fully engaged. Remove the door and try again, making sure both hinge arms are in the correct slots and all locks are in place. Avoid forcing the door closed, as this can cause permanent damage.
Where Can I Find Replacement Parts For My Emeril Lagasse Oven Door?
You can purchase official replacement parts (like hinges, glass, or gaskets) from the Emeril Lagasse website or authorized retailers. For more options and part diagrams, visit Emeril Everyday.
Removing the oven door from your Emeril Lagasse Oven is a straightforward process with the right knowledge and preparation. Take your time, stay organized, and you’ll have a cleaner, safer, and better-performing oven for years to come.