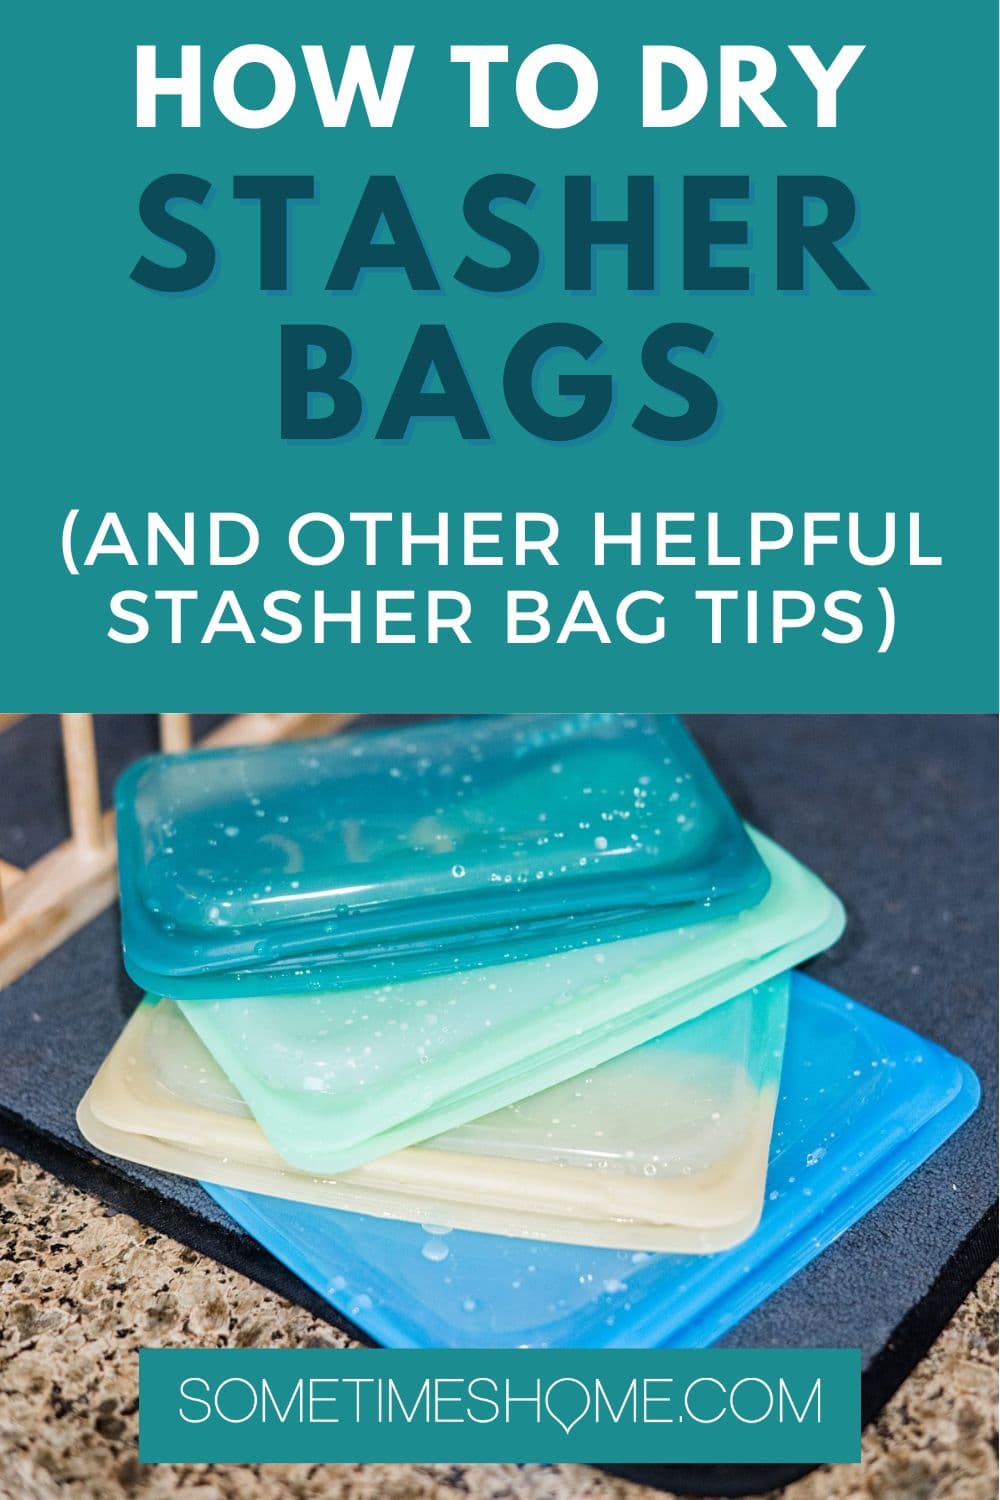
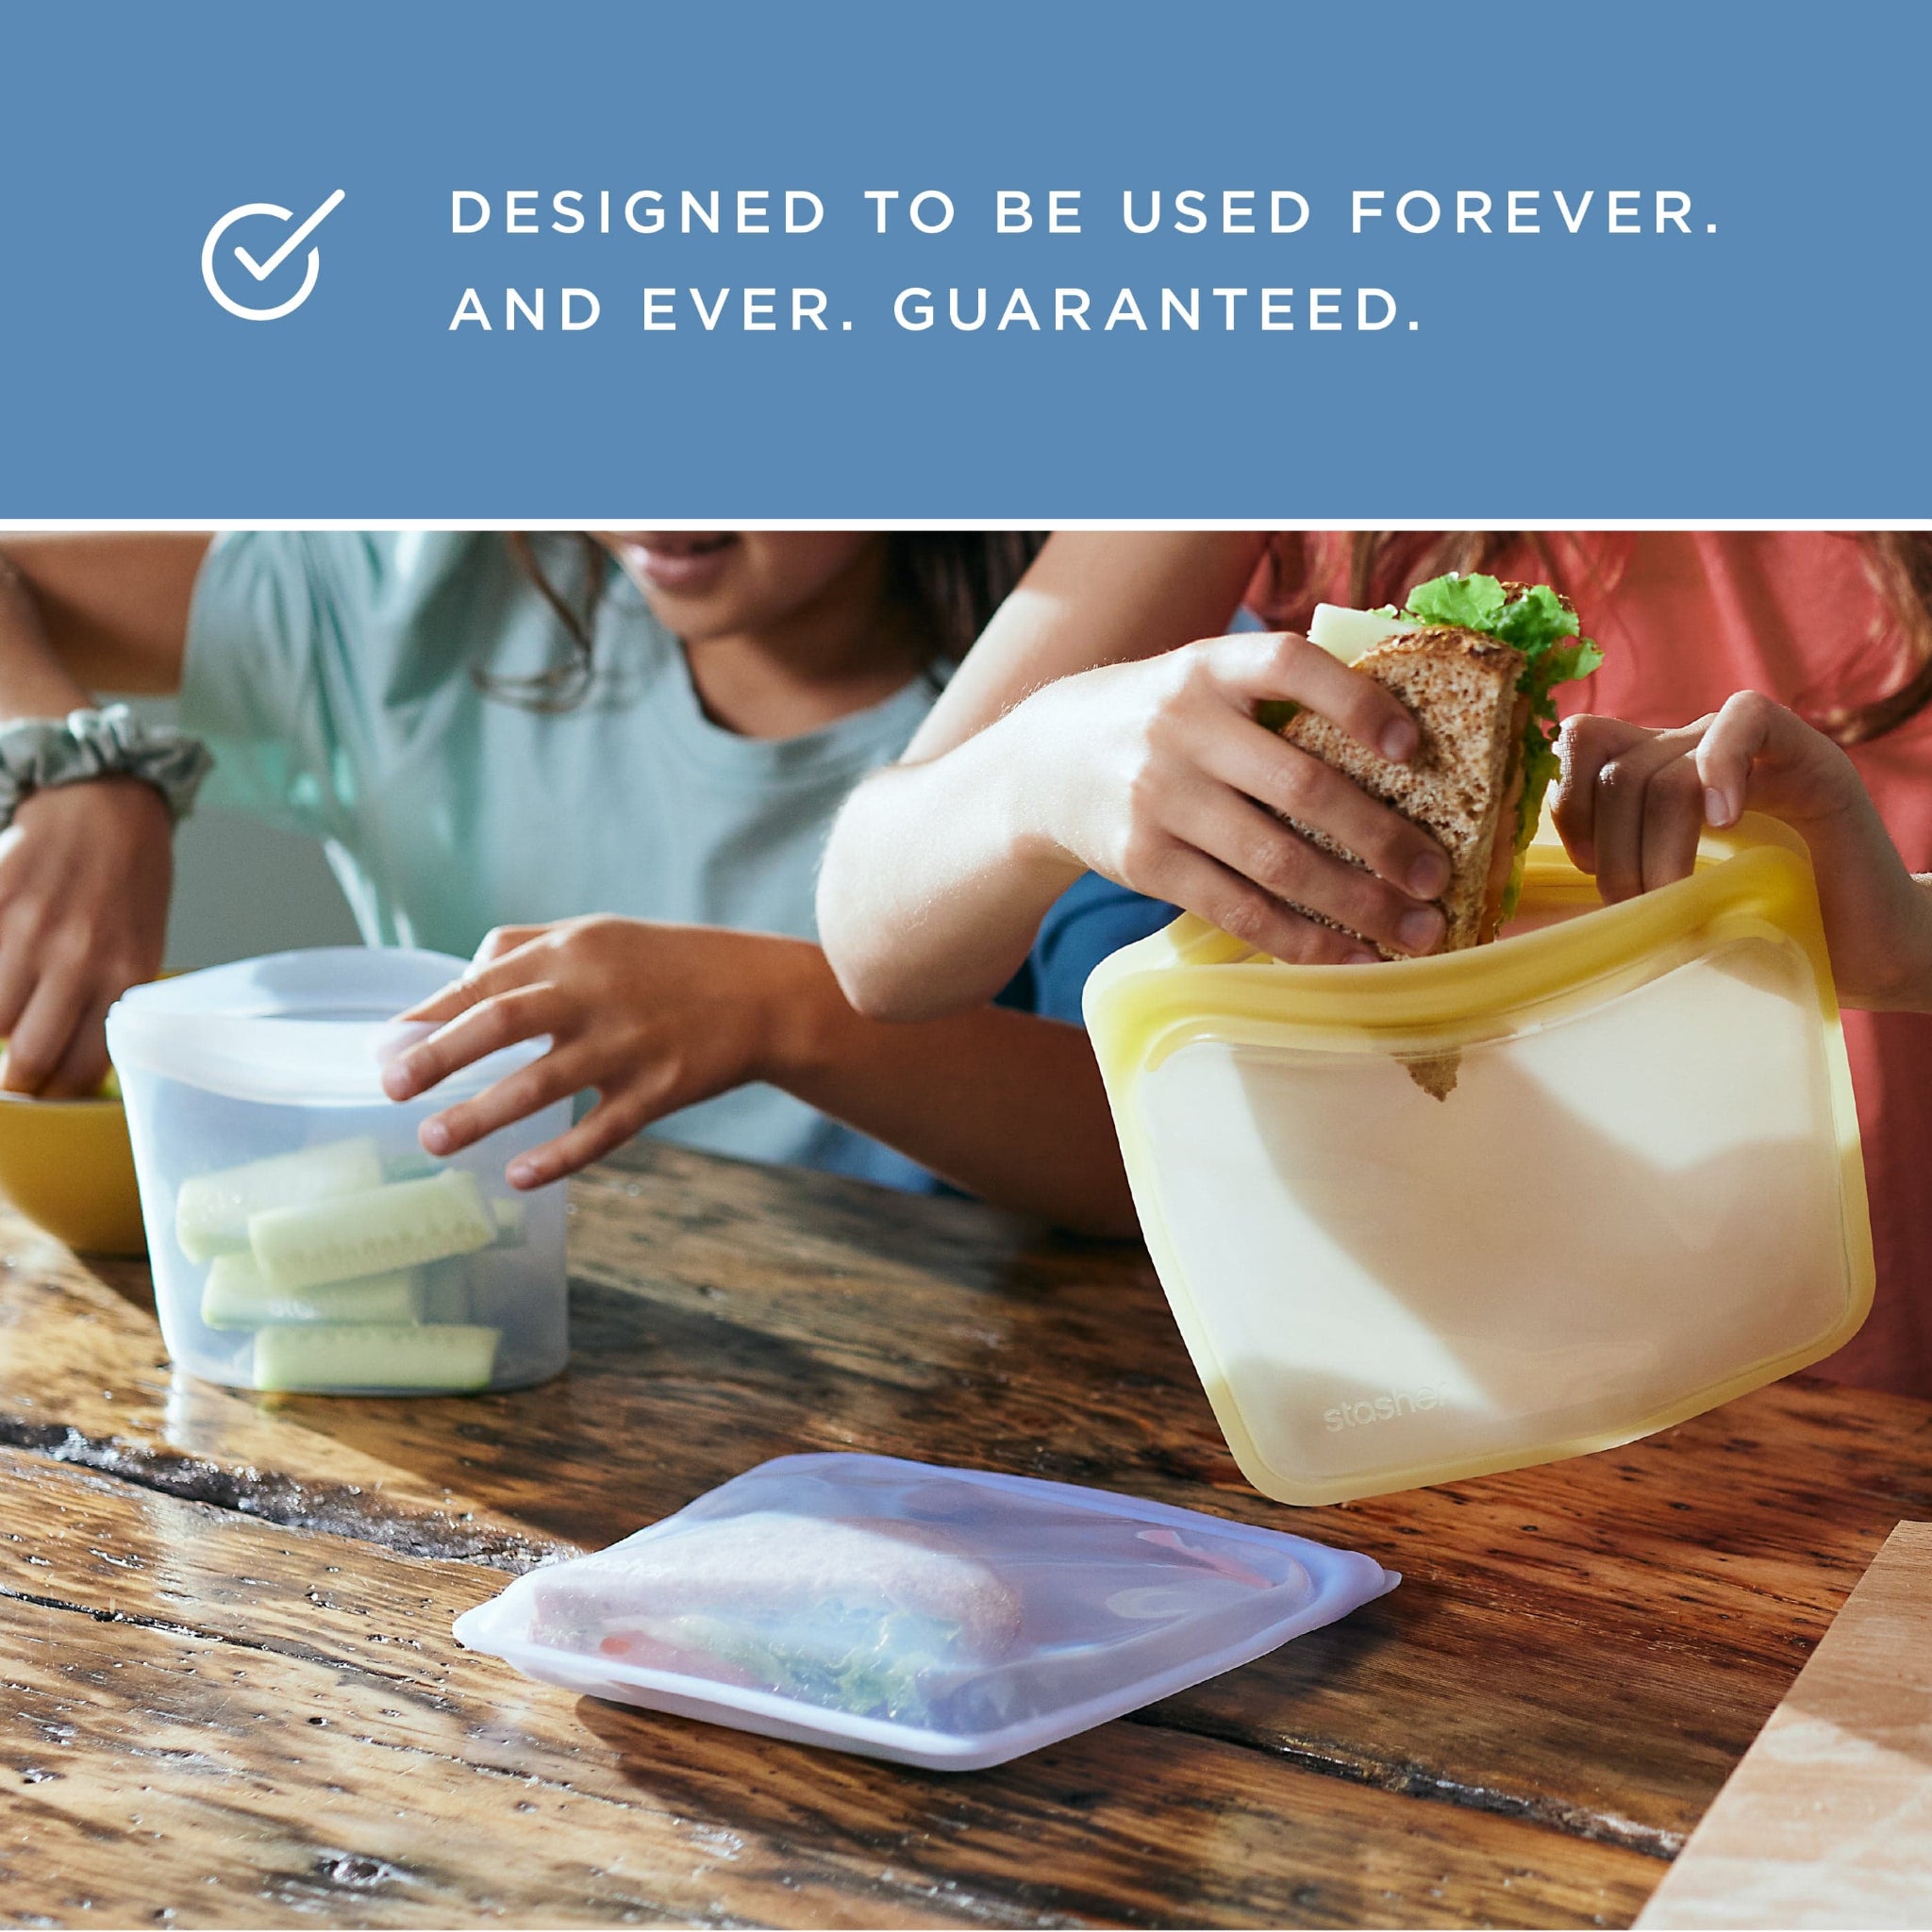
Stasher bags have changed how people store food, organize their kitchens, and reduce plastic waste. Made from platinum silicone, these reusable bags are famous for being safe, durable, and easy to clean. But one thing many new users struggle with is drying these bags completely after washing. If you don’t dry Stasher bags well, moisture can stay trapped inside, leading to odors or even mold. This article explores everything you need to know about how to dry Stasher bags the right way, why proper drying matters, and the best tips and tricks for keeping your bags fresh and ready for reuse.
Why Proper Drying Matters
After you wash your Stasher bags, you might think simply air-drying on the counter is enough. However, because of their flexible shape and thick silicone, Stasher bags can trap water droplets inside—especially near the seams and corners. If you put your bag away while it’s still damp, you risk:
- Bacteria and mold growth inside the bag
- Unpleasant smells that are hard to remove
- Shorter lifespan for your bag due to repeated moisture exposure
These problems can happen even if you clean your bags well. That’s why learning the right drying methods is important for anyone using Stasher bags regularly.
How Stasher Bags Hold Moisture
Understanding the design of Stasher bags helps explain why drying is a bit tricky. They are made from food-grade silicone with a leak-proof seal. The silicone’s flexibility means the bag can fold or stand up, but also that water can hide in corners or behind the seal. Unlike hard-sided containers, there’s no built-in drainage, so water doesn’t naturally run off.
A common mistake is to leave the bag closed while drying. This traps humidity inside, and even a tiny amount of water can lead to problems over time.
The Essential Supplies For Drying Stasher Bags
You don’t need any fancy equipment to dry Stasher bags, but having the right tools can make the job easier and faster. Here’s what most people find helpful:
- Dish rack with prongs or wire arms
- Chopsticks, wooden spoons, or reusable straws (for propping bags open)
- Absorbent dish towels or microfiber cloths
- Bottle or bag drying rack (optional, but useful for frequent users)
- Fan or good air circulation in your kitchen
These items are usually available in most homes, and you can get creative by using what you already have.
Step-by-step: How To Dry Stasher Bags
Drying your Stasher bags properly can become a simple routine. Here are the steps to follow for the best results:
1. Wash Your Bag Thoroughly
Always start with a clean bag. Wash with warm water and mild soap, using a soft brush if needed. Rinse well to remove all soap.
2. Shake Out Excess Water
Hold the bag open and give it a good shake over the sink. This removes most of the water droplets. Pay attention to the corners.
3. Open The Bag Fully
Widen the bag as much as possible. If the bag stays closed or semi-closed, water will not evaporate quickly.
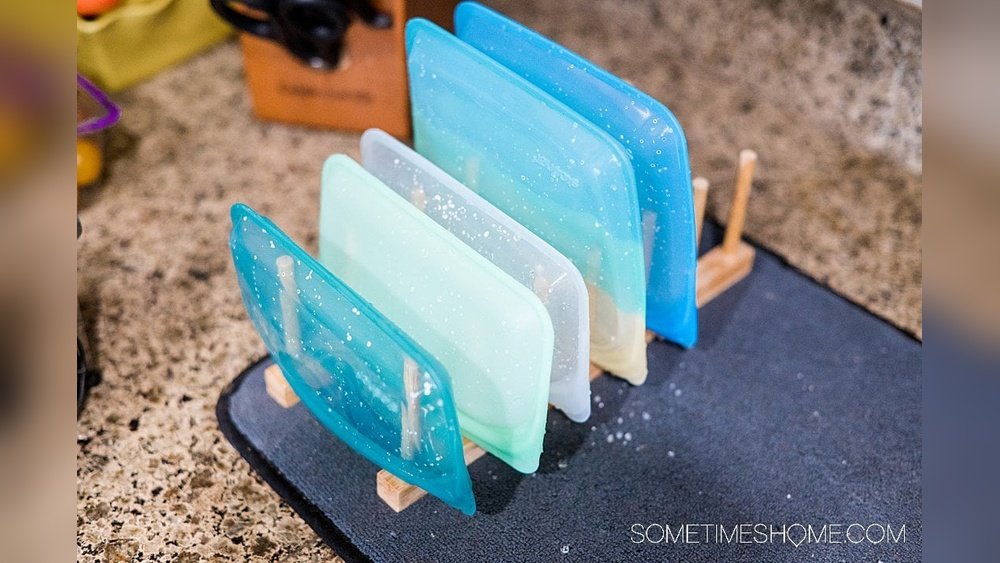
4. Prop Open For Airflow
This is the most important step. Use chopsticks, a wooden spoon, or reusable straws to keep the bag open. Place them inside the bag so air can move freely. You can also drape the bag over a dish rack prong.
5. Place Upside Down Or Hang
Set the bag upside down on a dish rack or hang it from a hook or over a faucet. Gravity helps water drip out, and air can circulate inside.
6. Speed Up With A Towel
If you’re in a hurry, use a dry towel to wipe the inside and outside of the bag. This removes extra moisture but doesn’t replace air drying.
7. Use A Fan Or Sunny Spot
For faster drying, place the bag near a fan or in a sunny spot (but not on direct heat). Sunlight helps evaporate water, but avoid leaving silicone in harsh sun for many hours.
8. Wait Until Completely Dry
Don’t rush. Even if the bag looks dry, feel inside the corners and around the seal. Only store the bag once you’re sure it’s completely dry.
Drying Methods Compared
Some methods work better than others, depending on your kitchen setup and how many bags you use. Here’s a quick comparison of the most popular ways:
| Drying Method | Speed | Effectiveness | Best For |
|---|---|---|---|
| Dish Rack with Prongs | Moderate | High | Everyday use |
| Chopstick/Spoon Prop | Moderate | Very High | One or two bags |
| Bottle Drying Rack | Fast | Very High | Multiple bags |
| Hanging Over Faucet | Slow | Medium | Small kitchens |
| Dish Towel Wipe | Fast | Medium | Quick use |
| Fan or Sunlight | Fast | High | Humid climates |
As you can see, propping the bag open is the most important part, no matter which drying method you use.
Drying Stasher Bags In Different Climates
Where you live affects how quickly your Stasher bags dry. In a dry climate, air drying is easy. But in humid or rainy places, bags can stay damp for hours. Here’s how to adjust:
- In humid climates, use a fan or air conditioning to help with evaporation.
- In dry climates, just leaving the bag open on a rack often works.
- In cold weather, avoid drying bags near heaters or radiators, as high heat can damage silicone over time.
If you notice your bags always feel damp, try drying them in a different room with better airflow.
Tips For Large, Half-gallon, And Stand-up Stasher Bags
Larger Stasher bags, like the stand-up or half-gallon sizes, can be even harder to dry due to their shape and size. Here’s what helps:
- Insert a jar or water bottle inside to keep the bag wide open.
- Dry upside down on a bottle drying rack—these racks are designed for baby bottles but work perfectly for big bags.
- Rotate the bag after a few hours to let air reach the base and corners.
If you use large bags for storing liquids or soups, make sure to pay extra attention to the bottom corners.
How To Dry Stasher Bags After The Dishwasher
Stasher bags are dishwasher safe, which makes cleaning easy. But drying them is still a challenge. After the dishwasher cycle, you’ll usually find water trapped in the bag, especially around the seal.
- Remove bags right away after the cycle ends.
- Open wide and shake out any water.
- Prop open on the dishwasher rack with a spoon or chopstick, and leave the door ajar to air-dry.
- If still damp after an hour, finish drying with a towel or place on a drying rack.
Don’t store bags in the dishwasher for a long time, as dark, closed spaces can lead to odors.
Should You Use A Towel To Dry Stasher Bags?
Many people ask if you can just dry Stasher bags with a towel and skip air drying. The answer is: towel drying is helpful, but not enough. Towels can miss water droplets in corners or around the seal. Also, using a towel alone can sometimes leave lint inside the bag.
For best results:
- Use a lint-free microfiber cloth.
- Wipe the inside, outside, and especially the seal.
- Finish with air drying to remove any last moisture.
This two-step method works well if you need your bag quickly, but don’t rely on towels alone.
How To Store Stasher Bags After Drying
Once your bag is dry, proper storage keeps it clean and fresh for next time.
- Store bags open if possible, to let any hidden moisture escape.
- Keep bags in a cool, dry place—not near stovetops or direct sunlight.
- If you stack bags, alternate the opening direction to help with airflow.
Some people hang their bags on hooks or organize them in a basket. The key is to avoid sealing the bag until you’re sure it’s 100% dry inside.
Common Mistakes When Drying Stasher Bags
Even experienced users sometimes make these errors:
- Storing bags while slightly damp—leads to odor and possible mold
- Leaving bags closed while drying—prevents airflow
- Not checking corners and seams—these areas dry slowly
- Drying near high heat—can warp or damage silicone over time
- Rushing the process—a few extra minutes of air drying makes a big difference
If you ever notice a musty smell or discoloration, deep clean your bag and make sure it dries fully next time.
How To Deep Dry Stasher Bags After Odor Or Mold
If you’ve stored a bag while damp and notice a strange smell, or even see mold, don’t panic. You can usually rescue your Stasher bag with a few steps:
- Soak in a vinegar solution: Mix 1 part white vinegar with 3 parts water. Let the bag soak for 30-60 minutes.
- Scrub with baking soda: Sprinkle a bit inside and scrub gently with a soft brush.
- Wash again with soap and hot water.
- Dry using the steps above, making sure the bag is fully open and air can circulate.
Repeat the vinegar soak if the smell remains. Most Stasher bags survive this process and come out fresh.
How To Dry Stasher Bags On The Go
If you use Stasher bags at work, on picnics, or while traveling, you might not have access to your usual drying tools. Here’s how to dry them away from home:
- Shake out as much water as possible
- Turn the bag inside out, if safe (Stasher says this is okay, but be gentle)
- Prop open with available items: A pen, straw, or even a rolled napkin
- Leave in a ventilated area—on your car dashboard or near a window works well
Remember, even 10 minutes of open-air drying is better than sealing a damp bag.
Cleaning And Drying Stasher Bags For Long-term Storage
If you plan to store your Stasher bags for weeks or months, take a few extra steps to keep them fresh:
- Clean and dry completely as described above.
- Store open or with a paper towel inside to absorb any leftover moisture.
- Check every few weeks for any smells or changes in color.
Never store a Stasher bag in a sealed, airtight container unless you’re 100% sure it’s dry.

Credit: www.stasherbag.com
How Often Should You Clean And Dry Stasher Bags?
Regular cleaning and drying keep your bags in great condition. But how often is enough?
- After every use: Wash and dry if you stored food, especially anything sticky or strong-smelling.
- After dry goods: You can sometimes just shake out crumbs and air out the bag.
- Deep clean and dry: Once a month, or after storing something that leaves a strong odor or stain.
Stasher bags are designed to last for years, but regular care makes a big difference.
Comparing Stasher Bags To Other Reusable Bags
You might wonder how Stasher bags compare to other types, like plastic zip bags or cloth snack bags, when it comes to drying. Here’s a quick look:
| Bag Type | Drying Ease | Durability | Odor Resistance |
|---|---|---|---|
| Stasher (Silicone) | Medium | Very High | High |
| Plastic Zip Bags | Easy | Low (single use) | Poor |
| Cloth Snack Bags | Easy | Medium | Medium |
| Waxed Canvas Bags | Medium | High | Medium |
Stasher bags need a little more effort to dry than cloth or disposable bags, but they last much longer and are better at resisting odors.
Credit: sometimeshome.com
Extra Tips For Keeping Stasher Bags Fresh
Here are a few more ideas to help you care for your bags and make drying easier:
- Label your bags with a dry-erase marker to remember what was inside (remove before washing)
- Rotate which bag you use so each one gets a break to dry fully
- Keep a drying rack near your sink for easy access
- Try silicone-safe cleaning tabs for deep cleaning, if needed
Small changes in your routine can make drying and caring for your Stasher bags simple and stress-free.
Eco-friendly Benefits Of Proper Drying
When you dry and care for your Stasher bags, you’re not just saving money—you’re also helping the environment. Each silicone bag can replace hundreds of single-use plastic bags. But if you don’t dry them well, you might throw one away early due to mold or odors, losing much of the eco-friendly benefit.
A study by the Environmental Protection Agency found that reducing single-use plastics in the kitchen can cut household waste by up to 40%. By caring for your Stasher bags, you make sure they last as long as possible, multiplying their positive impact.
Credit: www.stasherbag.com
When To Replace A Stasher Bag
Even with the best care, every reusable item has a lifespan. Here’s when to consider replacing your bag:
- If the silicone develops cracks or tears
- If stains or odors will not come out after deep cleaning
- If the seal no longer works
Most bags last for years, but heavy use will eventually wear them out. Don’t try to fix a broken seal with glue or tape—it’s safer to recycle and buy a new one.
Where To Find More Tips And Info
If you want to learn more about cleaning, drying, or using Stasher bags for different foods, the official Stasher website has guides, tips, and videos. You can also find user stories and new product news.
For a deeper look at why proper drying prevents mold and bacteria, you might check this resource: EPA: Reducing Waste.
Frequently Asked Questions
How Long Does It Take For A Stasher Bag To Dry?
Drying time depends on climate and method. With good airflow and the bag propped open, most Stasher bags dry in 2 to 4 hours. In humid weather, it may take longer. Using a fan or sunlight can speed things up.
Can I Put My Stasher Bag In The Dryer?
No, you should never use a clothes dryer to dry Stasher bags. High heat can warp or damage the silicone. Air drying is always safer and better for the bag’s lifespan.
Is It Safe To Turn A Stasher Bag Inside Out To Dry?
Yes, Stasher says their bags can be turned inside out for cleaning and drying. Do this gently to avoid stressing the seams. For large bags, be extra careful not to stretch or tear the silicone.
What Should I Do If My Stasher Bag Smells Bad Even After Drying?
Try a deep clean with vinegar and baking soda. Soak in a vinegar-water solution, scrub with baking soda, and wash again. Make sure to dry fully. If the smell stays, it may be time to replace the bag.
Can I Use My Stasher Bag If It’s Still Damp Inside?
It’s best to avoid using a damp bag for food storage, especially for dry goods or snacks. Moisture encourages bacteria and mold. Always make sure your bag is completely dry before use.
Caring for Stasher bags takes a little extra time, but the rewards are worth it. With the right drying technique, you’ll keep your bags clean, safe, and ready for years of eco-friendly use. By adding a few simple steps to your kitchen routine, you make sure every Stasher bag works at its best—helping you save money, reduce waste, and enjoy fresh food every day.