Drying herbs at home is a satisfying skill, especially when you want to preserve their best qualities. The mullein plant is prized for its soft leaves and has been used in traditional remedies for centuries. Many people want to dry mullein leaves for teas, tinctures, or homemade herbal blends. While air drying is common, using your oven is faster and helps save the leaves’ color and flavor. But oven drying can be tricky if you don’t know what to watch for. This guide will walk you through every step of how to dry mullein leaves in the oven, explain why the method works, and help you get perfect results every time—even if you’re new to drying herbs.
Understanding Mullein And Its Uses
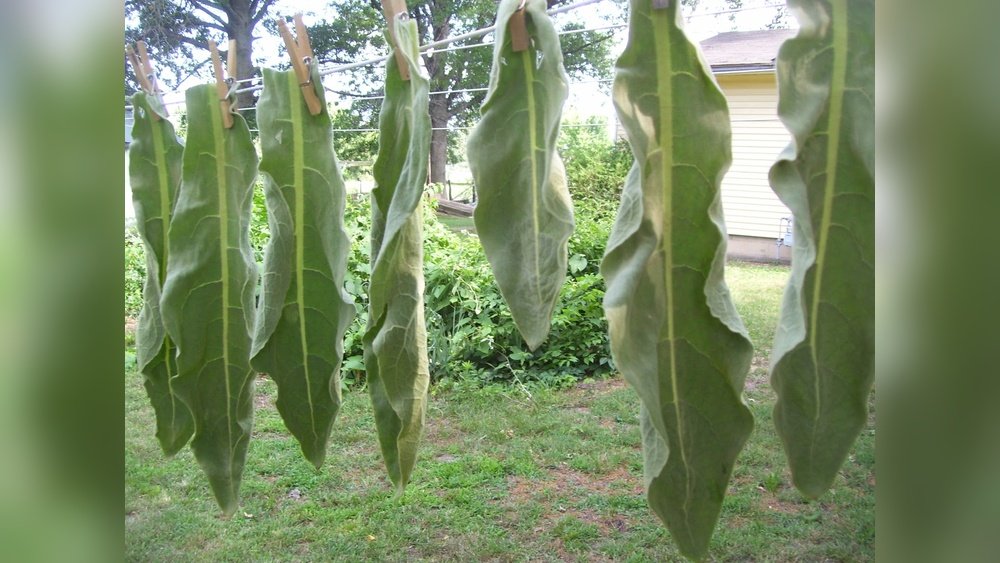
Mullein (Verbascum thapsus) is a tall, fuzzy-leaved plant that grows wild in many places. Its leaves are large, soft, and covered in fine hairs. People have used mullein leaves for coughs, colds, and other respiratory issues. Some use them to make tea, while others add them to homemade salves or smoke blends. The key is to dry the leaves well so they don’t go moldy or lose their properties.
Fresh mullein leaves contain a lot of water. If you try to store them without drying, they will quickly spoil. Drying makes them last for months, sometimes up to a year, if stored properly. Oven drying is a good option when you need dry leaves fast or live in a humid place where air drying is slow or risky.
Why Choose Oven Drying Over Air Drying?
Many people hang herbs to dry in a dark, airy place. This works well for some plants but can be slow for thick, moist leaves like mullein. Here are a few reasons to consider the oven method:
- Speed: Oven drying takes hours, not days or weeks.
- Mold prevention: Quick drying reduces the risk of mold.
- Controlled environment: Weather and humidity don’t affect oven drying.
- Consistent results: You can check and control the dryness level.
However, oven drying needs careful attention. Too much heat can burn the leaves or destroy their flavor and aroma. The right temperature and technique make all the difference.
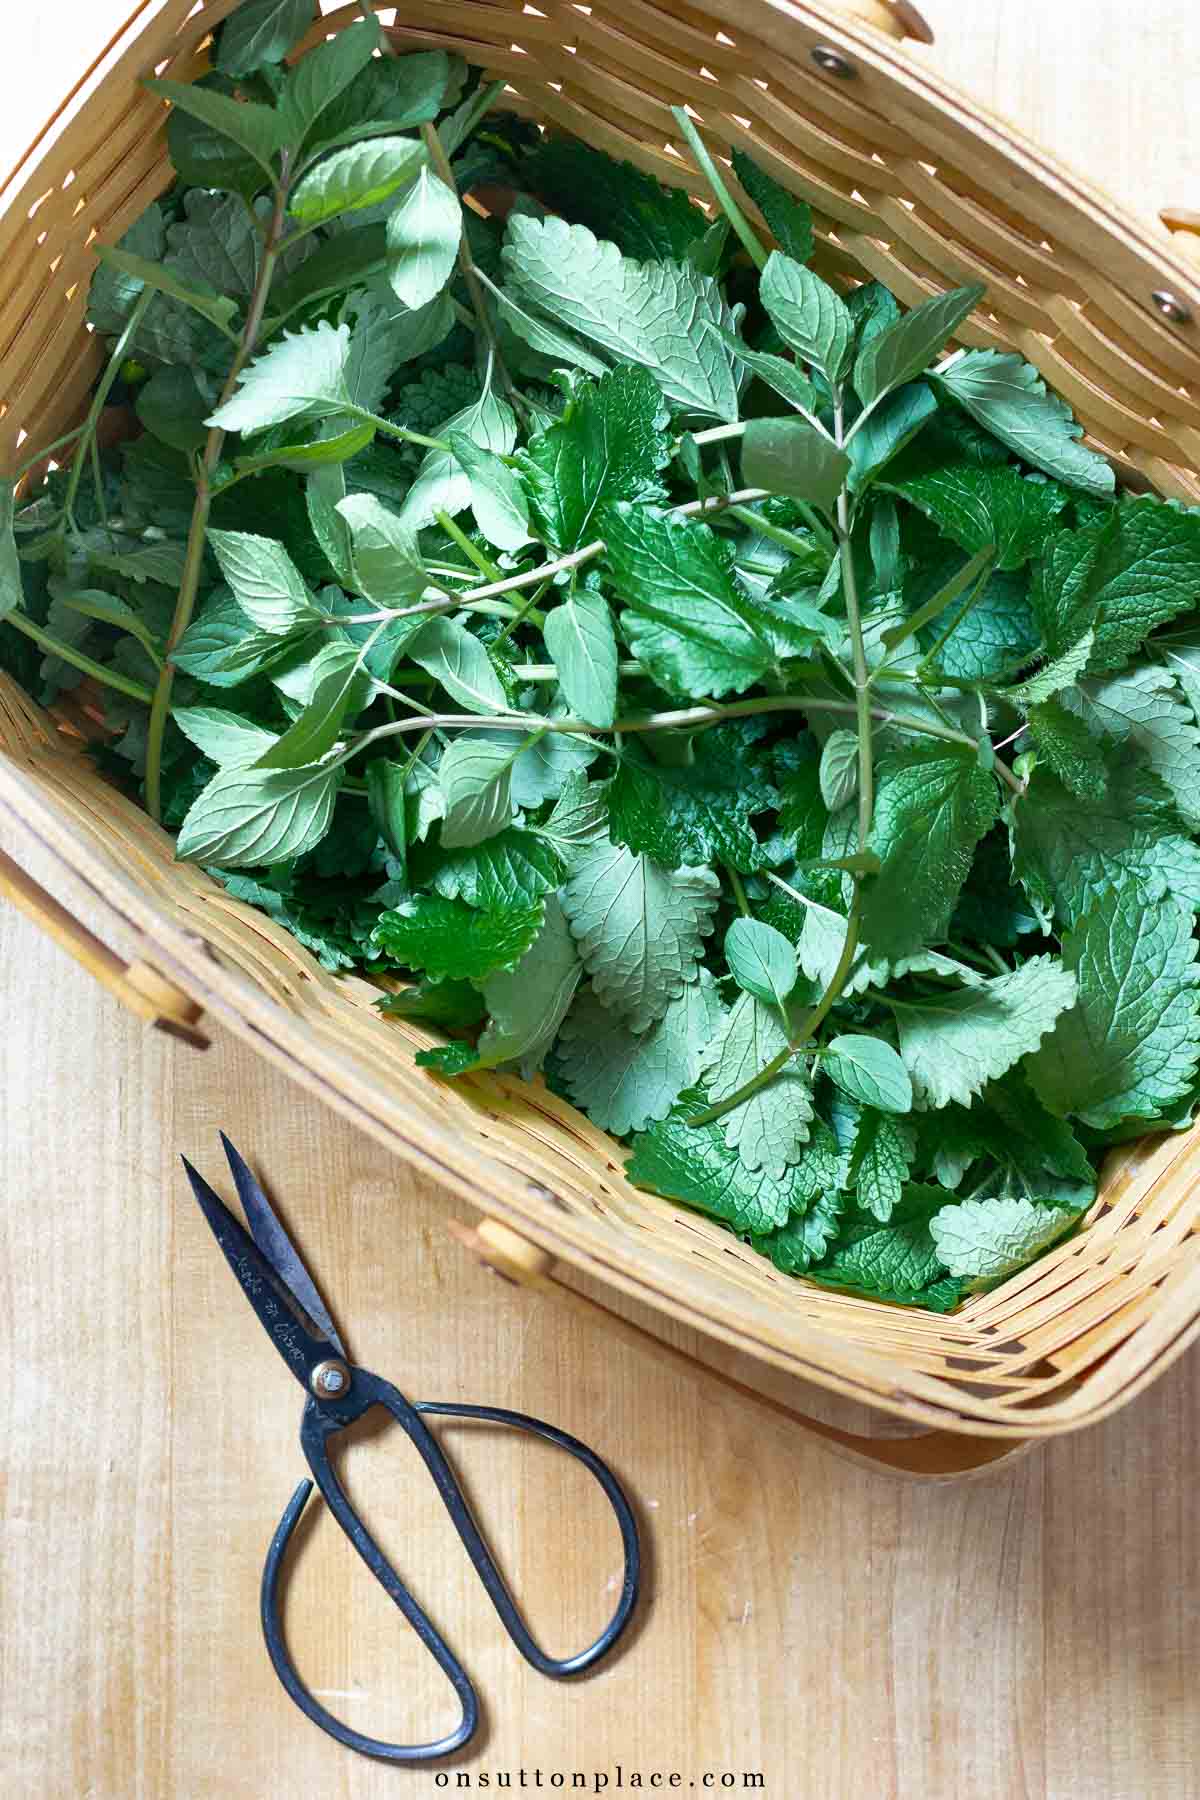
Harvesting And Preparing Mullein Leaves
Before you start drying, you need to gather and prepare the leaves. Good preparation makes drying easier and results better.
1. When To Harvest Mullein Leaves
The best time to pick mullein leaves is in the morning after the dew has dried but before the sun is strong. The plant is full of moisture and oils at this time. Young, healthy leaves are the best choice. Avoid leaves with spots, holes, or signs of disease.
2. Tools And Supplies
You will need:
- Sharp scissors or pruning shears
- A clean basket or bag
- A soft brush or cloth
- Baking trays
- Parchment paper
- Oven mitts
- A spatula (optional)
3. Cleaning And Preparing The Leaves
Mullein leaves have tiny hairs that trap dust and bugs. Cleaning is important but gentle handling is needed.
- Inspect each leaf: Remove any insects or debris by hand.
- Brush or wipe: Use a soft brush or clean cloth to gently wipe both sides.
- Avoid washing with water: Water can make leaves soggy and harder to dry. If the leaves are very dirty, rinse quickly and pat dry immediately.
- Sort by size: Group leaves by thickness. Thicker leaves take longer to dry.
How To Dry Mullein Leaves In The Oven: Step-by-step
Drying mullein in the oven is simple, but details matter. Follow these steps for best results.
1. Preheat Your Oven
Set your oven to lowest temperature—usually 170°F (77°C) or lower. Some ovens go as low as 150°F (65°C). If your oven can go lower, that’s even better. High heat will cook or burn the leaves instead of drying them.
2. Prepare The Baking Trays
Line your trays with parchment paper. This prevents sticking and helps with even drying. Arrange the mullein leaves in a single layer. Do not overlap them. Overlapping causes uneven drying and can lead to moldy spots.
If you have many leaves, use more trays or dry in batches.
3. Place Trays In The Oven
Put the trays on the middle rack. If using more than one tray, leave space between racks for air flow. You can prop the oven door open slightly with a wooden spoon to help moisture escape. This is an old trick that works well with herbs.
4. Set A Timer
Drying usually takes 1.5 to 3 hours, depending on leaf thickness and your oven’s temperature. Set a timer for 1 hour to check the progress. It’s better to check often than to risk burning the leaves.
5. Check And Turn The Leaves
Every 30 minutes, use oven mitts to slide out the tray and check the leaves. Turn them over gently using a spatula or your fingers. Even turning helps dry both sides.
Look for these signs:
- Leaves should feel dry and crisp, not soft or leathery.
- Color should stay light green, not brown or black.
- Edges may curl a little but should not be burnt.
6. Remove And Cool
Once fully dry, take the trays out and let the leaves cool at room temperature. This step is important. Leaves can feel a little soft when hot but crisp up as they cool.
7. Test For Complete Dryness
Before storing, test a few leaves by breaking them in half. A dried leaf should snap cleanly. If it bends or feels damp, return it to the oven for another 10-15 minutes and check again.
8. Store The Dried Leaves
Place the cooled, dried mullein leaves in airtight containers. Glass jars with tight lids work best. Label with the date. Store in a cool, dark place away from direct sunlight. Properly dried and stored mullein can last up to 12 months.
Credit: www.onsuttonplace.com
Comparing Drying Methods
Many people wonder how oven drying compares with other methods. Here’s a quick look at the main differences:
| Method | Time Needed | Risk of Mold | Flavor & Color Retention | Difficulty |
|---|---|---|---|---|
| Oven Drying | 1.5-3 hours | Very Low | Good | Medium |
| Air Drying | 5-14 days | Medium-High | Excellent | Easy |
| Dehydrator | 2-4 hours | Low | Excellent | Easy |
| Microwave | 2-5 minutes | Very Low | Poor | Hard |
Oven drying is a practical choice if you don’t own a dehydrator and want faster results than air drying.
Common Mistakes To Avoid When Oven Drying Mullein
Even experienced herbalists can make mistakes when drying mullein. Here are the most frequent errors and how to avoid them:
- Using high heat: Temperatures above 180°F (82°C) will cook, not dry, the leaves. This destroys flavor and medicinal properties.
- Overcrowding trays: Leaves need space for air to move around. Overlapping causes uneven drying.
- Forgetting to turn leaves: Turning helps dry both sides evenly and prevents sticking.
- Not checking often: Leaves can go from perfect to burnt in 10 minutes, especially in the last stage.
- Storing before fully dry: Even slightly moist leaves can grow mold in storage.
- Storing in plastic bags: Plastic can trap moisture and ruin your harvest. Use glass or metal containers.
A little extra care prevents wasted time and spoiled herbs.
Credit: www.onsuttonplace.com
The Science Behind Drying Herbs
Drying is not just about removing water. When you dry mullein, you want to keep its volatile oils and active compounds. These are sensitive to heat and light. The right oven temperature—usually between 120°F and 170°F (49°C to 77°C)—evaporates water slowly without damaging these delicate parts.
If the temperature is too high, the oils that give mullein its scent and benefits can break down. If the temperature is too low or drying is too slow, bacteria and mold can grow. That’s why a controlled oven setting is best.
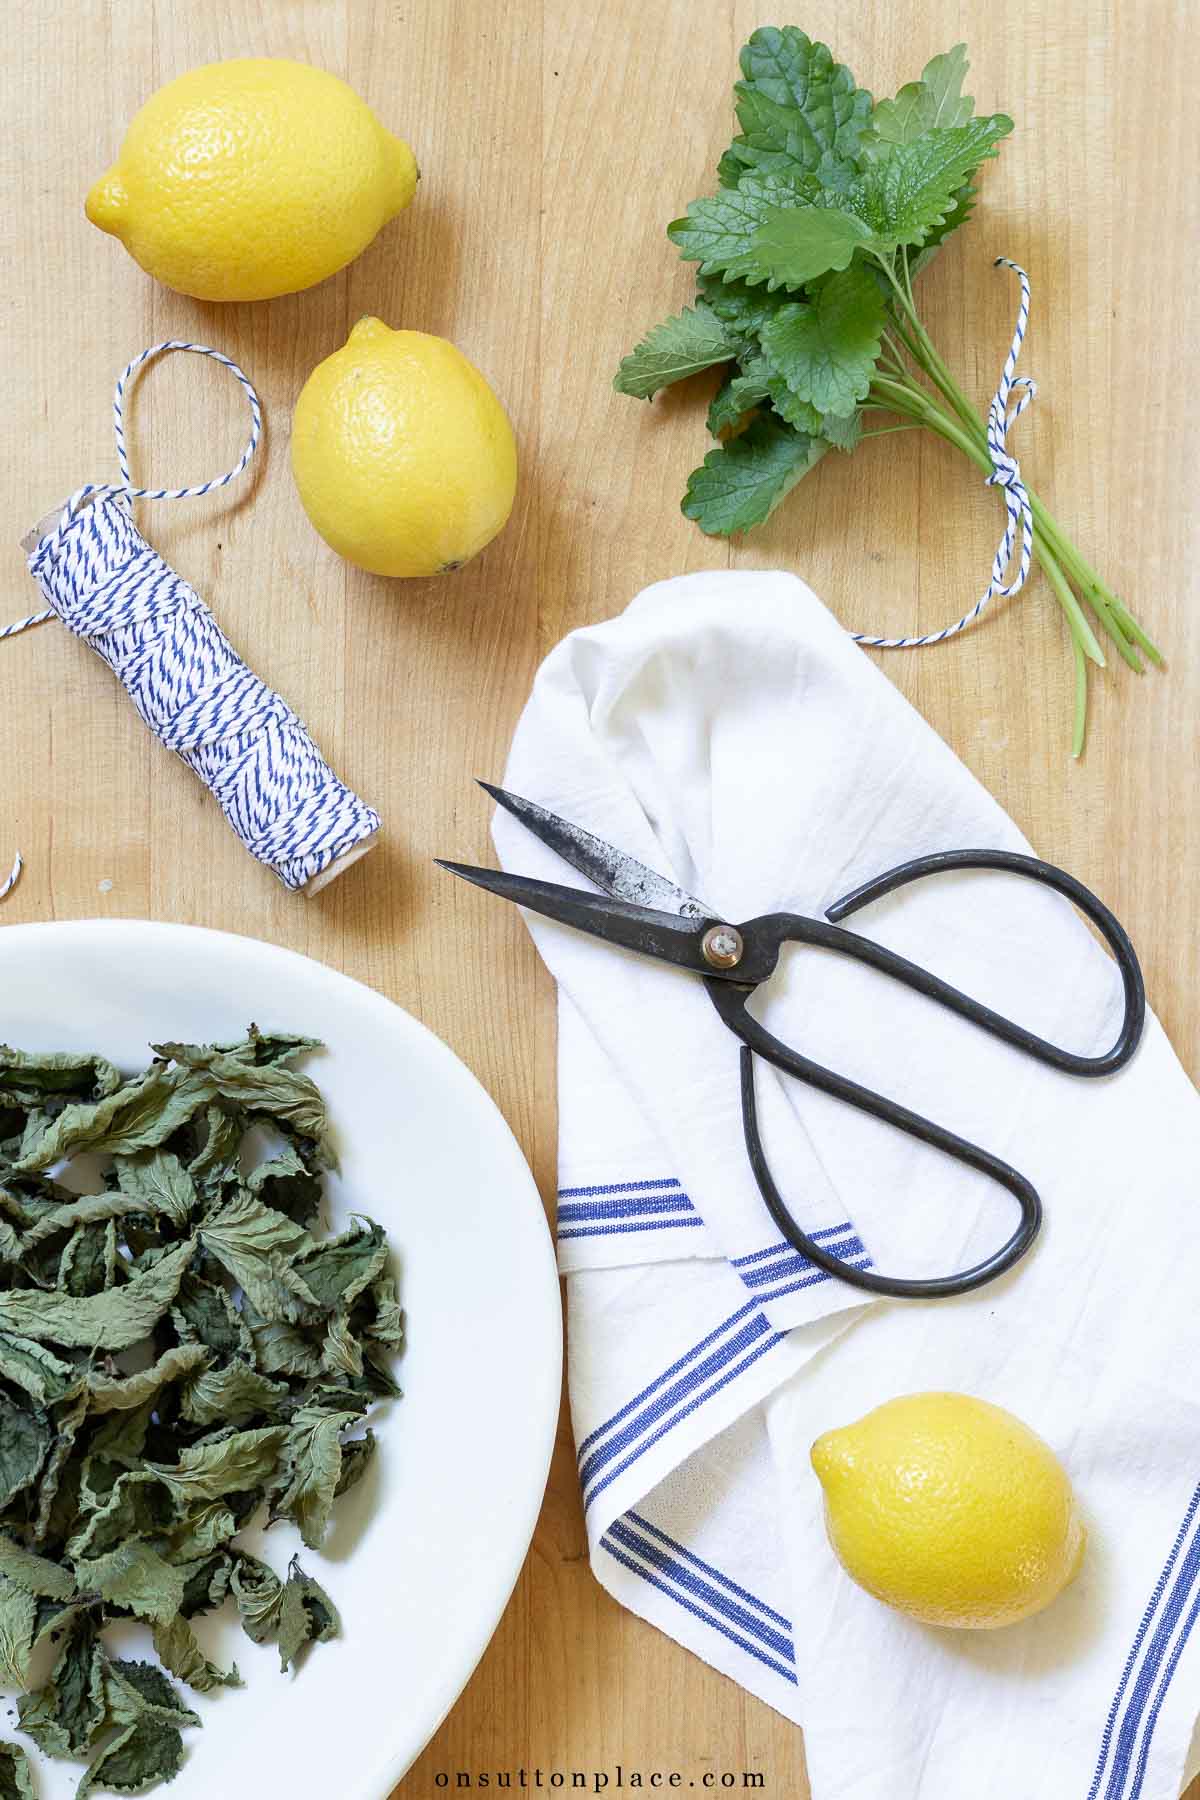
How To Use Dried Mullein Leaves
After drying, you can use mullein leaves in several ways:
- Herbal tea: Steep 1-2 teaspoons of dried leaves in hot water for 10 minutes. Strain before drinking.
- Tinctures: Soak dried leaves in alcohol to extract their properties.
- Smoke blends: Some people add mullein to homemade smoking mixtures.
- Salves and oils: Infuse dried leaves in oil for homemade ointments.
- Poultices: Crush dried leaves and apply with water to the skin.
Dried mullein leaves are versatile and easy to use once prepared.
Practical Tips For Best Results
Drying mullein gets easier with practice. Here are some tips for consistent success:
- Monitor oven temperature with an oven thermometer. Ovens often run hotter or cooler than their settings.
- Dry on a cool, dry day. Humid weather slows drying, even in the oven.
- Label your jars with the date and place of harvest. Older leaves lose strength over time.
- Store away from strong smells. Mullein is absorbent and can pick up odors from nearby spices or cleaning products.
- Don’t use aluminum foil. It can react with plant acids. Stick with parchment paper or a silicone mat.
Troubleshooting Problems
Sometimes things don’t go as planned. Here’s how to fix common issues:
Leaves Are Soft After Drying
- Problem: Not enough time in the oven, or oven too cool.
- Solution: Return to oven in 10-minute bursts. Check often.
Leaves Turn Brown Or Black
- Problem: Oven temperature too high, or dried too long.
- Solution: Lower the temperature and check every 15 minutes.
Mold Appears In Storage
- Problem: Leaves were not fully dry before storing, or stored in a damp place.
- Solution: Discard moldy leaves. Dry new batches longer and store in a cool, dry spot.
Loss Of Aroma
- Problem: Over-drying or high heat destroys essential oils.
- Solution: Use the lowest possible temperature and check frequently.
Storing Dried Mullein For Maximum Shelf Life
Proper storage is just as important as drying. Here are a few points to remember:
- Use airtight glass jars. Mason jars or recycled glass jars with tight lids are ideal.
- Avoid plastic. Plastic can trap moisture and allow chemicals to leach into herbs.
- Keep away from light and heat. Store jars in a cupboard, not on a sunny shelf.
- Check monthly. Open jars every few weeks to check for moisture or off smells.
If stored well, mullein leaves keep their quality for up to a year.
Key Differences: Mullein Vs. Other Herbs
Some people ask why drying mullein is different from drying other herbs like mint or basil. Here’s a quick comparison:
| Herb | Leaf Texture | Optimal Drying Temp | Drying Time (Oven) |
|---|---|---|---|
| Mullein | Thick, fuzzy | 120-170°F | 1.5-3 hours |
| Mint | Thin, smooth | 100-120°F | 1-2 hours |
| Basil | Soft, oily | 100-120°F | 1-2 hours |
| Sage | Velvety, thick | 120-150°F | 1-2 hours |
Mullein’s thick, hairy leaves need a bit more time and care to dry evenly. That’s why oven drying is often preferred.

Credit: www.youtube.com
Mullein Harvesting: Safety And Sustainability
Always harvest mullein responsibly. Only pick from areas that are free of pesticides and pollution—avoid roadsides or sprayed fields. Take only what you need, leaving enough for the plant to continue growing and for wildlife.
Wear gloves if you have sensitive skin; mullein’s tiny hairs can cause irritation in some people. Wash your hands well after handling.
Non-obvious Insights For Drying Mullein In The Oven
- Let leaves “wilt” before oven drying. If you pick very fresh mullein, let the leaves sit in a single layer for 1-2 hours indoors. This removes some surface moisture and speeds up oven drying.
- Layer thickness affects drying time. Larger, thicker leaves may need up to 3 hours, while small, thin ones dry in 1.5 hours. Group leaves by size on different trays for best results.
- Check oven spots. Heat can be uneven in some ovens. Rotate trays between racks halfway through.
- Don’t crowd your workspace. Give yourself enough room to lay out and handle leaves gently.
- Reuse parchment paper. One sheet can last for several batches, making the process more eco-friendly.
Creative Ways To Use Dried Mullein Leaves
Beyond tea and tinctures, dried mullein can be used in unique ways:
- Bath soaks: Add a handful of dried leaves to a hot bath for a soothing experience.
- Fire starters: Mullein leaves catch fire easily and were used by pioneers to start fires.
- Herbal compresses: Soak dried leaves in hot water, wrap in cloth, and apply to sore muscles.
Oven Drying Mullein: Cost And Energy Use
Oven drying uses more energy than air drying but is much faster. Here’s an estimate:
- A typical electric oven uses 2-3 kWh for 2 hours of drying at low heat.
- The cost depends on local electricity rates. At $0.13/kWh, a batch costs about $0.26 to $0.39.
- Compared to buying dried mullein (often $20+ per pound), home drying is much cheaper.
You can dry several trays at once to save energy.
Cleaning Up After Drying
Once you finish, let your oven cool with the door open for a few minutes. Remove parchment paper and check for any leaf bits. Wipe trays with a dry cloth; don’t wash unless sticky residue is present.
If your oven smells like herbs, a quick wipe with diluted vinegar will remove scents before your next baking session.
Environmental Impact Of Oven Drying
While oven drying uses electricity, it avoids plastic packaging and transport emissions from store-bought herbs. You can further reduce impact by:
- Drying full oven loads at once.
- Using renewable energy sources if available.
- Composting any leftover stems or unusable leaves.
Resources For Learning More
If you want to dive deeper into mullein’s history and medicinal uses, the Wikipedia entry on mullein is a good starting point. Many herbalists also share tips and recipes online.
Frequently Asked Questions
How Do I Know When Mullein Leaves Are Fully Dry?
Dry leaves will feel crisp and break easily. They should not feel soft, bendy, or damp. Try snapping a thick leaf in half. If it breaks cleanly, it’s dry. If it bends or feels rubbery, dry for another 10-15 minutes.
Can I Dry Mullein Leaves In The Sun?
While sun drying is possible, it’s not ideal. The sun can bleach out color and reduce the leaves’ benefits. It also increases the risk of dust and insects. Oven drying is safer and more reliable for mullein.
Is Oven-dried Mullein As Effective As Air-dried?
Yes, if done at low temperatures and with care. Oven drying preserves most of the active compounds in mullein. The key is to avoid overheating, which can damage delicate parts of the leaf.
How Long Can I Store Dried Mullein Leaves?
Properly dried and stored in a sealed glass jar, mullein leaves last up to 12 months. After that, they may lose strength and flavor but are usually still safe to use if no mold or strange odors appear.
What Is The Best Way To Store Dried Mullein?
Use airtight glass jars, kept in a cool, dark place. Avoid plastic, which can trap moisture, and don’t store near strong-smelling foods or products. Label jars with the date to track freshness.
Drying mullein leaves in the oven is a rewarding and practical way to preserve this useful herb. With attention to detail and a little patience, you can enjoy home-dried mullein for months to come—whether in teas, remedies, or creative herbal blends.