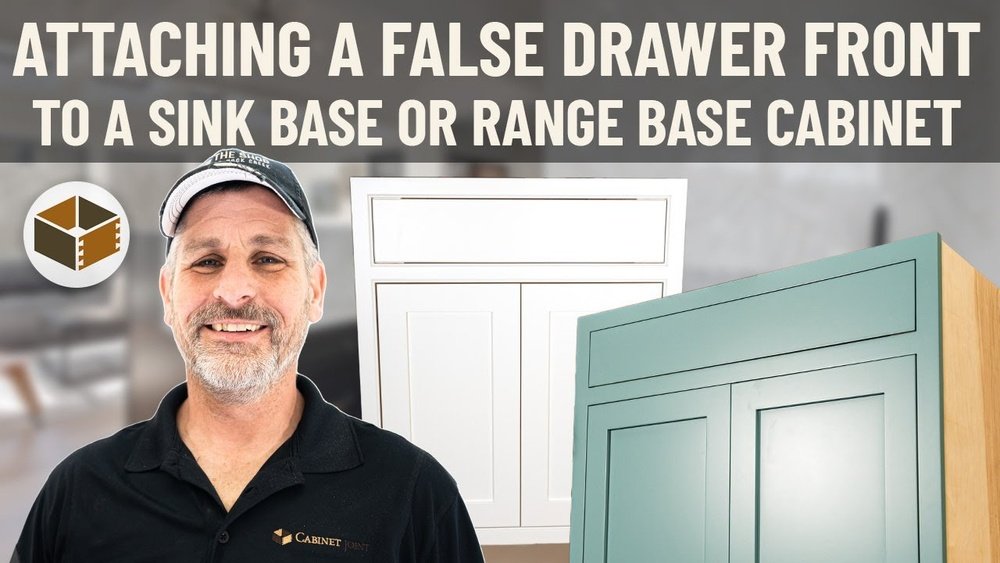
Attaching a false drawer front is one of those small woodworking tasks that can make a big difference in the look and function of cabinets, dressers, or kitchen units. Whether you are building new furniture or updating old pieces, learning how to properly fit and secure a false drawer front will help your project look polished and professional.
Many beginners struggle with alignment, fixing methods, and handling hardware. But with the right steps, clear explanations, and a few pro tips, anyone can master this task.
This guide is designed to walk you through every detail of the process. You’ll learn how to measure and prepare, choose the best fasteners, align everything perfectly, and finish with hardware installation. We’ll also explore the common mistakes to avoid and include practical tips that save time and frustration.
By the end, you’ll have the confidence to attach a false drawer front like a skilled craftsperson.
What Is A False Drawer Front?
A false drawer front is a piece of wood or panel that looks like a drawer but does not open. It’s often used to cover gaps in cabinets, especially where a real drawer cannot fit due to plumbing, structural elements, or design choices. You’ll see them under sinks, in bathroom vanities, or on furniture pieces where symmetry is important.
Unlike real drawers, these fronts are fixed directly to the cabinet structure. Their main job is to keep the furniture looking uniform and attractive while hiding empty spaces or hardware.
Why Attach A False Drawer Front?
Before starting, it’s important to know why you might need a false drawer front. Understanding the purpose helps you plan the work better.
- Visual Balance: False fronts make cabinets look complete by covering awkward gaps.
- Symmetry: They help match other drawers, making the design look even and neat.
- Hiding Gaps or Plumbing: Often used under sinks or where pipes block real drawers.
- Protecting Cabinet Interior: Keeps dust, debris, or pests out of unused spaces.
- Supporting Hardware: Some people use false fronts to mount handles for a consistent look.
Tools And Materials You’ll Need
Having the right tools will make attaching a false drawer front faster and easier. Here is a complete list:
- False drawer front panel (pre-cut to size)
- Screws (usually 1” to 1-1/4” for most panels)
- Drill (cordless or corded)
- Drill bits (for pilot holes, 1/8” is common)
- Screwdriver (manual or powered)
- Wood glue (optional for extra hold)
- Clamps (bar or spring clamps)
- Measuring tape
- Pencil or marking tool
- Level (small torpedo level works best)
- Painter’s tape (for positioning)
- Shims (thin wooden or plastic pieces for spacing)
- Sandpaper (medium and fine grit)
- Finish nails or brad nailer (optional, for temporary hold)
- Protective eyewear and work gloves
Pro Tip: Gather everything before starting. Stopping mid-way to find a tool can lead to mistakes or misalignment.
Measuring And Preparing The False Front
Good preparation is key to a professional result. Here’s how to get your false drawer front ready:
1. Measure The Opening
- Measure the width and height of the opening where the false front will go.
- If matching other drawers, check their size for consistency.
- Leave a small gap (1/16” to 1/8”) around the panel for easy fitting and to allow for wood movement.
2. Cut And Sand The Panel
- Cut your panel to the right size. Use a table saw or circular saw for straight edges.
- Sand all edges and surfaces with medium then fine grit sandpaper. This prevents splinters and helps paint or finish look smooth.
3. Test Fit
- Place the panel in the opening without fasteners.
- Adjust with sanding or trimming if it’s too tight.
- Check for even gaps on all sides.
4. Mark Hardware Locations
- If you’ll add handles or knobs, mark the spots now.
- Drill small pilot holes to avoid splitting the wood later.
Non-obvious insight: Always check the panel in different lighting before attaching. Shadows can reveal uneven gaps not seen at first.
Choosing Fastening Methods
You have several options for attaching a false drawer front. The best method depends on your cabinet’s construction, the size of the panel, and whether you want the front to be removable.
Common Fastener Options
| Fastener Type | Strength | Removability | Best For |
|---|---|---|---|
| Screws | High | Yes | Most panels |
| Wood glue | Medium | No | Permanently fixed panels |
| Finish nails | Low | No | Temporary hold |
| Double-sided tape | Low | Yes | Very light panels |
Best practice: Use screws for most applications. They are strong, reversible, and won’t loosen over time. Wood glue is only recommended if you never plan to remove the panel.
Step-by-step Guide: How To Attach A False Drawer Front
Let’s break down the process into clear, manageable steps. Each phase matters for a perfect fit.
1. Position The False Drawer Front
- Hold the panel in place over the opening.
- Use painter’s tape or clamps to temporarily fix it.
- Insert shims at the sides or bottom to create even gaps.
- Check alignment with a level—make sure it’s straight both horizontally and vertically.
Tip: If working alone, painter’s tape is easier to adjust than clamps.
2. Temporary Fixing
- For extra security, use a few finish nails or a brad nailer through the panel into the cabinet. Only nail in shallowly—these will be removed later.
- This step keeps the panel from shifting when you drill.
3. Mark And Drill Pilot Holes
- From inside the cabinet, mark the spots where screws will go.
- Space screws evenly, usually 2–3 along the top and bottom edges.
- Drill pilot holes through the cabinet face into the back of the false front. This prevents splitting.
4. Attach The Panel With Screws
- Insert screws from inside the cabinet, driving them into the back of the false front.
- Tighten until snug but do not overtighten. Too much force can crack the panel.
- Remove any temporary nails or clamps.
5. Check Alignment Again
- Step back and inspect the panel.
- Open and close surrounding drawers or doors to ensure the front doesn’t rub.
- Adjust if needed before final tightening.
6. Fill And Finish (optional)
- Fill any nail holes with wood filler.
- Sand and touch up paint or finish if needed.
- Remove painter’s tape and clean up the work area.
7. Install Hardware
- Insert screws for handles or knobs through your pre-drilled holes.
- Attach hardware securely. Test for strength and comfort.
Non-obvious insight: Always install hardware after attaching the panel. If you do it first, the handle can get in the way of clamping or alignment.
Aligning Multiple False Drawer Fronts
When your project has more than one false drawer front, getting perfect alignment is challenging but important.
- Lay all panels in place at once before fixing any.
- Check for consistent spacing between each panel.
- Use a long straight edge or level to align the tops or bottoms together.
- Mark positions lightly with pencil before attaching.
Example: In a three-drawer vanity, even a 1/16” difference between panels will be obvious.
Alternative Attachment Methods
While screws are the most common, you may need other methods in special cases.
Using Wood Glue
- Apply a thin bead of glue to the back of the panel.
- Press into place and clamp for 1-2 hours.
- Check alignment before the glue dries.
- Not recommended if you ever need to remove the panel.
Double-sided Mounting Tape
- Useful for lightweight panels or temporary installations.
- Clean both surfaces well before sticking.
- Press firmly for at least 30 seconds.
- Not as strong as screws or glue.
Bracket Systems
Some high-end cabinets use special mounting brackets for false fronts. These allow for easy removal or adjustment, but are more complex and expensive.

Credit: www.youtube.com
Common Mistakes To Avoid
Many people make simple errors that ruin the look or function of their false drawer front. Here’s how to avoid them:
- Skipping the Test Fit: Always test the panel before fixing. Small mistakes are much easier to fix before attaching.
- Misaligned Hardware: Drill handle holes only after you’re sure of the panel’s final position.
- Uneven Gaps: Use shims and a level. Visual symmetry is more important than exact measurements.
- Overtightening Screws: Stop as soon as the panel is snug. Too much force splits wood.
- Not Checking Surrounding Drawers: Open and close all nearby drawers to check for rubbing or blocked movement.
- Ignoring Wood Movement: Leave a tiny gap around the panel. Wood expands and contracts with humidity.
Experience-based tip: Even professionals sometimes have to remove and adjust a panel. Don’t rush—patience saves time in the end.
Matching The Finish And Style
A false drawer front should blend perfectly with the rest of your cabinet or furniture. Here’s how to get a seamless look:
- Material: Use the same wood type and thickness as other drawer fronts.
- Finish: Match paint or stain exactly. Test on scrap wood first.
- Edge Profile: Rout or sand the edges to match other drawers.
- Hardware: Use identical handles or knobs for all fronts.
If you’re updating old cabinets, it may be hard to match colors due to aging or sun fading. In that case, consider repainting or refinishing all fronts for a uniform appearance.
When To Hire A Professional
Most handy homeowners can attach a false drawer front with basic tools. However, consider hiring a pro if:
- The panel is very large or heavy.
- The cabinet structure is fragile or valuable (antique furniture).
- You’re installing expensive custom hardware.
- The finish is difficult to match (exotic veneers, high-gloss paint).
A skilled carpenter can guarantee perfect alignment and finish, saving you time and stress.
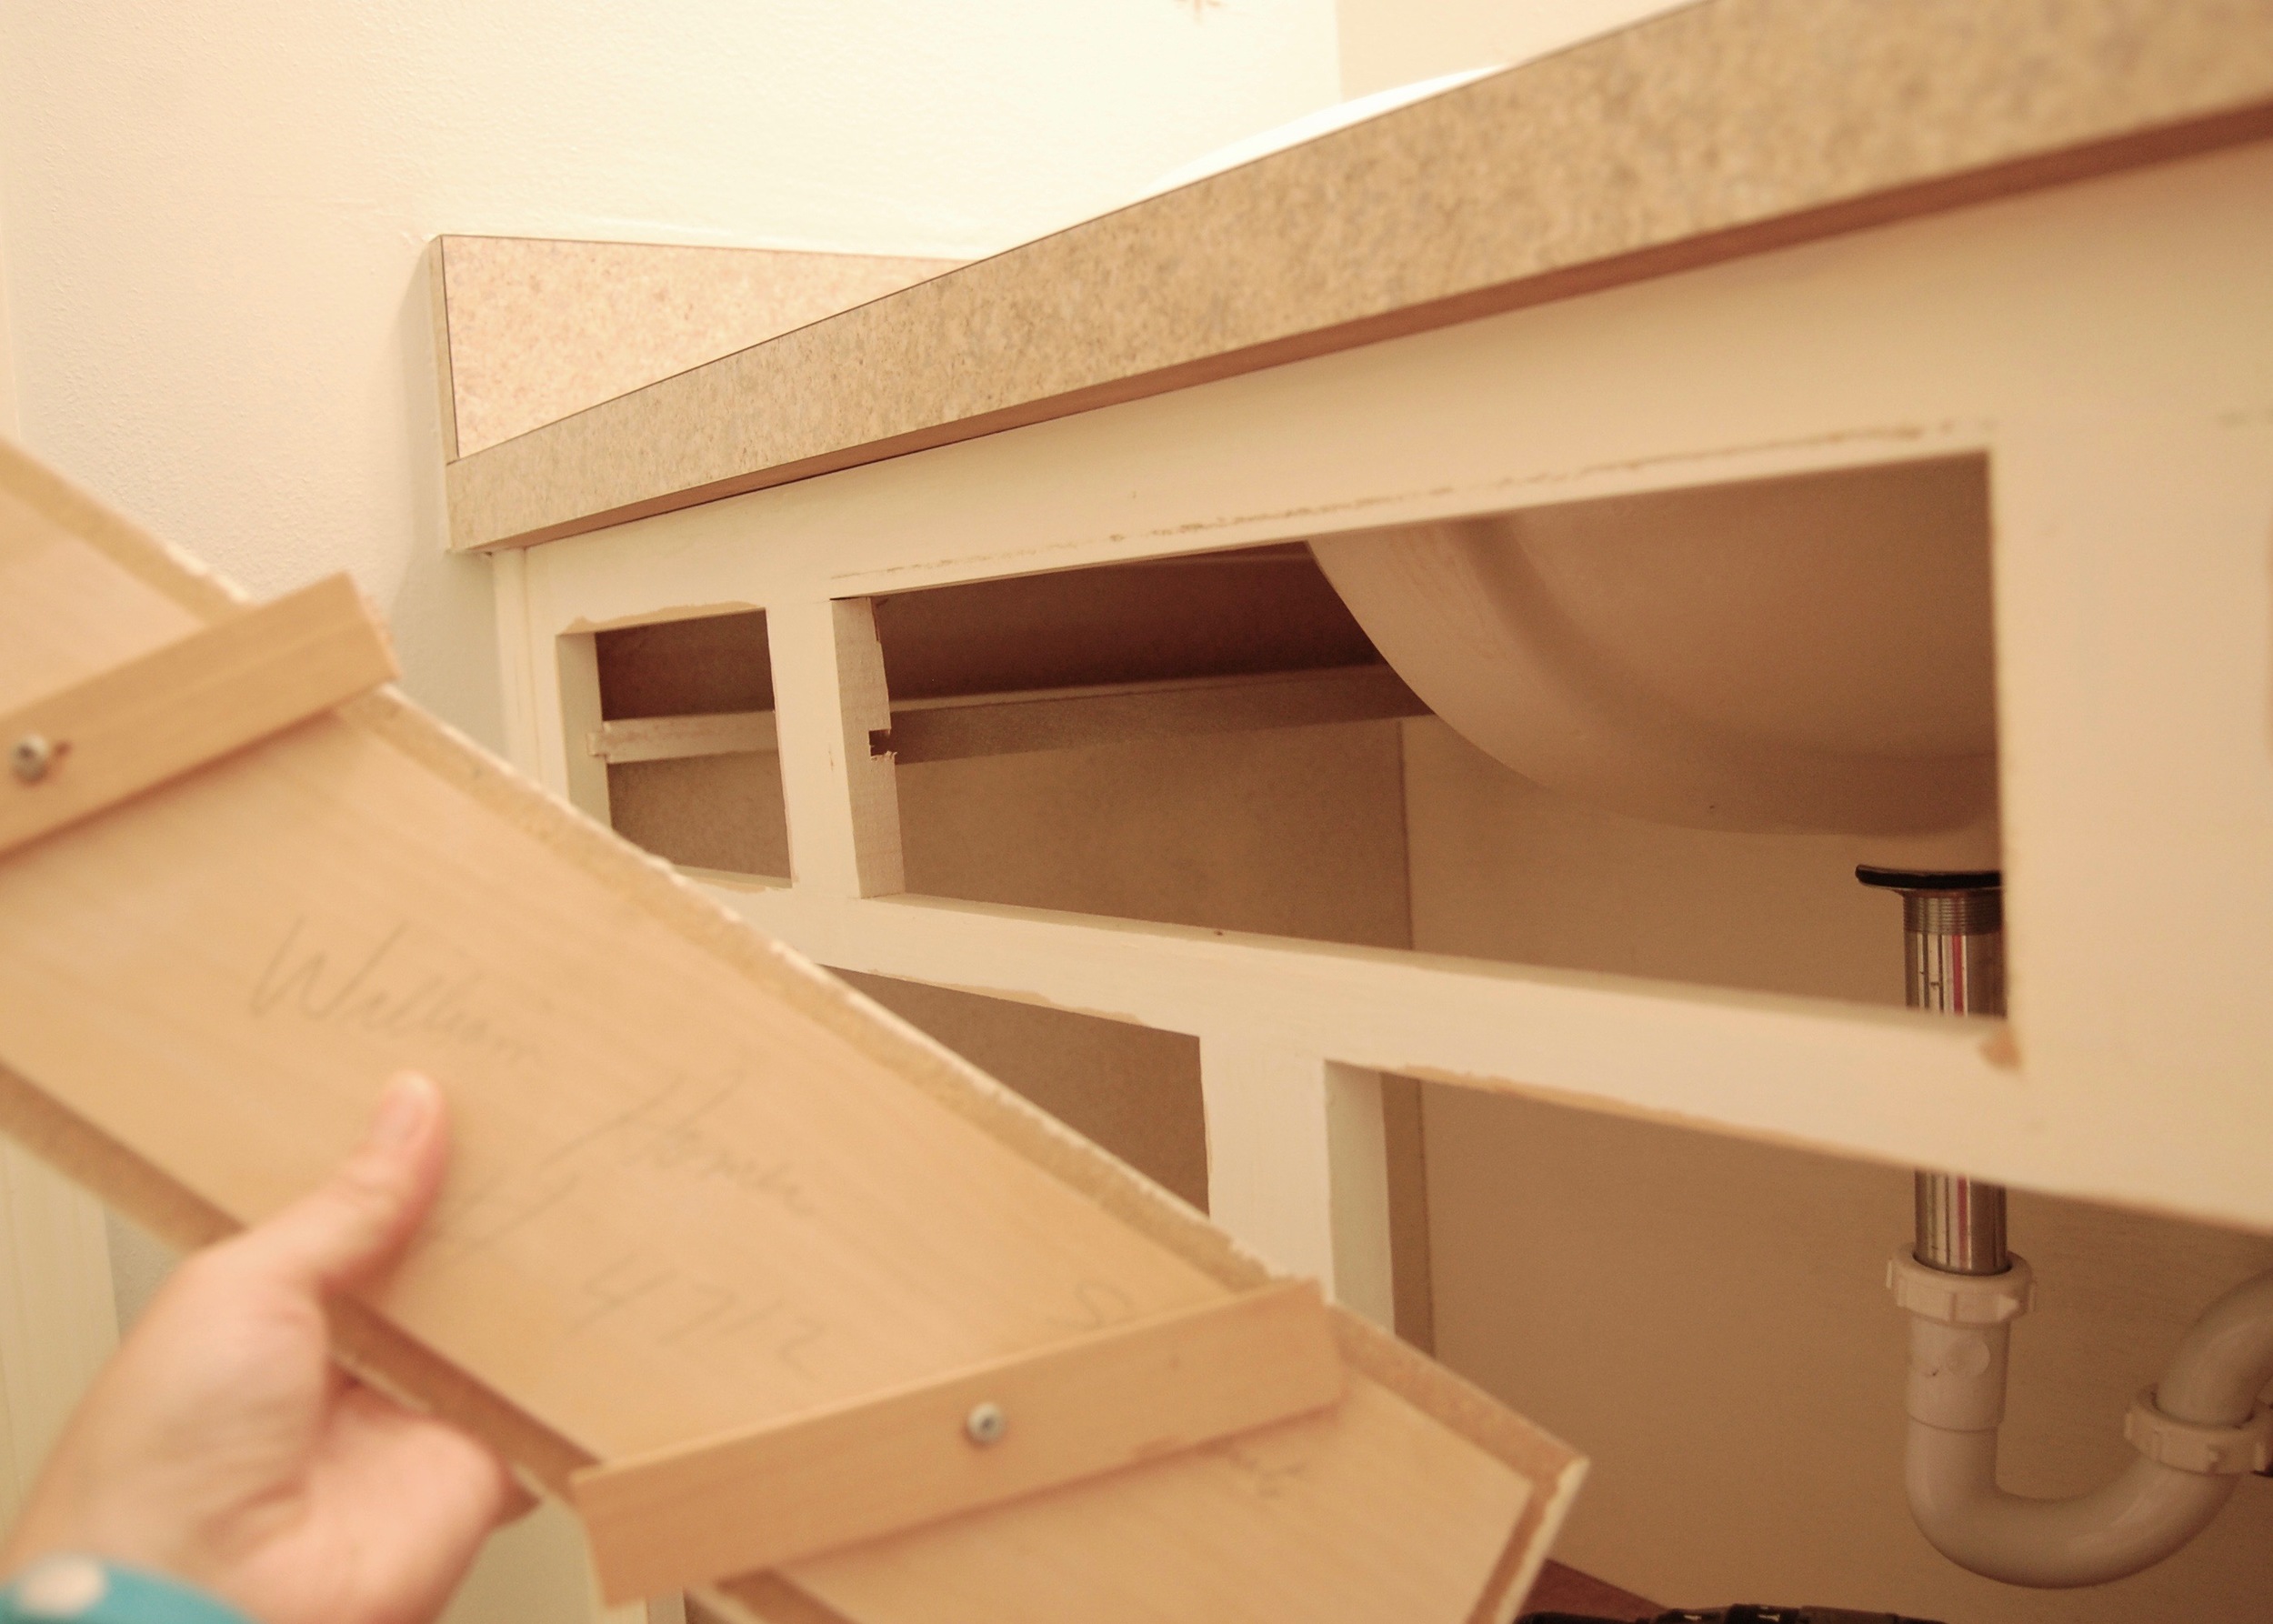
Real-life Example: Kitchen Sink Cabinet
Many kitchens use a false drawer front under the sink to hide plumbing. Here’s how this works in practice:
- Measure the space under the sink.
- Cut a panel to match other drawer fronts.
- Test fit with shims for even gaps.
- Tape or clamp in place.
- Attach with screws from inside the cabinet.
- Add a handle to match other drawers.
Pro insight: In some kitchens, people use hinged false fronts with trays behind them for storing sponges or soap. If you want this feature, choose special hardware and follow the manufacturer’s instructions.
Comparing Fastening Strengths
Which fastener is best for your situation? Here’s a quick comparison:
| Method | Strength | Removability | Skill Level |
|---|---|---|---|
| Screws | Strong | Easy | Beginner |
| Glue | Medium | Hard | Beginner |
| Nails | Weak | Hard | Beginner |
| Brackets | Very strong | Easy | Advanced |
Safety Tips
- Always wear protective eyewear when drilling or nailing.
- Use work gloves to avoid splinters when handling raw wood.
- Keep hands clear of drill bits and blades.
- Work in a well-lit area for accurate measuring and fitting.
- Clean up all dust and debris after finishing to prevent damage to cabinets.
Non-obvious insight: Vacuum inside the cabinet before attaching the panel. Sawdust can affect alignment and the strength of adhesive.
Maintenance After Installation
A false drawer front requires little maintenance, but a few simple steps keep it looking good:
- Wipe with a soft, damp cloth to remove dust.
- Check handle screws every few months—they can loosen with use.
- Inspect the panel for shifting or gaps, especially in humid climates.
- Touch up paint or finish as needed.
If the panel ever becomes damaged, it can usually be removed by unscrewing from the inside and replaced with a new one.
Environmental Factors
Wood expands and contracts with changes in humidity. To avoid problems:
- Leave a small gap (1/16” to 1/8”) around the panel.
- Use materials that match the rest of the cabinet for similar movement.
- Avoid gluing panels in very damp or very dry conditions.
Pro tip: If your home has big seasonal humidity changes, check gaps each year and adjust if needed.
Credit: gerwerkencrafts.com
Time And Cost Estimate
How long does this project take? Here’s a breakdown:
| Task | Time (minutes) | Materials Cost (USD) |
|---|---|---|
| Measuring & cutting | 20–30 | 10–25 |
| Sanding | 10–15 | 1–3 |
| Test fitting & alignment | 10–20 | 0 |
| Attaching panel | 15–25 | 2–5 |
| Finishing & hardware | 15–20 | 5–15 |
Total Time: 1.5–2 Hours For Most Projects
Total cost: $20–$50 for a single panel (can be lower if you already have materials)
Sustainability And Material Choices
If you care about eco-friendly projects:
- Choose panels from certified sustainable wood sources.
- Avoid adhesives with harmful chemicals.
- Reuse handles or hardware from old furniture when possible.
For more on responsible wood use, see the Forest Stewardship Council’s guide at FSC US.

Credit: www.amazon.com
Frequently Asked Questions
How Do I Remove A False Drawer Front If I Make A Mistake?
Most are attached with screws from inside the cabinet. Open the cabinet and remove the screws. If glue was used, gently pry with a thin tool, but be careful not to damage the finish.
Can I Attach A False Drawer Front Without Any Tools?
For very lightweight panels, you can use strong double-sided mounting tape. However, this is not recommended for permanent or heavy-duty use. Tools like a drill and screwdriver give a much stronger, longer-lasting result.
How Do I Match The Paint Or Stain Exactly To Other Drawers?
Take a sample of your existing drawer to a hardware or paint store. Many stores offer color matching. Always test the new paint or stain on a scrap piece before applying it to your panel.
Is It Safe To Use A False Drawer Front Near Plumbing?
Yes, but make sure to use materials that resist moisture (like sealed or painted wood). Leave a small gap at the bottom to allow for air flow and check for leaks before installation.
What Should I Do If The Panel Shifts After Installation?
Loosen the screws, realign the panel with shims or a level, and retighten. If you used glue, the only option is to carefully remove and start again.
Attaching a false drawer front can seem tricky at first, but with careful measuring, the right tools, and a little patience, you can achieve a flawless look. Take your time, check alignment at every step, and enjoy the satisfaction of a job well done.
Your cabinets and furniture will look better than ever!