Shaker cabinets are a popular choice in modern and traditional kitchens. Their classic lines and simple design make them a favorite for homeowners who want both style and functionality. But keeping Shaker cabinets looking their best requires the right cleaning methods. If you use the wrong products or techniques, you could damage the finish or leave behind streaks and residue. This guide will show you how to clean Shaker cabinets effectively, avoid common mistakes, and keep your kitchen beautiful for years.
If you care about your kitchen’s appearance or want your cabinets to last, understanding the best cleaning practices is essential. We’ll explore not only the basic cleaning steps but also deep cleaning, stain removal, handling different materials, and preventive care.
Whether you have painted, stained, or laminate Shaker cabinets, this article will help you clean them safely and efficiently.
What Makes Shaker Cabinets Unique
Shaker cabinets are known for their five-piece door with a recessed center panel. This design creates clean lines that suit many kitchen styles. But the frame and panel construction means dust and grime can settle in the corners and grooves. Because of their flat surfaces and edges, they show fingerprints and smudges more than raised-panel cabinets.
Shaker cabinets are made from different materials, including:
- Solid wood (maple, cherry, oak)
- Plywood
- MDF (medium-density fiberboard)
- Laminate
Each material needs a slightly different cleaning approach. Understanding your cabinet’s finish is the first step to safe and effective cleaning.
Why Proper Cleaning Matters
Regular cleaning not only keeps your cabinets looking good but also extends their lifespan. Kitchen cabinets face:
- Grease splatters
- Food spills
- Steam and moisture
- Fingerprints
If these build up, they can damage the finish, attract more dirt, and even cause odors. Harsh cleaners may strip paint or stain, while too much water can swell wood or MDF. Cleaning the right way protects your investment and prevents costly repairs.
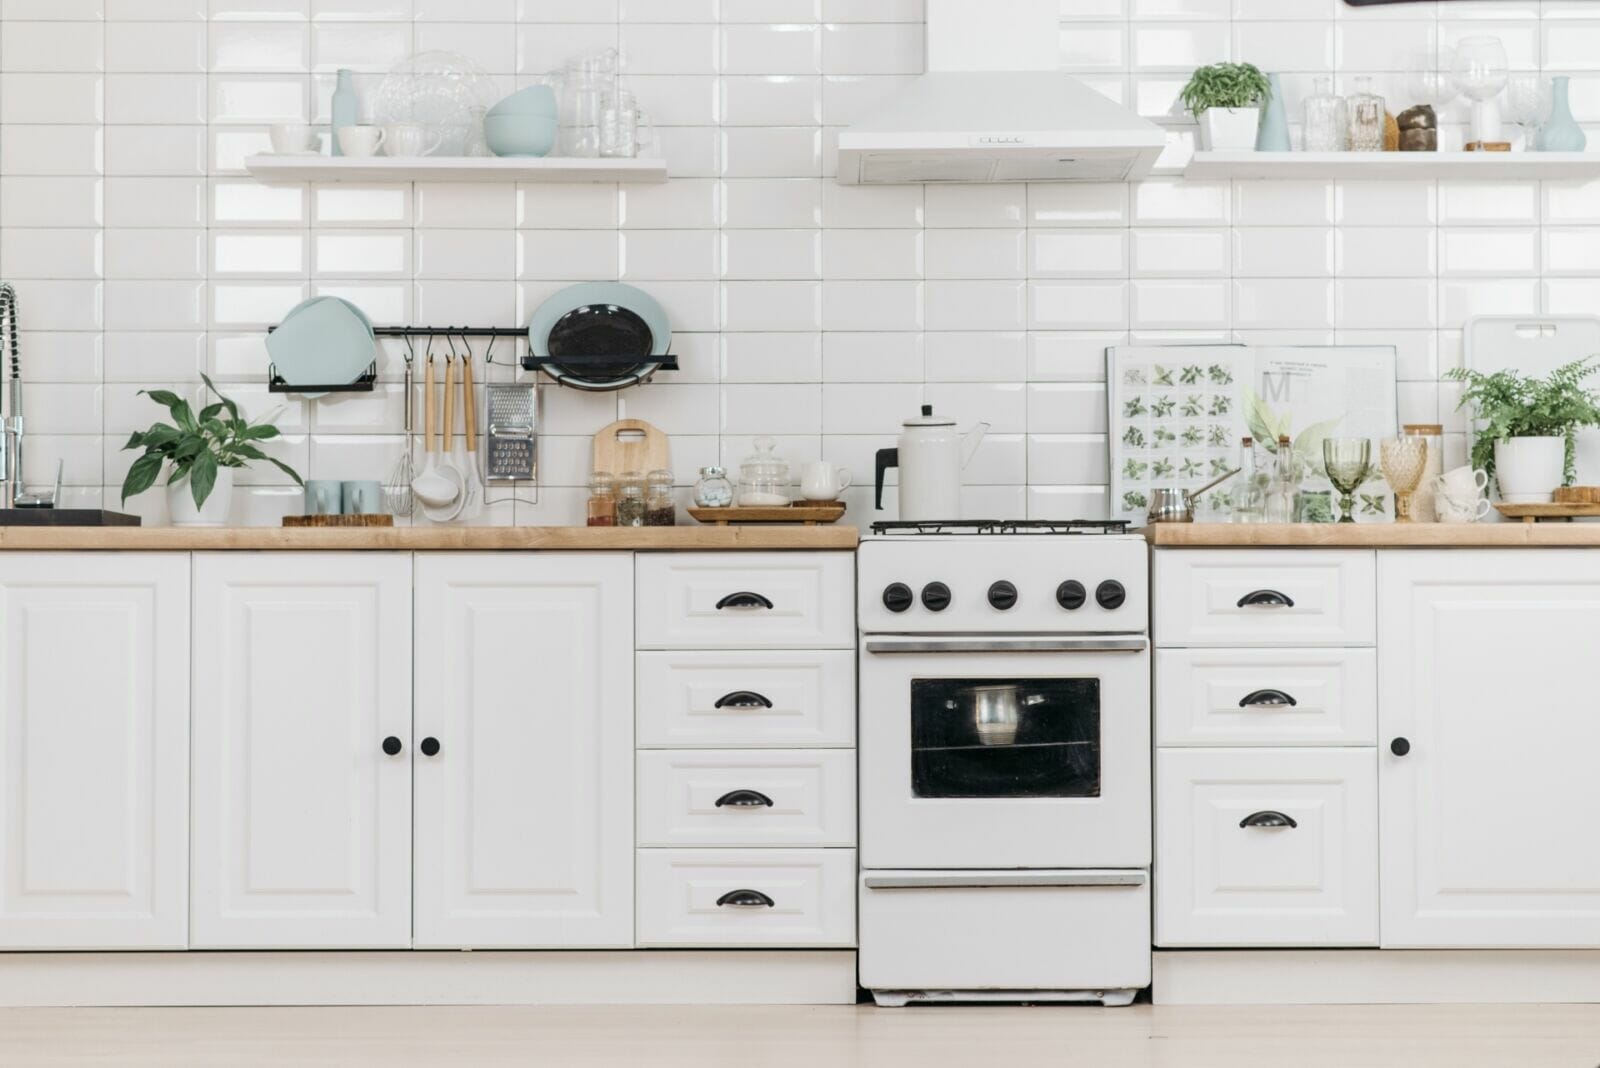
Credit: azbigmedia.com
Supplies You Need For Safe Cleaning
Before starting, gather these basic cleaning supplies:
- Soft microfiber cloths (do not use rough sponges)
- Mild dish soap (free of bleach and harsh chemicals)
- Warm water
- Spray bottle (for homemade cleaners)
- Soft-bristle toothbrush (for corners and grooves)
- Baking soda (for tough stains)
- White vinegar (for deodorizing, but use cautiously)
- Vacuum with brush attachment (for dust removal)
- Dry towel
Never use steel wool, abrasive pads, or strong chemical cleaners on Shaker cabinets. These can scratch or dull the surface.
Routine Cleaning For Shaker Cabinets
Daily or weekly cleaning is the easiest way to keep cabinets looking fresh. Here’s how to clean Shaker cabinets for everyday maintenance:
1. Dust First
Use a dry microfiber cloth or a vacuum with a soft brush to remove dust from surfaces, frames, and grooves. Don’t skip the edges where dust collects.
2. Mix A Gentle Cleaner
Fill a spray bottle with warm water and a few drops of mild dish soap. Shake gently to mix.
3. Wipe Surfaces
Spray the solution onto a cloth (not directly on the cabinet) and wipe all surfaces. Work from top to bottom. Pay attention to the recessed panels and edges.
4. Clean Grooves And Corners
For stubborn dirt in corners, dip a soft-bristle toothbrush in the cleaning solution and gently scrub.
5. Rinse And Dry
Wipe again with a clean, damp cloth to remove soap residue. Finally, dry with a soft towel to prevent water spots and swelling.
Example:
Suppose you cook daily and notice a thin layer of grease on your lower cabinets. Cleaning with a soap solution and microfiber cloth once a week prevents buildup and keeps your kitchen hygienic.
Deep Cleaning Techniques
Even with regular care, cabinets need deep cleaning every few months. Grease, food splatters, and sticky residue can collect in places you don’t see.
1. Empty Cabinets
Remove items from inside. This gives you full access to shelves and corners.
2. Vacuum Interior
Use the brush attachment to remove crumbs and dust from shelves and corners.
3. Use A Stronger Solution (if Needed)
For heavy grease, mix 1 part vinegar to 4 parts water. Test on a hidden area before using on painted or stained surfaces, as vinegar can dull some finishes.
4. Target Problem Areas
Spray the cleaning solution on a cloth and focus on handles, frames, and grooves. For sticky residue, let the damp cloth sit on the spot for a few minutes before wiping.
5. Check Hinges And Hardware
Wipe handles, knobs, and hinges with the same mild solution. Dry completely to prevent rust.
6. Dry Thoroughly
Always finish by drying all surfaces with a soft towel.
Practical Tip:
Deep clean your cabinets after major cooking events, like holidays, or every 3–4 months, depending on how often you cook.
Removing Stubborn Stains
Sometimes, regular cleaning isn’t enough. Here’s how to tackle tough stains without damaging the finish.
Grease Spots
Mix baking soda with water to form a paste. Apply to the grease stain and let sit for 5 minutes. Scrub gently with a soft cloth, then wipe with a damp cloth and dry.
Food Spills
For dried food, soften the spot by placing a damp cloth over it for a few minutes. Gently rub until it lifts. Avoid scraping with hard objects.
Marker Or Crayon
If you have kids, use a tiny amount of rubbing alcohol on a cotton swab. Test first in an unseen spot. Rub gently and rinse with water.
Water Stains
If water spots appear, buff gently with a dry microfiber cloth. If they remain, use a solution of equal parts vinegar and water, but only on sealed surfaces.
Example Table: Stain Solutions
| Stain Type | Solution | Precaution |
|---|---|---|
| Grease | Baking soda paste | Avoid abrasive scrubbing |
| Food | Soak with damp cloth | Don’t scrape with metal |
| Marker/Crayon | Rubbing alcohol (test first) | Use small amounts only |
| Water spots | Vinegar solution (sealed surfaces) | Test on hidden area |
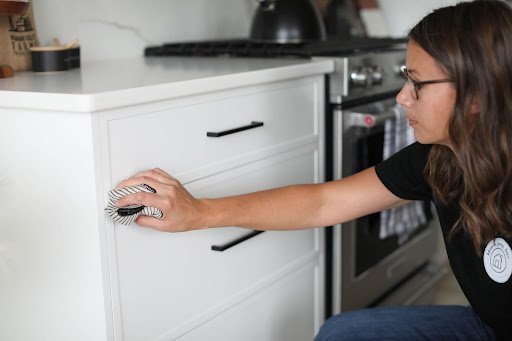
Credit: columbuscabinetscity.com
Cleaning Painted Vs. Stained Shaker Cabinets
The method you use can depend on the cabinet’s finish. Painted and stained cabinets need different care.
Painted Cabinets
- Use mild soap and water only.
- Avoid vinegar or ammonia-based cleaners, as they can strip paint.
- Don’t soak painted surfaces.
- For chips, touch up with matching paint to prevent moisture damage.
Stained Cabinets
- Gentle soap and water are safe, but you can also use wood-specific cleaners.
- Avoid strong chemicals that can strip the stain.
- Wax or polish (once or twice a year) can help maintain shine.
Comparison Table: Painted Vs. Stained Care
| Painted Cabinets | Stained Cabinets |
|---|---|
| Use mild soap only | Wood cleaner optional |
| No vinegar or ammonia | Can polish with wood wax |
| Touch up chips with paint | Apply stain touch-up as needed |
Handling Laminate And Mdf Shaker Cabinets
Laminate and MDF cabinets look similar to solid wood but are more sensitive to moisture.
- Never soak these cabinets. Use a barely damp cloth.
- Avoid steam cleaners and harsh chemicals.
- Dry all surfaces immediately.
- For stains, use a mild soap solution only—never abrasive powders.
- Repair chips or cracks quickly to prevent water from entering.
Cleaning Cabinet Hardware
Handles, knobs, and pulls can collect grime and bacteria. Clean them regularly using these steps:
- Spray a soft cloth with mild soap solution.
- Wipe hardware thoroughly.
- For tough grime, use a soft toothbrush.
- Dry with a towel to prevent water spots or rust.
If hardware is removable, take it off for deeper cleaning, then reinstall once dry.
Cleaning Inside Shaker Cabinets
The inside of cabinets needs care too, especially for food storage.
- Empty shelves every few months.
- Wipe with a damp cloth and mild soap.
- Dry fully before replacing items.
- For shelf liners, wash or replace as needed.
- Check for crumbs or pests and address quickly.
Caring For Glass-front Shaker Cabinets
Some Shaker cabinets feature glass inserts. Clean these with a glass cleaner or vinegar solution (avoid painted wood edges).
- Spray cleaner on a cloth, not directly on glass to prevent drips.
- Wipe glass and edges gently.
- Buff with a dry, lint-free cloth.
Preventive Maintenance Tips
Prevention is better than cure. Here’s how to keep your cabinets cleaner, longer:
1. Use Handles And Knobs
Touch only the hardware, not the wood, to avoid fingerprints and oil transfer.
2. Install Range Hoods
Use a range hood when cooking to reduce grease buildup.
3. Wipe Spills Immediately
Clean up food or liquid right away to prevent stains.
4. Avoid Hanging Wet Towels
Never drape wet towels over cabinet doors, as moisture can cause warping or finish damage.
5. Open Windows
Good ventilation reduces humidity and keeps cabinets dry.
6. Regularly Check Hinges
Tighten loose hardware to prevent doors from sagging.
What To Avoid: Common Cleaning Mistakes
Many people make mistakes that can shorten the life of their Shaker cabinets.
- Using abrasive pads that scratch the finish
- Applying too much water (especially on MDF or laminate)
- Using strong chemicals like bleach, ammonia, or oven cleaner
- Ignoring spills, which can soak into wood or paint
- Spraying cleaner directly on cabinets, which can cause streaks or damage
How Often Should You Clean Shaker Cabinets?
The answer depends on your kitchen’s use, but here is a practical schedule:
| Cleaning Task | Frequency |
|---|---|
| Dusting | Weekly |
| Wiping surfaces | Weekly |
| Cleaning hardware | Monthly |
| Deep cleaning | Every 3–4 months |
| Cleaning inside cabinets | Every 6 months |
The Truth About “all-purpose” Cleaners
Many products claim to be safe for all surfaces, but not every all-purpose cleaner is right for Shaker cabinets. Some contain ammonia or solvents that can damage paint, stain, or laminate. Always read labels and choose a pH-neutral, non-abrasive product. When in doubt, stick to mild dish soap and water.
Environmentally Friendly Cleaning
Want to use green methods? Here are safe options:
- Baking soda for gentle scrubbing
- White vinegar (diluted) for deodorizing sealed surfaces
- Microfiber cloths (reusable and more effective at trapping dust)
- Plant-based soaps for everyday cleaning
Avoid using undiluted vinegar or lemon juice on painted or stained surfaces, as acids can wear away the finish.

Credit: nelsonkb.com
When To Call A Professional
If your cabinets have deep scratches, water damage, or peeling paint, cleaning alone won’t fix the problem. Professional refinishing or repair may be needed for:
- Peeling paint or finish
- Warped or swollen doors
- Persistent mold or mildew
- Broken hinges or hardware
Don’t try to sand or repaint cabinets without proper tools and experience. Professional help can restore your cabinets safely.
Real-world Examples
Homeowners often overlook these details:
- Neglecting the top edges: Dust collects on the very top of wall cabinets. Use a step stool and vacuum or wipe regularly.
- Not drying after cleaning: Water left in grooves can cause swelling or finish failure over time.
- Skipping hardware: Handles and pulls collect more germs than you realize. Clean them as often as the doors.
Non-obvious Insights
1. Hard Water Leaves Mineral Spots
If your tap water has a high mineral content, you may see white spots after cleaning. Use distilled water for the final rinse to prevent this.
2. Climate Affects Cleaning Needs
In humid climates, cabinets may need more frequent cleaning and drying. In dry climates, dust is the bigger issue.
3. Cooking Style Matters
If you fry often, grease will accumulate faster. Consider using a kitchen degreaser made for wood, but always test in a hidden spot first.
4. Pet Hair Collects On Lower Cabinets
If you have pets, vacuum lower cabinet frames and panels to remove hair and dander.
Quick Reference: Cleaning Steps Summary
- Dust with a microfiber cloth or vacuum.
- Mix mild soap with warm water.
- Wipe with a damp (not wet) cloth.
- Scrub corners with a soft brush.
- Rinse with a clean damp cloth.
- Dry all surfaces.
Trusted External Resource
For more in-depth information about cabinet materials and care, the National Kitchen & Bath Association offers useful guides:
national Kitchen & Bath Association
Frequently Asked Questions
How Do I Remove Grease Buildup On Shaker Cabinets?
Mix a paste of baking soda and water. Apply to the greasy area, let it sit for 5 minutes, then gently wipe with a soft cloth. Rinse and dry. For heavy buildup, repeat the process.
Can I Use Vinegar To Clean Painted Shaker Cabinets?
It’s best to avoid vinegar on painted cabinets, as the acid can dull or strip the paint. Use only mild soap and water for painted finishes.
What Should I Do If Water Gets Inside My Cabinet Doors?
Immediately dry the area with a towel. Leave cabinet doors open to allow air circulation. If swelling or warping occurs, consult a professional for repair.
How Can I Keep White Shaker Cabinets From Yellowing?
Regular cleaning with mild soap and water prevents grease buildup, which causes yellowing. Avoid smoking indoors and check for heat sources near the cabinets, as heat can discolor white finishes.
Is It Safe To Use Magic Erasers On Shaker Cabinets?
Magic erasers can be abrasive and may damage the finish, especially on painted or stained cabinets. Use them only on very stubborn marks, and always test in a hidden spot first.
Keeping your Shaker cabinets clean doesn’t have to be complicated. With the right tools, a simple routine, and a little preventive care, you can keep them looking beautiful for many years. Remember, gentle and regular cleaning is the best way to protect your investment and enjoy your kitchen every day.