Removing the door from an infrared electric oven might seem like a simple task, but it’s important to do it right. Many people want to clean the oven thoroughly or replace worn-out parts, and taking off the door makes both jobs easier. However, oven doors are heavier and more complex than they look. If you rush or skip a step, you could damage the hinges or hurt yourself.
In this guide, you’ll learn every part of the process—step by step. You’ll also discover safety tips, common mistakes, and what to do if things don’t go as planned. Whether you’re a first-timer or have some experience with home appliances, this article will help you remove your oven door confidently.
Let’s get started.
Understanding Infrared Electric Oven Doors
Before you begin, it’s smart to know how your infrared electric oven works. These ovens use infrared heating elements to cook food quickly and evenly. The door plays a big role in keeping heat inside, which saves energy and keeps your kitchen cooler.
Most modern oven doors are built with double or triple glass panels for insulation. The hinges are often spring-loaded and designed to hold the heavy door securely. Some ovens have extra safety features, such as child locks or removable glass panels.
Why Remove The Oven Door?
People remove their oven doors for several reasons:
- Deep cleaning: Cleaning between glass panels or reaching burned-on stains is easier with the door off.
- Replacing parts: Worn-out hinges, seals, or glass can often be changed only if the door is removed.
- Easier access: Repairs inside the oven are simpler when the door isn’t in the way.
Are All Oven Doors The Same?
Not exactly. While many ovens use a similar hinge design, brands may have unique locking mechanisms or screws. Infrared ovens are usually built like regular electric ovens, but always check your user manual for details specific to your model.
Tools And Preparation
Getting ready is half the job. Here’s what you need before you start.
Tools Required
- Phillips screwdriver: For removing screws, if your oven uses them.
- Flathead screwdriver: Useful for prying or releasing clips.
- Work gloves: Protect your hands from sharp edges or hot surfaces.
- Towel or soft mat: To place the door safely on the floor.
- Flashlight: Helps you see hinge mechanisms clearly.
Not all ovens need all these tools, but having them ready prevents delays.
Safety First
Never work on an oven that is plugged in or hot. Here’s how to stay safe:
- Turn off the oven: Switch off and unplug it from the wall.
- Wait for cooling: The door, hinges, and frame can stay hot for hours.
- Clear the area: Make sure you have space to work and move the door safely.
- Read the manual: Look for special instructions for your oven model.
Common Misconceptions
Many people think oven doors are light or that you can just “pull them off. ” In reality, they can weigh 15–25 pounds (7–11 kg) and may have hidden latches. Rushing can lead to dropped doors or bent hinges. Always support the door fully as you remove it.
Step-by-step Guide To Removing An Infrared Electric Oven Door
Let’s get into the actual process. The steps below cover the most common types of infrared electric oven doors. Your oven may look slightly different, but the basics are similar.
1. Open The Oven Door Fully
Gently pull the oven door open as far as it will go. Most doors will rest flat (horizontal) when fully open.
- This position gives you the best access to the hinges.
- Make sure the door is stable and won’t close while you work.
2. Locate The Hinge Locks Or Latches
Most modern ovens have hinge locks that must be released before removing the door. These are usually found at the base of each hinge, near where the door meets the oven body.
- Look for small metal tabs, levers, or clips.
- Some ovens have screws securing the hinges instead.
3. Engage The Hinge Locks
- Use your flathead screwdriver to flip the hinge locks upward (toward the oven cavity).
- If your oven has clips, gently pull them forward.
- For screws, use a Phillips screwdriver to loosen them, but do not remove completely unless the manual says so.
This step releases the tension on the hinge springs, making it safe to lift the door.
4. Partially Close The Door
Slowly close the oven door until you feel it stop—usually at a 30-40 degree angle. This is the “removal position. ” The door will feel slightly resistant, which means the hinges are disengaging from the oven frame.
- Do not force the door if it feels stuck.
- If it won’t move, double-check that both hinge locks are released.
5. Lift The Door Out
Grasp the sides of the door with both hands. Wearing work gloves will protect your fingers from sharp metal.
- Lift the door straight up and away from the oven.
- Most doors will come free with a gentle upward motion.
- Place the door carefully on your towel or mat to prevent damage.
Some oven doors are heavier than expected. If you feel the door is too heavy, ask for help.
6. (if Needed) Remove The Inner Glass Panel
If your goal is to clean between the glass or replace the inner glass, check for small screws along the inside edge of the door.
- Use the Phillips screwdriver to remove the screws.
- Gently separate the glass panel from the frame.
- Keep track of screws and small parts.
Not all oven doors make it easy to remove the inner glass. If you see adhesive or complex fasteners, consider stopping to avoid damaging the door.
Special Types Of Infrared Oven Doors
Some models have unique removal systems. Here’s a quick overview of common variations:
Drop-down Doors
Most ovens use a drop-down door that swings down flat. The removal process described above fits these models.
Side-swing Doors
Some ovens (especially wall ovens) have doors that open to the side.
- The hinge locks are usually on the top and bottom edges.
- Removal steps are similar, but support the door from the side.
Detachable Glass Panels
A few premium models allow you to remove the glass panel separately for cleaning. This usually involves pressing clips or unscrewing fasteners on the door’s inner frame.
Credit: www.homedepot.com
Comparison Of Common Infrared Oven Door Types
Here’s a quick look at how different oven door types compare:
| Oven Door Type | Removal Difficulty | Special Tools Needed | Common Features |
|---|---|---|---|
| Drop-Down | Easy to Moderate | Screwdriver | Hinge locks, double glass |
| Side-Swing | Moderate | Screwdriver | Top/bottom locks, child safety |
| Removable Panel | Easy | None or screwdriver | Easy-clean design |
Cleaning And Maintenance After Removing The Door
With the door off, you have a rare chance to clean and maintain your oven.
Cleaning Between The Glass Panels
- Lay the door flat on your towel.
- If possible, separate the inner glass as described earlier.
- Use a mixture of mild dish soap and warm water.
- Avoid harsh chemicals—they can damage heat-resistant coatings.
- Dry thoroughly before reassembling.
Cleaning The Oven Frame And Hinges
- Wipe down the area where the hinges sit.
- Remove any crumbs, grease, or debris.
- Check the hinges for signs of wear or bending.
Lubricating The Hinges
If your oven manual allows, apply a small amount of high-temperature lubricant to the hinges. This reduces squeaking and ensures smooth movement.
- Do not over-lubricate—excess oil can attract dust.
Inspecting The Door Seal
The oven door gasket (seal) keeps heat inside. If it looks worn, cracked, or flat, consider replacing it. A damaged seal causes heat loss and uneven cooking.
Replacing Door Parts
Now is the best time to replace broken glass, loose screws, or damaged handles. Order genuine parts from the manufacturer or a trusted dealer.

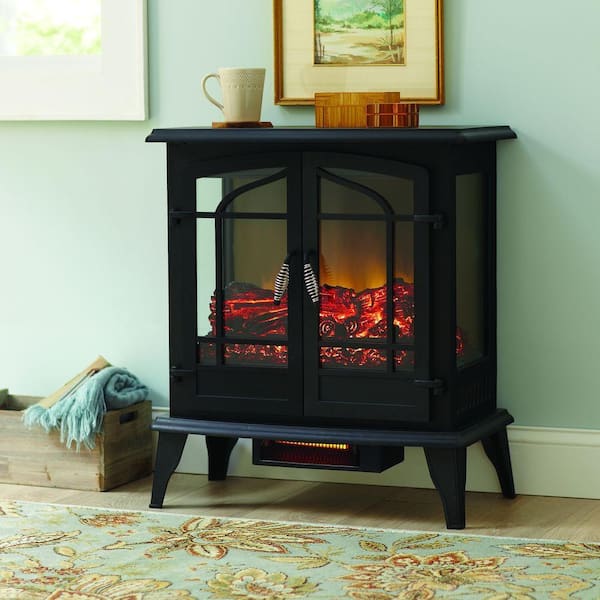
Credit: www.pcrichard.com
Reinstalling The Infrared Electric Oven Door
Putting the oven door back is almost the reverse of removing it, but it still requires attention.
1. Align The Hinges
- Hold the door at the same angle as when you removed it (about 30-40 degrees).
- Slide the hinges into the slots on the oven body.
- Make sure both sides are seated evenly.
2. Lower The Door Fully
- Once the hinges are in place, carefully open the door all the way.
- The door should feel secure and swing smoothly.
3. Lock The Hinges
- Flip the hinge locks (or clips) back down toward the oven frame.
- If there are screws, tighten them securely.
- Double-check that both sides are locked.
4. Test The Door
- Close and open the door several times.
- Listen for smooth movement and check that the door seals tightly.
If the door feels loose, rattles, or won’t close fully, remove and reinstall it. Do not use the oven until the door is secure.
Troubleshooting Common Problems
Sometimes, things don’t go as planned. Here’s how to handle the most frequent issues.
Door Won’t Come Off
- Double-check that both hinge locks are fully released.
- Make sure you have the door in the correct angle for removal.
- Some models require extra force—but never use excessive strength, as this can bend hinges.
Door Stuck Or Jammed
- Inspect for hidden screws or latches.
- Gently wiggle the door—sometimes hinges get caught.
- If the door is still stuck, consult your manual or the manufacturer’s website.
Hinges Don’t Seat Properly On Reinstallation
- Recheck the angle of the door and the hinge alignment.
- Clean away any debris in the hinge slots.
- If the hinge is bent, it may need replacing.
Glass Panel Falls Out
- This usually means the screws or clips were not replaced correctly.
- Always support the glass when reassembling.
Table: Infrared Electric Oven Door Troubleshooting Guide
| Problem | Likely Cause | Solution |
|---|---|---|
| Door won’t release | Hinge locks not disengaged | Check and release locks |
| Door won’t close after reinstall | Hinge not seated | Align and try again |
| Glass panel loose | Missing screws/clips | Reinstall screws or consult manual |
| Hinge squeaks | No lubrication | Apply high-temp lubricant |
Key Tips For Success
Here are some expert tips that even experienced DIYers sometimes forget:
- Take photos as you go: If you’re worried about remembering how things fit together, use your phone to take pictures during each step.
- Keep all small parts together: Use a bowl or bag for screws and clips. Losing a small screw can delay your project.
- Be patient: Oven doors are heavy and awkward. Rushing increases the risk of dropping or damaging the door.
- Check for recalls or safety notices: Some oven models have special procedures or known issues. Search your oven’s make and model on the manufacturer’s site before starting.
What To Avoid
There are some mistakes that people commonly make:
- Never force the door: If it doesn’t lift out smoothly, something is wrong.
- Don’t use oil spray: Only use high-temperature lubricant meant for ovens.
- Avoid harsh cleaners: Ammonia or bleach can damage special glass coatings.
- Don’t lose screws: Missing fasteners can cause rattling or loose glass.
When To Call A Professional
Most people can remove their oven door safely, but sometimes it’s best to get help.
- The door is extremely heavy (over 25 lbs/11 kg).
- You see damaged hinges, bent metal, or cracked glass.
- The manual says “professional removal only.”
- You don’t feel confident about the process.
For complex issues, a certified technician can help. They have special tools and experience with all oven models. If you need to find a technician, check the manufacturer’s service network or reputable appliance repair companies.
Table: Diy Vs Professional Oven Door Removal
| Factor | DIY | Professional |
|---|---|---|
| Cost | Low (mostly free) | Moderate to High |
| Time | 30–60 minutes | 10–30 minutes |
| Risk | Moderate (if done carefully) | Low |
| Best for | Simple cleaning, minor repairs | Heavy doors, part replacements |
Non-obvious Insights And Practical Advice
Removing an oven door is not just about undoing a few clips. Here are two insights that many beginners miss:
- Hinge locks are not always visible: On some oven models, the hinge locks are hidden beneath plastic covers or require pressing in a release button. If you do not see them right away, do not pry with force—check the manual or look for a small cover that can be removed.
- Oven doors can have anti-tip safety features: Some ovens have a small pin or catch that prevents the door from being lifted off unless the oven is in a particular position (such as “self-clean” mode). If the door will not budge, never force it. Instead, try setting the oven to the correct mode (with the power off) and see if that releases the mechanism.
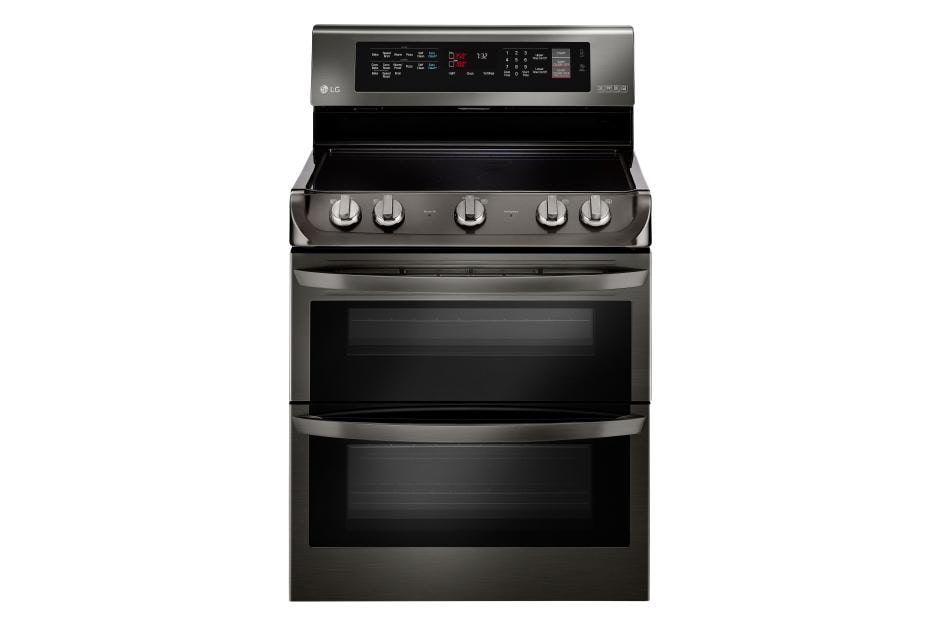
Credit: www.lg.com
Aftercare And Regular Maintenance
Once the door is back on, take care of your oven for lasting performance.
- Clean the door regularly: Wipe away spills before they bake onto the glass or frame.
- Check the seal: Every few months, inspect the gasket for signs of damage.
- Test the hinges: If the door starts to sag or won’t close tightly, address the issue early. Hinges can wear out with years of use.
- Avoid slamming the door: This can bend hinges and weaken the glass.
If you want to learn more about oven design and maintenance, the Wikipedia page on ovens has technical details and history.
Frequently Asked Questions
How Often Should I Remove My Oven Door For Cleaning?
Most people do a deep clean every 6–12 months. If you cook often or notice streaks between the glass panels, consider cleaning more frequently. For regular spills, wiping the door without removing it is usually enough.
Can I Remove The Oven Door By Myself, Or Do I Need Help?
If the door weighs less than 25 lbs (11 kg) and you feel confident, you can remove it yourself. Always support the door with both hands, and ask for help if it feels heavy or awkward.
Is It Safe To Use My Oven If The Door Is Not Installed Correctly?
No. An improperly installed door can leak heat, cause uneven cooking, or even damage the oven. Always make sure the hinges are locked and the door seals tightly before using the oven.
Why Does My Oven Door Have More Than One Glass Panel?
Multiple glass panels improve insulation and keep the outer surface cooler to the touch. This saves energy and reduces the risk of burns. Some models also allow for easier cleaning between the panels.
What Should I Do If I Lose A Hinge Lock Or Screw?
Do not use the oven until you replace the missing part. Contact the oven manufacturer or a reputable parts dealer to order the correct piece. Using the oven without all parts can be dangerous.
Removing an infrared electric oven door is a practical skill that makes deep cleaning and maintenance much easier. By following each step carefully, using the right tools, and taking your time, you can complete the job safely and confidently. Remember, when in doubt, check your manual or ask a professional. Your oven will serve you better—and last longer—when you take good care of it.