Canning at home has always been a way to keep food fresh and safe for longer. In recent years, many people have started using their Instant Pot for canning. The Instant Pot is a popular electric pressure cooker that can cook food fast and easily. But can you really can foods safely in an Instant Pot? And if so, how do you do it the right way? This guide will help you understand every step, from choosing your food to storing your jars. If you are new to canning or want to try using your Instant Pot for the first time, you’ll find all the answers here.
Many home cooks are drawn to the Instant Pot because it saves time and space. But canning, especially with an electric pressure cooker, has some important rules and risks. This article will walk you through everything you need to know, including what types of canning are possible with an Instant Pot, what foods work best, and how to avoid common mistakes.
You’ll also learn about the science behind canning and what makes it safe or unsafe. By the end, you’ll feel confident about using your Instant Pot for canning, while keeping your family safe and your pantry full.
Understanding Canning Methods
Before you begin, it’s important to know that canning comes in two main types: water bath canning and pressure canning. Each method works best with different foods and has different safety rules.
Water bath canning is used for high-acid foods like fruits, jams, and pickles. This method uses boiling water to kill bacteria, yeast, and mold. Pressure canning is for low-acid foods like vegetables, meats, and soups. These foods need higher temperatures to be safe, which only a pressure canner can achieve.
Most Instant Pots are not approved as pressure canners for low-acid foods. The main reason is they may not reach or hold the temperature needed to kill dangerous bacteria like Clostridium botulinum. However, you can use some Instant Pot models for water bath canning and for “steam canning” of high-acid foods. Some newer models now offer a “Canning” or “Sterilize” setting, but always check your manual first.
Here is a quick comparison between traditional canning and Instant Pot canning:
| Feature | Traditional Water Bath Canner | Instant Pot |
|---|---|---|
| Usable for High-Acid Foods | Yes | Yes (Some Models) |
| Usable for Low-Acid Foods | Yes (Pressure Canner only) | No (Not Approved) |
| Batch Size | Large (7-9 jars) | Small (3-4 jars) |
| Temperature Control | Manual | Automatic |
| Safety | Proven/Certified | Varies by Model |
What You Can Safely Can In An Instant Pot
The most important thing to know: only high-acid foods should be canned in an Instant Pot. These include:
- Fruits (peaches, pears, apples, berries)
- Jams and jellies
- Tomatoes with added lemon juice or citric acid
- Pickles and relishes
Low-acid foods like green beans, corn, meats, and soups are not safe to can in an Instant Pot. They need a higher, steady temperature that only a true pressure canner can provide.
Examples Of High-acid Foods
1. Strawberry Jam
Strawberries are naturally high in acid and make excellent jam for canning.
2. Pickled Cucumbers
The vinegar in pickles raises acidity, making them safe for water bath or Instant Pot canning.
3. Tomato Sauce (with Extra Acid)
Tomatoes are borderline, so always add bottled lemon juice or citric acid to each jar.
4. Peach Preserves
Peaches are sweet, tart, and easy to can for beginners.
Foods To Avoid
- Carrots
- Green beans
- Meat stews
- Peas
Even if you see online recipes for canning these in an Instant Pot, do not risk it. The science does not support their safety, and botulism is a real risk.
Equipment And Tools Needed
To get started, gather the following tools. You’ll need most of the same items as traditional canning, plus your Instant Pot.
- Instant Pot (with at least 6 or 8-quart capacity, check your model for canning suitability)
- Canning jars (half-pint or pint size, regular or wide mouth)
- New lids and rings
- Jar lifter
- Funnel
- Bubble remover or spatula
- Ladle
- Clean towels
- Vinegar (for wiping jar rims)
- Jar rack or trivet (to keep jars off the bottom of the pot)
- Canning recipe (for high-acid foods)
Many Instant Pot models only fit 3-4 jars at a time. Always use jars that fit upright in your Instant Pot with space for the lid to close.
Equipment Comparison
A side-by-side look at equipment differences:
| Tool | Traditional Canning | Instant Pot Canning |
|---|---|---|
| Canner | Large water bath or pressure canner | Electric pressure cooker (Instant Pot) |
| Jar Sizes | Pint, quart, half-pint | Pint, half-pint (quarts usually do not fit) |
| Batch Size | 6-9 jars | 2-4 jars |
| Heat Source | Stovetop | Electric |
Step-by-step Guide: How To Can In An Instant Pot
Let’s walk through a typical process for canning high-acid foods using your Instant Pot. This method is often called “steam canning” or “water bath canning,” depending on water level and the exact settings used.
1. Read Your Manual
Before you start, read your Instant Pot manual. Only some models support canning, and instructions may differ. Look for “Canning” or “Steam” settings. If your model does not say canning is allowed, do not use it for this purpose.
2. Prepare Your Jars And Lids
Wash jars, lids, and rings in hot, soapy water. Rinse well. Inspect for chips or cracks. Set clean jars on a towel.
Heat jars in hot water or in the Instant Pot on “Steam” for 5 minutes to prevent cracking when you add hot food.
3. Prepare Your Recipe
Use a tested canning recipe for high-acid foods. Follow instructions exactly, including:
- Sugar or vinegar amounts
- Required lemon juice or citric acid in tomatoes
- Cooking and processing times
Do not change ingredient ratios, as this can affect acidity and safety.
4. Fill The Jars
Use a ladle and funnel to pour hot food into hot jars. Leave the recommended headspace (usually 1/4 inch for jams, 1/2 inch for fruits).
Remove air bubbles with a spatula. Wipe rims with a clean cloth dipped in vinegar to remove any food.
Place lids on jars. Screw on rings until fingertip tight—not too tight.
5. Set Up Your Instant Pot
Place the metal trivet or canning rack in the bottom of the pot. Add 1-2 cups of water (check your recipe or Instant Pot manual for the exact amount). The water should not touch the lids of the jars, but enough steam is needed to build pressure.
Place jars on the rack, standing upright. Make sure they do not touch each other or the sides of the pot.
6. Process The Jars
Close the lid and set the steam valve to “Sealing. ” Use the “Steam” or “Canning” function, if available. Set the timer for the correct processing time (often 10-15 minutes for jams and fruits).
The Instant Pot will build pressure and steam. Once the cycle ends, let the pressure release naturally for 5-10 minutes before opening the lid.
7. Remove And Cool
Use a jar lifter to take the hot jars out. Place them on a towel or rack. Do not touch or tilt the jars as they cool.
You may hear a “pop” as the lids seal. Let jars sit undisturbed for 12-24 hours.
8. Check The Seals
After cooling, press the center of each lid. If it does not move, the jar is sealed. If it pops up and down, the jar did not seal—refrigerate and use this food within a week.
9. Label And Store
Write the date and food name on each jar. Store in a cool, dark place. Use within one year for best quality.

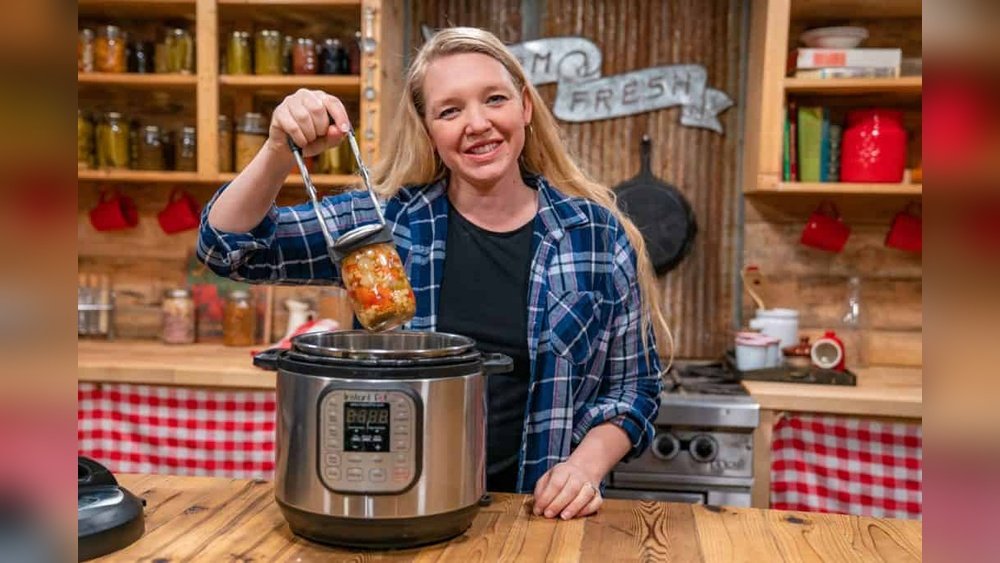
Credit: www.youtube.com
Safety Rules For Instant Pot Canning
Canning is about more than just making food last. It’s about keeping food safe. Here are the most important safety rules for canning in an Instant Pot:
- Only can high-acid foods. Never try to pressure can low-acid foods in an Instant Pot.
- Do not alter recipes. Changes in ingredients can make the food unsafe.
- Use tested recipes. Follow directions from sources like the USDA or Ball Canning.
- Check seals. Unsealed jars can spoil quickly.
- Do not stack jars in the Instant Pot. They need space for steam circulation.
- Do not reuse old lids. Always use new, undamaged lids for canning.
- Store properly. Keep canned goods in a cool, dark, dry place.
A common mistake is using a “Steam” function as if it is pressure canning. This does not reach the necessary temperature for low-acid foods.
Common Mistakes And How To Avoid Them
Even experienced canners sometimes make errors. Here are mistakes beginners often make and how to avoid them:
Overfilling Jars
Too much food in the jar can prevent sealing. Always leave the recommended headspace.
Using Wrong Foods
Canning green beans, carrots, or meat in an Instant Pot is unsafe. Stick to high-acid recipes.
Ignoring Model Limitations
Not every Instant Pot supports canning. Always check your model’s manual.
Not Checking Seals
If a jar does not seal, do not store it on the shelf. Refrigerate and use within a week.
Reusing Lids
Used lids may not seal properly. Always use new lids for canning.
Not Adjusting For Altitude
Processing times may need to be increased at higher altitudes. Check altitude charts and add time as needed.
Insufficient Water
Not adding enough water means the Instant Pot cannot build steam. Always use the amount recommended in your manual.
Practical Tips For Success
Here are some non-obvious tips for better results:
- Preheat your jars in the Instant Pot with some water before filling them. This prevents breakage from temperature shock.
- Use a jar lifter to avoid burning yourself on hot jars.
- Test one jar before doing a big batch. This helps you adjust for your Instant Pot’s quirks.
- Keep a canning log. Write down what you made, the date, and any notes. This helps with troubleshooting later.
- Don’t rush the cooling stage. Quick cooling can cause jars to break or not seal.
- Wipe jar rims with vinegar to remove any sticky residue, which could cause sealing problems.
Instant Pot Canning: Pros And Cons
Is using an Instant Pot for canning right for you? Here’s a look at the main advantages and disadvantages:
| Pros | Cons |
|---|---|
| Convenient for small batches | Cannot can low-acid foods safely |
| Uses less energy than big canner | Limited jar size (no quarts) |
| Automatic temperature settings | Some models do not allow canning at all |
| Less kitchen heat | Batch size is small |
| Easy cleanup | Processing time may vary by model |
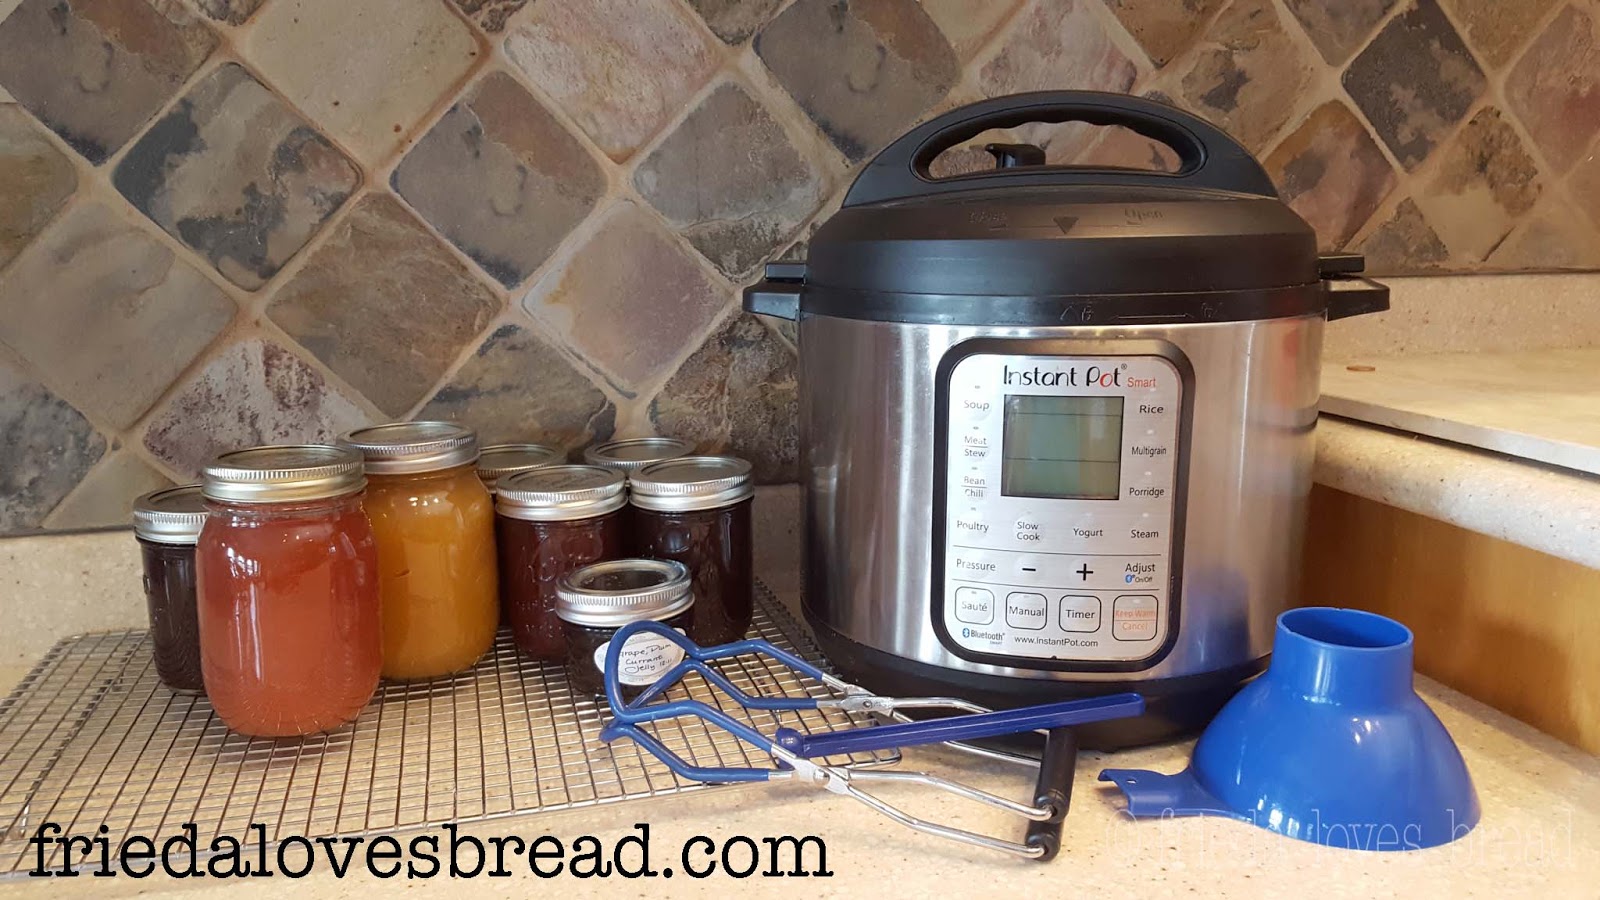
Credit: www.friedalovesbread.com
Troubleshooting: When Things Go Wrong
Even careful canners can run into problems. Here’s how to solve the most common issues:
Jars Did Not Seal
Possible causes:
- Food on jar rim (clean with vinegar before sealing)
- Lids not heated or new
- Headspace too small or too large
- Jars not processed long enough
Solution: Refrigerate unsealed jars and use soon. Try again with new lids if you want to store long-term.
Cloudy Liquid
Possible causes:
- Hard water
- Starch from food
- Overprocessing
Solution: This is usually harmless if jars are sealed. Use distilled water for canning to avoid cloudiness.
Food Discoloration
Possible causes:
- Overripe or old food
- Too much headspace
- Light exposure
Solution: Store jars in a dark place. Use fresh ingredients for best color.
Instant Pot Did Not Build Pressure
Possible causes:
- Not enough water in the pot
- Sealing ring not in place
- Valve not on “Sealing”
Solution: Check water, ring, and valve before starting. Always follow Instant Pot safety instructions.
Storage And Shelf Life
Proper storage is key to keeping your canned food safe and delicious.
- Store jars in a cool, dark place (50-70°F is ideal).
- Avoid places with high humidity or direct sunlight.
- Use canned goods within one year for best flavor and nutrition.
- Check seals before eating. If a lid is loose, bulging, or food smells off, throw it away.
Label each jar with the date and contents. Rotate your stock, using the oldest jars first.

Credit: homesteadingfamily.com
Instant Pot Models And Canning
Not all Instant Pots are made for canning. Some models, like the Instant Pot Max, have a “Canning” setting and are tested for water bath canning. However, even then, most experts do not recommend using any electric pressure cooker for pressure canning low-acid foods.
If you plan to buy an Instant Pot for canning, look for these features:
- “Canning” or “Steam” setting
- 6-8 quart capacity
- UL or safety certification
- Manufacturer’s approval for canning
If you want to can low-acid foods, invest in a certified pressure canner instead.
For more information and tested recipes, visit the National Center for Home Food Preservation.
Non-obvious Insights For Beginners
- Altitude changes everything. Many new canners do not realize that processing times are different at higher elevations. Water boils at a lower temperature, so you need longer times. Find your local altitude and adjust recipes as needed.
- Batch size is small. Most Instant Pots only fit 3-4 half-pint jars. This is perfect for a small family or for testing new recipes, but not great if you want to can a year’s supply at once.
- The “Sterilize” setting is not for canning. Some users think this setting can be used for canning. It is designed for sterilizing utensils, not for processing food in jars.
- Always check for updates. Manufacturers sometimes release new advice or warnings. Check your Instant Pot website or manual yearly.
- Test your seals before storing. Even if you hear a “pop,” check every lid after 12 hours. If in doubt, refrigerate and eat soon.
Frequently Asked Questions
What Foods Can I Safely Can In An Instant Pot?
You can safely can high-acid foods like fruit jams, jellies, pickles, and some tomato products (with added acid). Never can low-acid foods like vegetables, meats, or soups in an Instant Pot. For more on this, always use tested canning recipes.
Can I Use Any Instant Pot For Canning?
No, only some Instant Pot models are approved for water bath or steam canning. Many do not reach the right temperature or pressure for safe canning, especially with low-acid foods. Check your user manual before starting.
Why Can’t I Can Green Beans Or Meat In My Instant Pot?
Green beans and meat are low-acid foods. They can grow dangerous bacteria if not processed at a high enough temperature. The Instant Pot is not a certified pressure canner, so it cannot safely process these foods.
How Do I Know If My Jars Sealed Properly?
After jars have cooled for 12-24 hours, press the center of each lid. If it does not move, the jar is sealed. If the lid pops up and down, the jar did not seal—refrigerate and eat soon.
What Should I Do With Jars That Didn’t Seal?
If a jar did not seal, store it in the refrigerator and eat the contents within a week. Never try to reprocess more than once, as this can affect food quality and safety.
Canning in an Instant Pot can be a fun way to preserve small batches of fruits and jams, but always follow safety rules. Learn the science, respect the process, and enjoy the taste of summer all year long. With the right knowledge, your Instant Pot can help you make delicious, shelf-stable food for your family.